This 11 mile loop has everything – stunning views, scenic streams, a clear mountain pond, and even a small waterfall. You could hike it as a long(ish) day hike, but there is so much great camping along the way that it’s ideal for an easy overnight backpacking trip!
View the Full Album of Photos From This Hike


Day One (4 miles)…
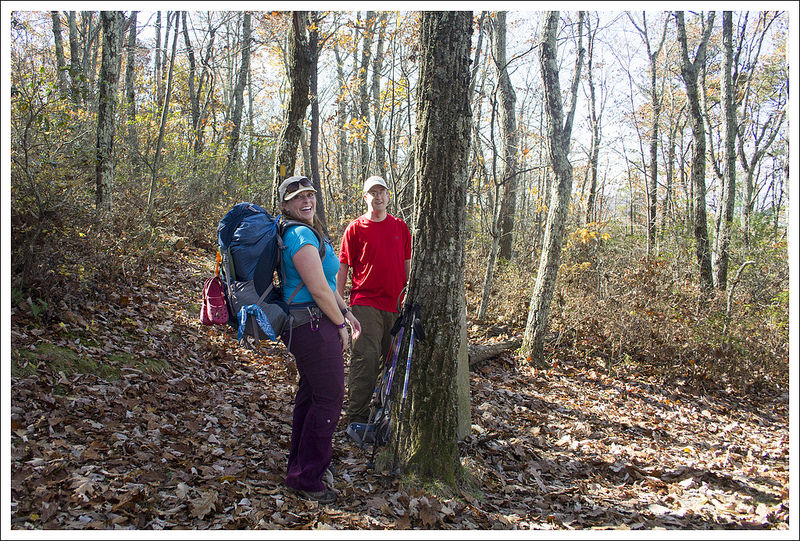
One thing that was true about May in 2016 was we had a TON of rain in Virginia. It was hard to find a time to actually go for a hike in good weather. We had been itching to try and do an overnight trip, but the threat of drenching downpours and storms was standing in the way. We had some very stressful days at work, so getting out and finding some peace away from the hustle of everyday life was just what the doctor ordered. In looking at the weather closely, we decided we may be able to get a short, overnight trip in if we timed it just right. We decided to do something very close by to our home to allow us to get on the trail quickly to get in a few miles before it started to get dark. We had called our friend, Kris, who was going to accompany us, and told her to be ready anytime during the Saturday afternoon. We felt like Doppler radar experts as we were tracking the storm movement and finally around 2:30PM, we felt the rain was going to stop to allow us to hike.
We got to the Massanutten Visitor Center and saw a lot of cars in the parking lot. We were thinking there was no way that others were on the trail at this same time due to all the rain we had in the last few days. A large camper was at the front and I talked to one gentleman out front. As it turns out, it was the Massanutten Mountain Trails 100 race that weekend, a 100-mile race along the Massanutten Mountain range that covers 16,200 feet of ascent. We were a little worried about the trail conditions and how many runners we may see along the way, but nothing was stopping us now.
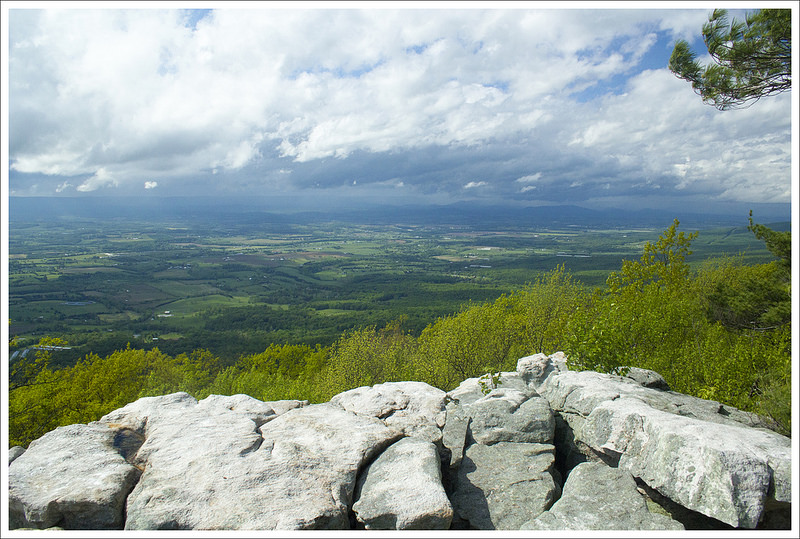


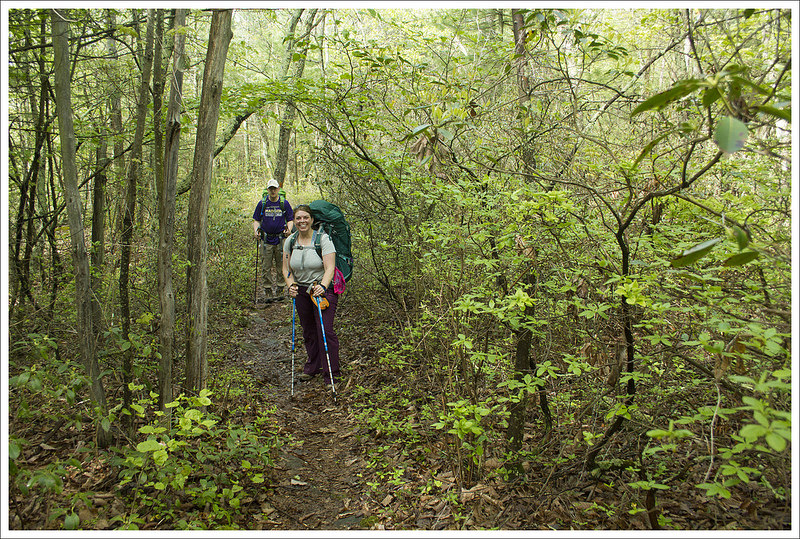
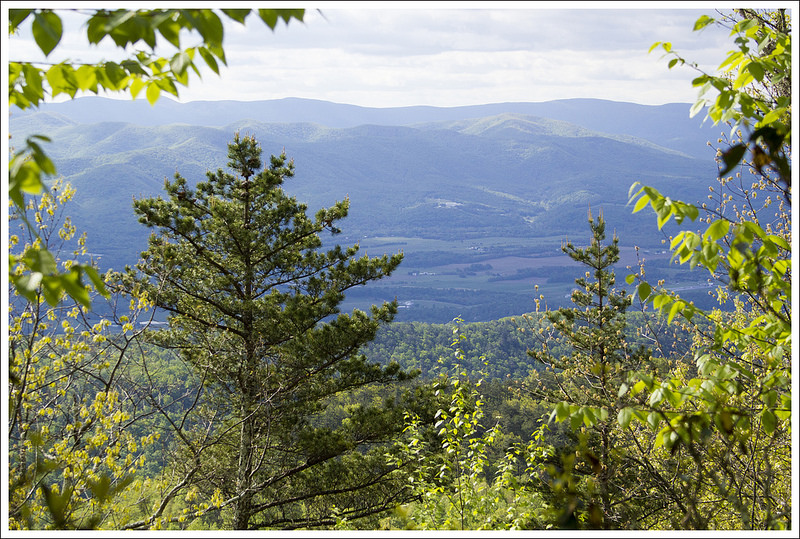
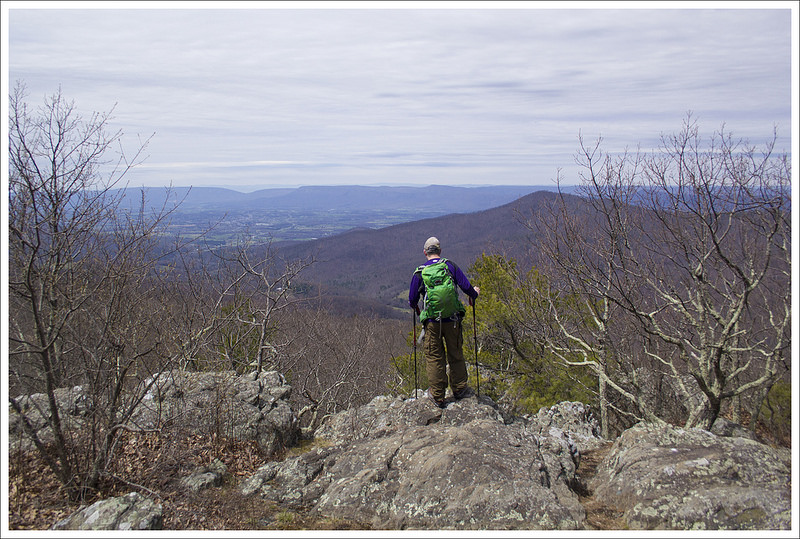
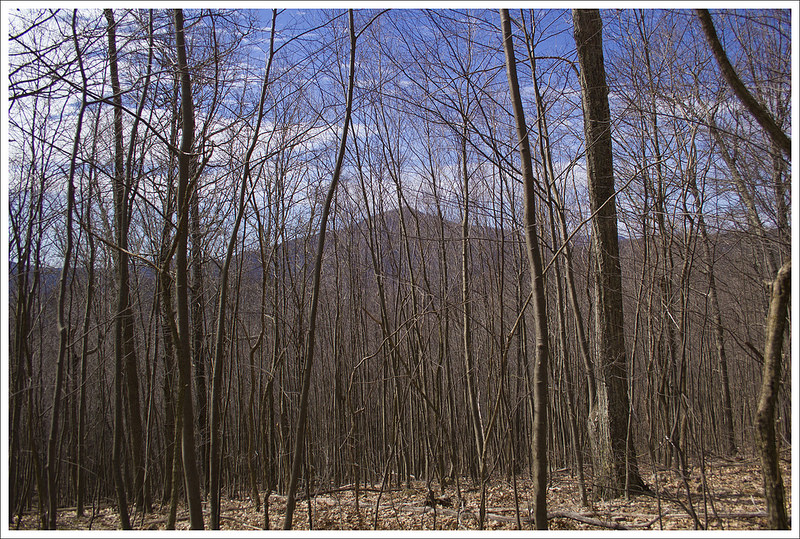
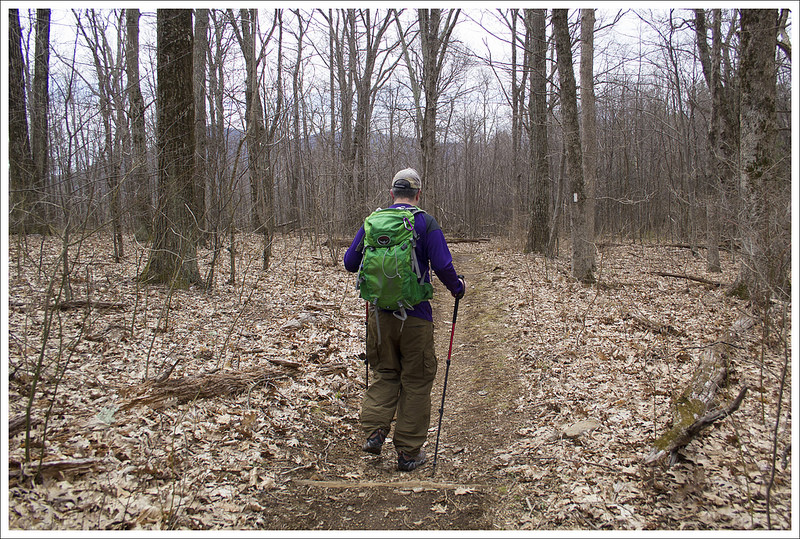
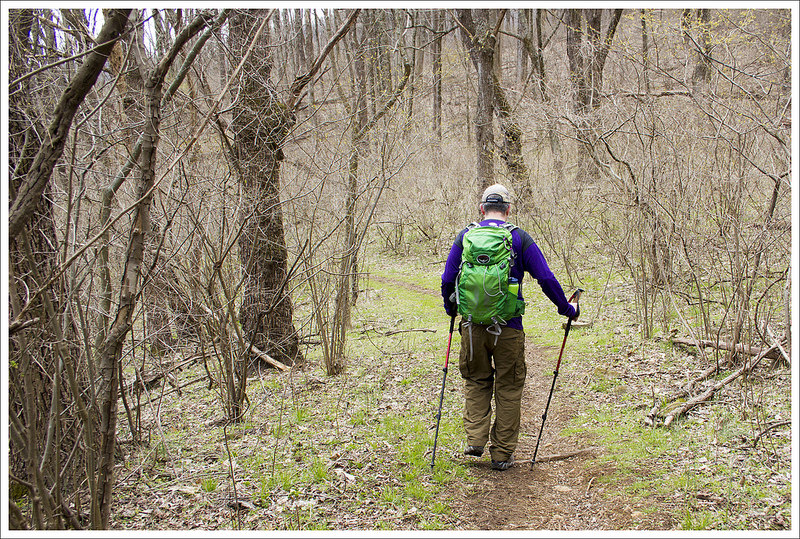
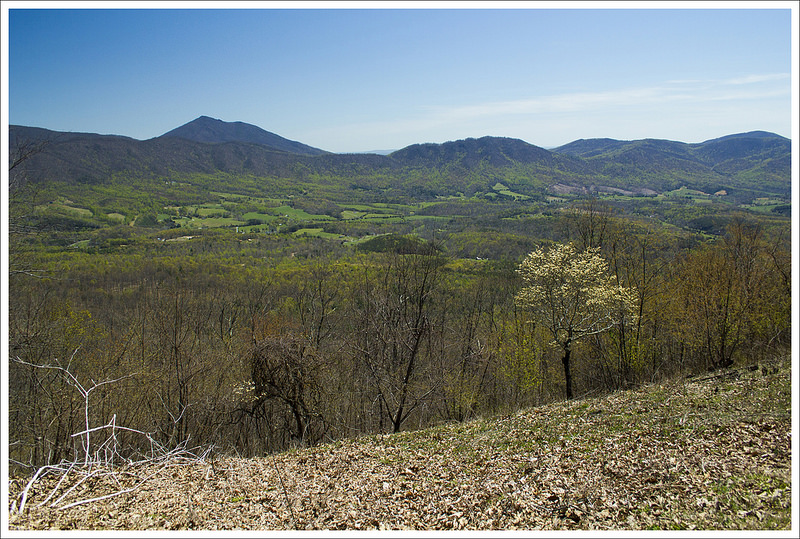
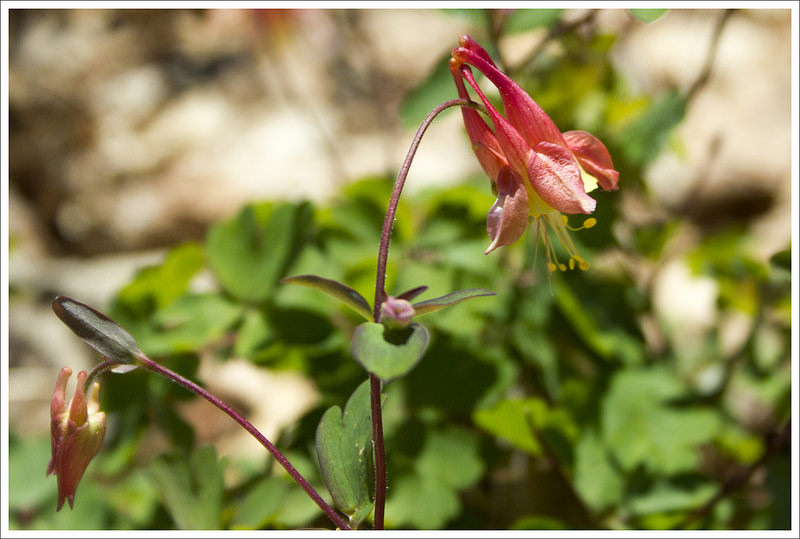
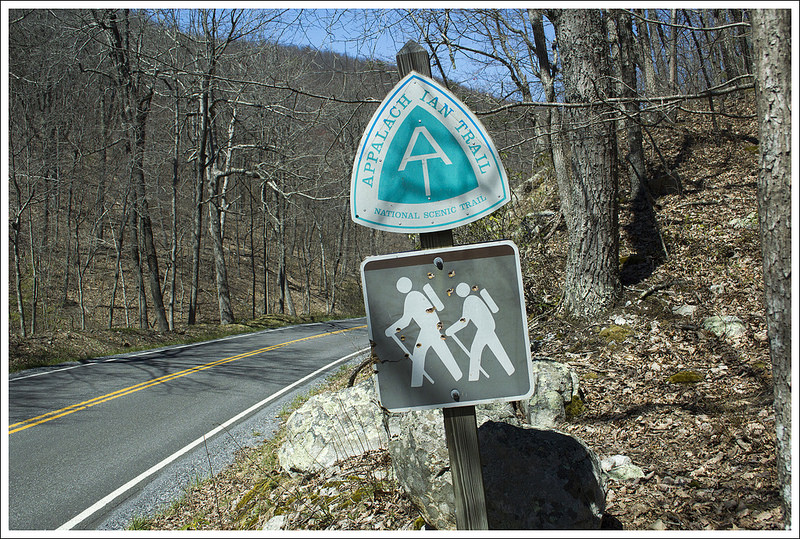
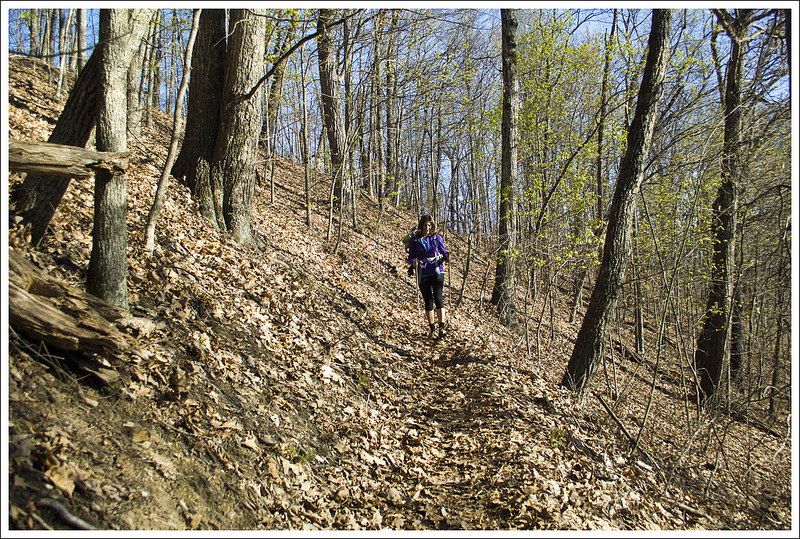
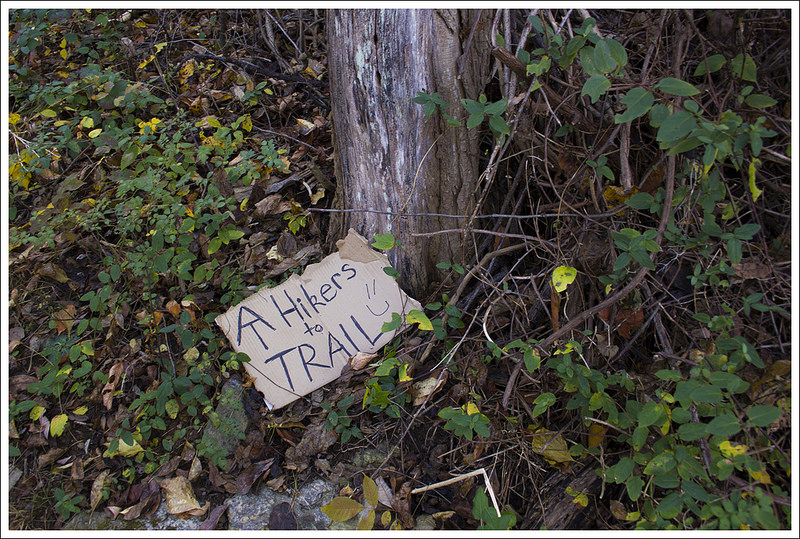
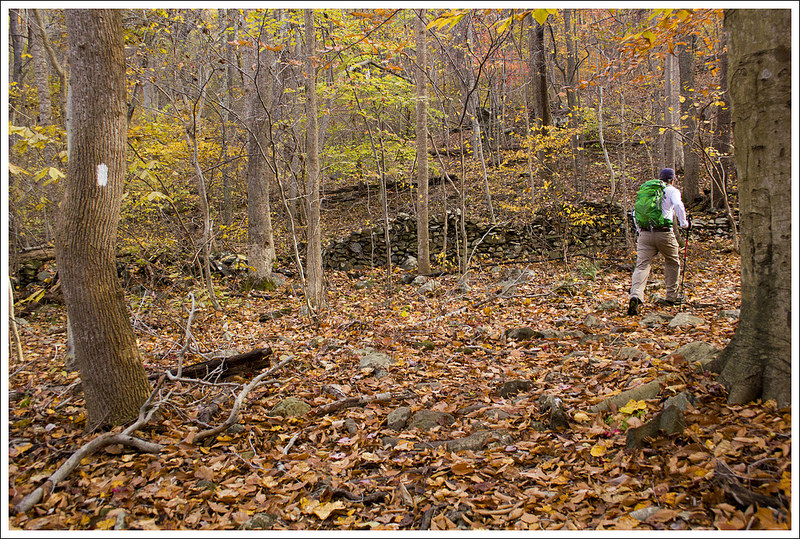
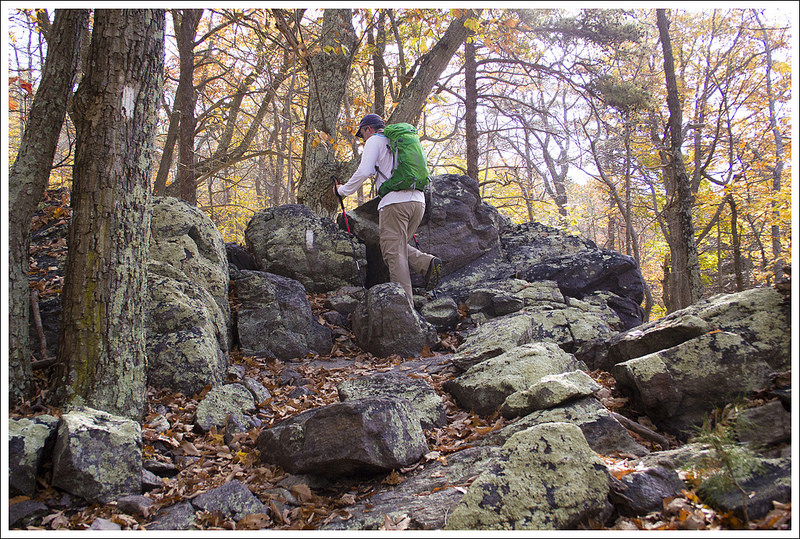
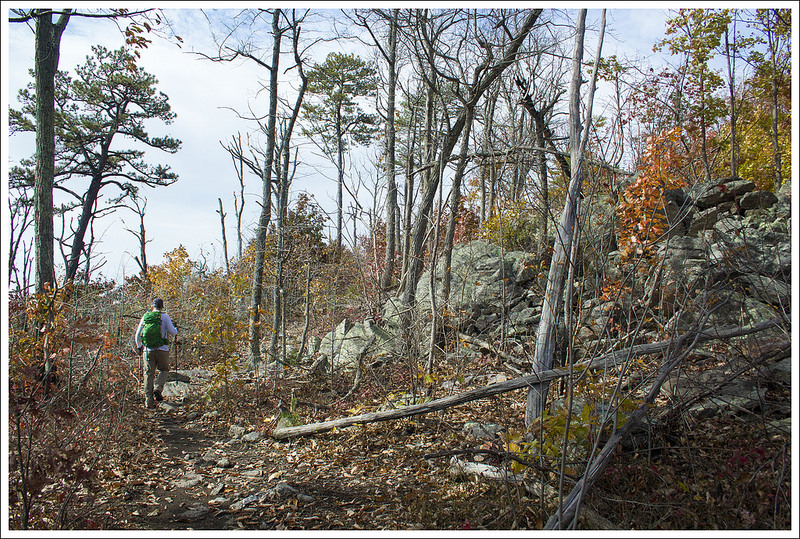
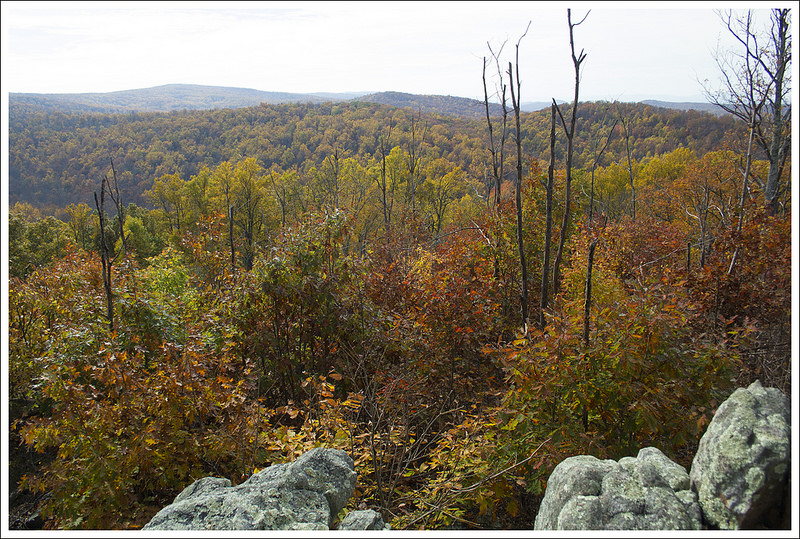
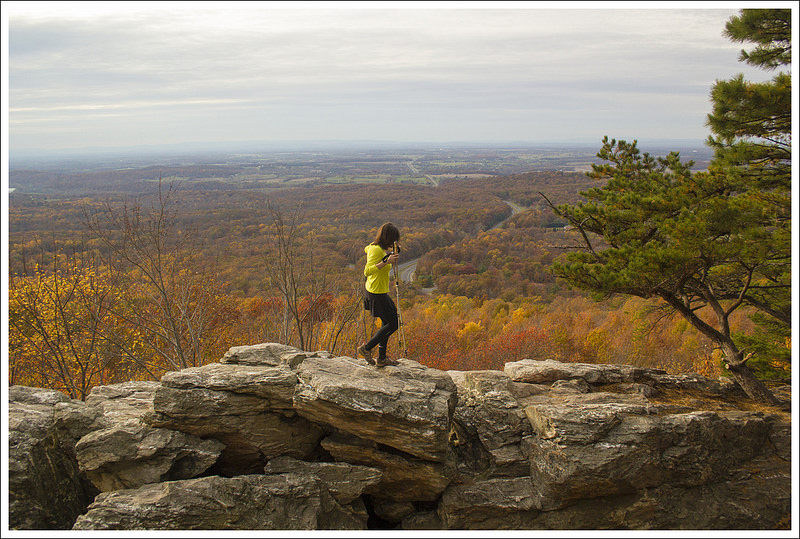
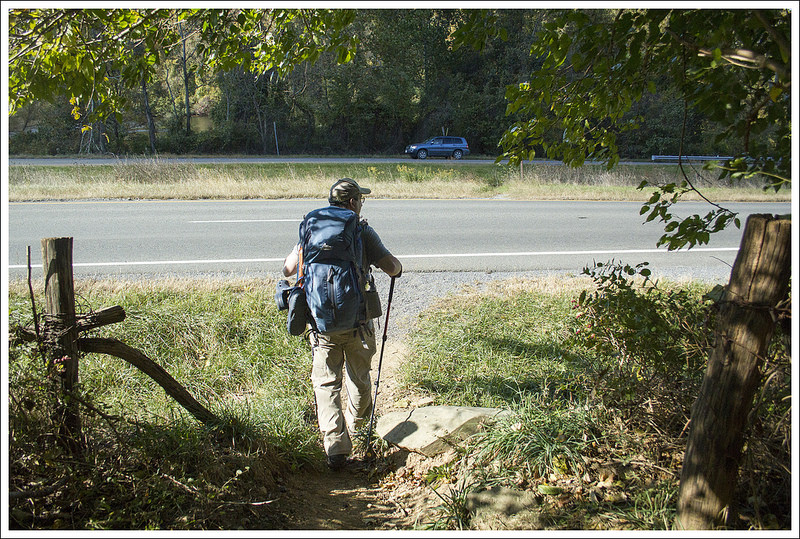
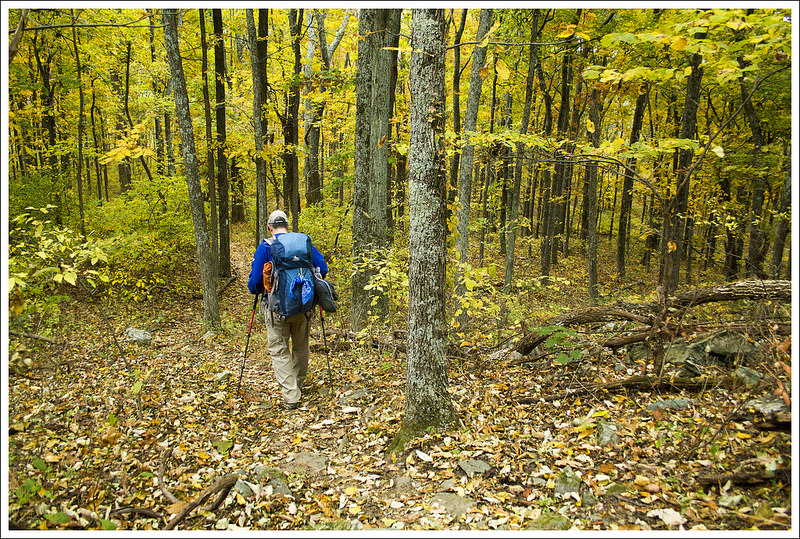
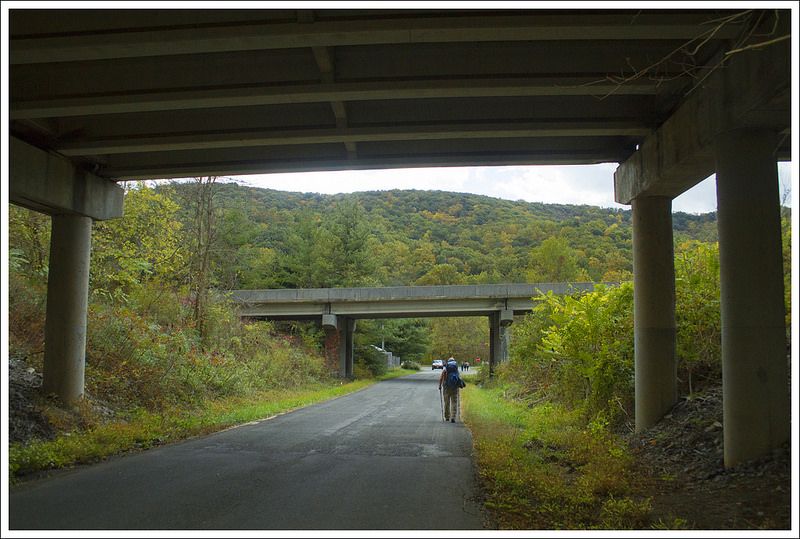
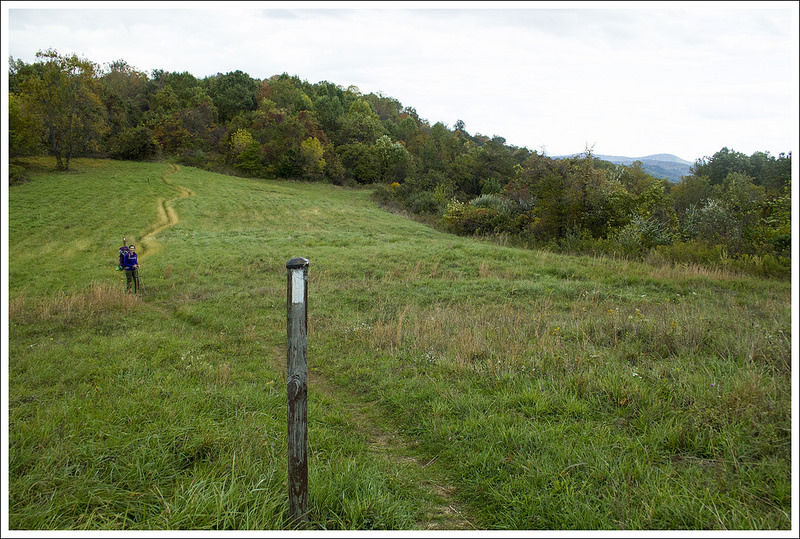
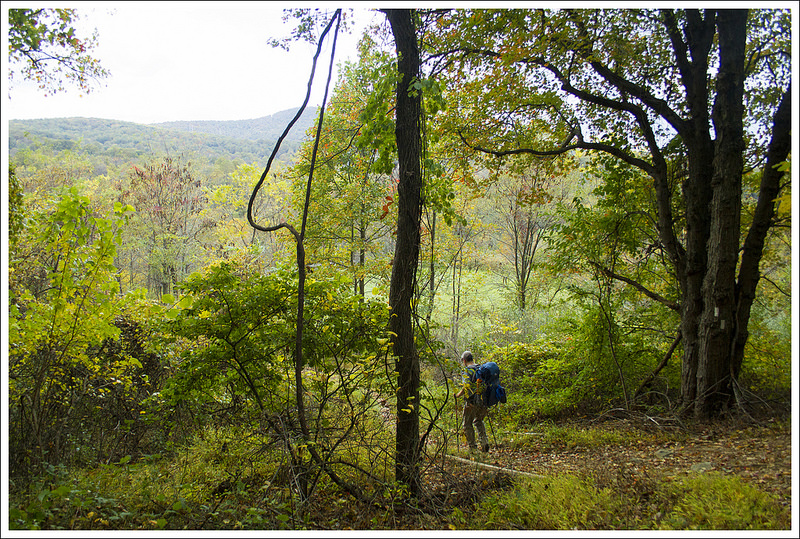
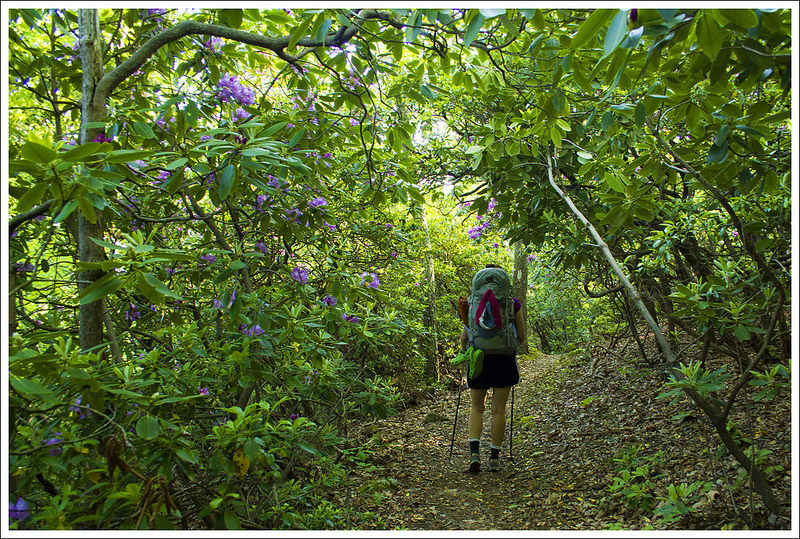
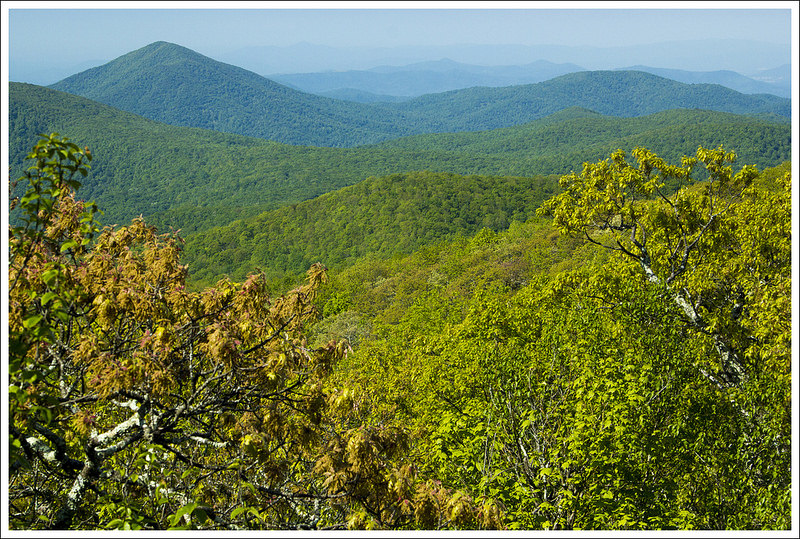
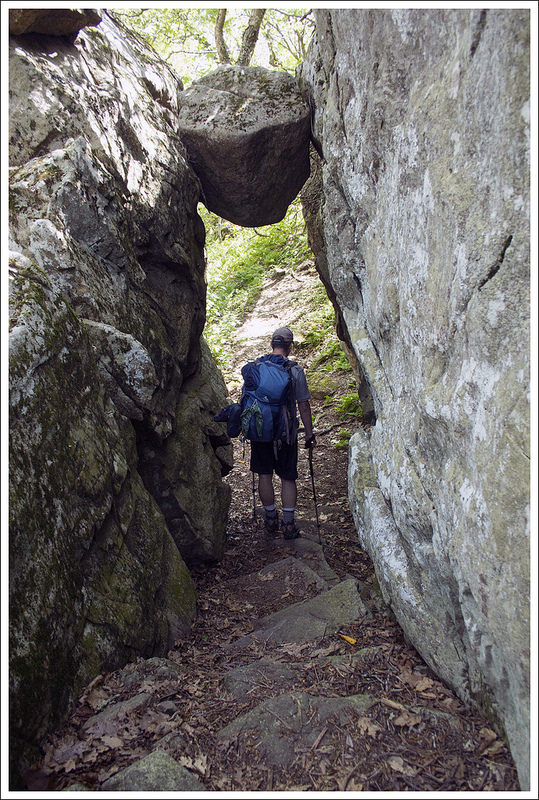
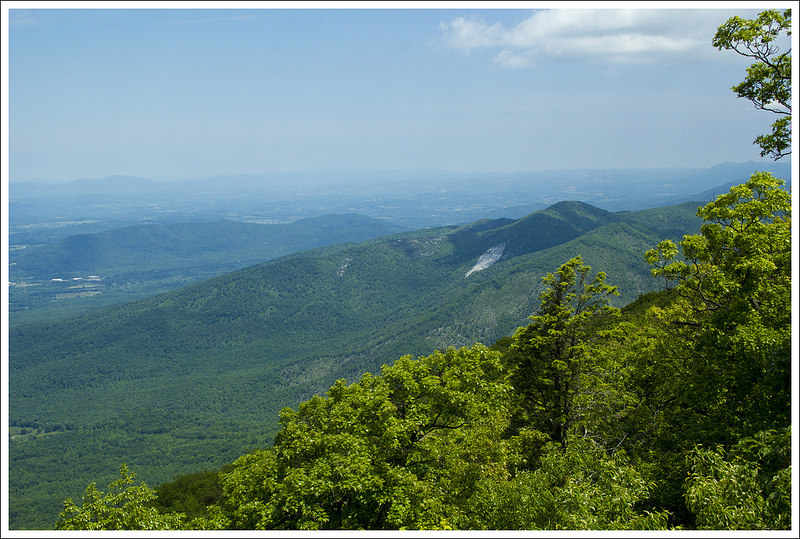
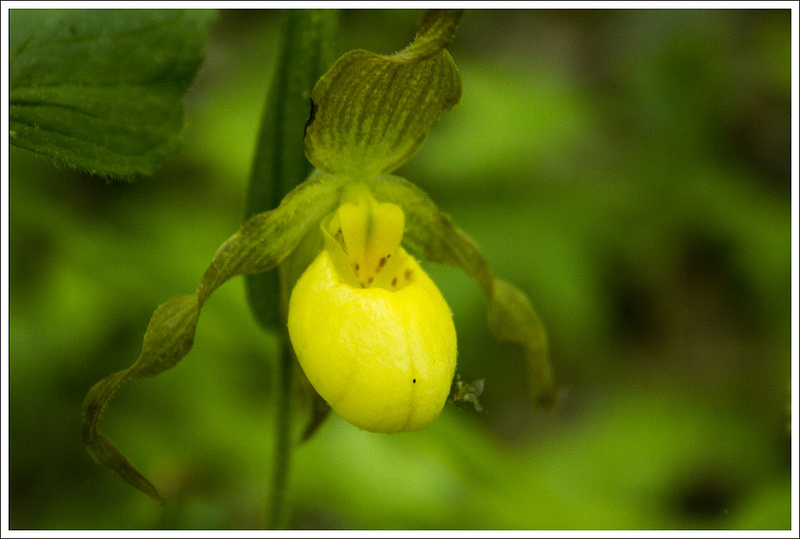
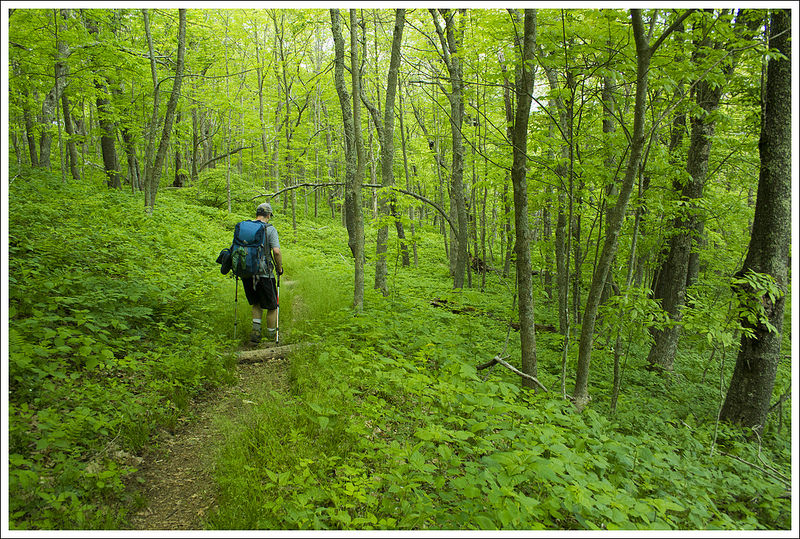
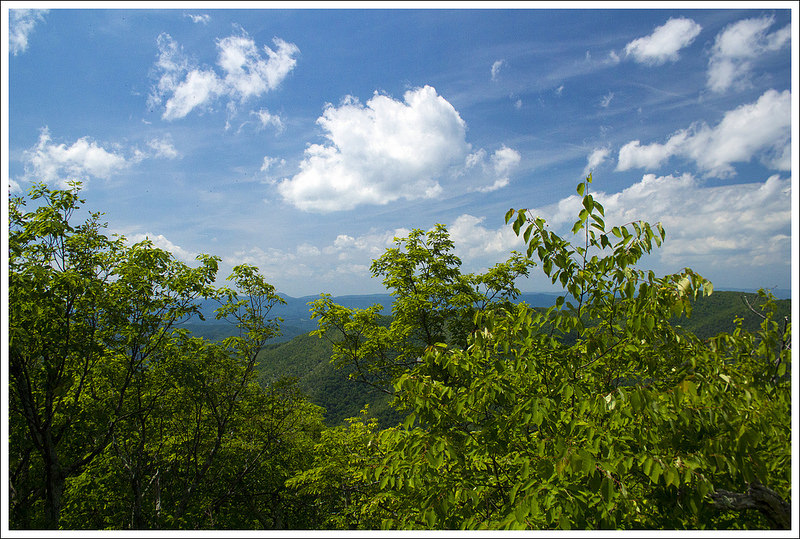
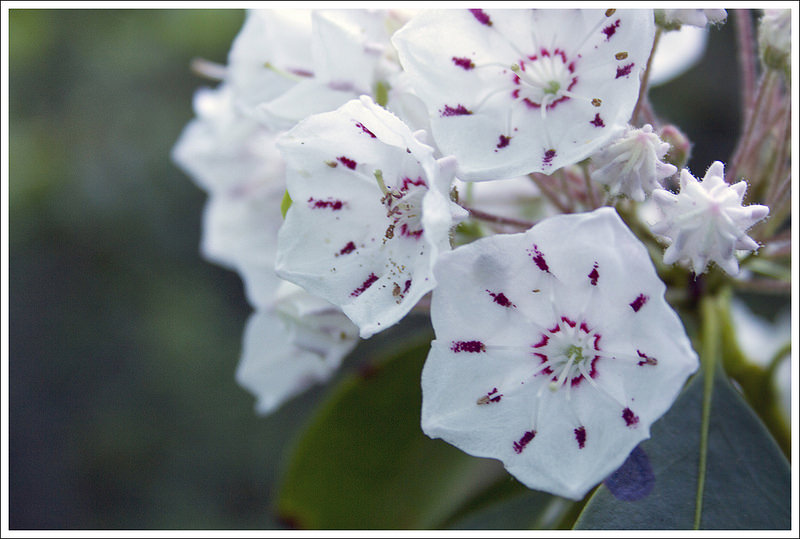
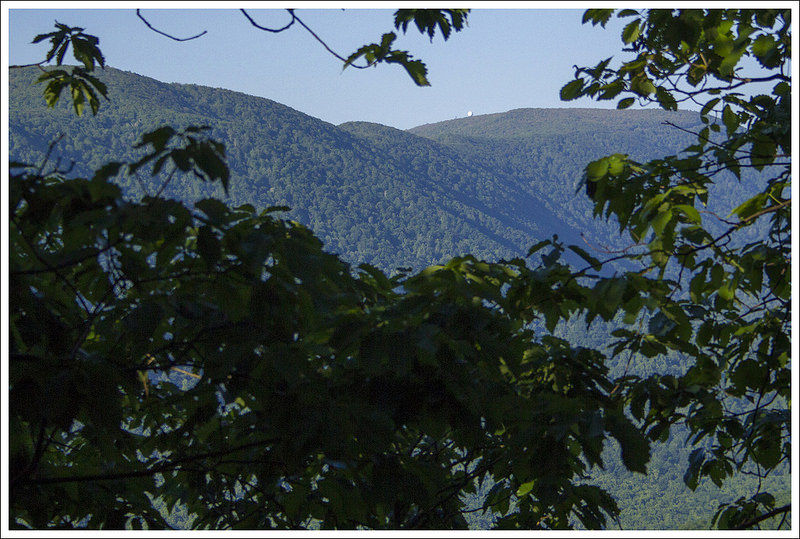
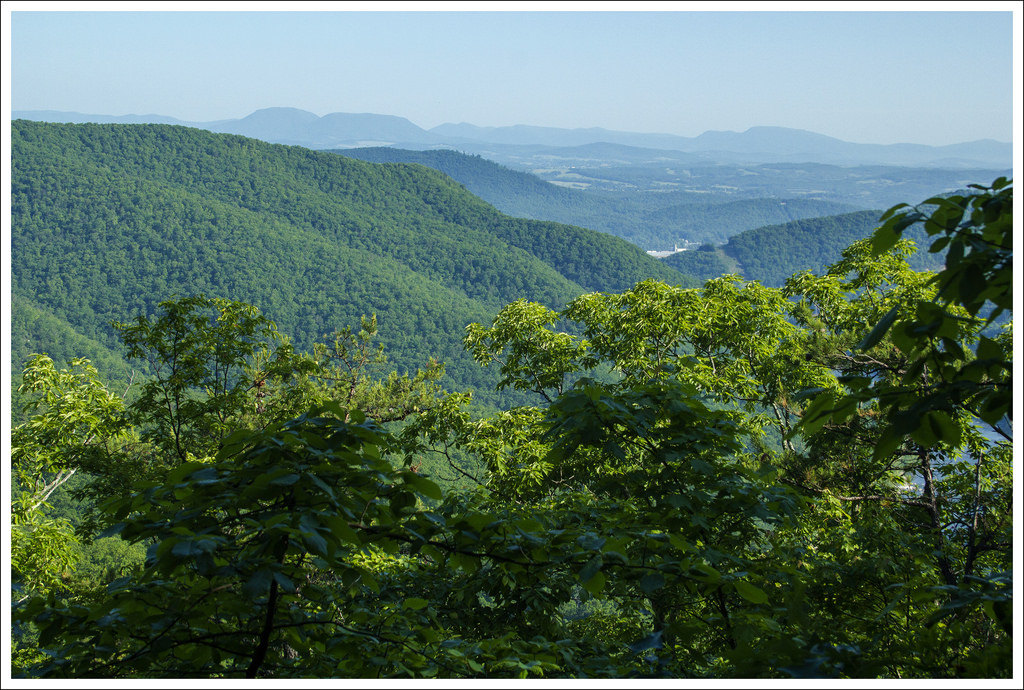
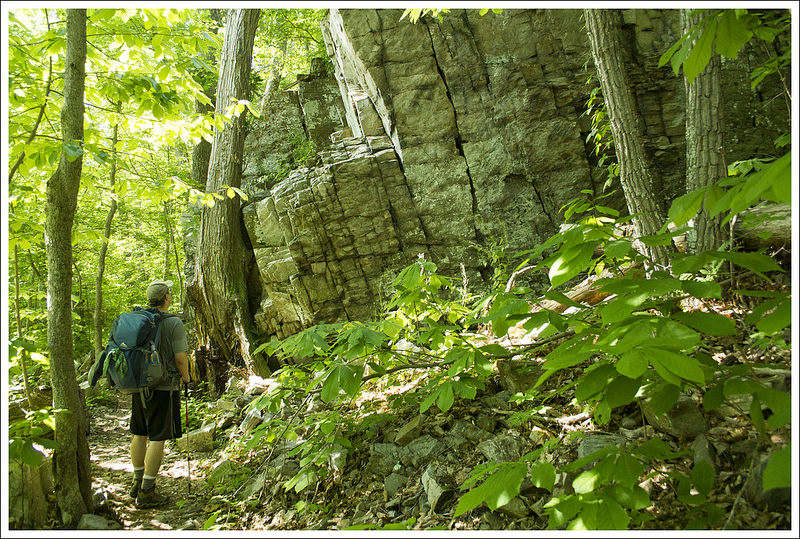
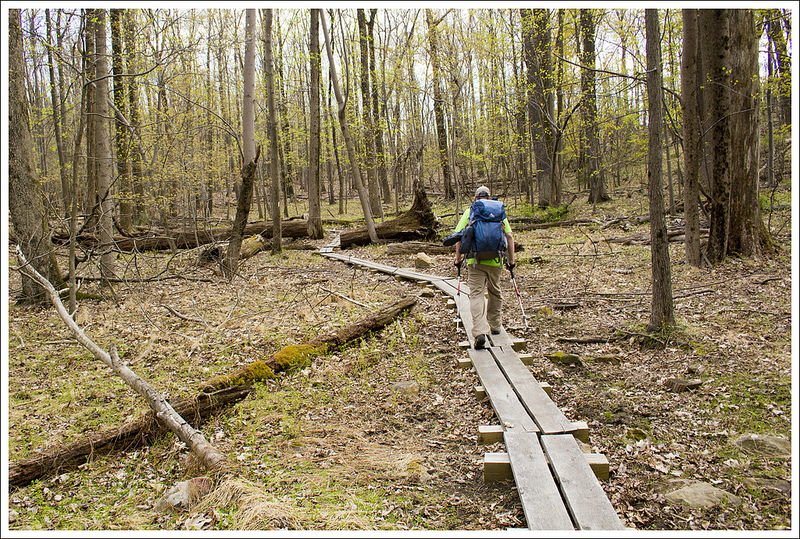
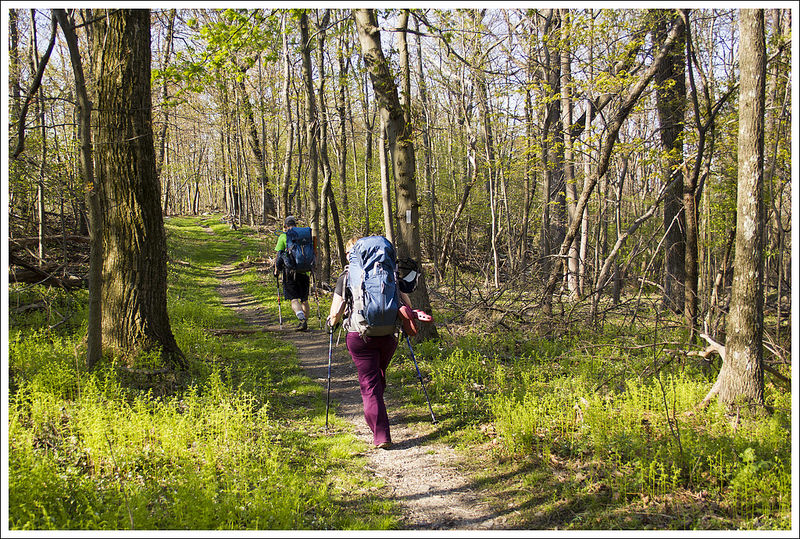
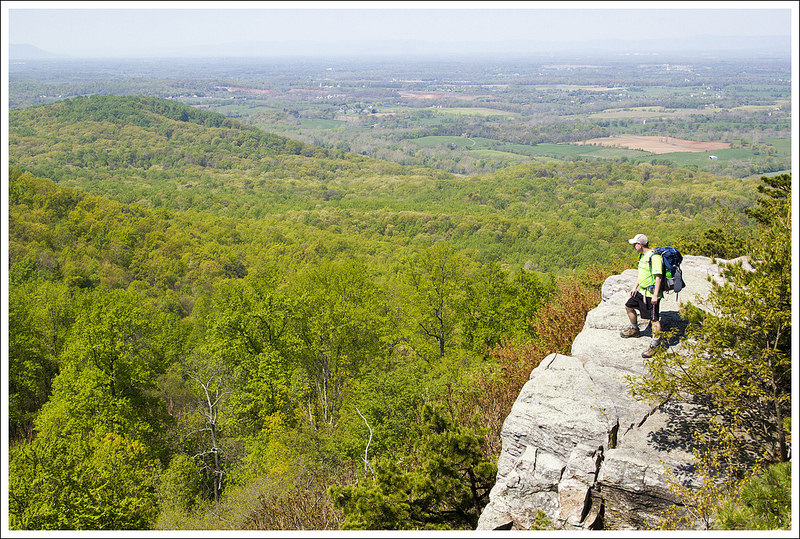
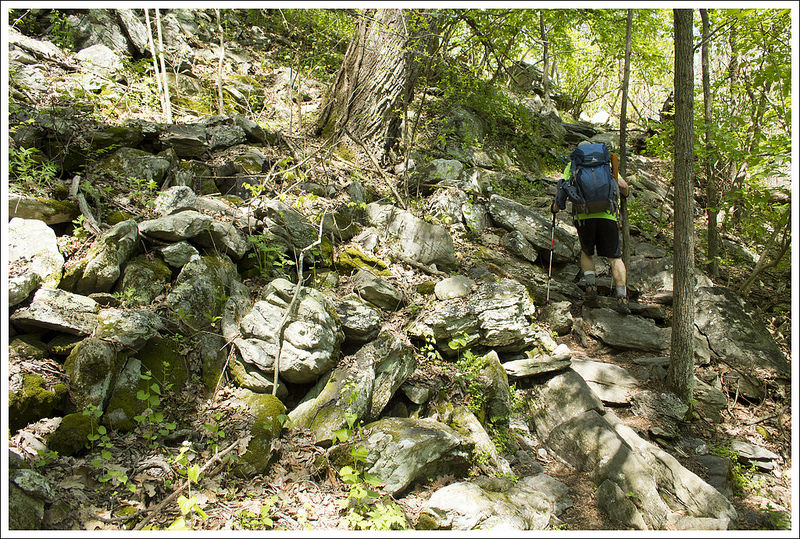
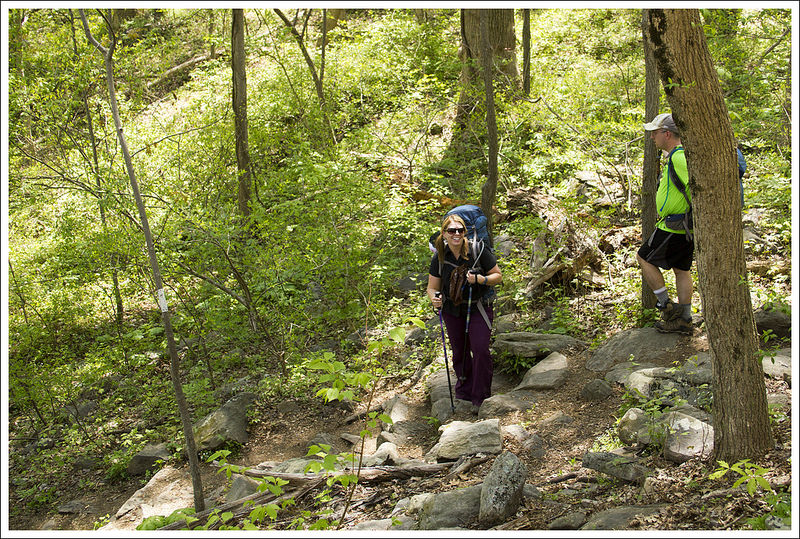
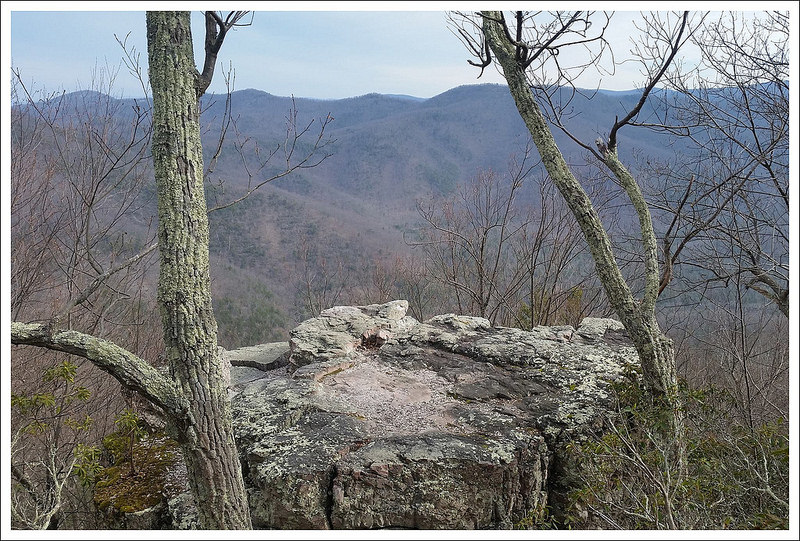
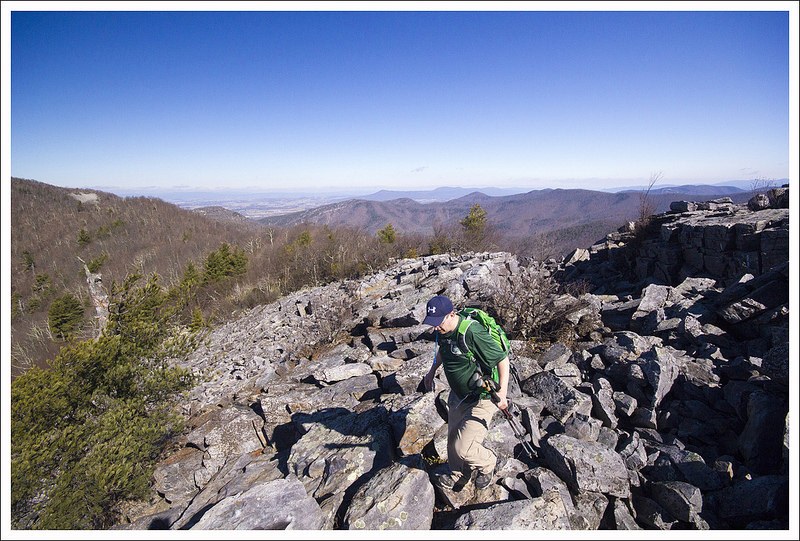
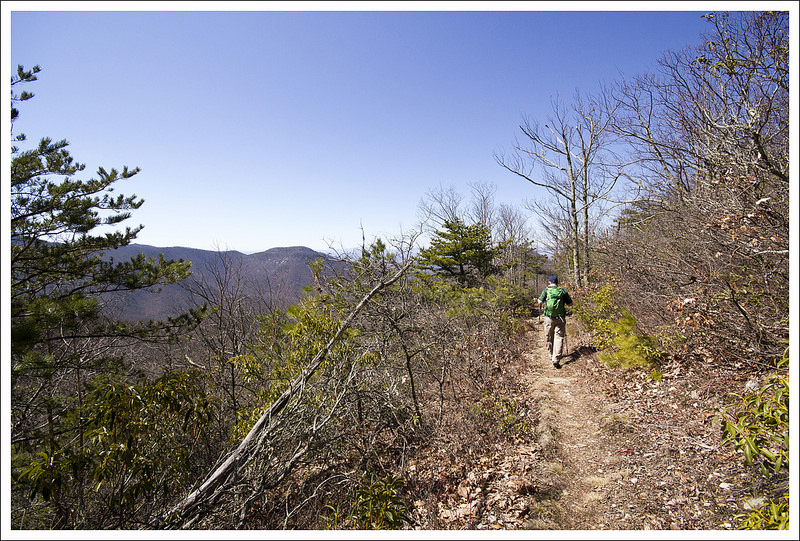
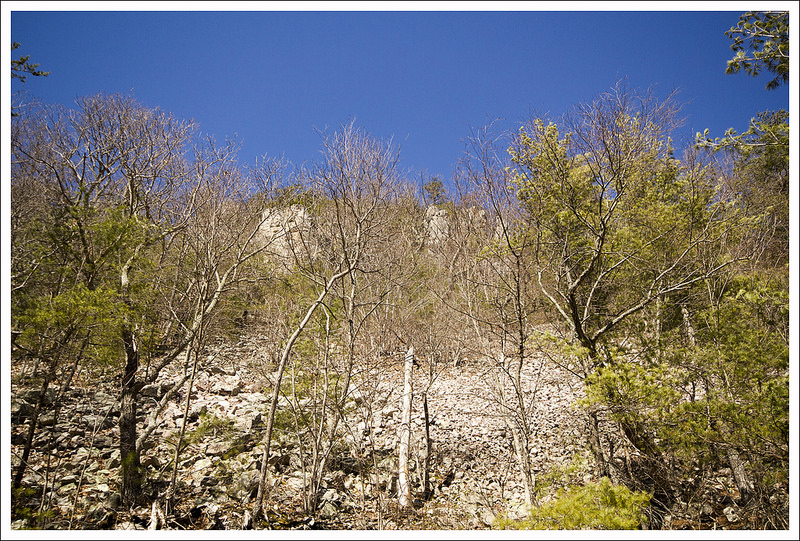
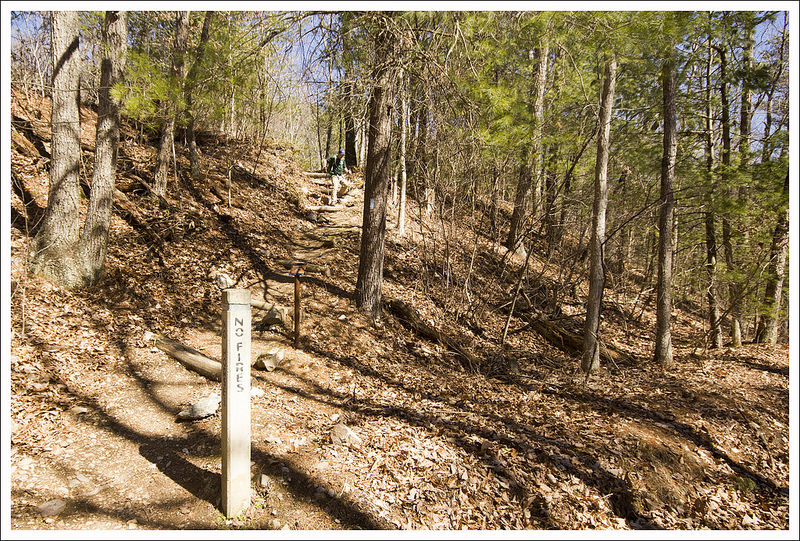
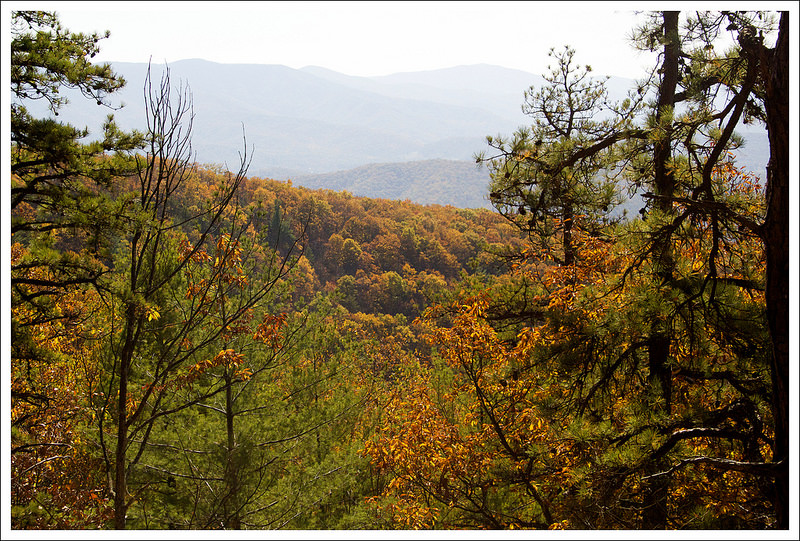
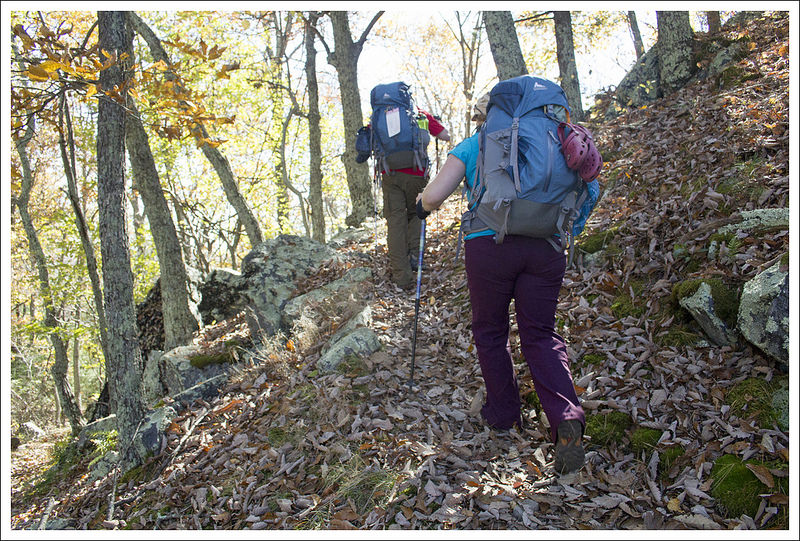
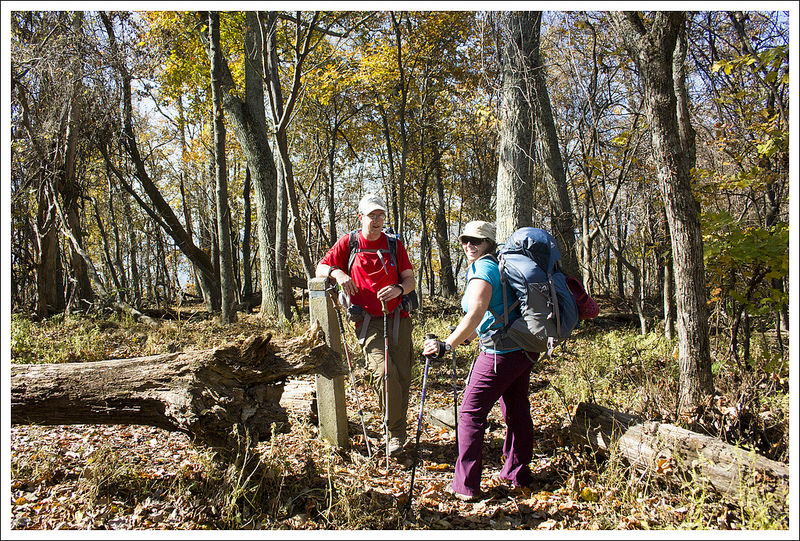
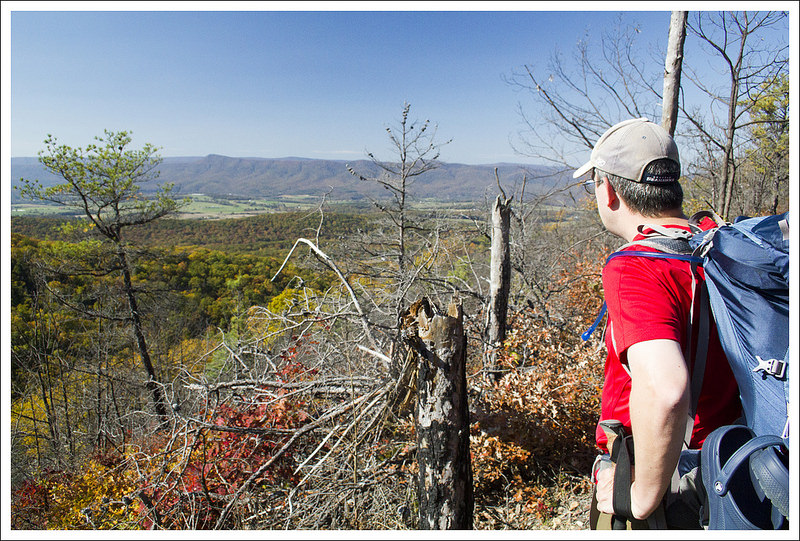
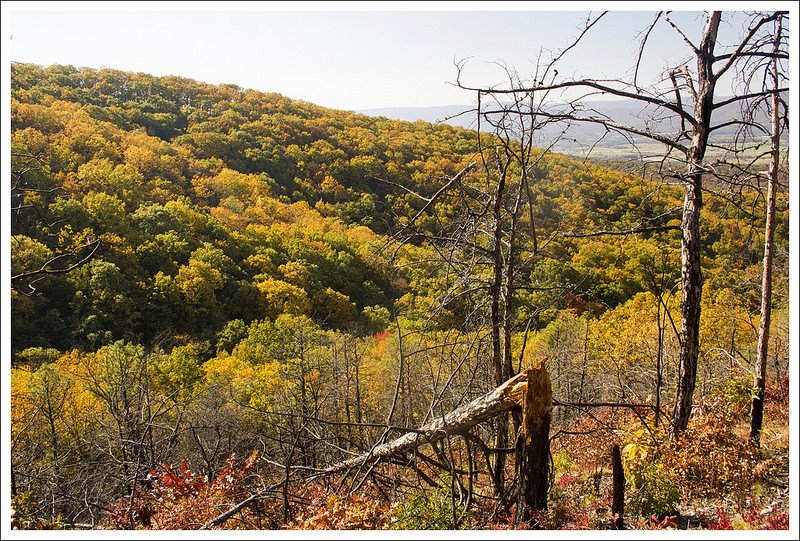
From the parking lot, we took the white-blazed Wildflower trail (do not take the Nature trail at the end of the parking lot). This trail leads downhill and passes some comical information plaques along the way. At .3 miles, when you reach an intersection with the Massanutten South trail, take a right to start on the orange-blazed Massanutten South trail. The trail goes up a steep ascent and we found with the recent rain the footing was slippery and mucky in a few parts. On the ascent, we found that Kris’ new trekking poles weren’t locking properly, so we paused to get some duct tape to try and make a repair (not long after we realized that our fix didn’t hold up and she lost part of her pole somewhere along the trail). The uphill was quite steep and had us breathing heavily with our heavy packs, but this is the toughest part of the entire hike. We passed a hiker who was doing the reverse route and he told us right near the summit there were about 100 pink lady’s slippers along the trail. We decided to count what we had saw; while we didn’t see 100 of these rare wildflowers, we did count close to 60 over the weekend which may be the most we’ve ever seen on a trail. We came to the first overlook around the 1.6 mile mark (the second is just shortly ahead), took our packs off for a few minutes and enjoyed the panoramic views. The clouds after the recent storm blanketed the sky. We stopped at the second view also before continuing on. At 2.5 miles, the trail splits; head to the right to join the Bird Knob trail.
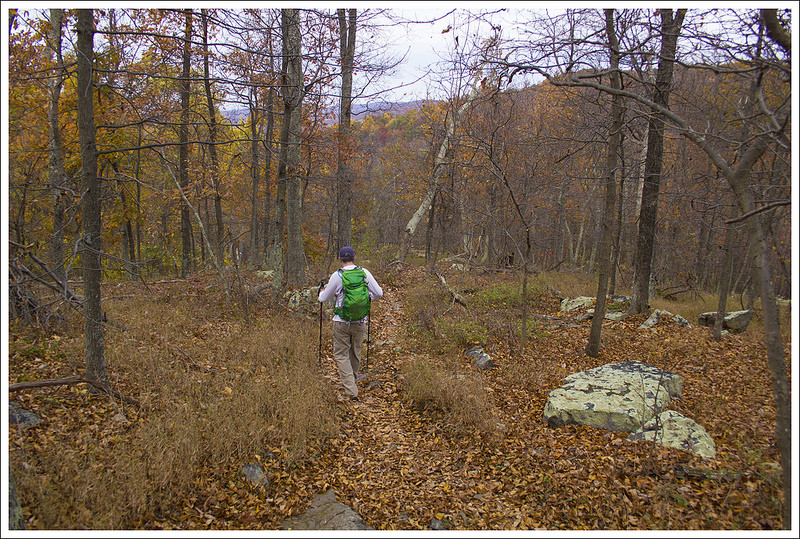
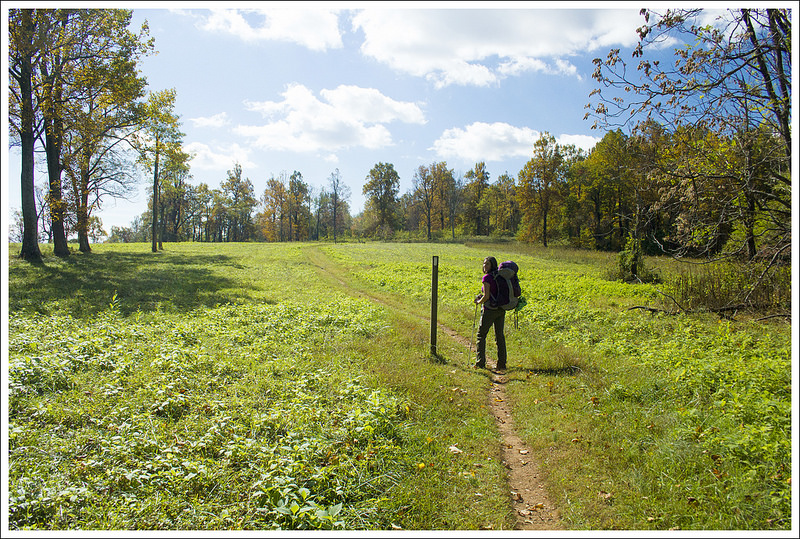
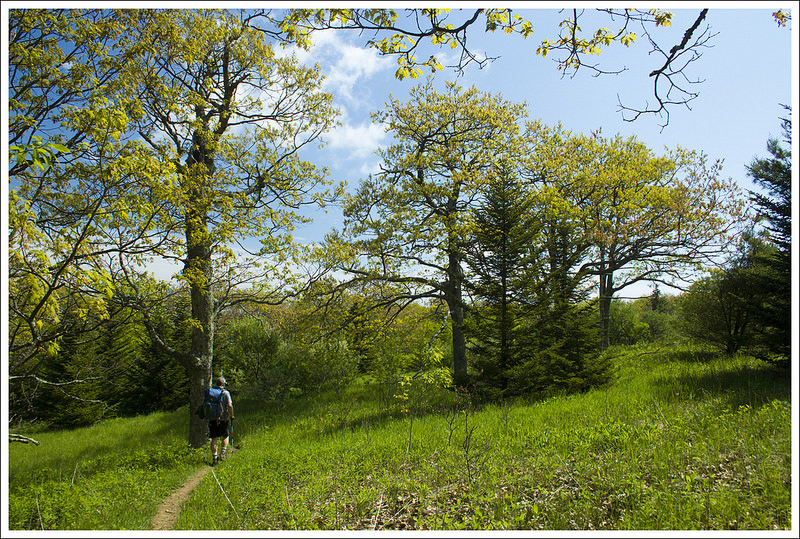
The Bird Knob trail is a ridge walk and is quite flat, which was a nice change from climbing. But, the sky began to get dark and we started hearing thunder in the near distance. Within five minutes, we started to feel rain. We decided to put on our pack covers and rain gear and it was just in the nick of time, as the clouds unleashed a downpour mixed with pea-sized hail. We kept marching through the hailstorm and within about 20 minutes, the storm had passed.
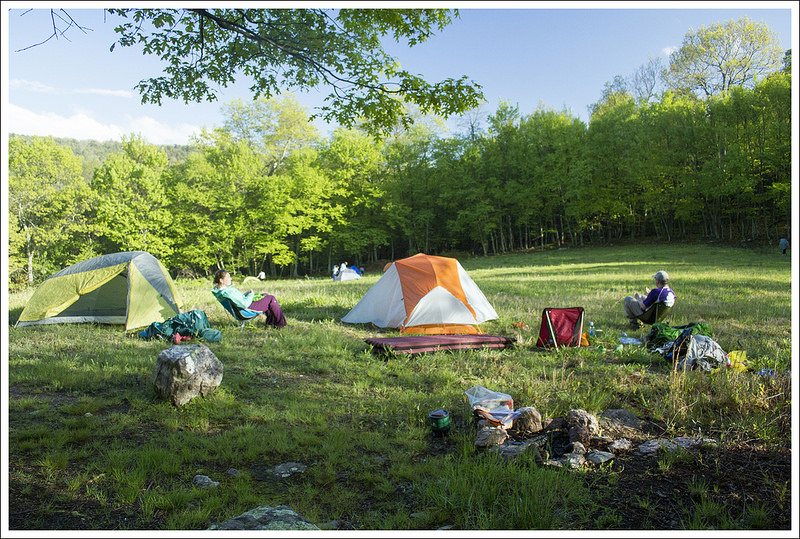


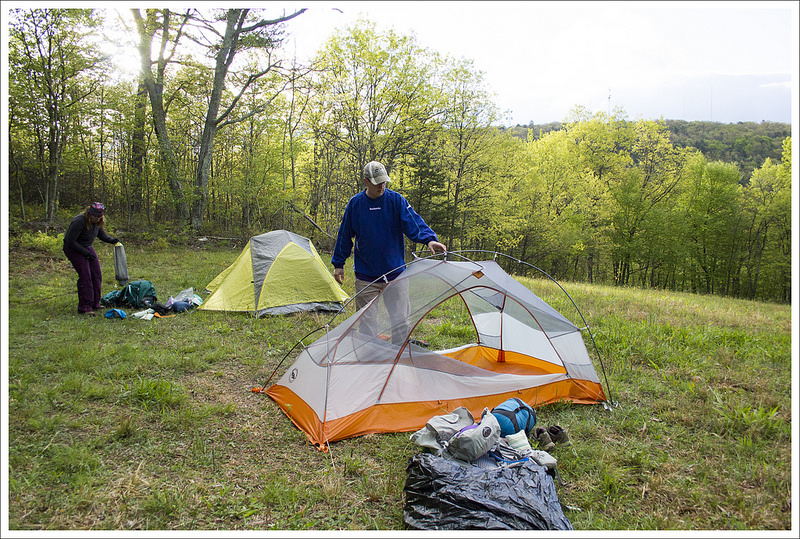
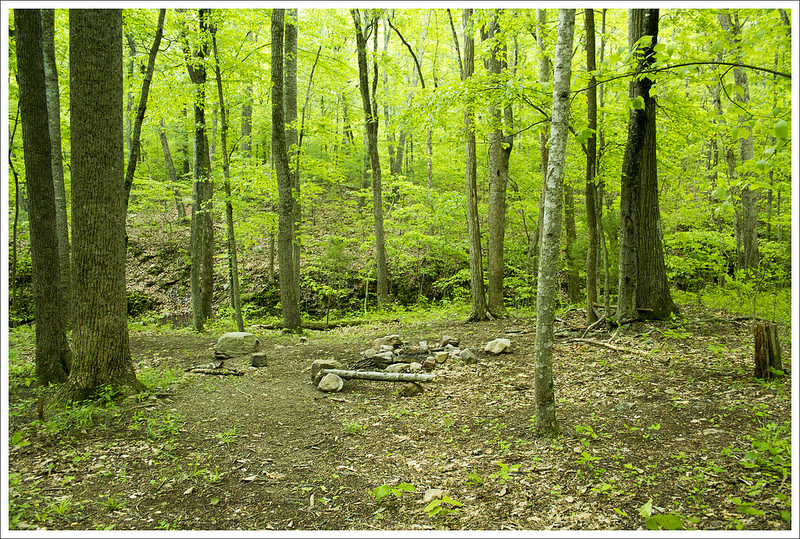
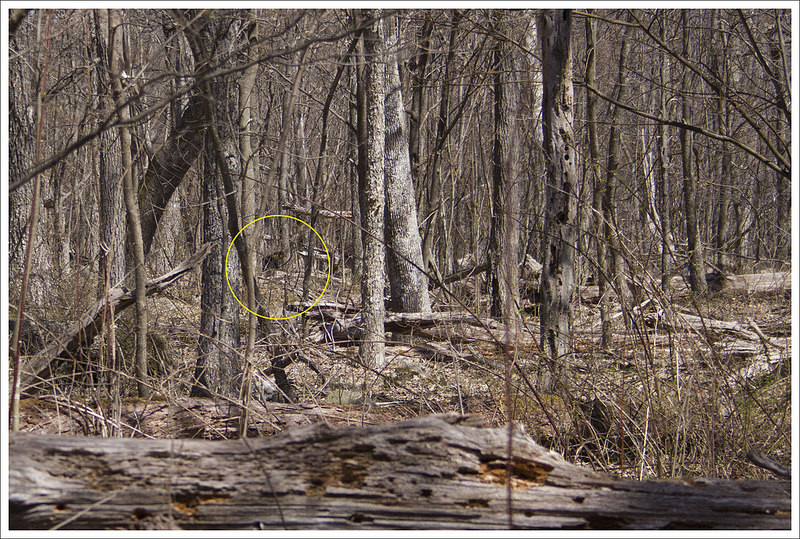
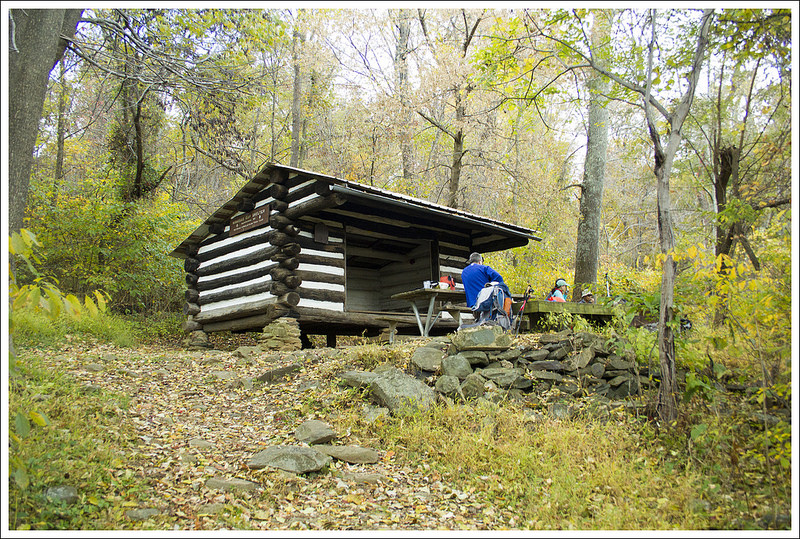
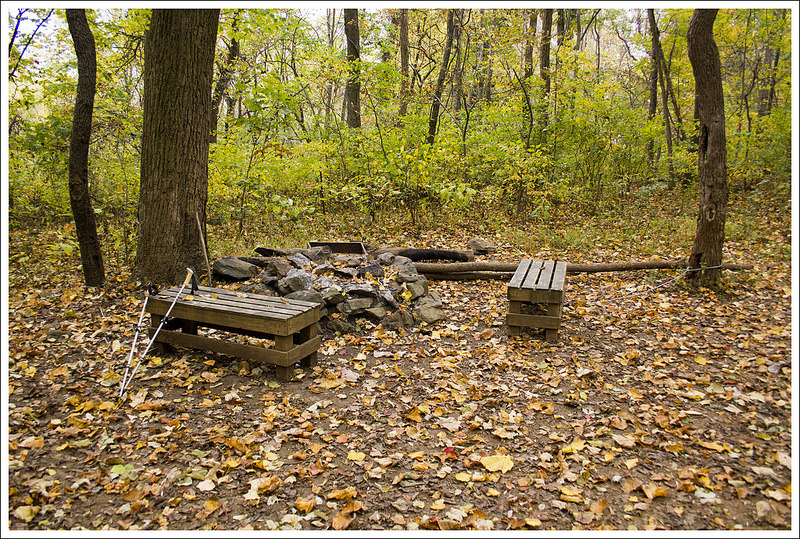
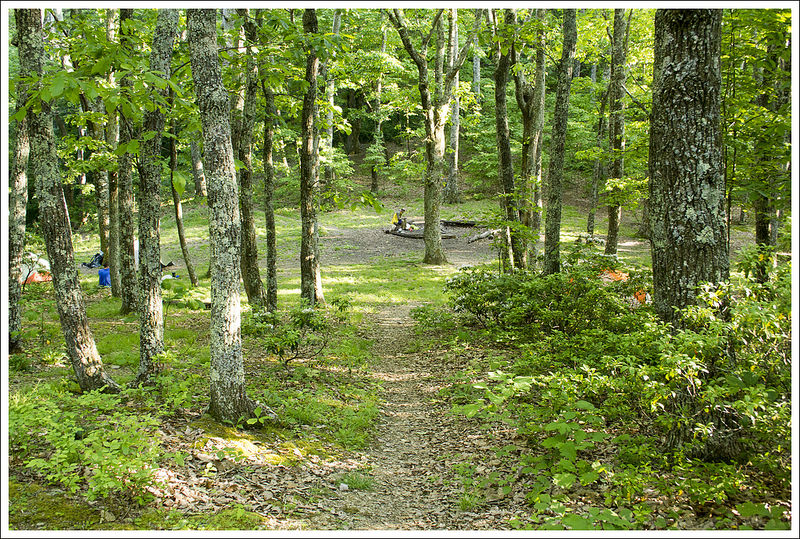
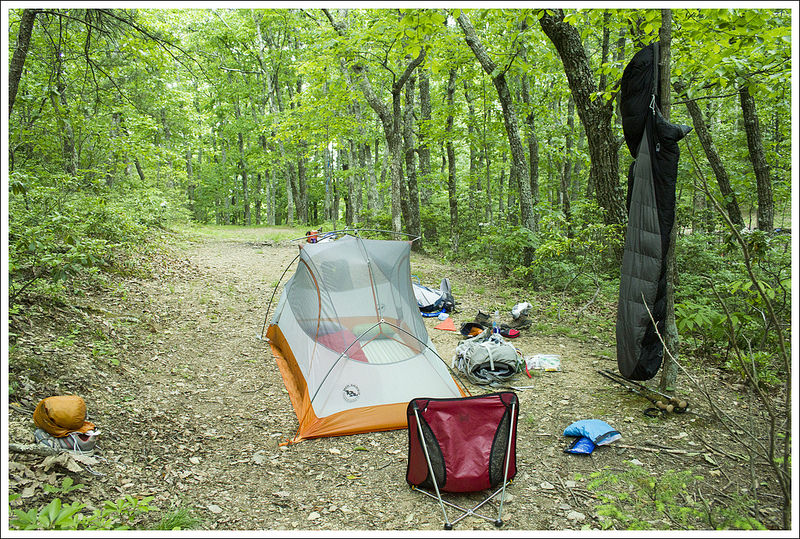
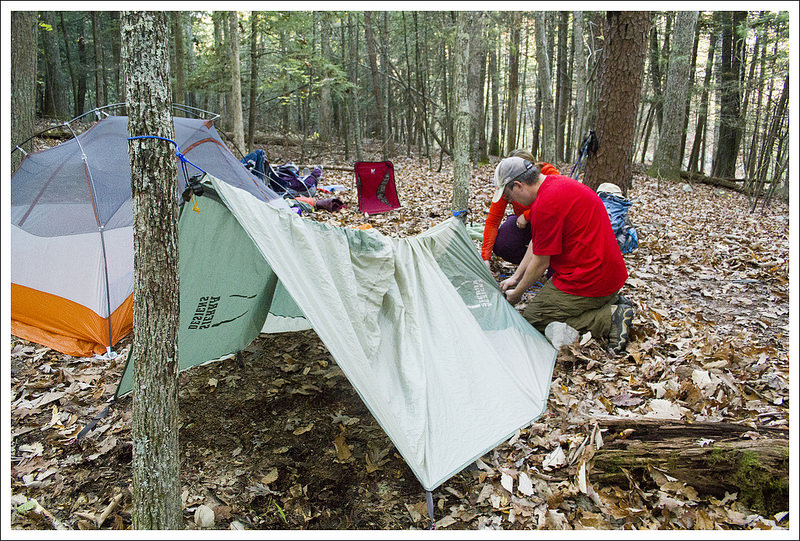
At 3.8 miles, we reached a large open field with a campsite. We decided to press on to get a spot at Emerald Pond, so we skirted the left side of the field to stay on the trail. The trail then turns into an old logging road going downhill. About halfway down the road, we came across a couple of rain-soaked college-aged guys. They were asking if there were any campsites up ahead and they told us all the spots were taken at Emerald Pond. We mentioned the big field with lots of room and they left the way they came to go get the rest of their group and their packs. Since we heard there were no spots, we decided to turn around and get a nice spot in the open field. Christine scouted around and saw there were also sites in the woods next to a small hidden pond, but the bear scat around the site was a deterrent. We decided to camp near the fire pit we saw at the top of the field. One thing that was nice about camping in this grassy field was we knew we would have a comfortable floor bed to pitch our tent. We set up in a short amount of time and we were soon joined by about eight others in the field that night.
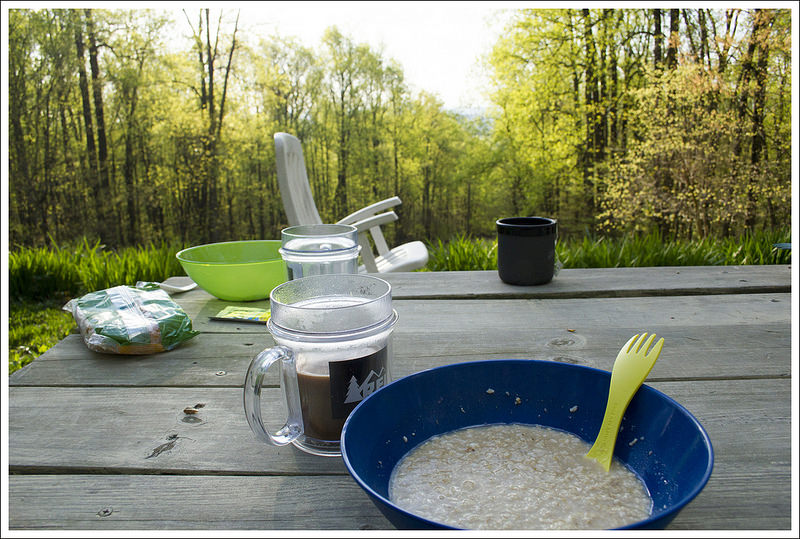
The wind had picked up as the storm front had moved through and I felt unprepared in terms of clothing. I switched out of my damp clothes, but I didn’t bring enough warmer clothes for that evening. We made a quick meal and were even able to start a fire at camp despite the wetness of the wood. After dinner, I was getting a little colder each minute, so I decided to call it an early night and get in my down sleeping bag while Kris and Christine talked until nightfall. It was a crazy day on the trail, but one thing I like about hiking is it is always an adventure.
Day Two (7 miles)…
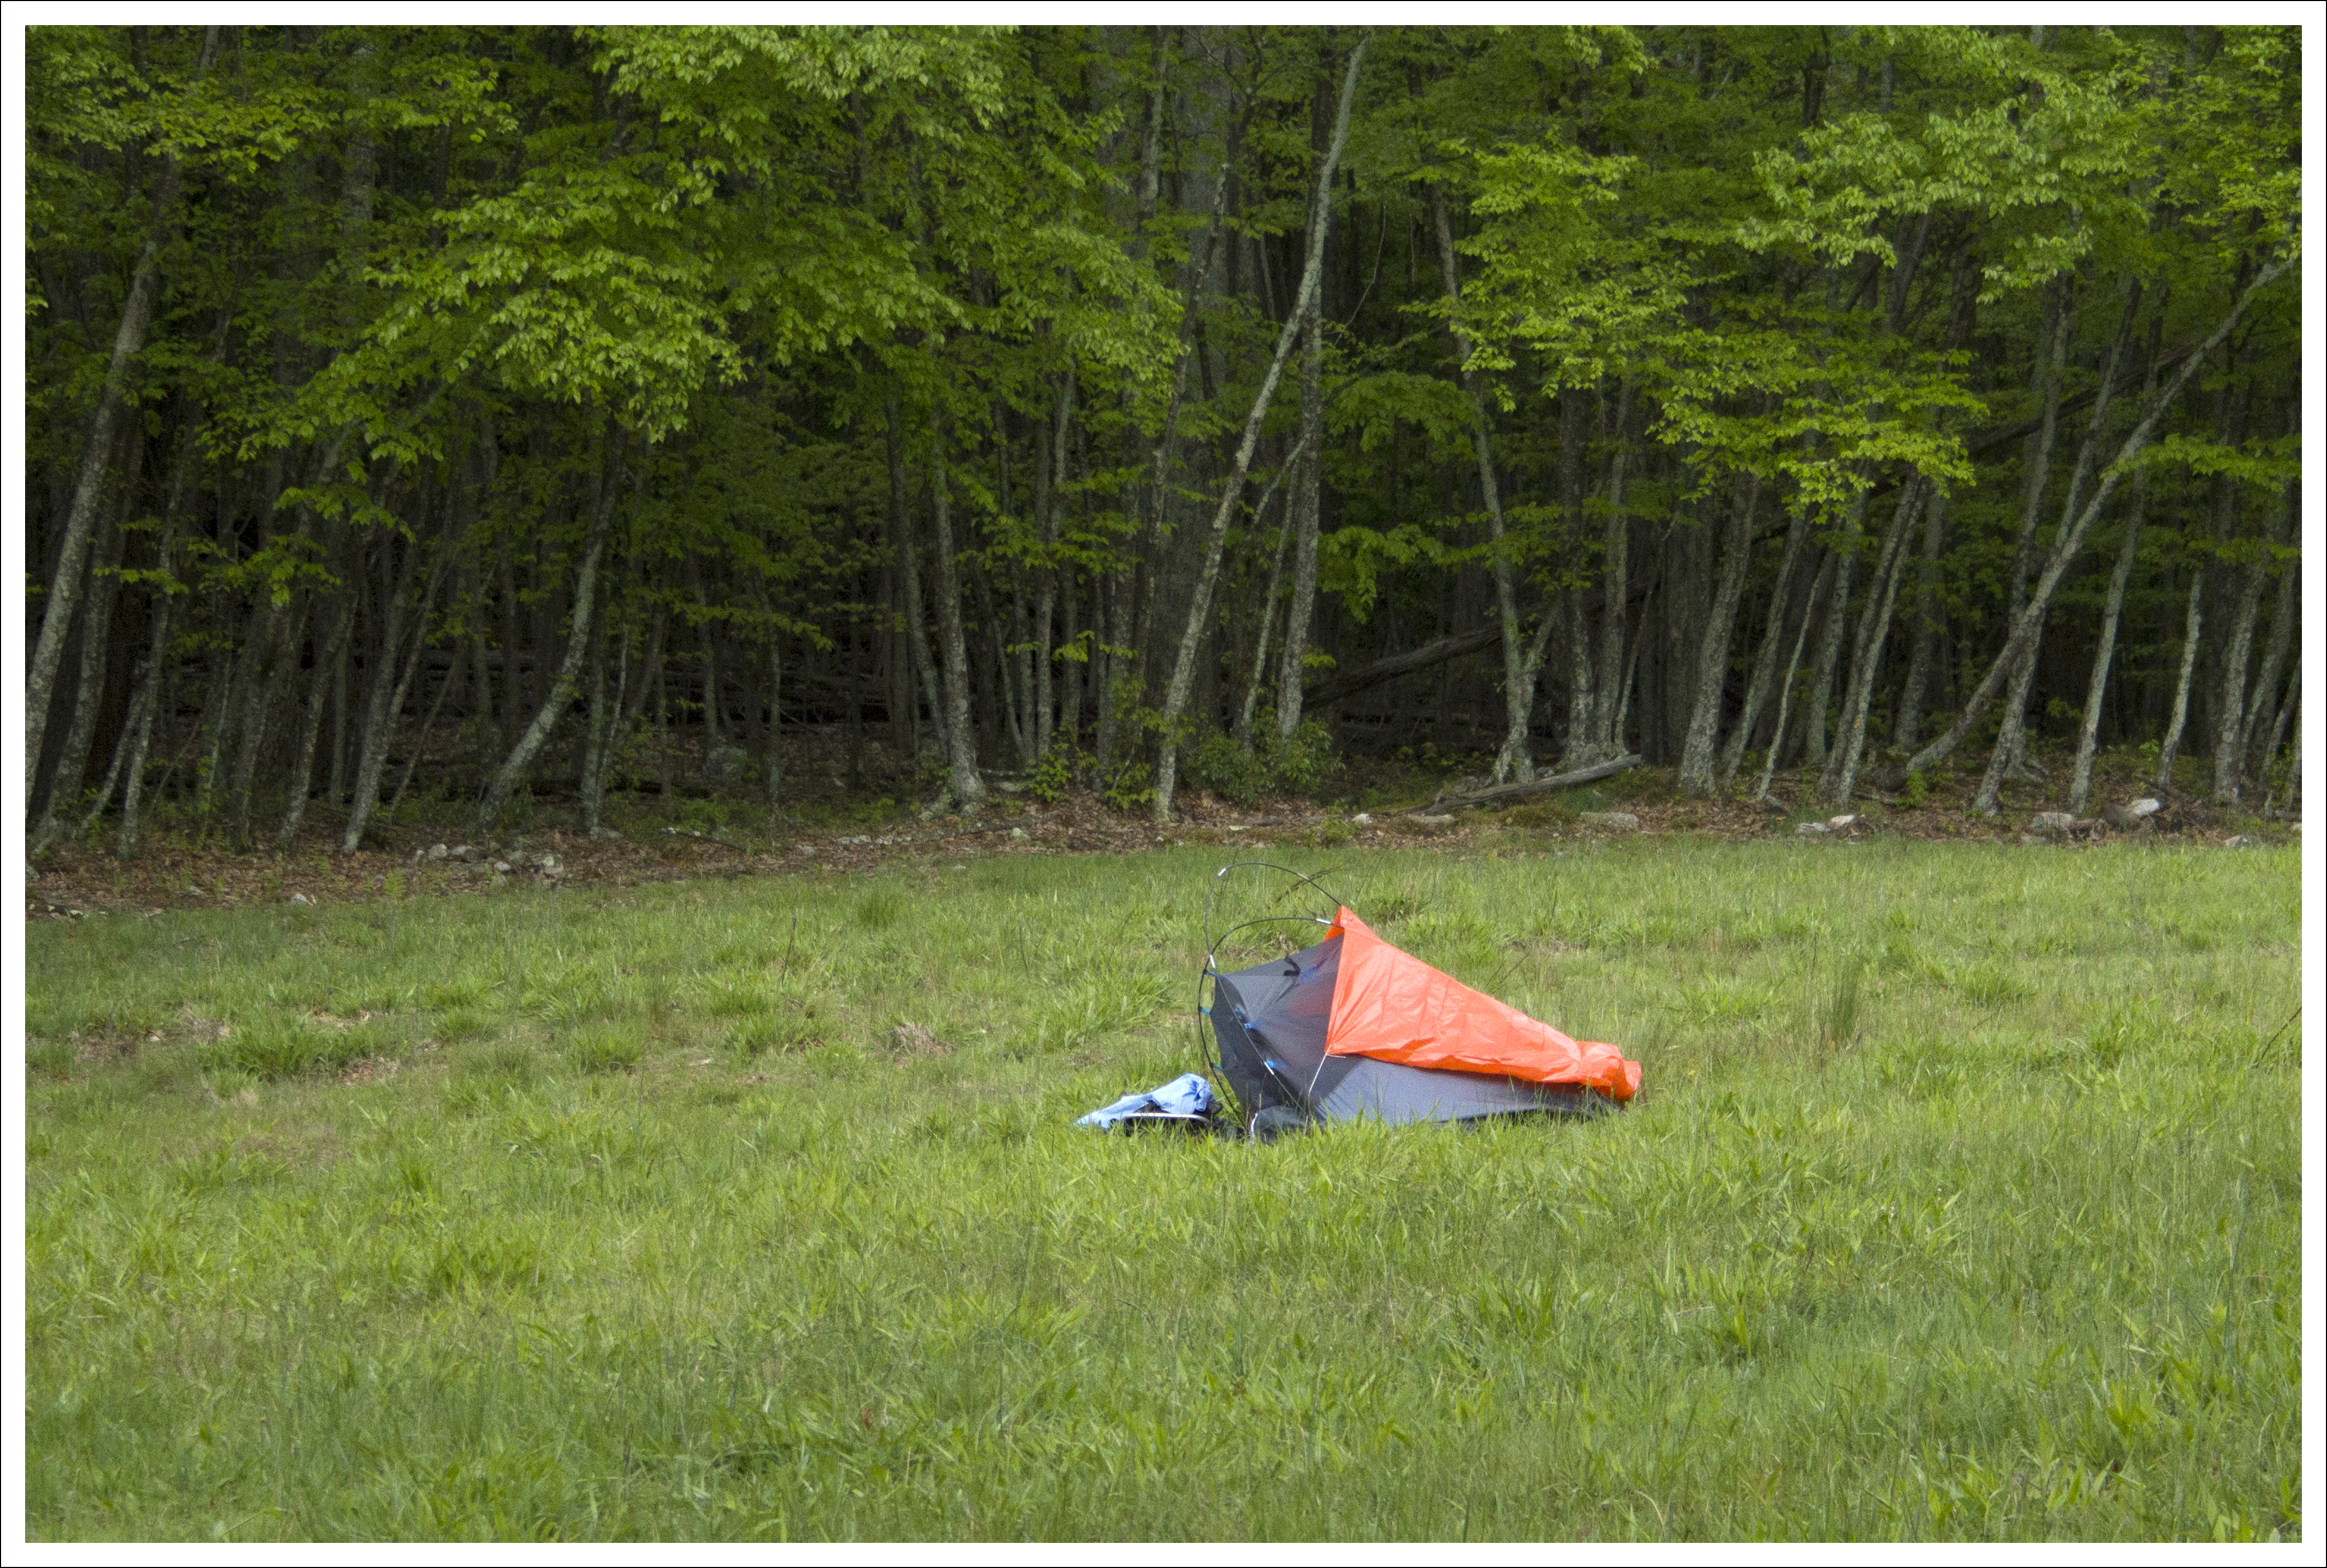
The morning dawned sunny but frigid! Adam had been cold all night, so I let him stay curled up in his sleeping bag while I went to take down the bear hang. No one else who camped in the meadow was stirring, but the three of us quickly cooked breakfast and packed up camp. On our way out of the meadow, we all got a good chuckle over one of the tents set up nearby. It was technically pitched, but in no way like it was supposed to be. We’re guessing someone borrowed a tent and couldn’t figure out how to set it up. I love a backpacker’s ability to improvise!
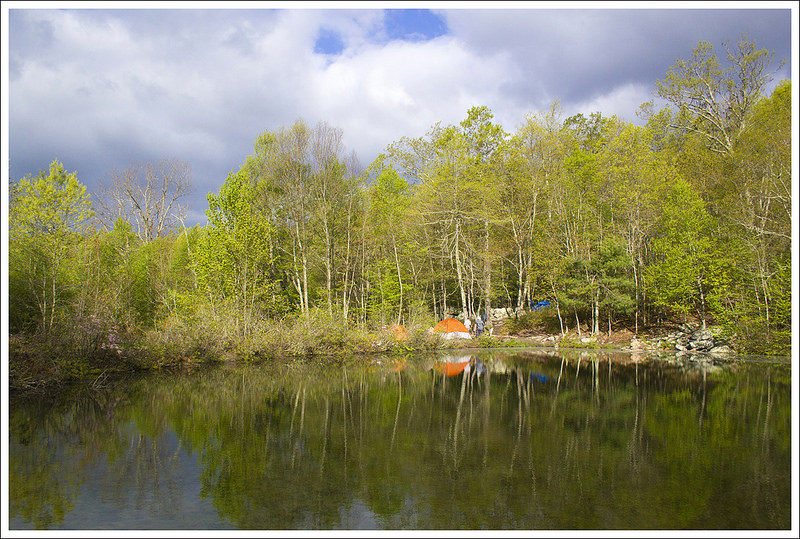
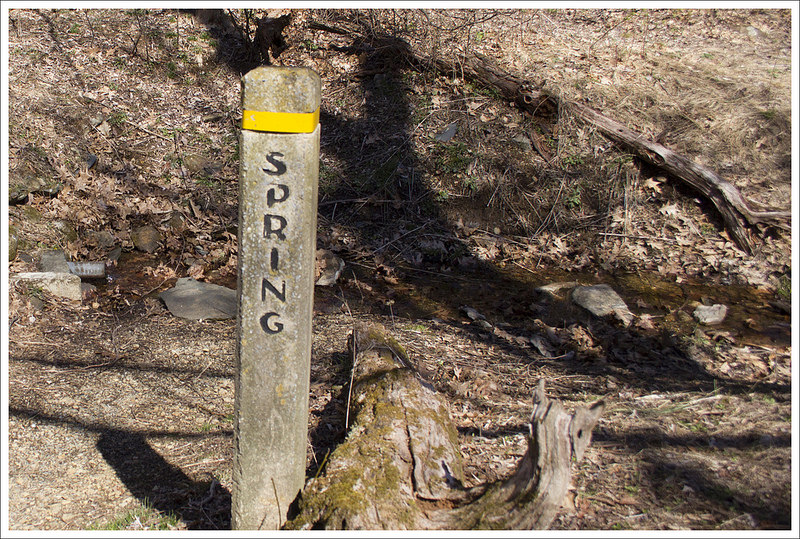
After walking downhill to the bottom of the meadow, we picked up the old logging road for a few tenths of a mile until we reached an unmarked gravel road on the left. The gravel road led to Emerald Pond – a beautiful, spring-fed mountain pool. The last time we visited, we had the pond all to ourselves and very much enjoyed the peace and solitude. This time, the pond was crawling with other campers. They had big tents, tons of gear, and were dressed in jeans and work boots. We’re guessing that they parked on the nearby forest service road and walked the tenth of a mile to the prime campsite on the pond. I guess it’s worth noting that the early bird gets the worm when it comes to staking a claim on an Emerald Pond campsite! We didn’t want to intrude, so we just took a few photos from the near-side of the pond. The campsite side is prettier, so don’t miss visiting if the spot is open.

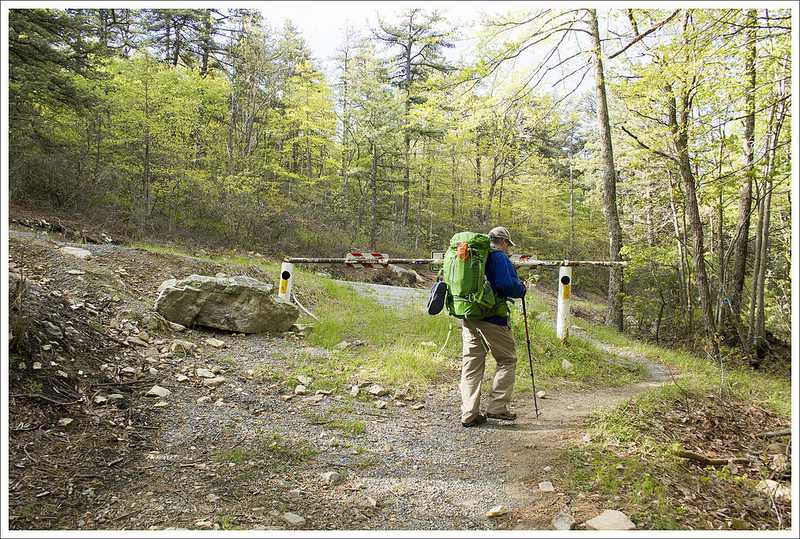
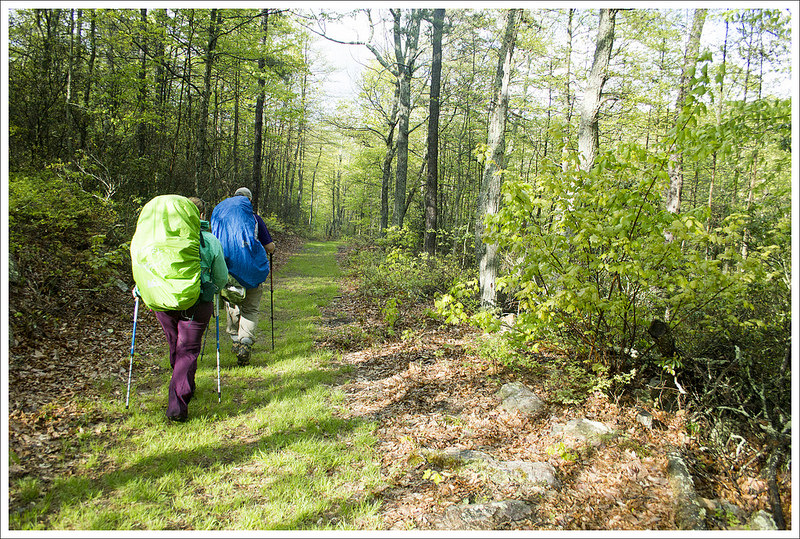
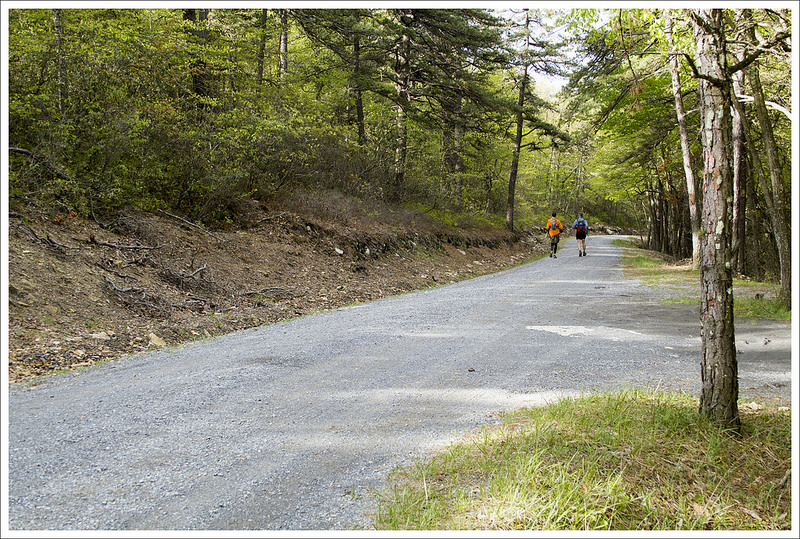
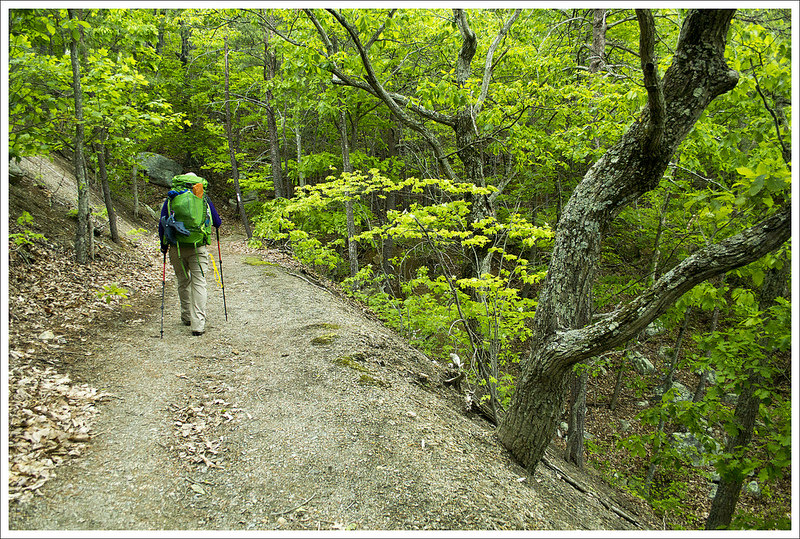
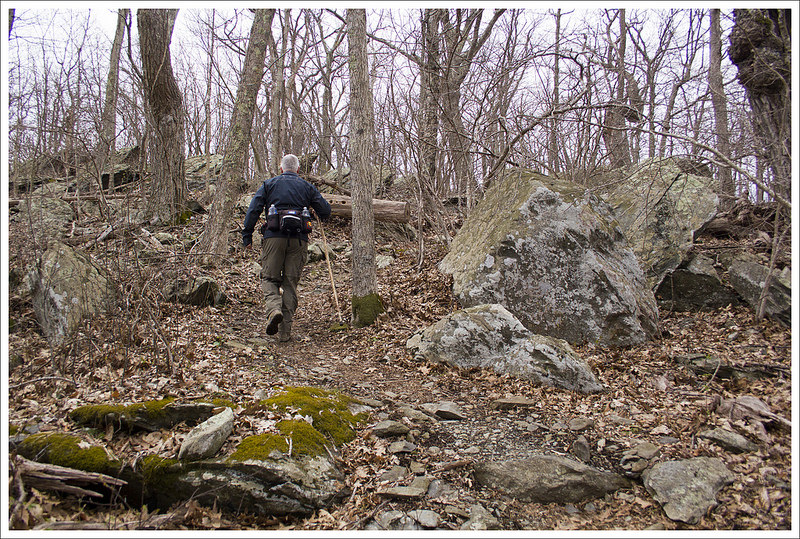
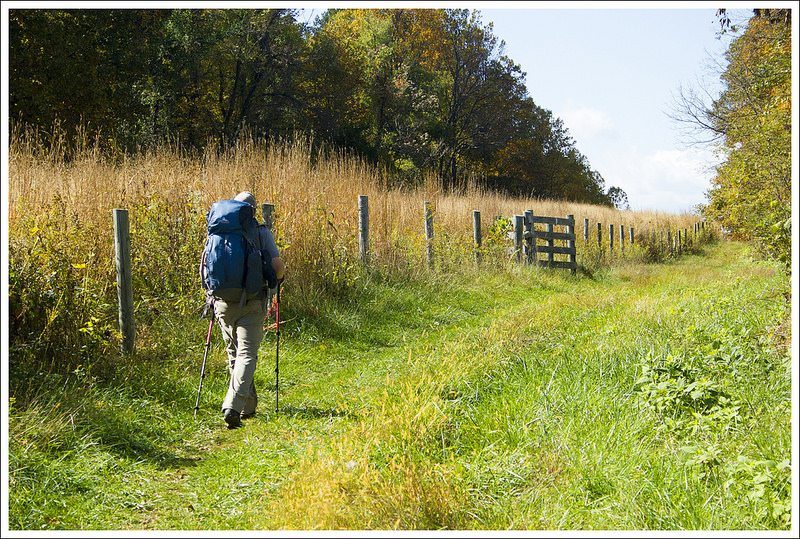
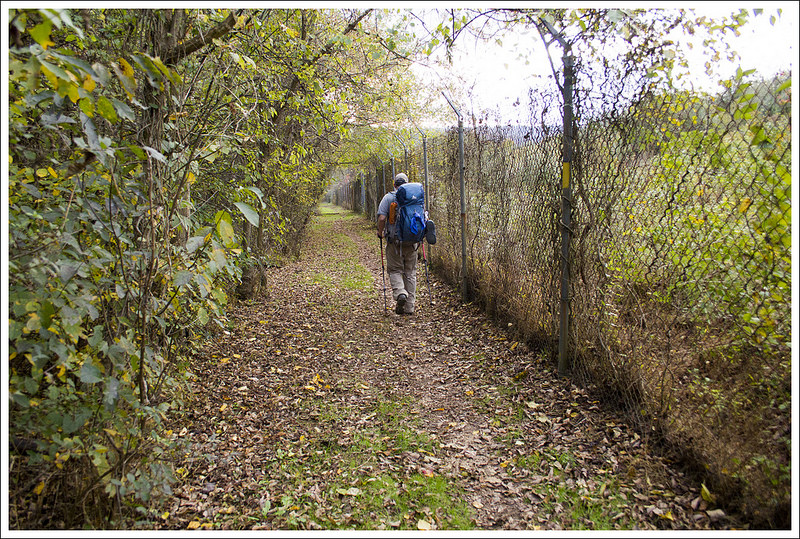
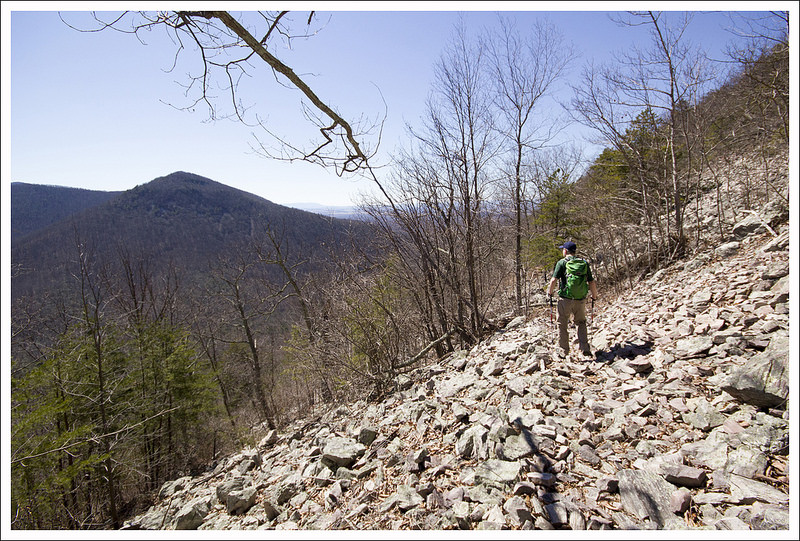
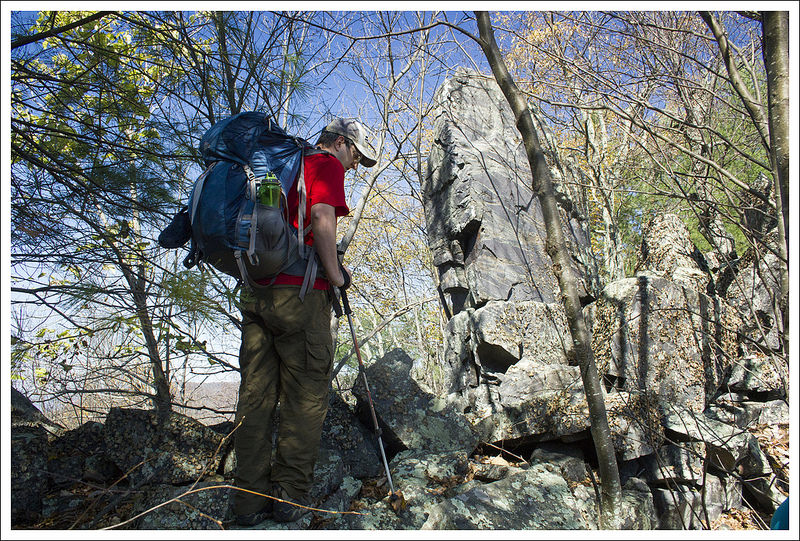
We left the pond and continued a tenth of a mile to the forest service road. There was a locked gate where the trail met the road. At that point, we took a right and hiked downhill along the road (orange blazed) for a few tenths of a mile until we reached the junction with the Roaring Run Gap trail. The trail is on the left side of the forest road and is marked by a wooden post with two sets of blazes – light purple and pink. The climb up Big Mountain via the Roaring Run Gap trail (blazed purple) was our last big climb of the trip. For a little less than half a mile, the trail climbs steeply uphill over rocky terrain. At the top, we passed a small/dry campsite. On the descent, which came almost immediately, we glimpsed beautiful views through the trees. There were switchbacks and quite a few muddy spots along this stretch of trail. We cheered on the last few runners on the Massanutten 100 Miler race. Even if you’re finishing at the back of the pack in a race like that, you’re still tougher than we’ll ever be! We also met the sweeper who was jogging the course behind the last racer to pick up reflective hang-tags that helped keep runners on course during the night.
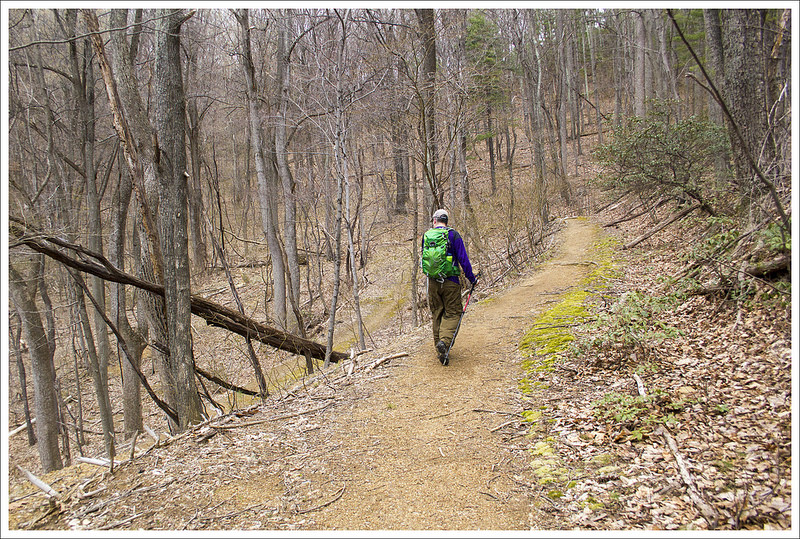
After about a mile of walking along the purple-blazed Roaring Run trail, we reached an unmarked junction with the pink-blazed Browns Hollow trail. The trail is a left turn from the Roaring Run Gap trail. Over four miles of the hike on day two follows this Browns Hollow trail – so look for the pink blazes.


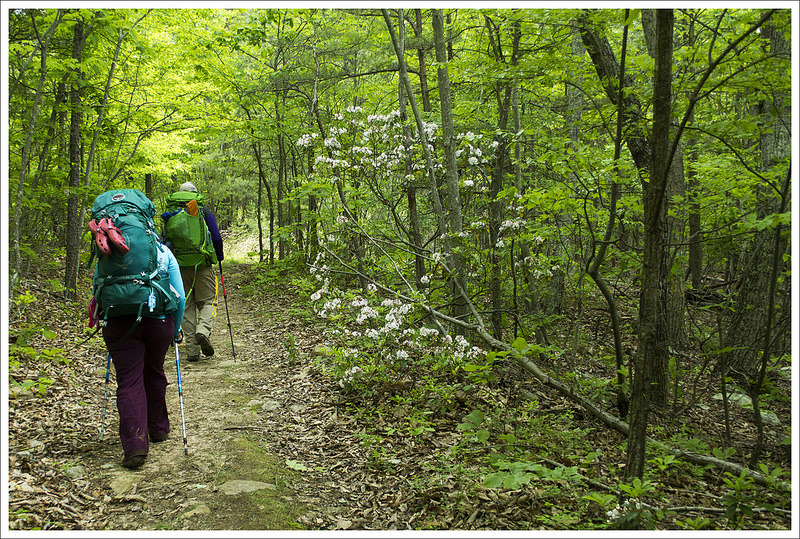
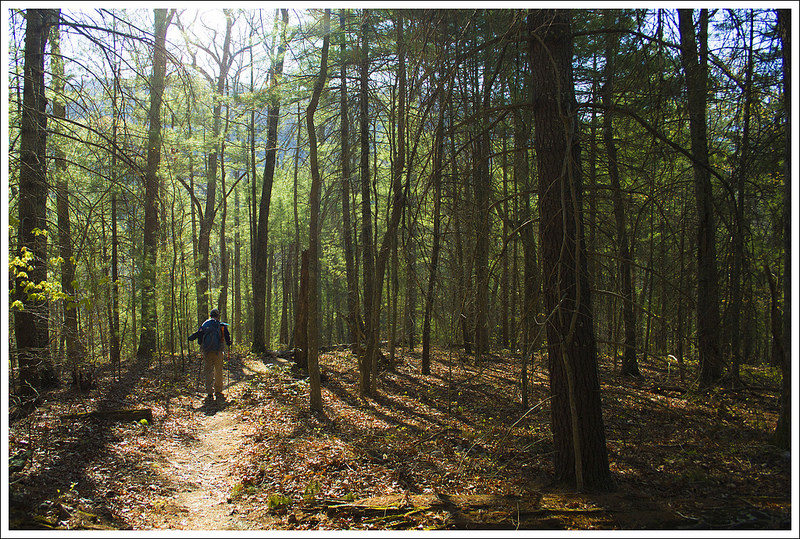
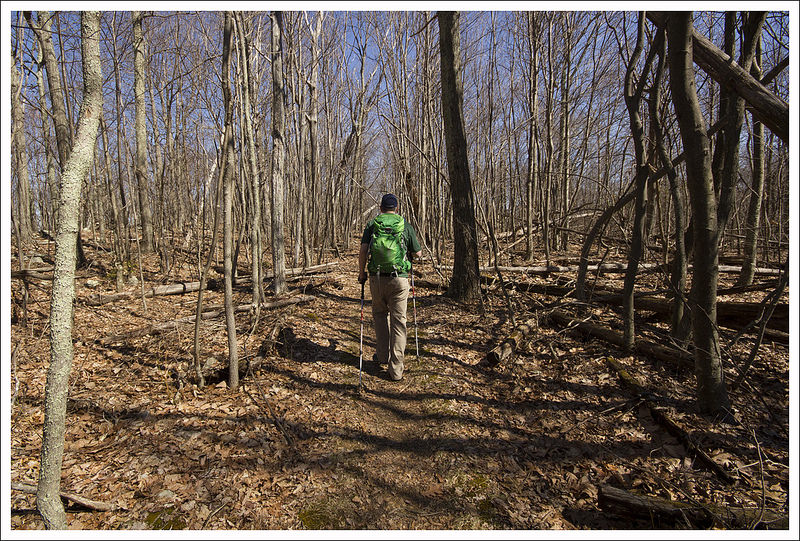
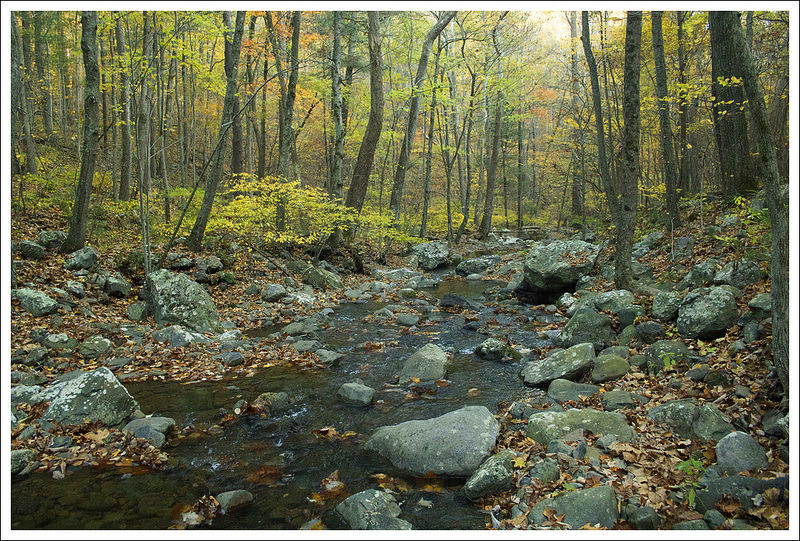
The Browns Hollow trail starts off passing through pretty forest. There are stretches of trail that pass through impressive blueberry bushes. Eventually, you descend to Browns Run. Along the way, you’ll pass a couple nice campsites suitable for one or two small tents. Both sites had fire rings and easy access to water.
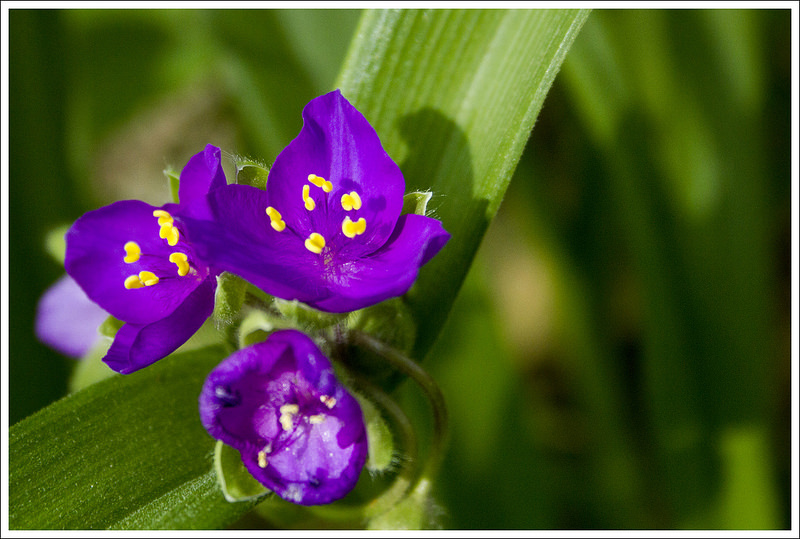
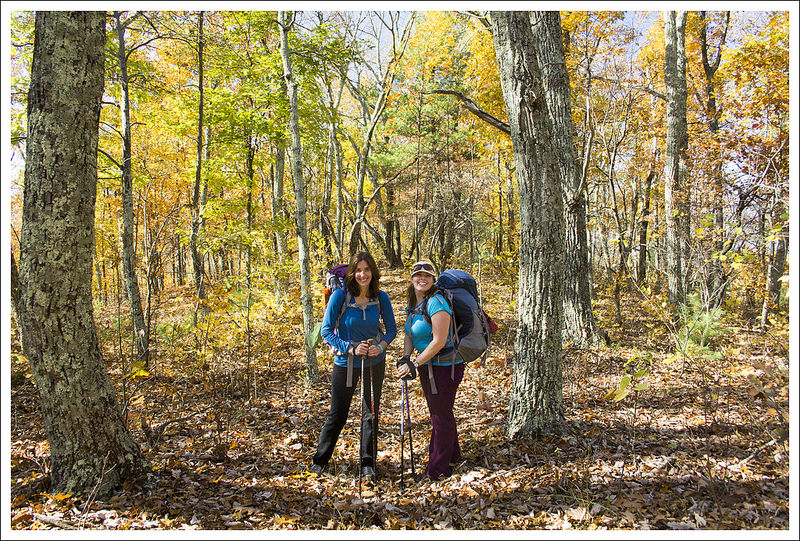
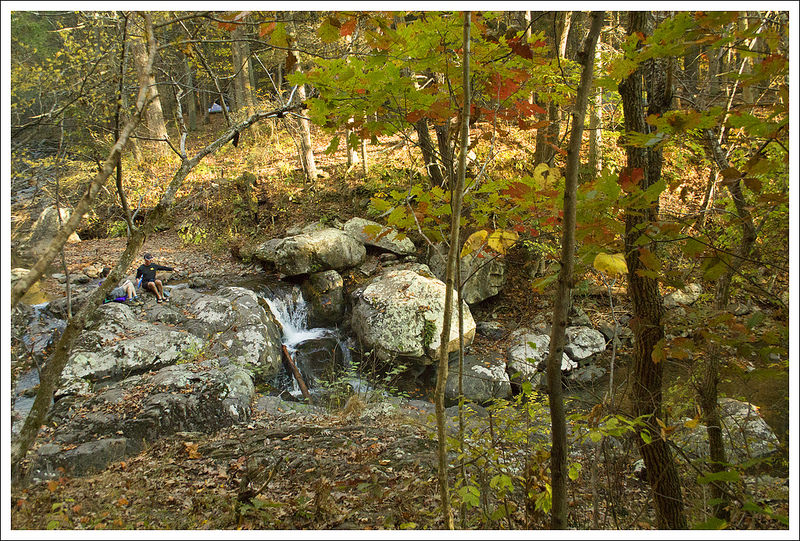
There are several beautiful rapids and a small, but lovely, waterfall on this section of trail. We all enjoyed walking through the verdant green forest, while listening to the sounds of bubbling water. It was gorgeous and peaceful. If you look around you’ll notice the stream runs through a pretty deep and dramatic gorge. The far side of the stream goes upward quickly and steeply. There were even a couple places that looked like there had been recent landslides. All the trees and dirt slid straight down the mountainside and ended in a jumble at the bottom. This part of the hike was gentle and easy, so we made great time and enjoyed chatting along the way. We counted more pink lady’s slippers and admired other spring blooms along the trail.


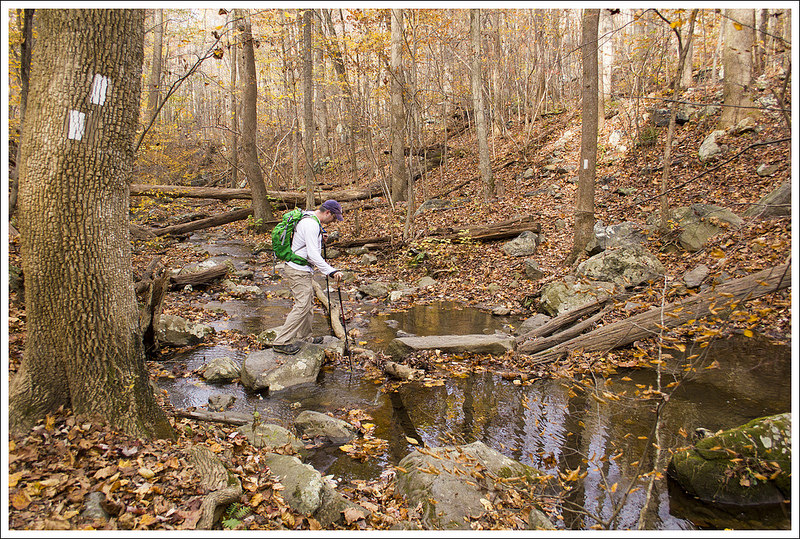
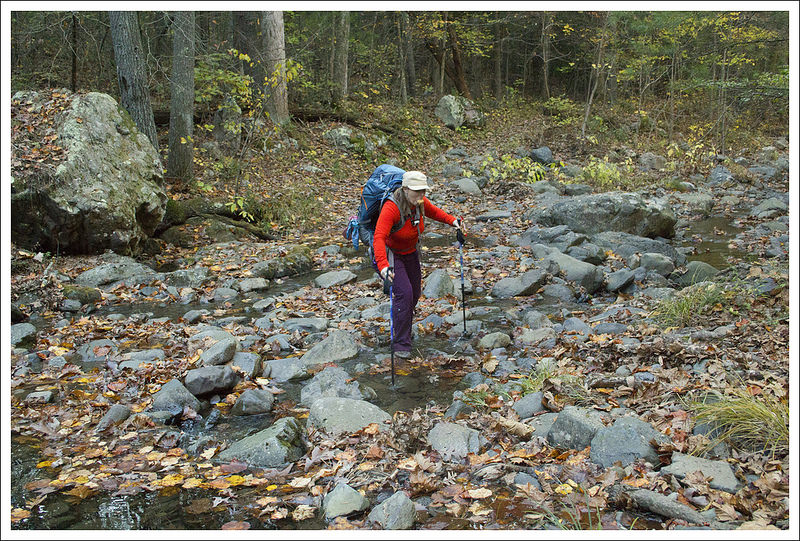
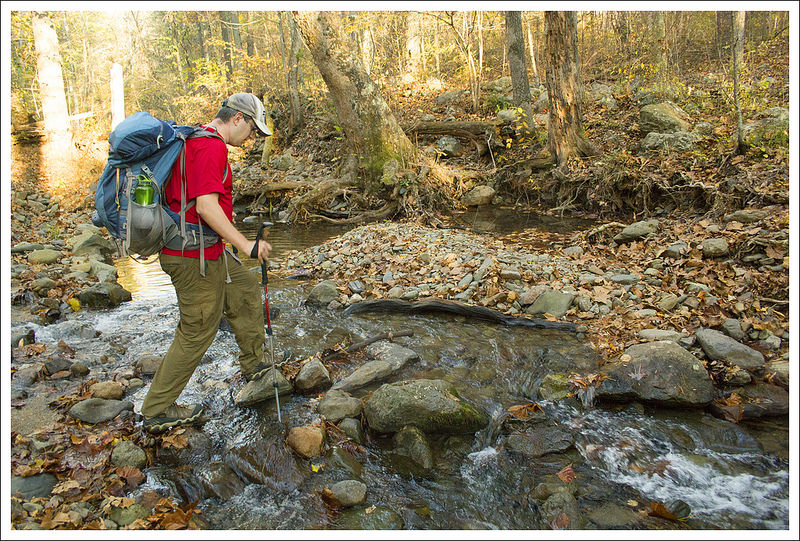
At a little over the five mile mark of day two, you’ll cross Browns Run. I imagine most of the time this is a shallow, easy stream crossing. We hiked the trail after weeks of rain, and still found the crossing very doable. The stream was only 12-18 inches deep and there were enough large rocks to rock hop most of the way. There were a few places I had to submerge the toe of my boot on an underwater rock, but all three of us crossed without any trouble. Right after the crossing, there is a fantastic group campsite. The area is large and clear with space for multiple tents.
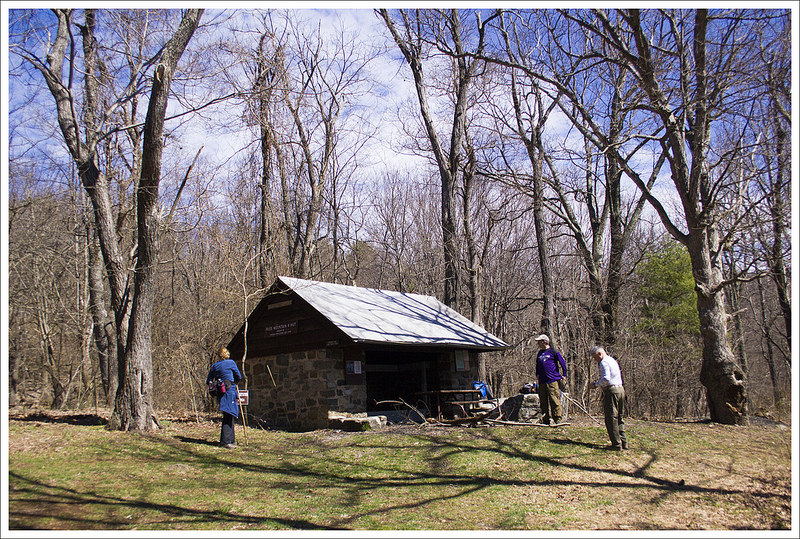
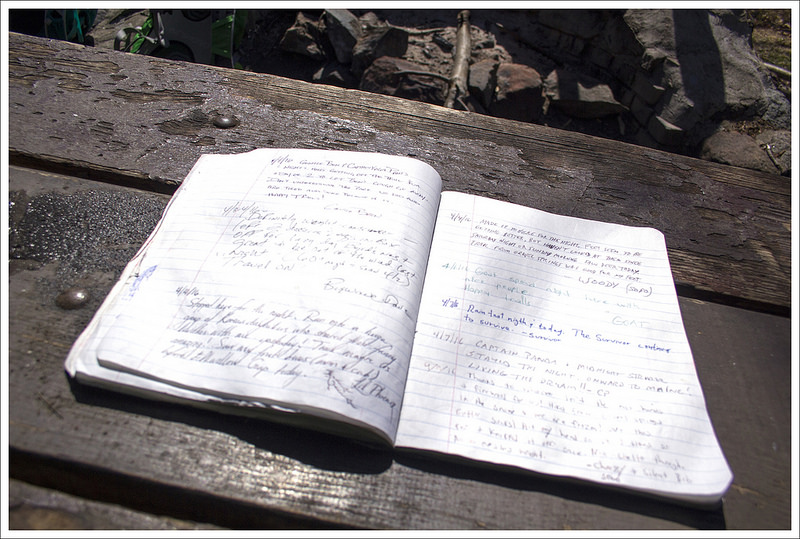
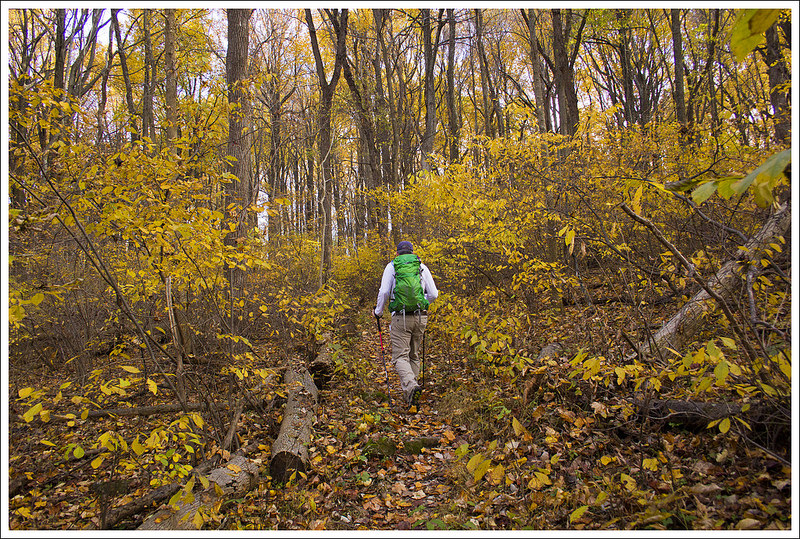
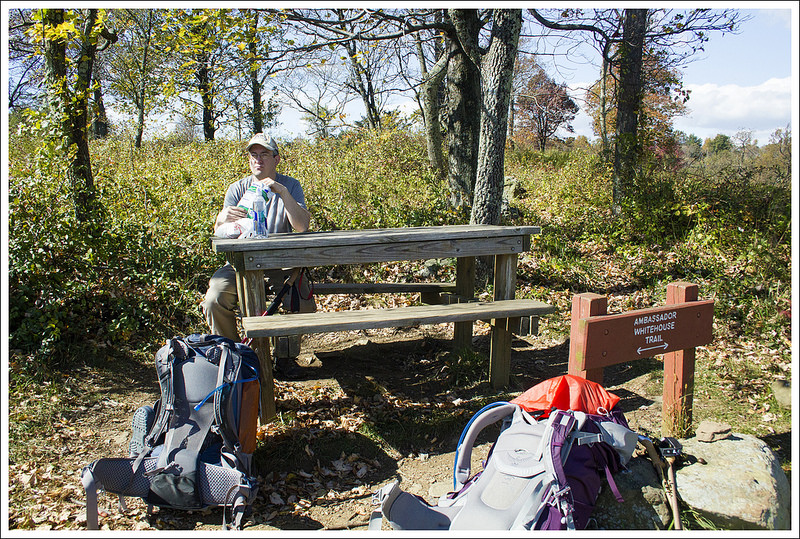
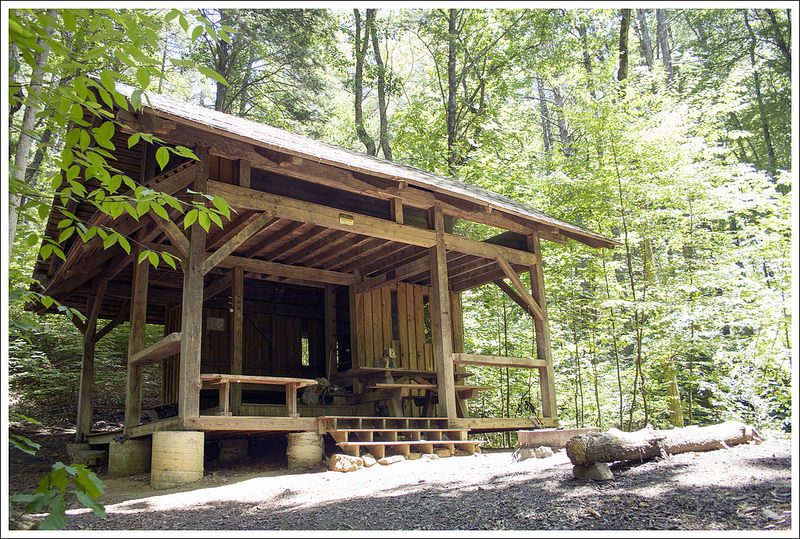
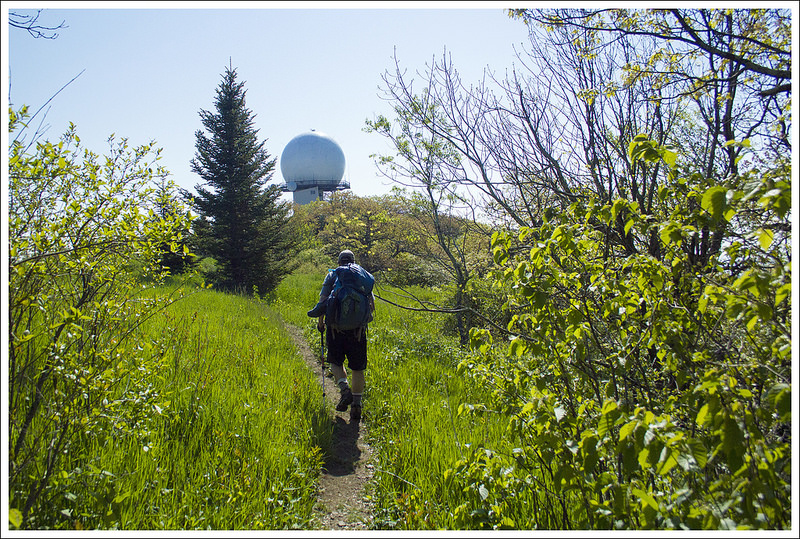
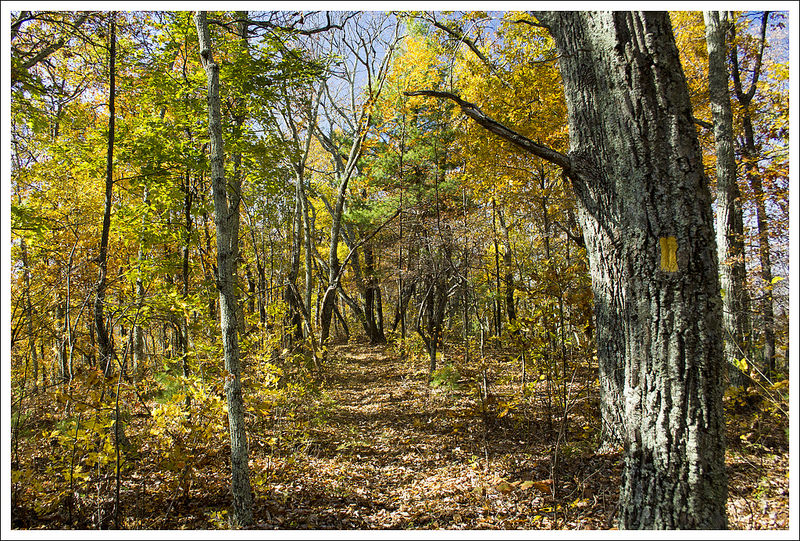
We continued to follow the Browns Hollow trail as it became a wide old road. We passed lots of blooming mountain laurel along this part of the hike. Eventually we came upon a picnic area with a shelter. At that point, we took a left onto the marked Wildflower Trail at this point. It passes a series of interpretive signs before eventually leading back to the Massanutten Visitors Center (closed) where we started out the prior morning.

It was still before noon when we wrapped up, so we decided to drive back into Harrisonburg for lunch. We enjoyed burgers at Jack Brown’s and then headed over to Brothers Craft Brewing to enjoy their new Verdure series. They’ve done a tart Berliner-Weisse beer infused with all kinds of seasonal/summer fruits. They had Blackberry Verdure on tap. It was the perfect reward for a fun weekend of hiking.
Trail Notes
- Distance – 11 miles
Check out the stats from Map My Hike [Day 1] [Day 2]* - Elevation Change – 2290 ft.
- Difficulty – 2.5. The toughest stretch is the initial push up to the viewpoints.
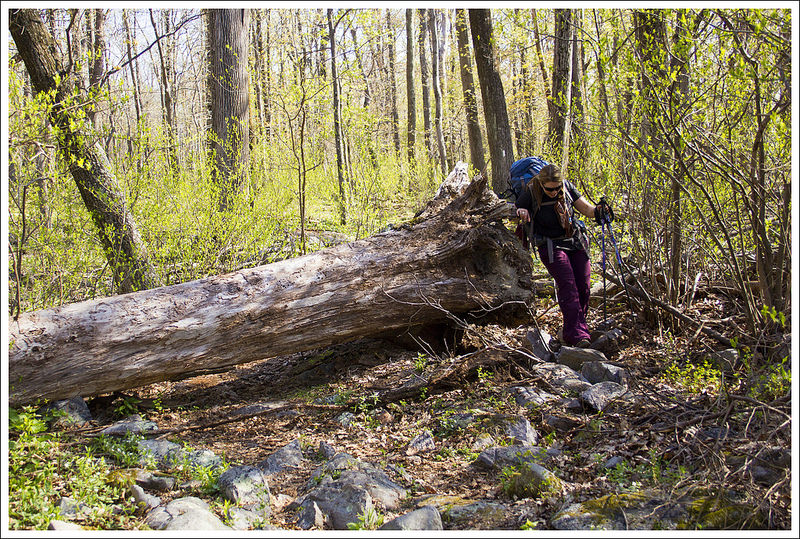
- Trail Conditions – 3. There were a couple of blowdowns, some muddy patches due to the heavy rain, and a stream crossing, but footing was overall very good.
- Views – 4. The two viewpoints provide some nice panoramic views.
- Streams/Waterfalls – 3.5. Browns Run is a nice stream and a good water source. While not a stream or waterfall, Emerald Pond is extremely picturesque and would make a nice swimming hole.
- Wildlife – 3. The start of the Wildflower Trail had us surrounded by birds. With bear scat spotted near our campsite, there is some bear activity here.
- Ease to Navigate – 2. There are multiple trails that cross over between Bird Knob and the Massanutten trail. Take a map to make sure you are going the correct way.
- Solitude – 2. While you won’t see many on the trail, we found a lot of locals like to drive in close and visit Emerald Pond.
* MapMyHike is not necessarily accurate, as the GPS signal fades in and out – but it still provides some fun and interesting information.
Download a Trail Map (PDF)
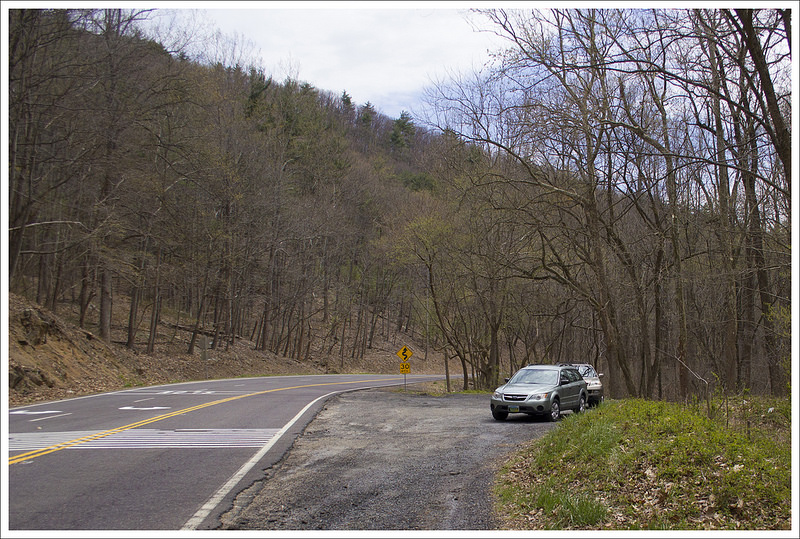
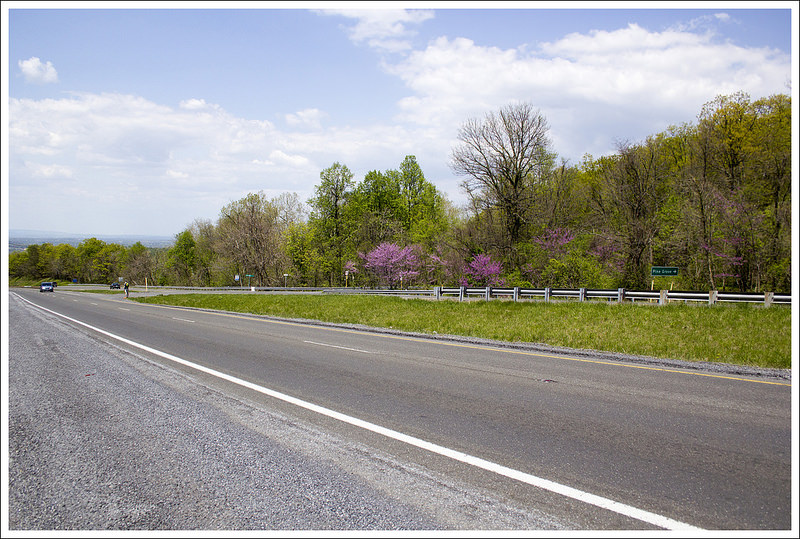
Directions to trailhead: GPS coordinates for this hike are 38°38’35.4″N 78°36’43.0″W. From I-81, take exit 264 for US-211 toward New Market/Timberville/Luray. Head east on US-211/W Old Cross Road and go .3 miles. Turn left onto N. Congress St. and go .3 miles. Turn right onto US-211 East and go 4.5 miles. Park at the old Massanutten Visitor Center parking lot on the right. The trail starts towards the front of the lot on the Wildflower Trail.


 The last time we did a gear review it was


