
Introductory Guide to Visiting Great Smoky Mountains National Park
While the Road to Nowhere is popular and well-known, the adjacent Goldmine Loop seems lightly traveled and mysterious. We had a hard time finding reliable information about the trail and did some guesswork along the route. As it turns out, it’s a beautiful, jungle-like trail that leads down to the shores of Fontana Lake. The total route ended up being 4.7 miles with a moderate amount of climbing.
View the full album of photos from this hike

Adam Says…
In early July, we made our way down to the southern end of the Smokies for a couple day stay in Bryson City, NC. There was lots of rain on and off during our trip, so we had to be strategic about timing our hiking possibilities. Our rental cabin was near a place in the Smokies called The Road to Nowhere. This is not a Talking Heads song reference, but a road that has an interesting history. In the 1930s and 1940s, Swain County donated a lot of its private land to the federal government to help create the Fontana Lake area of Great Smoky Mountains National Park. Hundreds of people were displaced from their homes when Old Highway 288 was covered by water after the creation of Fontana Dam. The government promised to create a new road that would connect Bryson City to Fontana (30 miles away to the west). They began work on constructing Lakeview Drive, but came across numerous environmental issues – a study released stated that completing the road would have major, adverse, long-term impacts to topography, geology, and soils. Construction was stopped at the long, impressive tunnel that marks the beginning of this hike. The environmental issue was eventually resolved, but the road was never continued. Ultimately in 2010, the Department of the Interior paid Swain County $52 million in lieu of finishing construction of the road.


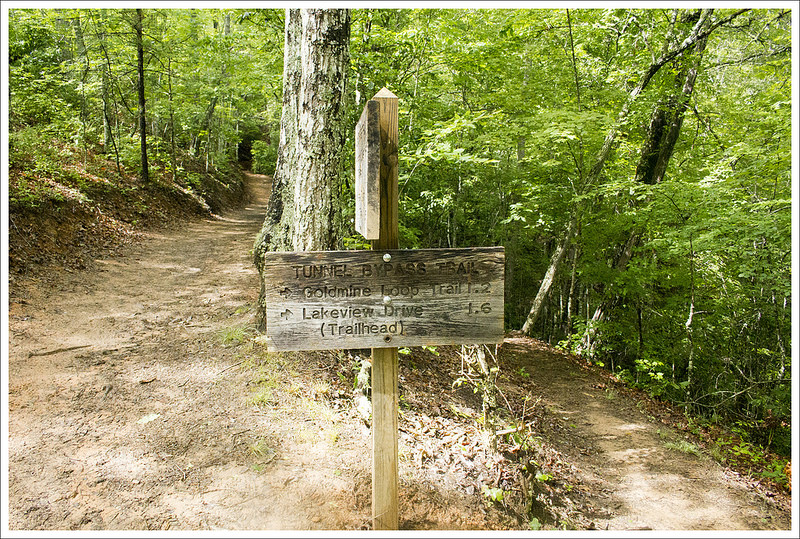
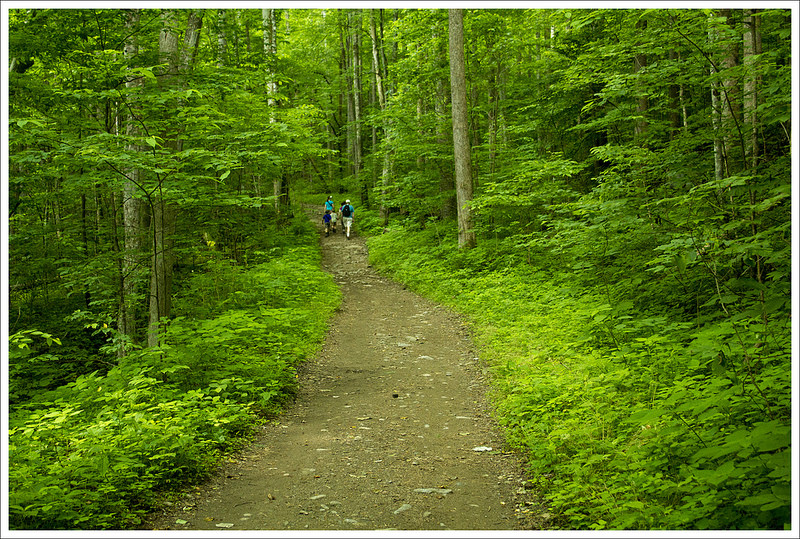
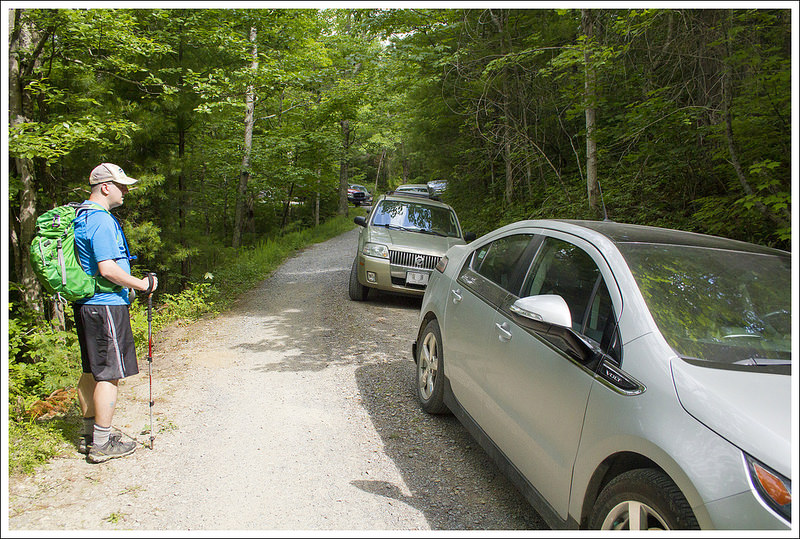
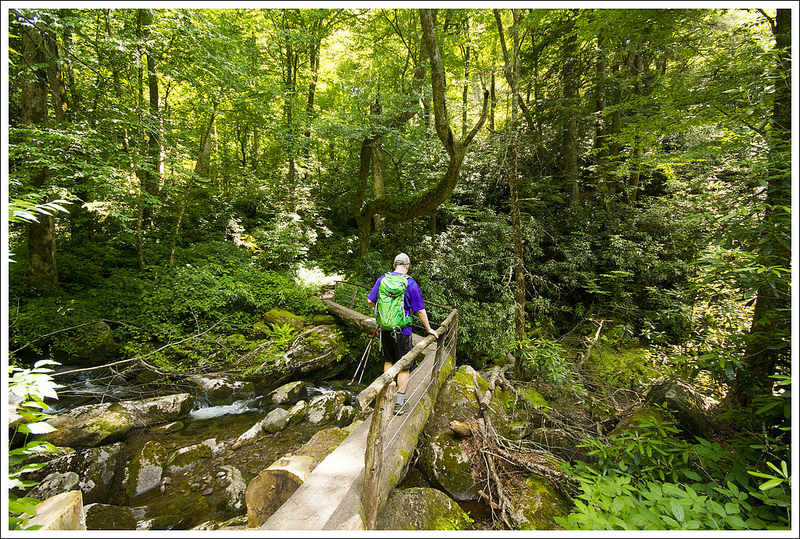
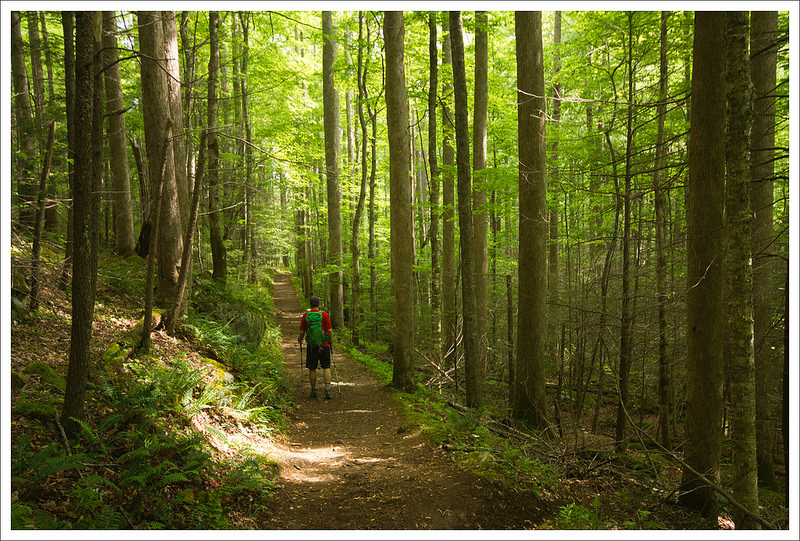
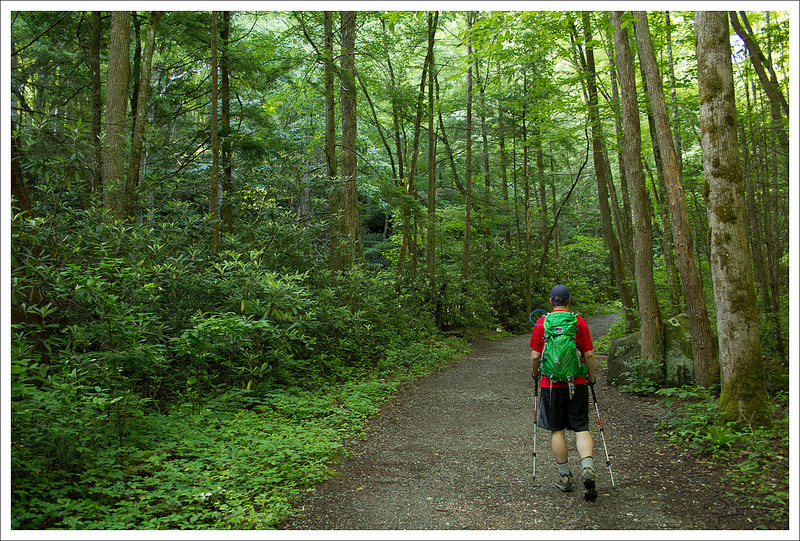
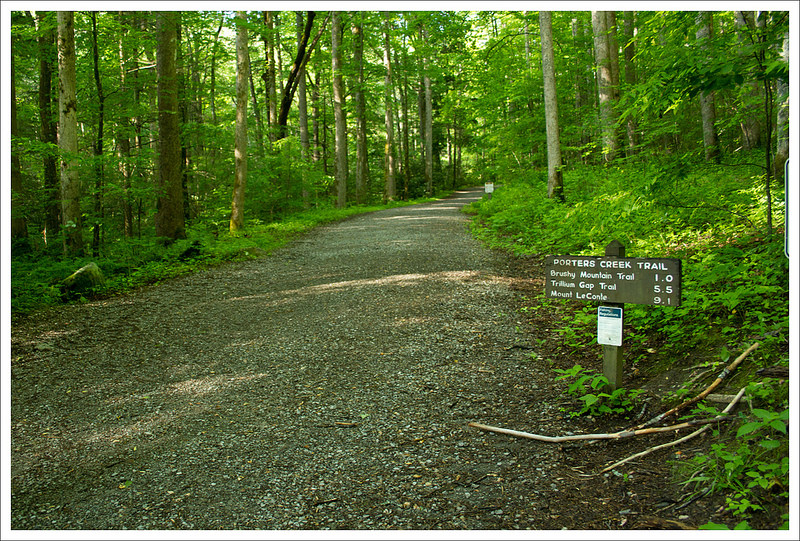
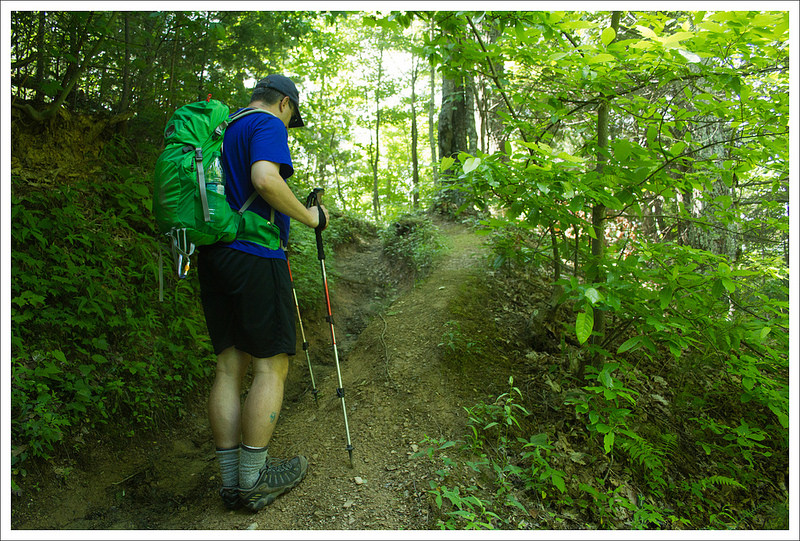
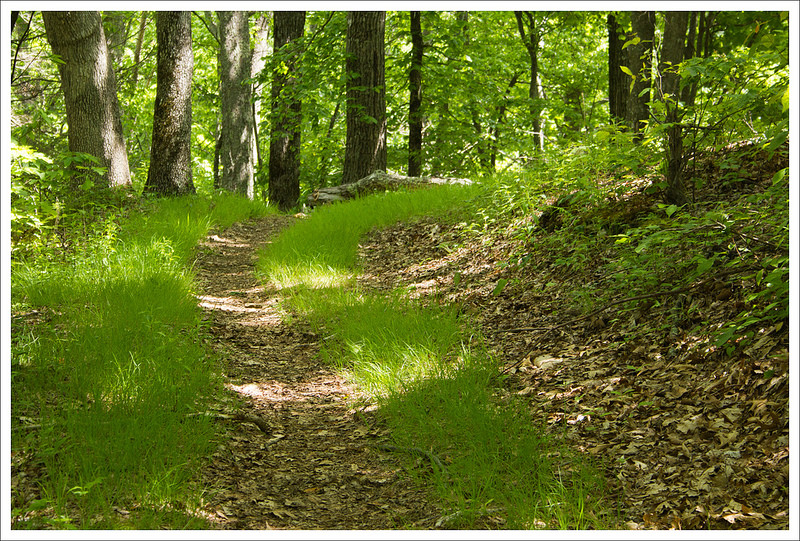
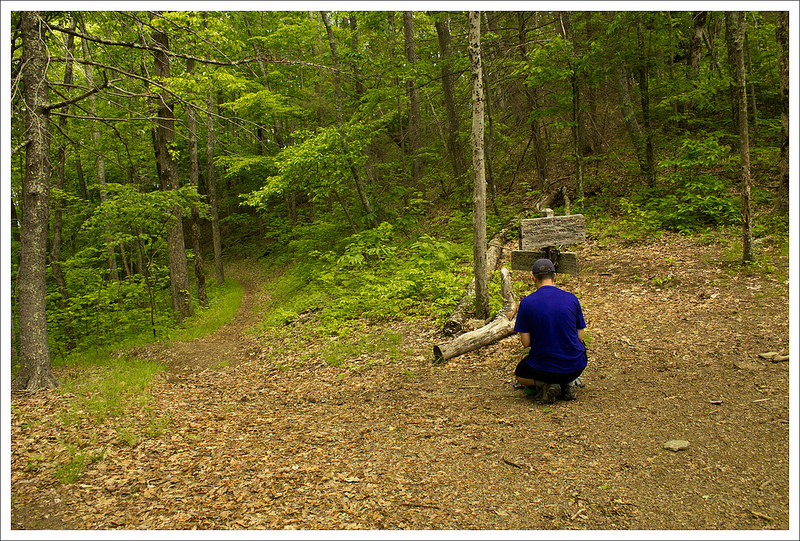
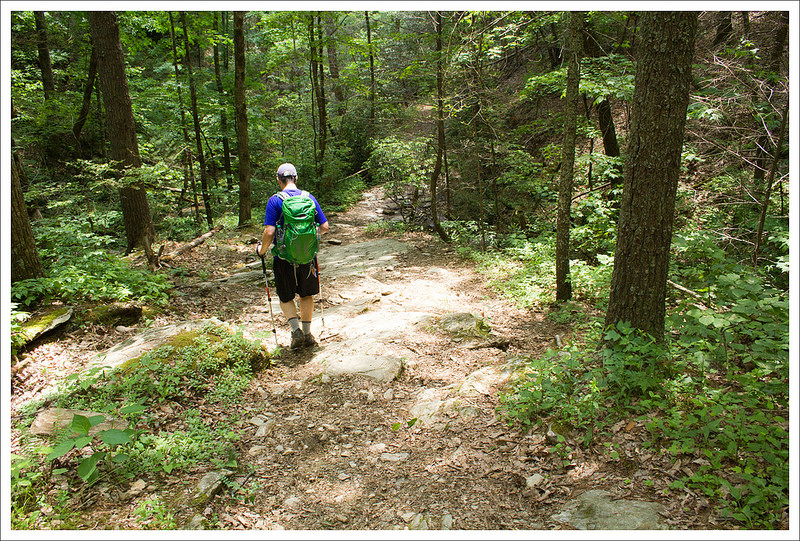
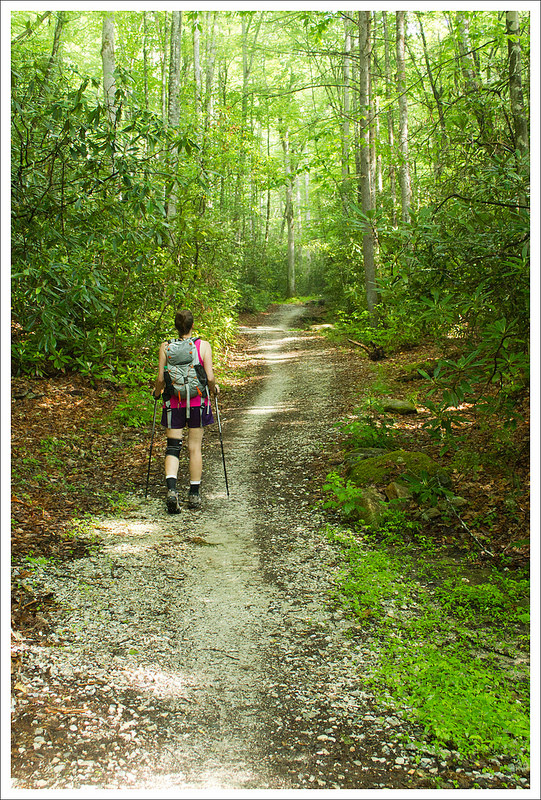
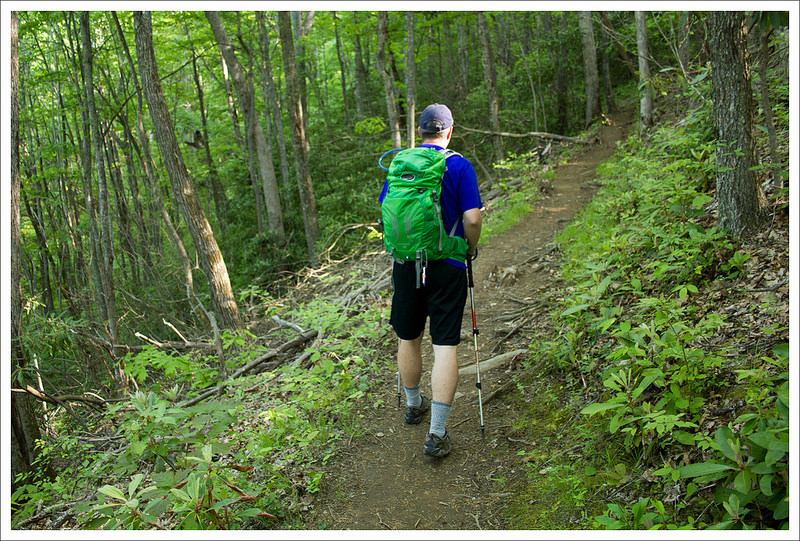
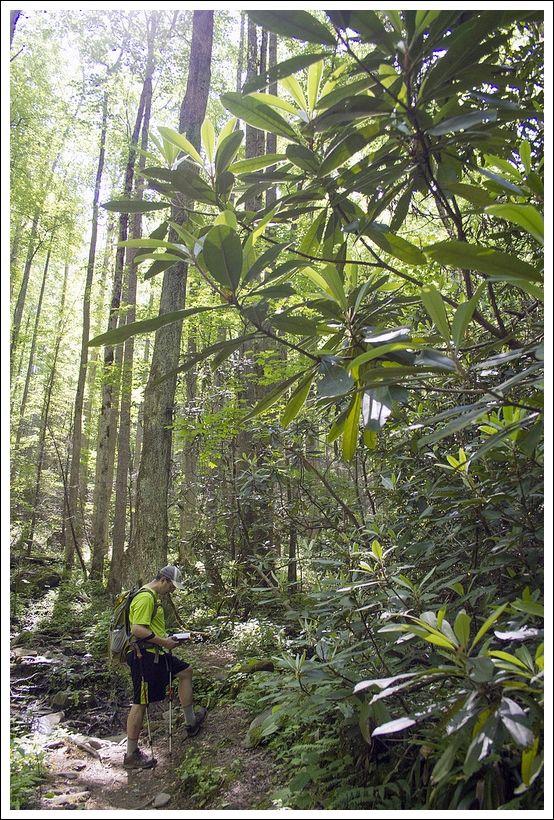
The road ends at a gate before the tunnel, but before the gate there is a large parking lot on the right hand side of the road. You will see trail signs along the side of the road. We parked there, walked down the road, went around the gate, and made our way toward the tunnel. When you enter the tunnel, it will be quite dark. We used headlamps so we could see where we were stepping but the tunnel floor was quite flat and smooth. On the other side of the tunnel, the true Lakeshore Trail begins. Continuing a bit further up the trail, we reached a junction at .6 miles that is the Tunnel Bypass Trail. We took this trail which skirted alongside the hillside. It was incredibly humid from the recent rains and my glasses were fogging up and the ground was wet in many places. It continued to drizzle on and off.


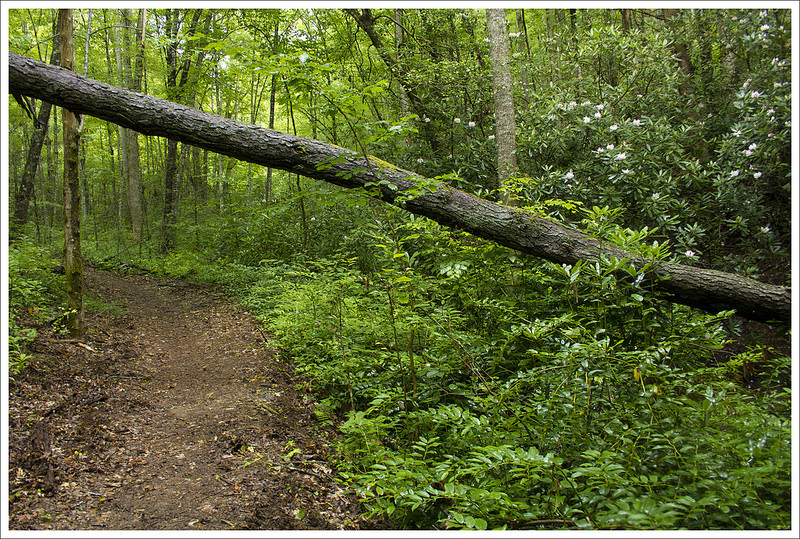
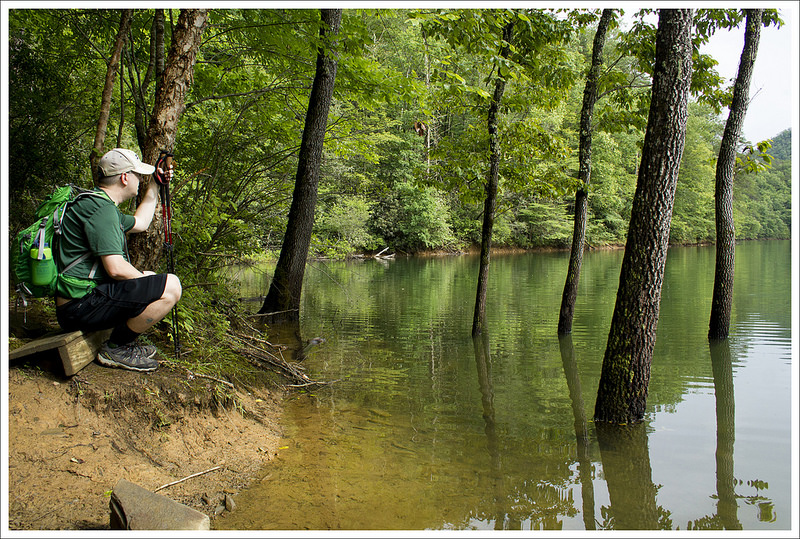
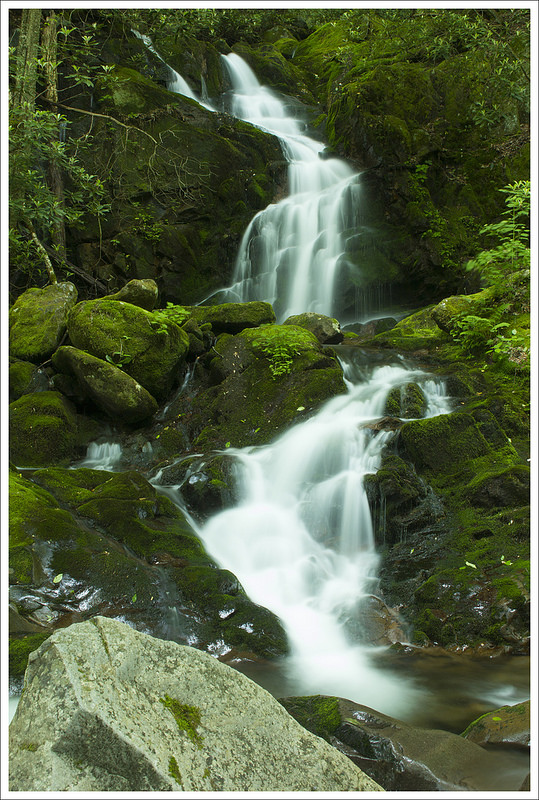
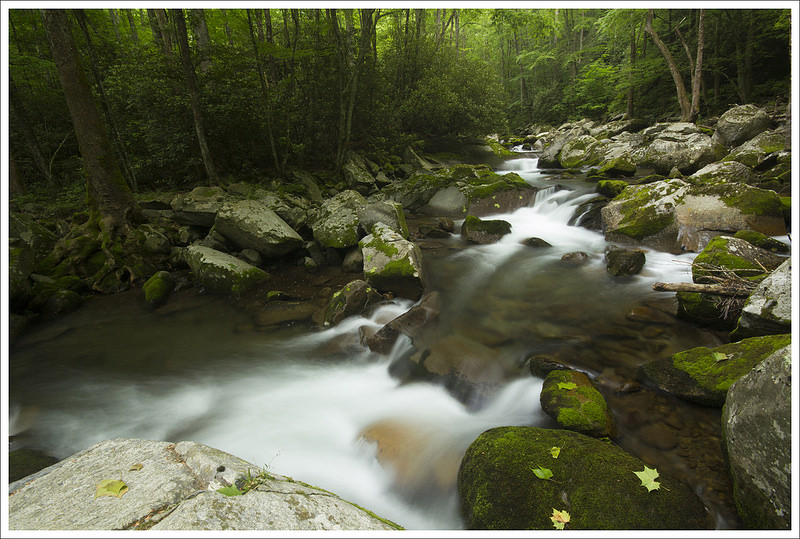
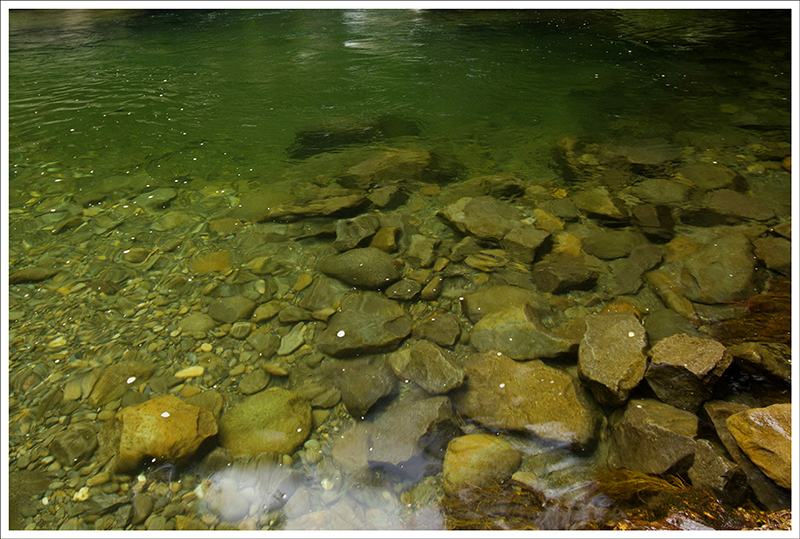
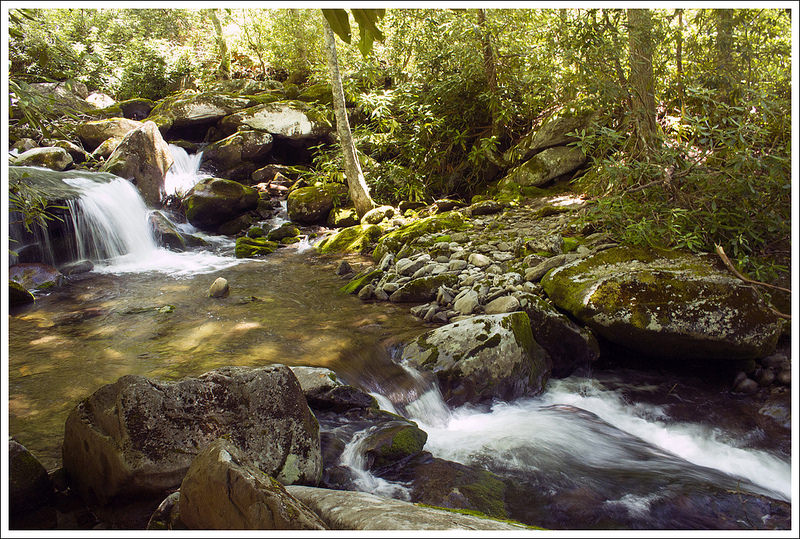
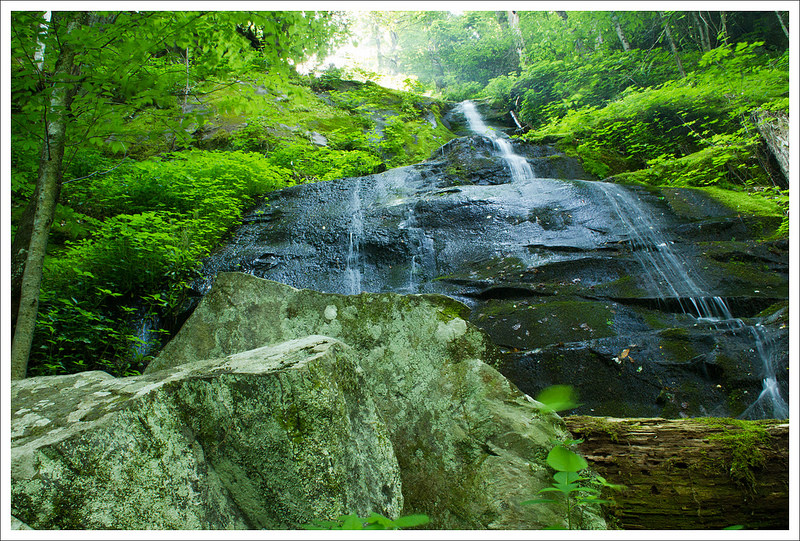
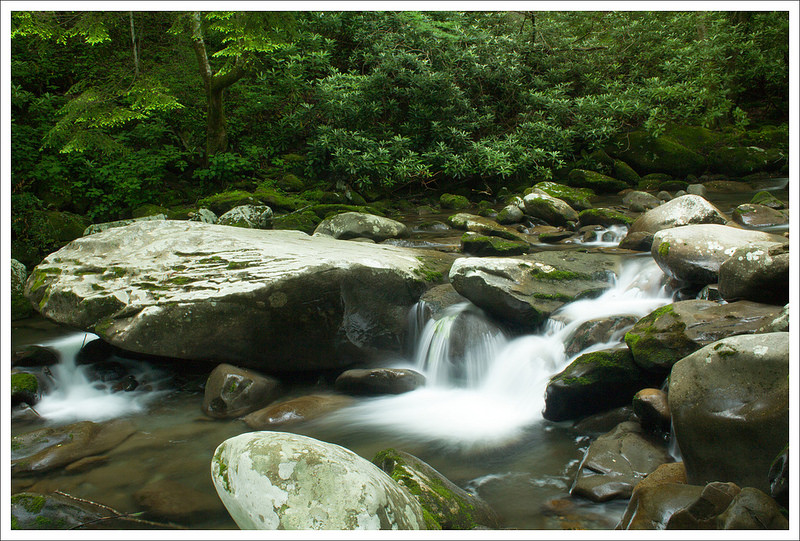
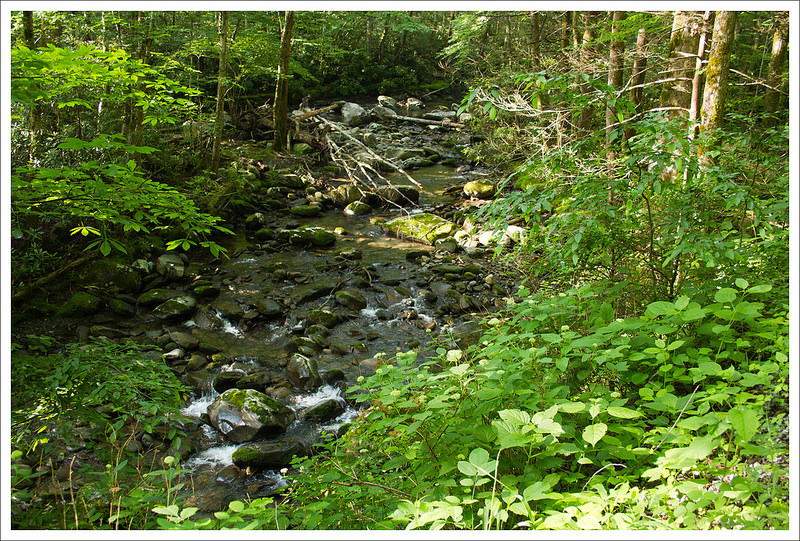
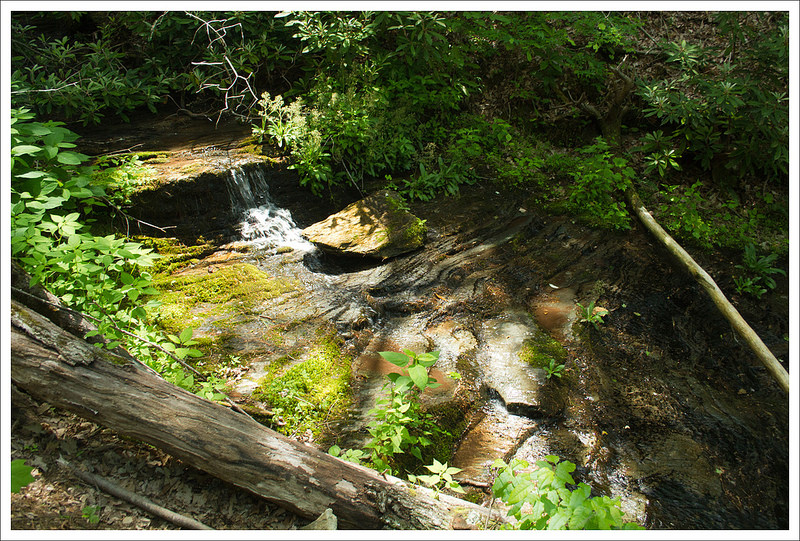
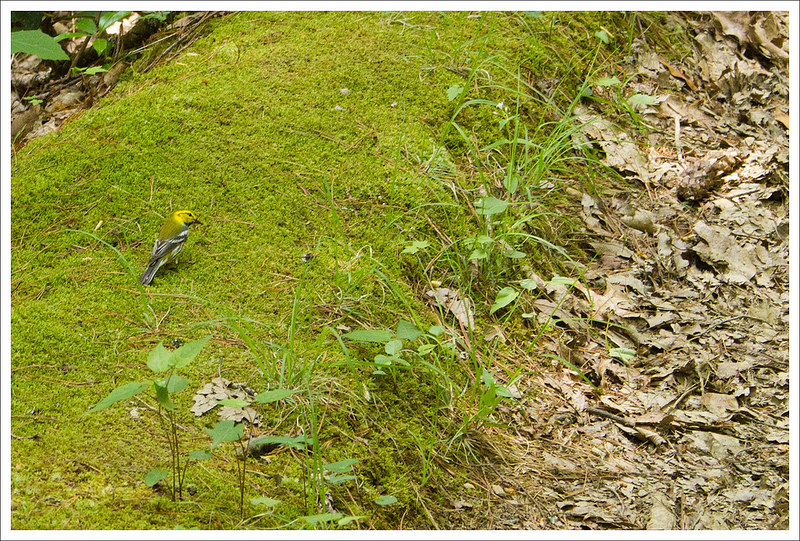
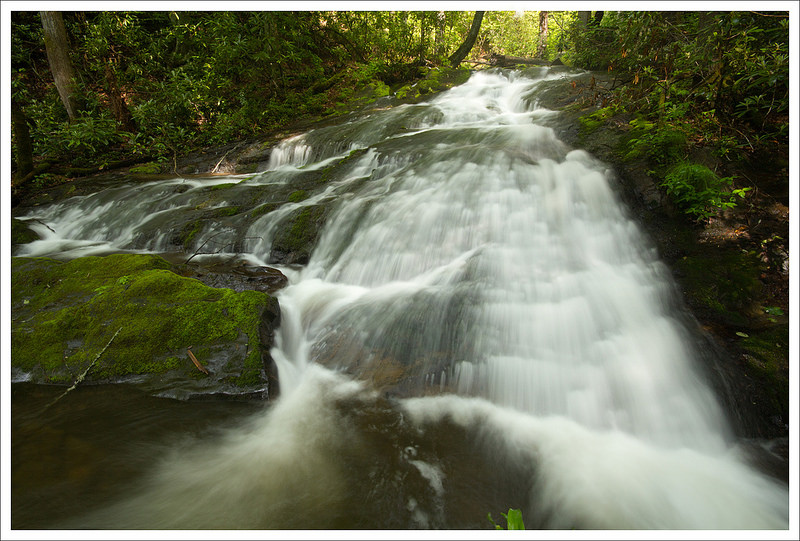
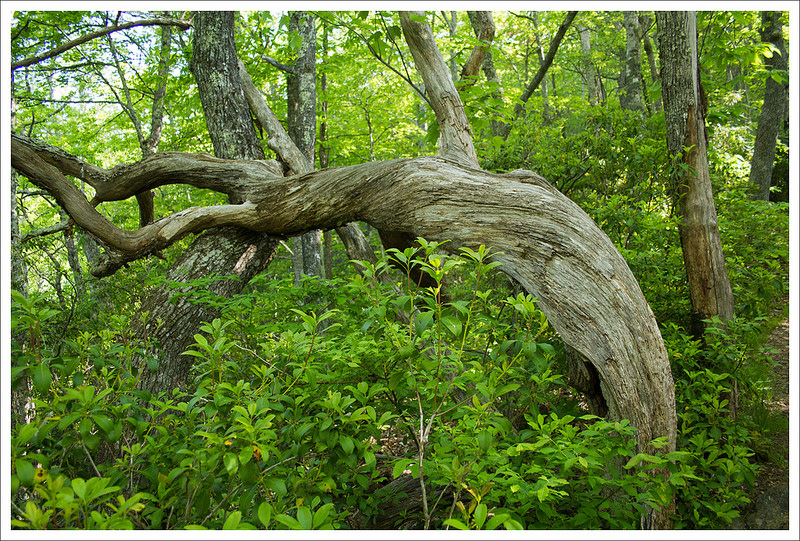
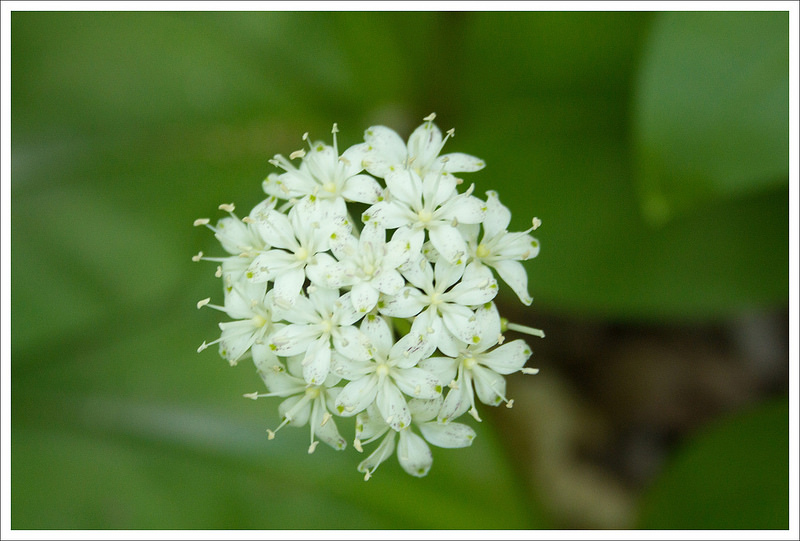
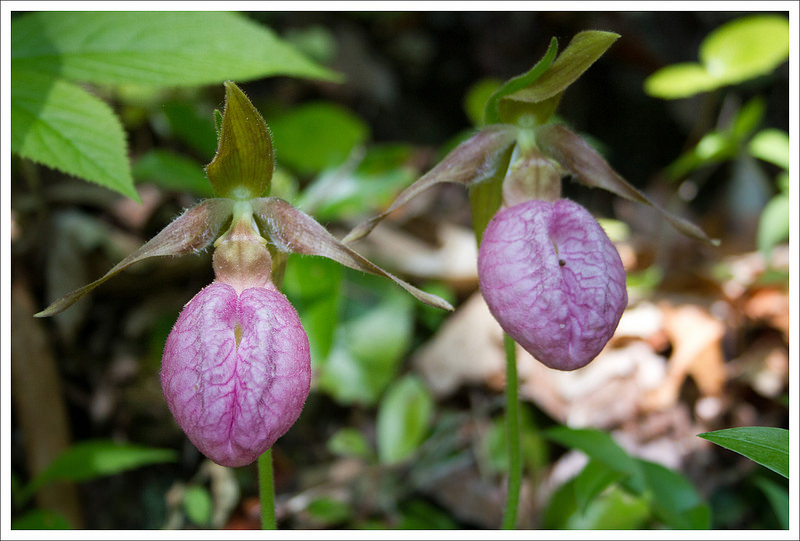
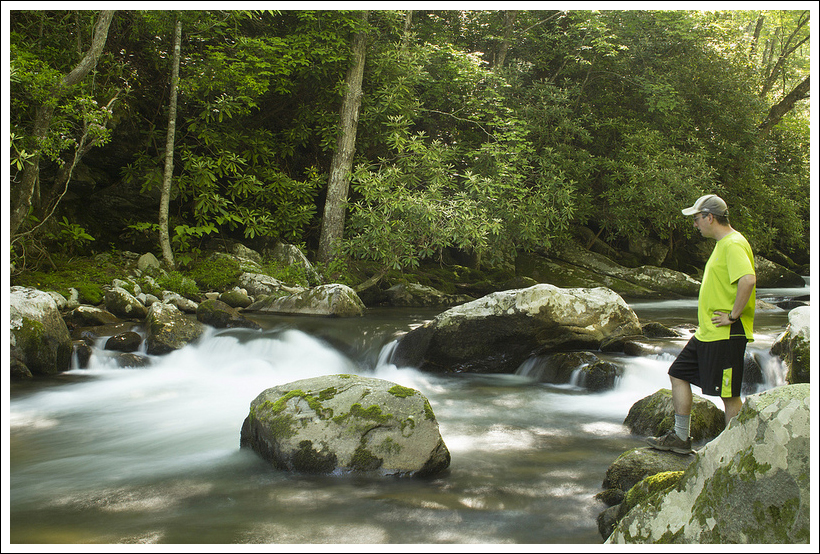
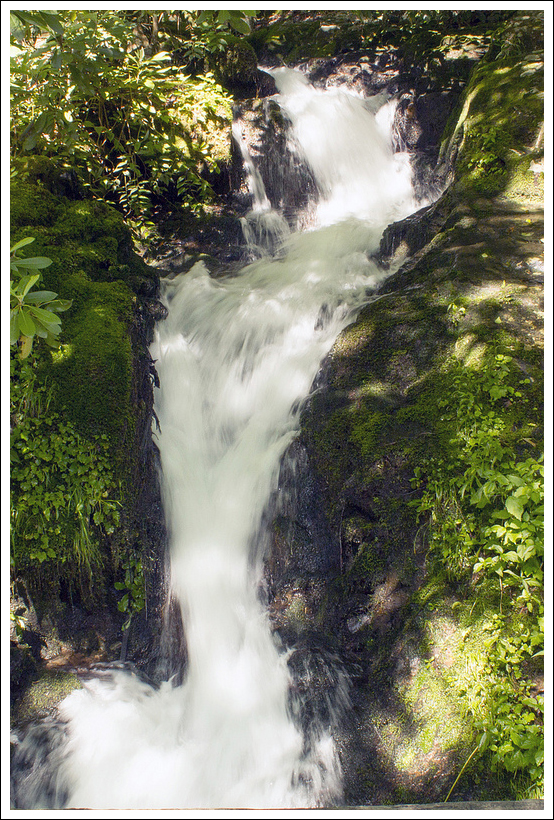
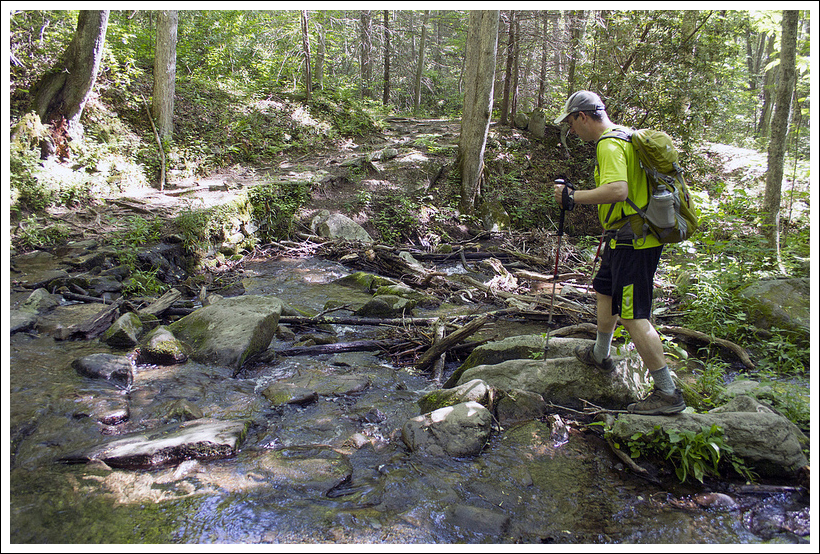
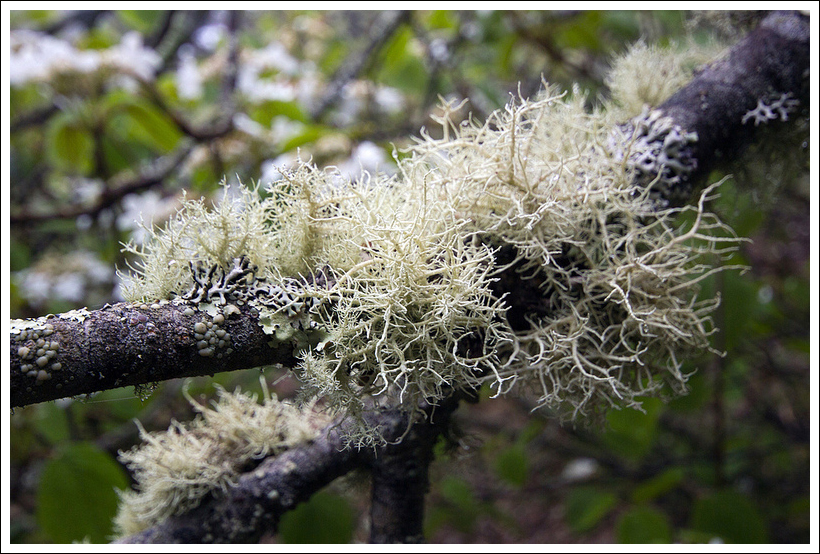
As we walked along we could clearly hear the sound of a barred owl nearby. It remained out of sight but was moving up ahead of us on the trail. At 1.8 miles, we reached the junction with the Goldmine Loop Trail. We took a right to get on this trail. The Goldmine Loop Trail descends for the next mile. At 2.4 miles we came to where Tunnel Branch runs alongside the trail. It was a very picturesque stream with lots of blooming rhododendron all around. At 2.8 miles, we reached the lowest part of elevation as we came to Goldmine Branch, a larger stream that leads into the Tuckaseigee River, which is part of the larger Fontana Lake waterway. Even though this is a river, it feels very much like a lake due to the beaver dams and high water level. A short side path leads you to a serene place to enjoy a waterside view. We continued back along the trail and our slow ascent began. This area was very mucky from all the water near this low part of the elevation and we slogged through some mud in a few places.
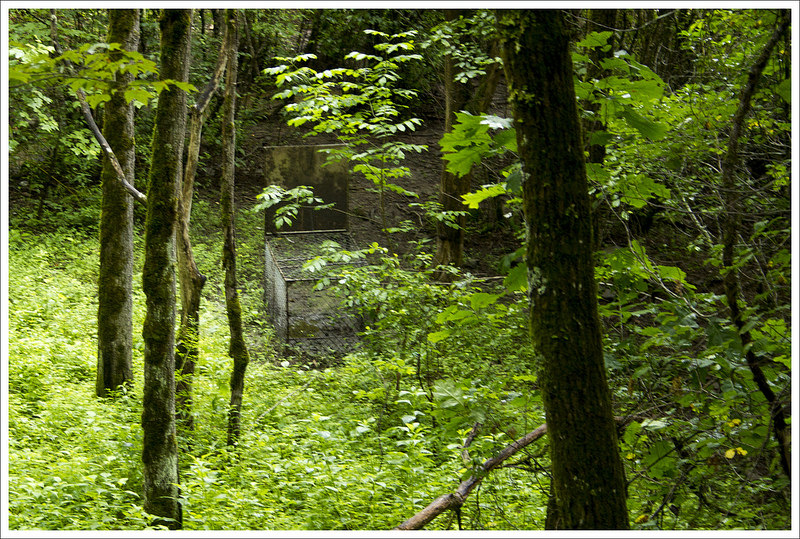
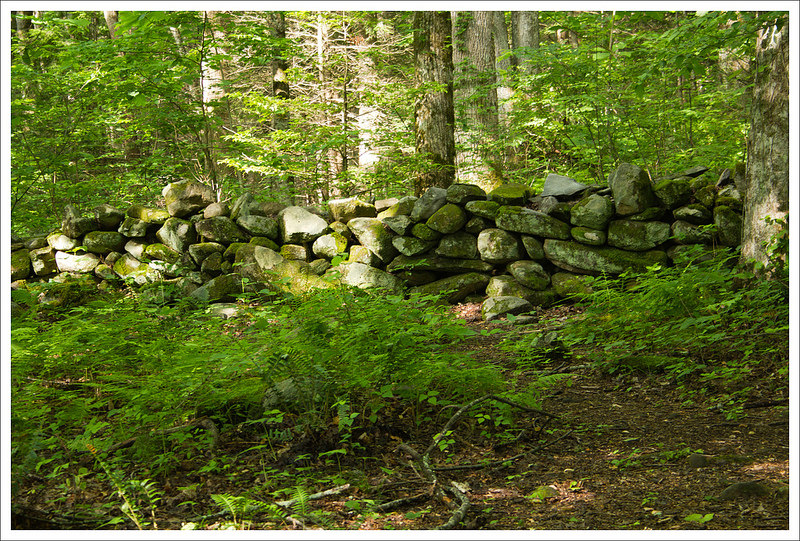
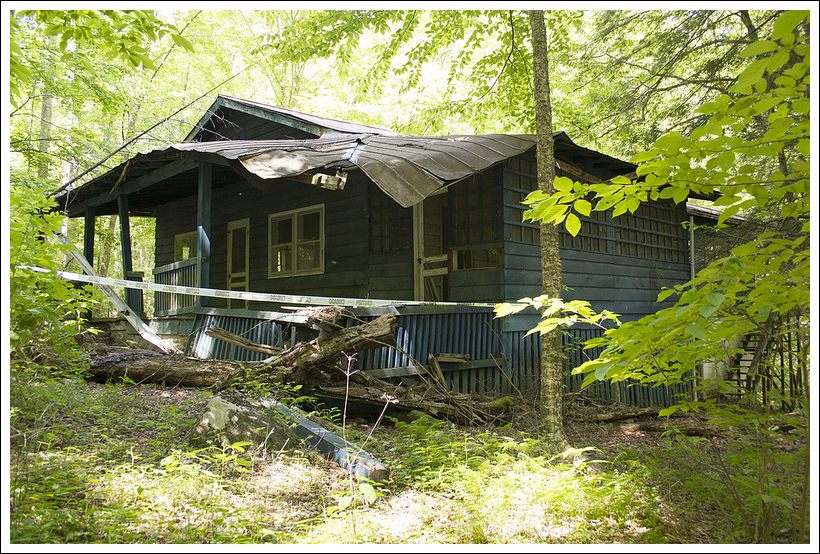
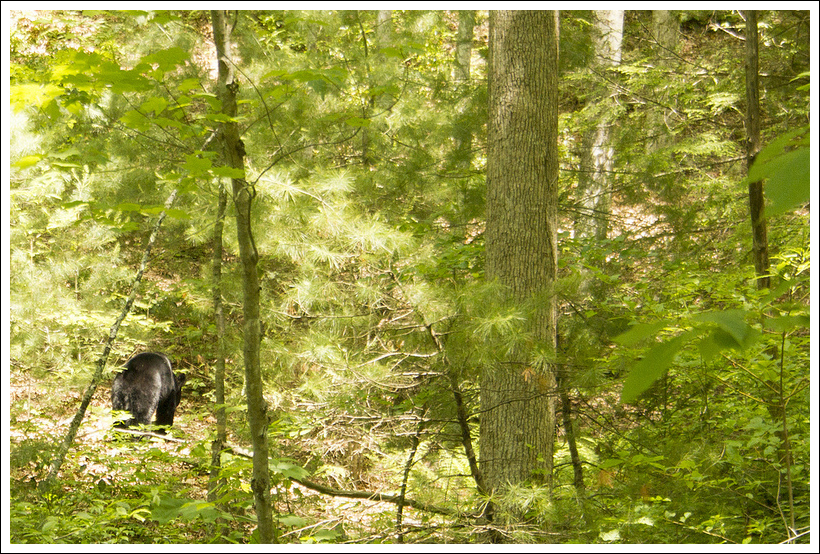
Near the trail’s low point, we saw a large hog trap that was placed by the park service. Wild hogs are destructive to the environment and have been known to be aggressive to humans. Just a short tenth of a mile from seeing the hog trap, we noticed something crashing through the woods toward us, followed by a deep guttural sound of a wild hog. Knowing how dangerous they are, we decided to move along quickly to leave the hog alone. It was quite a rush and we have never heard such sounds. At 3.2 miles, we reached a junction that leads to Campsite 67 (a site you must reserve through the GSMNP overnight camping permit system). We passed on checking this out since it was a bit off the trail and just continued onward. Shortly after this campsite trail, we came upon an old chimney from a home foundation. The ground was mucky and the area was heavily overgrown so we decided against checking out the site further. The trail then really began to ascend very steeply and we reached the junction with the Lakeshore Trail again at 4.1 miles. From here, we took a right on the Lakeshore Trail and then passed by the original Tunnel Bypass Trail junction just .1 mile later. We continued back the way we came to reach the tunnel and then back to our car on the other side to make this about a 4.7 mile round trip.


Christine Says…
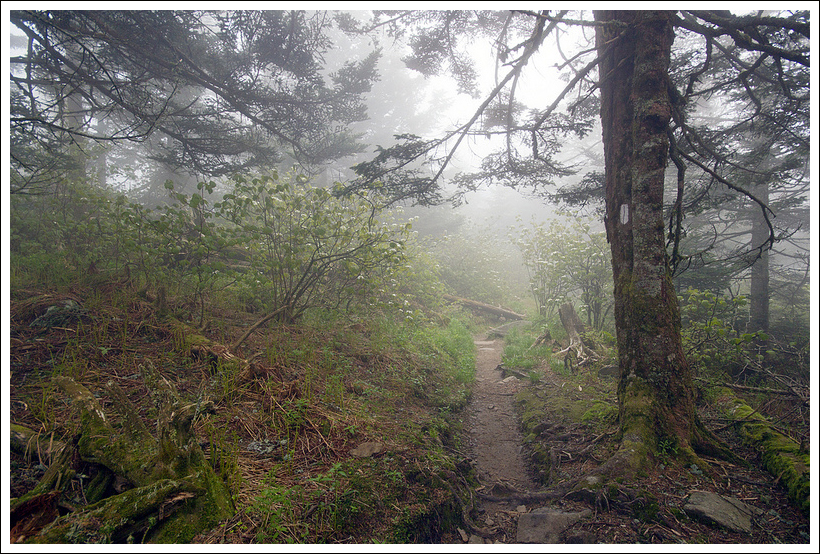
We planned several amazing hikes for our whirlwind three-day Smokies trip… and not a single one panned out! Stormy weather and low clouds forced us to revisit all of the high elevation hikes we considered doing. We are capable of hiking in bad weather, but when you have a trail blog you want to do your best to capture views and landmarks. We did a bit of logistical scrambling to find lower elevation hikes where views might be open beneath the cloud shelf.
The first one we settled on was the Road to Nowhere paired with the Goldmine Loop. They hike was just a few minutes from our rental cabin, so it was easy to tackle after the rain stopped in the late afternoon. We didn’t get on the trail until almost 4:00 p.m. Online and printed guides listed the trail anywhere from three to seven miles. With the long days of summer in effect, we knew we could finish a hike in that range before the sun set. We still packed headlamps… just in case! They turned out to be handy for walking through the long, dark tunnel.


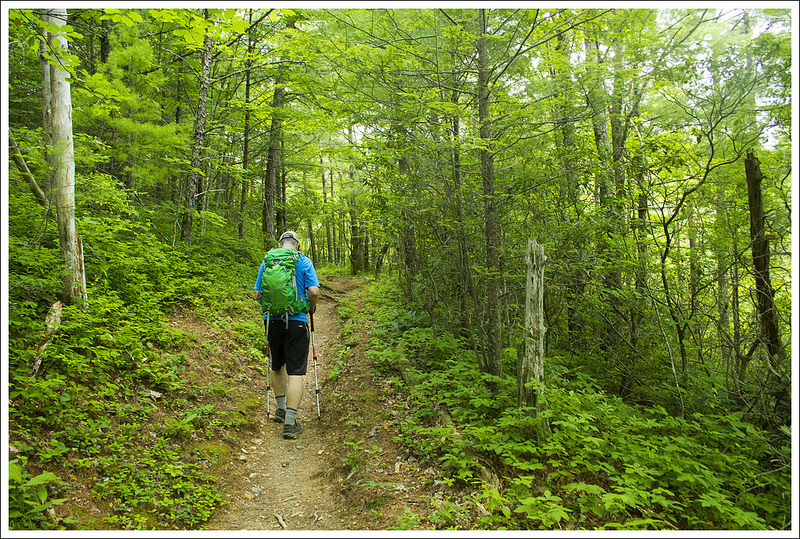
I thought the tunnel itself was really cool. It looks relatively short to the naked eye, but when you’re inside you walk much longer than you expect. The tunnel is a full quarter mile long and produces the most excellent echoes! The amount of graffiti was disappointing and seriously – can’t people think of better things to draw than penises? There were more of those drawn than any other element of graffiti. After the tunnel, we proceeded a short way down the trail to its junction with the Tunnel Bypass Trail.
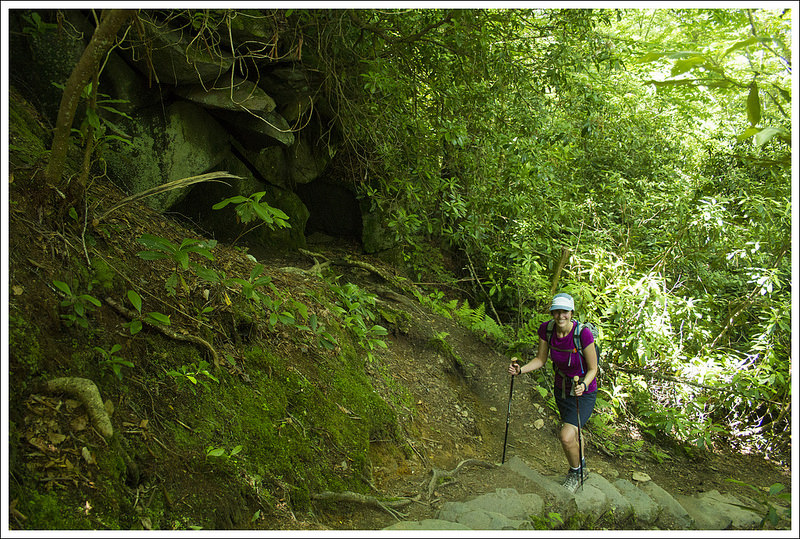
The Bypass Trail descended into ever thickening rhododendrons. By the time we reached the Goldmine Loop, I felt like we were in a veritable jungle. I would never want to get lost off-trail in an area like this. The denseness of the forest would be very disorienting. I think the mist, the solitude, the hooting owl, the lack of good trail information, the hog sounds, and the thickness of the forest lent an eerie feeling to the entire hike. We’ve never hiked in the Smokies and seen so few people! I’ll admit, I felt a little bit uneasy on this hike. I rarely describe a hike as creepy, but this one may have approached that feeling!
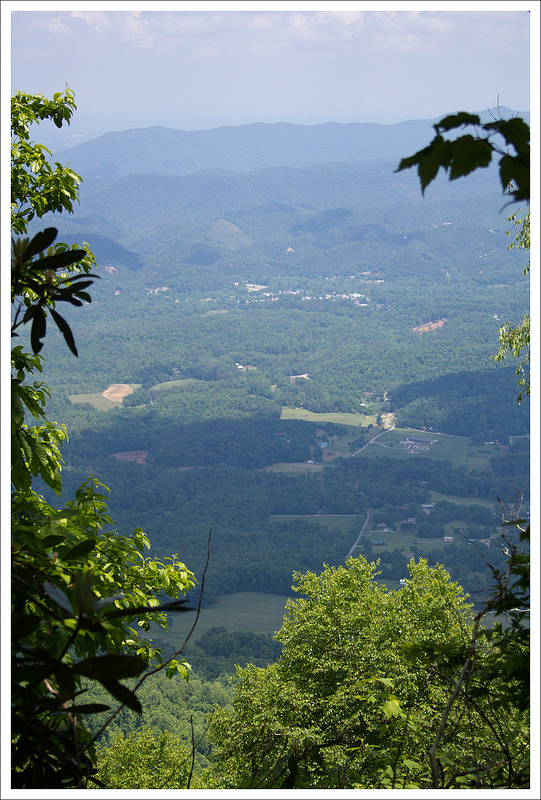
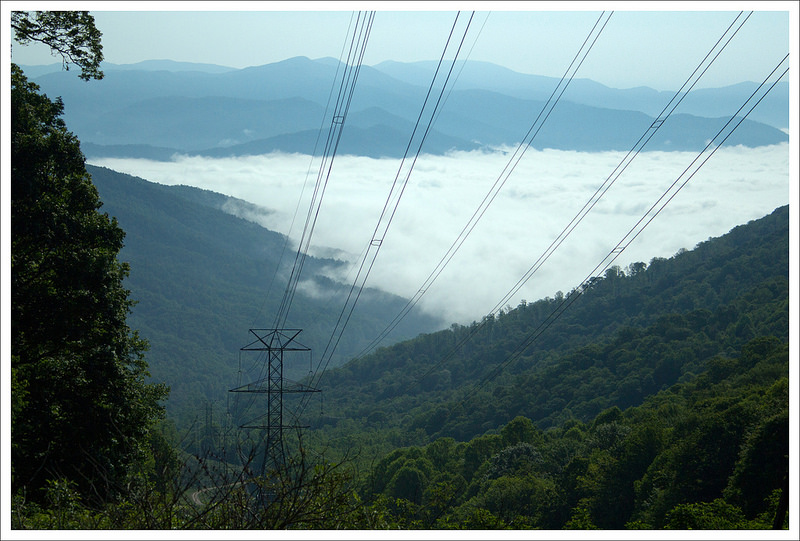
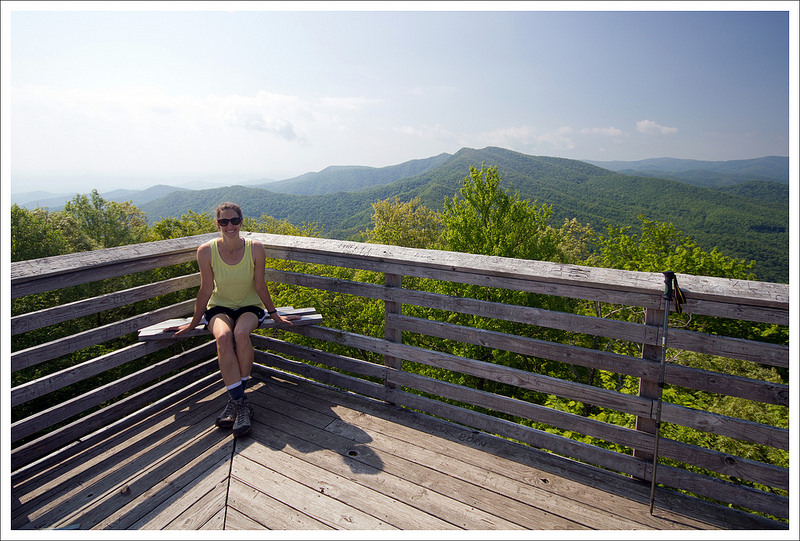
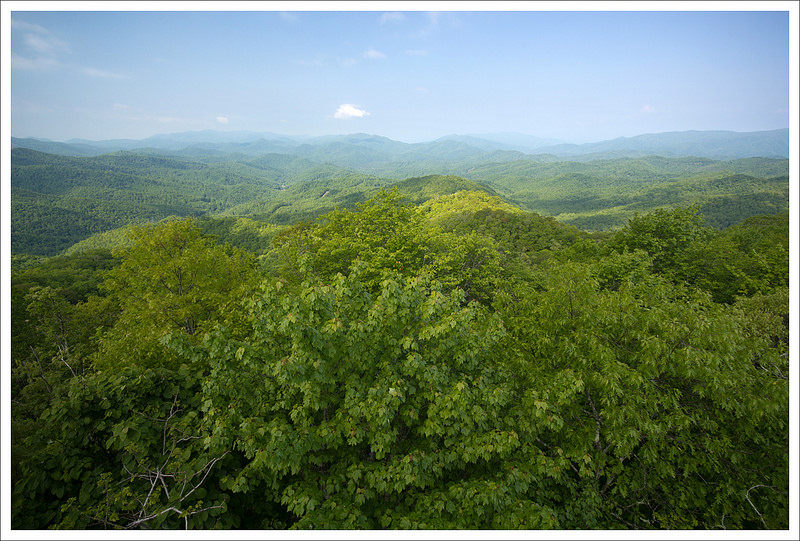
I was pretty glad when the trail rejoined familiar terrain coming off the Goldmine Loop. On the return trip through the tunnel, we left our headlamps off and enjoyed the almost complete darkness. We just kept walking toward the spot of light at the far end of the tunnel. Soon we were back in the car and headed back to our little cabin in Bryson City. On the way, we stopped at an overlook that peered down into the watershed we just hiked. There was a gorgeous rainbow above and everything looked so peaceful below. It definitely didn’t feel eerie from above!
Trail Notes
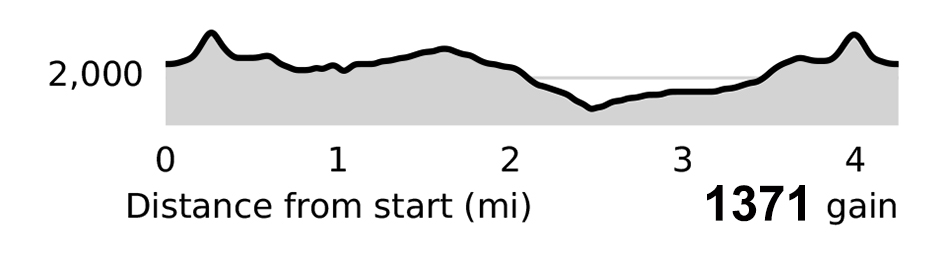
- Distance –4.7 miles
(Check out the stats from MapMyHike)*
About a half mile of tracking was lost in the tunnel. - Elevation Change – About 1371 ft.
- Difficulty – 3. The ground conditions made it a little tough and there was a steep ascent before we rejoined the Lakeshore Trail.
- Trail Conditions –2. The trail was fairly well maintained, but the mucky conditions made for some times where we slogged along the trail at the lower elevations.
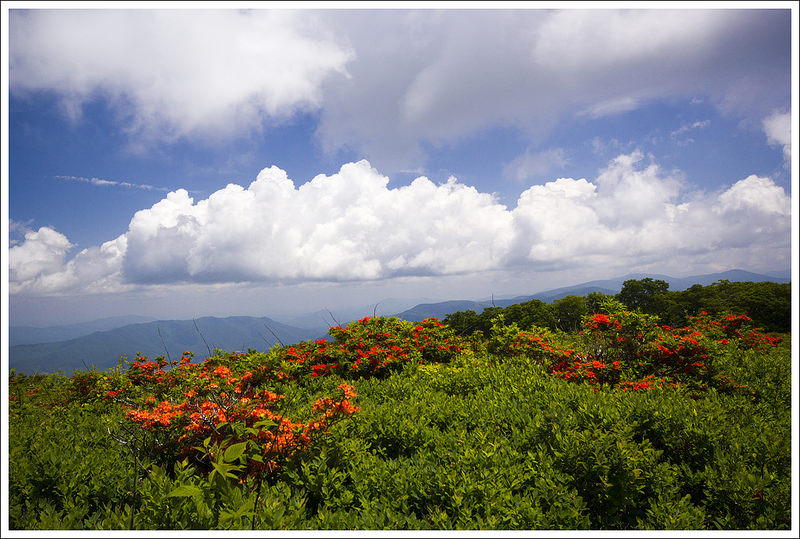
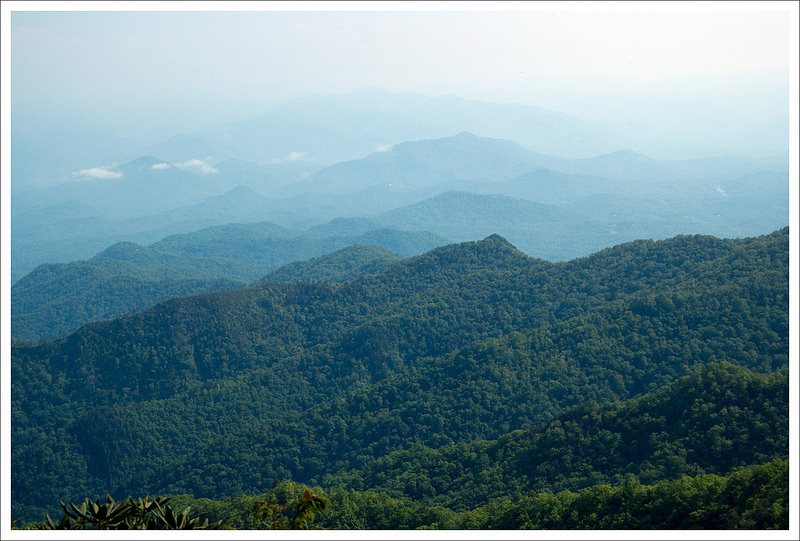
- Views – 1. We did get a few obstructed views alongside the Tunnel Bypass Trail, but nothing much mentioning. Along the road leading up to the trail, there is a nice view of Fontana Lake alongside the road.
- Streams/Waterfalls – 4. There were some nice stream views along the way and the mountain laurel created some extra scenery.
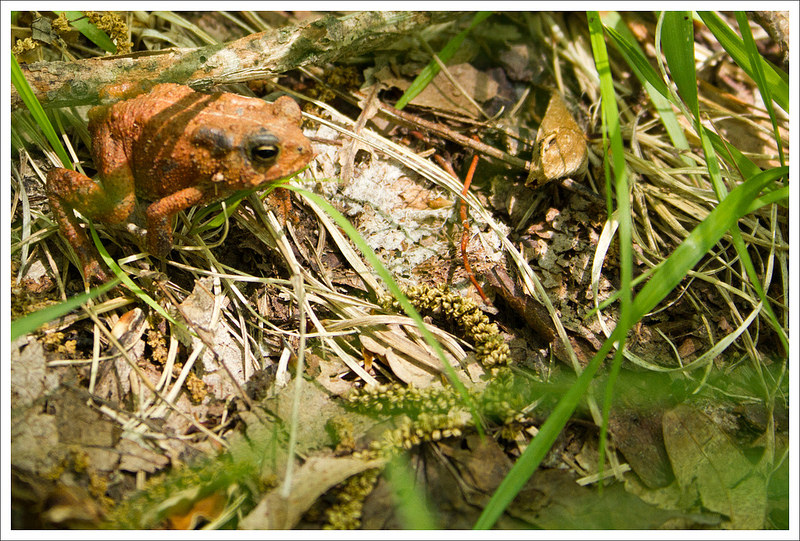
- Wildlife – 4. This particular loop isn’t particularly well traveled, so don’t be surprised to find some wildlife. The wild hog encounter definitely gives this a higher score for us.
- Ease to Navigate – 3. We had a hard time due to the lack of knowledge out there about the trail system. Hopefully, the map we are providing will help.
- Solitude – 4. After we went through the tunnel, we only saw a few other people on the hike. This could be due to the recent rains, but this isn’t a popular area of the Great Smoky Mountain National Park except for local populations.
Download a Trail Map (PDF)
Directions to trailhead: From the center of Bryson City, NC head north on Everett Street. Everett Street becomes Fontana Road. Fontana Road becomes Lakeview Drive. Follow Lakeview Drive until you arrive at the parking lot before the road that closes off this Road to Nowhere, about 8.5 miles away from the center of Bryson City. Park in the parking lot and continue on foot up the road leading to the tunnel.
* MapMyHike is not necessarily accurate, as the GPS signal fades in and out – but it still provides some fun and interesting information.


