This 9.5 mile out-and-back is a relatively easy backpacking route with countless stream crossings. The full photo album is embedded at the bottom of this post!
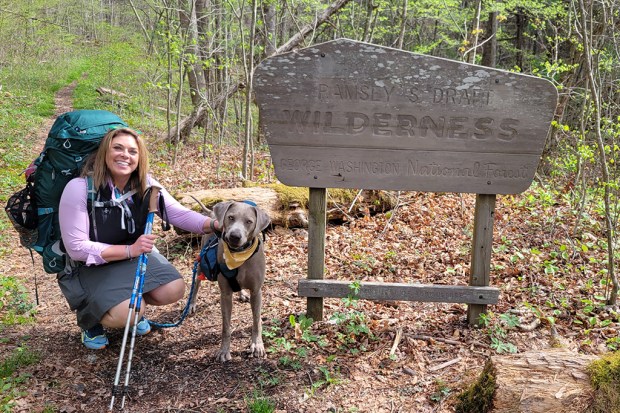
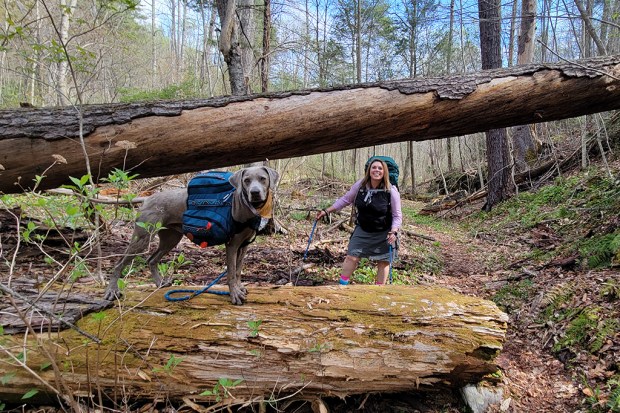
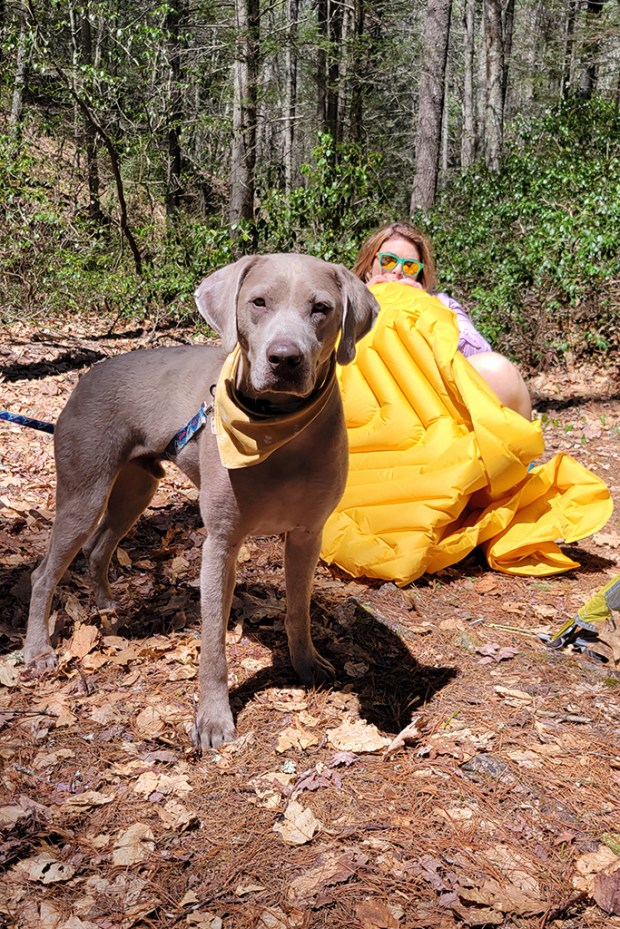
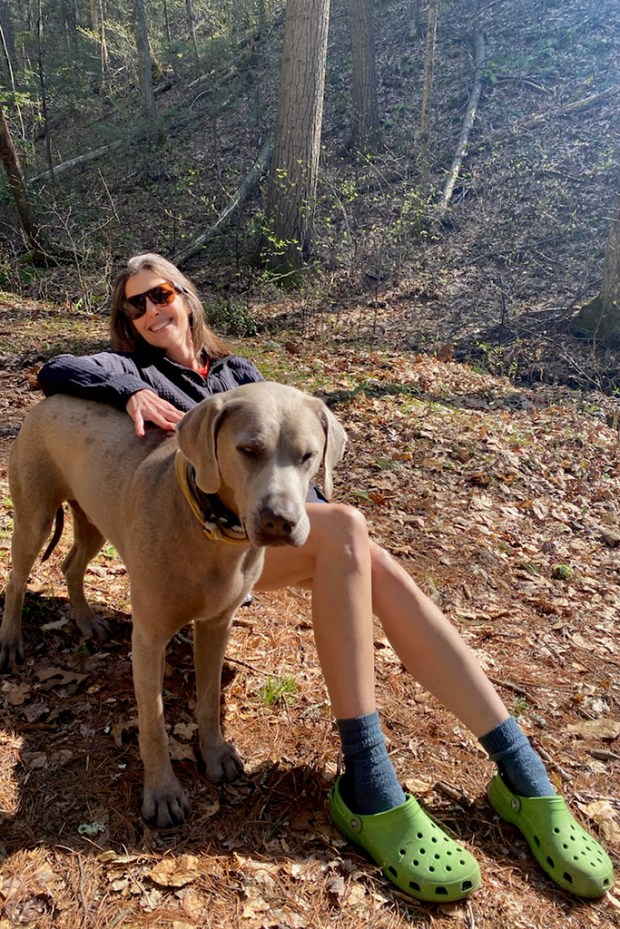
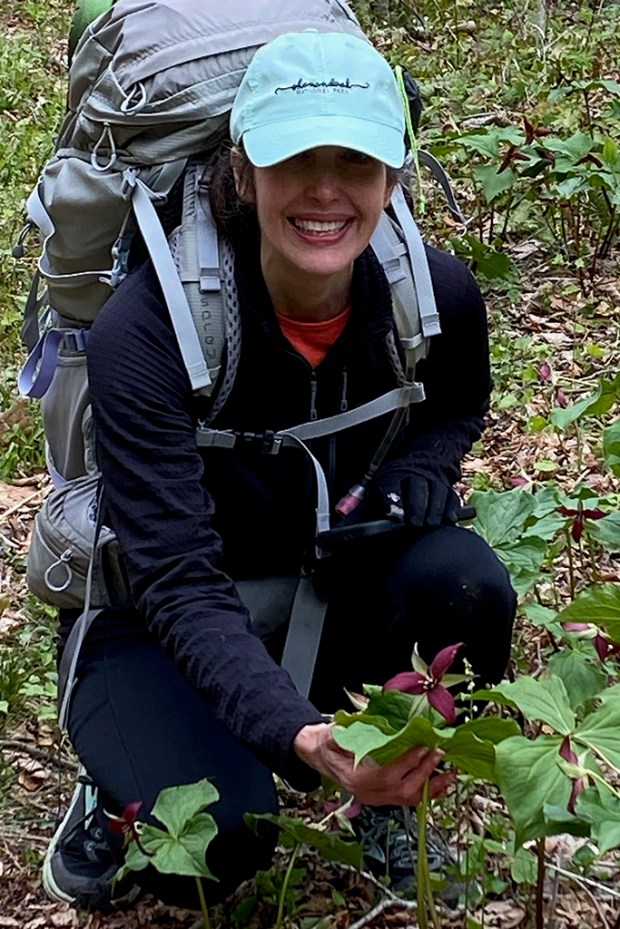
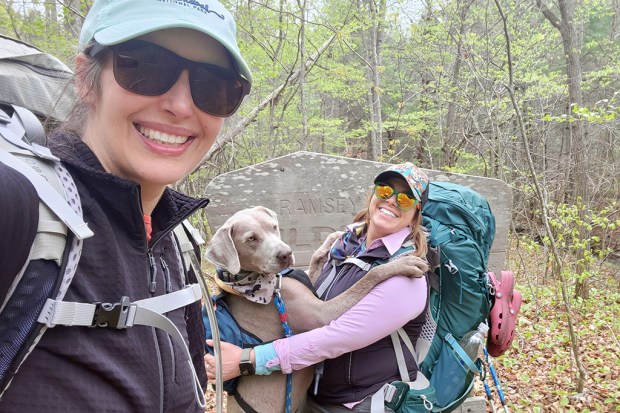
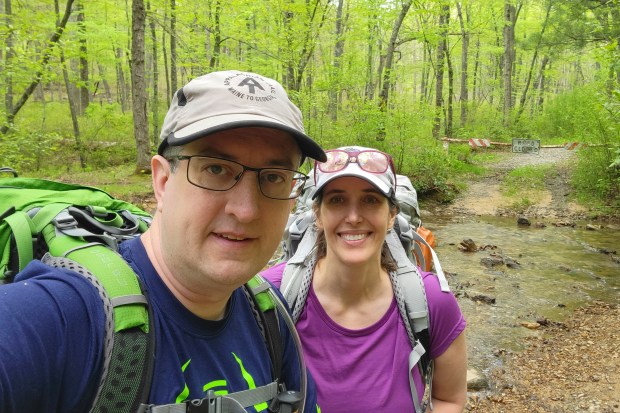
My friend Kris, her silver lab, Ridgley, and I wanted an easy overnight backpacking trip that didn’t require a long drive for a beautiful April weekend. We settled on a hike in Ramsey’s Draft Wilderness, following the Ramsey’s Draft and Jerry’s Run trails to the ruins of the old Sexton Cabin.
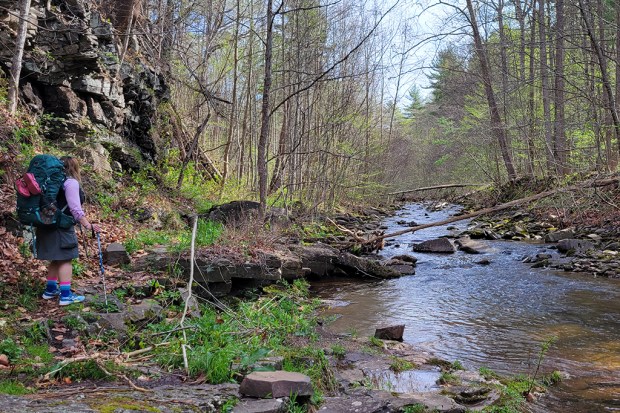
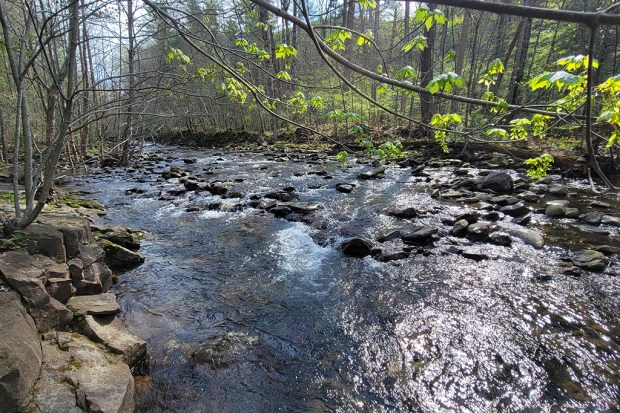
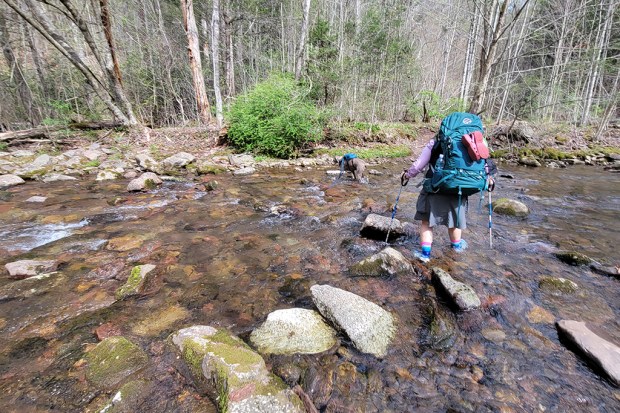
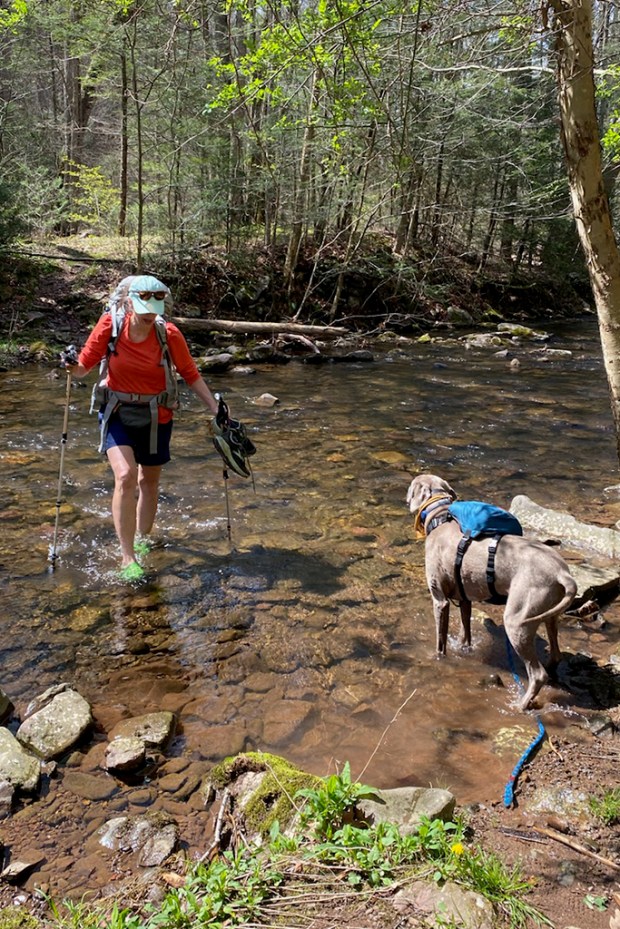
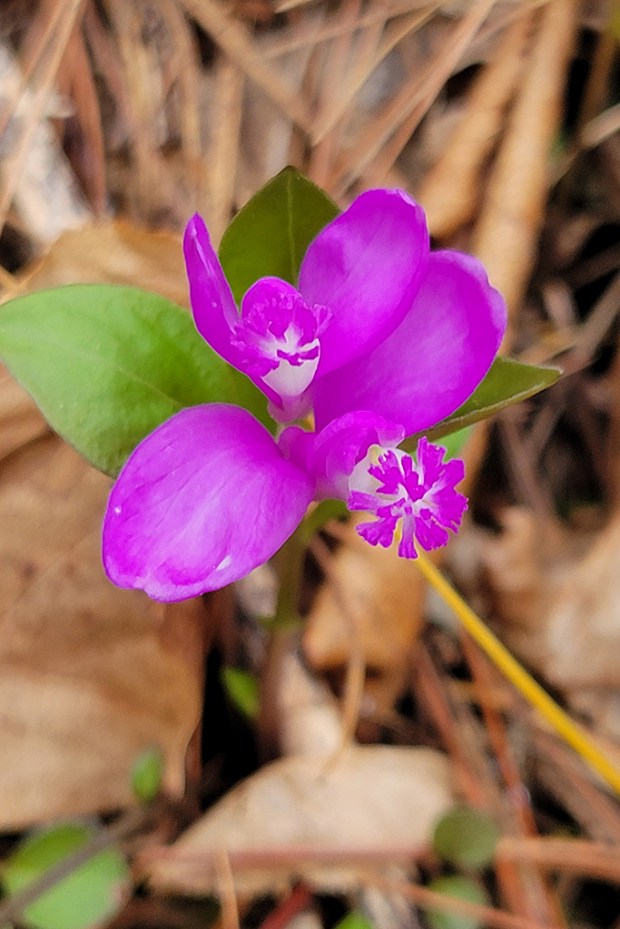
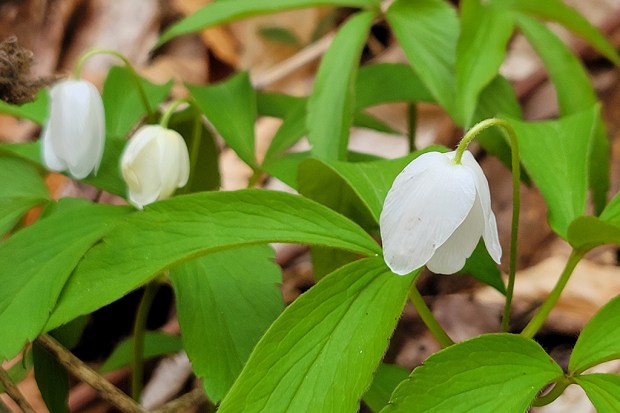
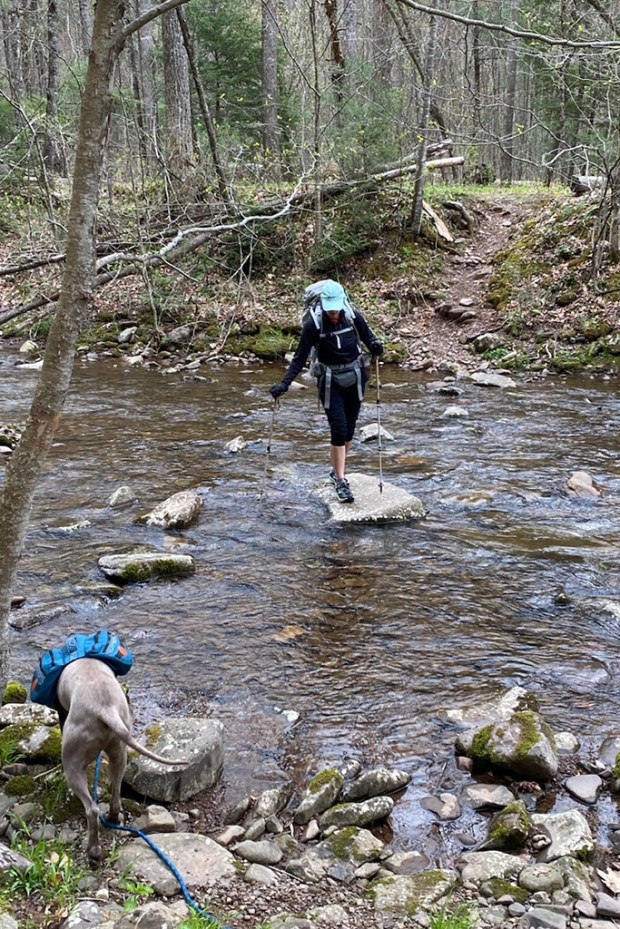
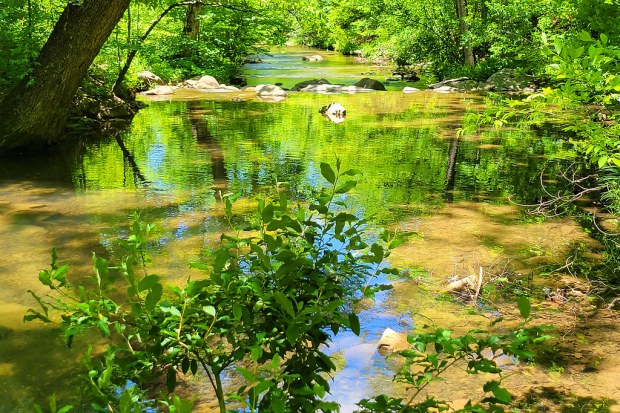
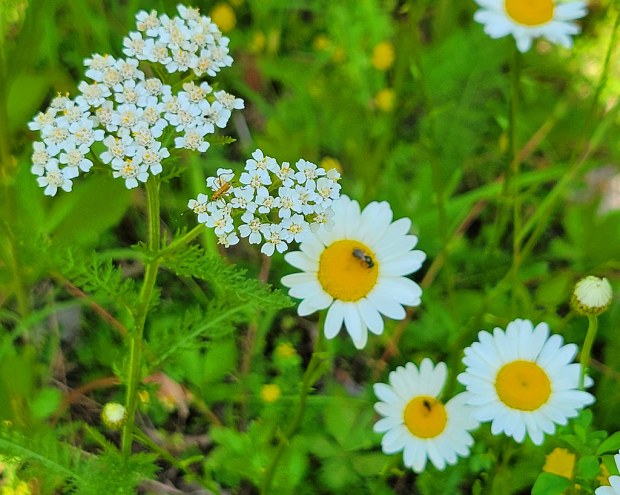
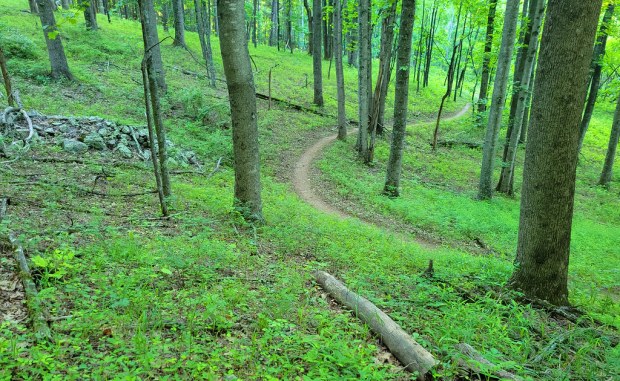
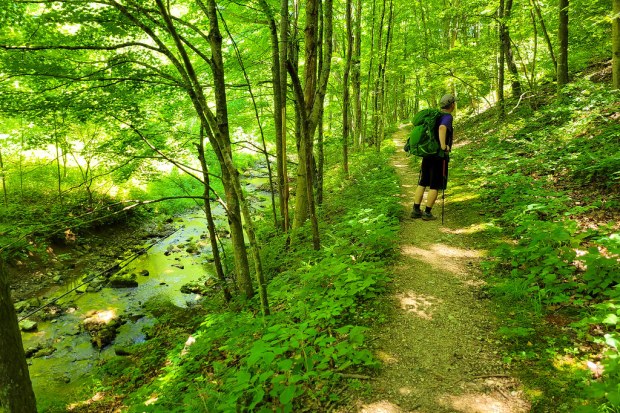
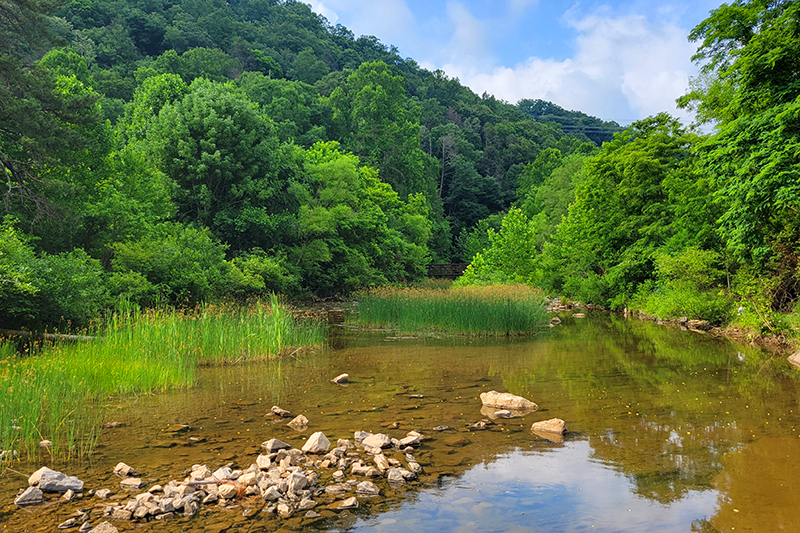
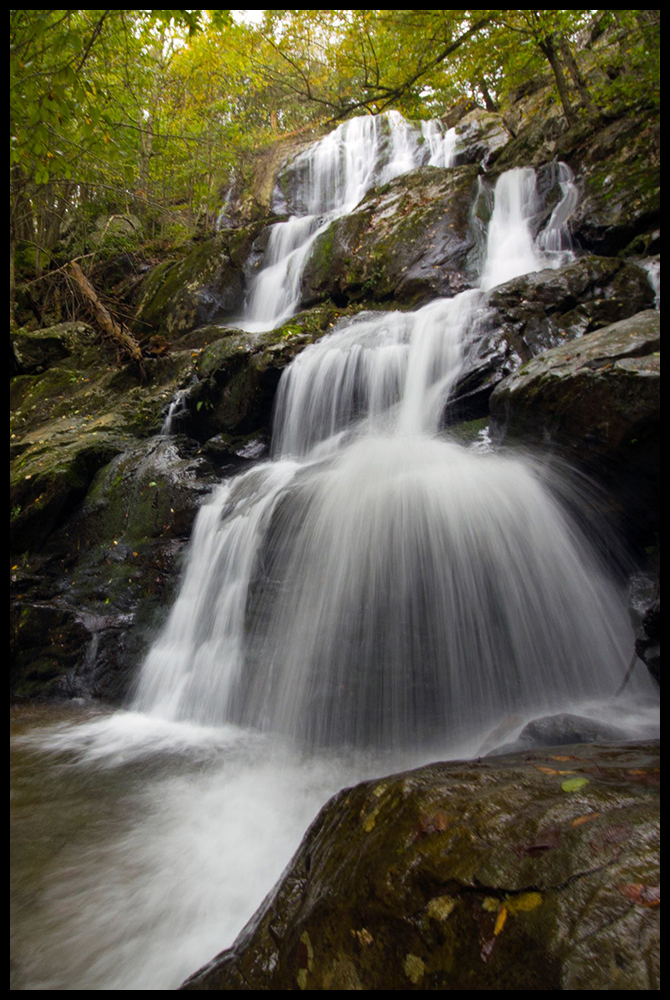
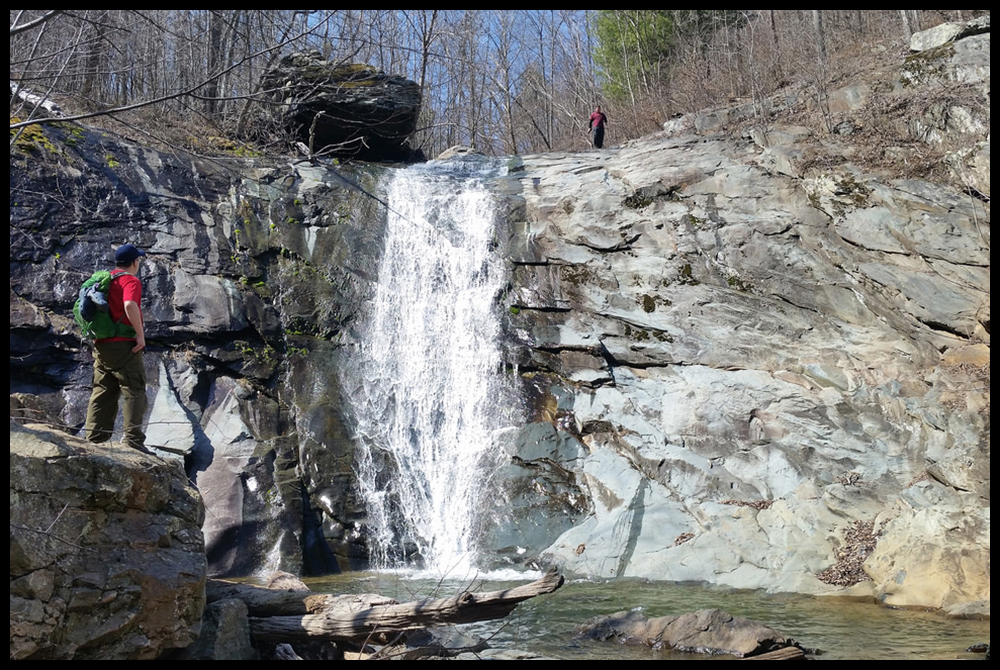
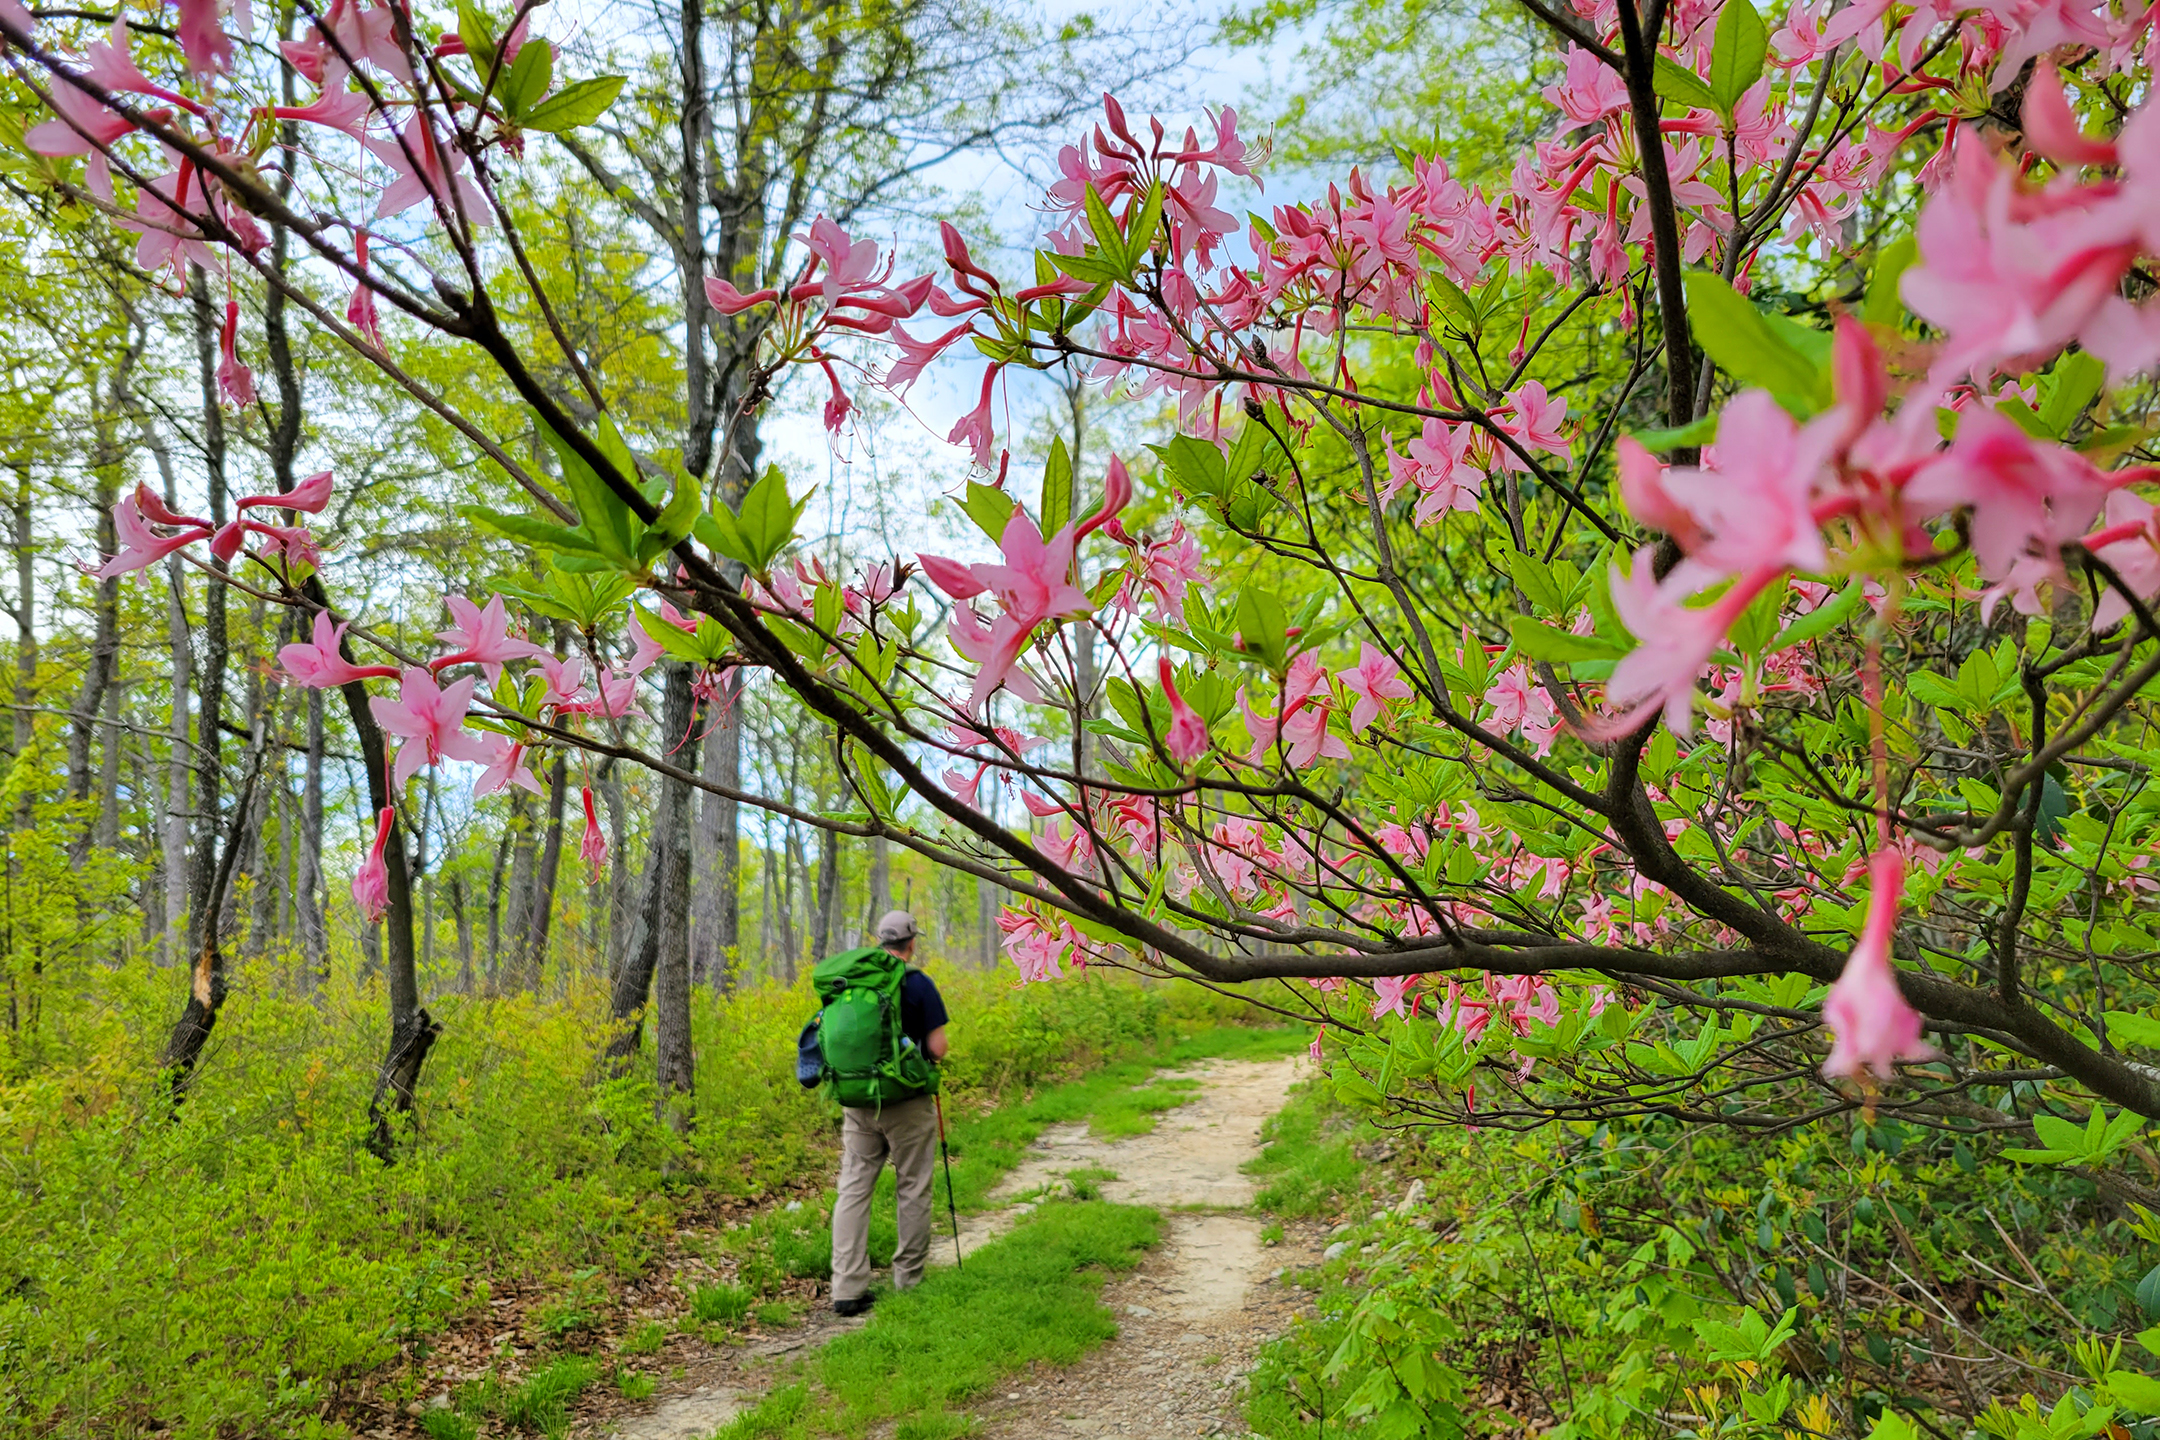
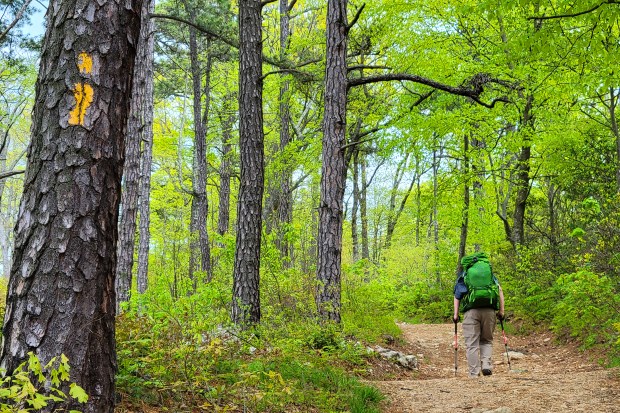
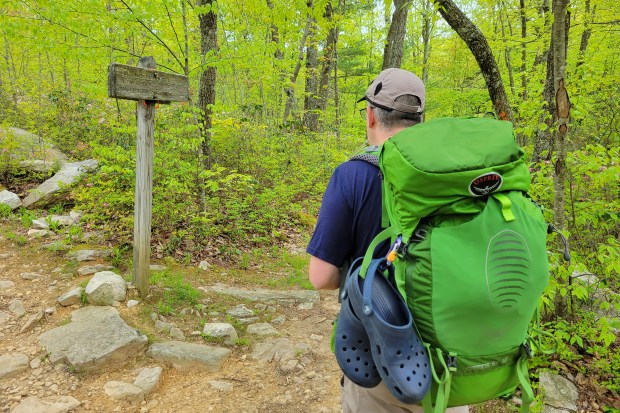
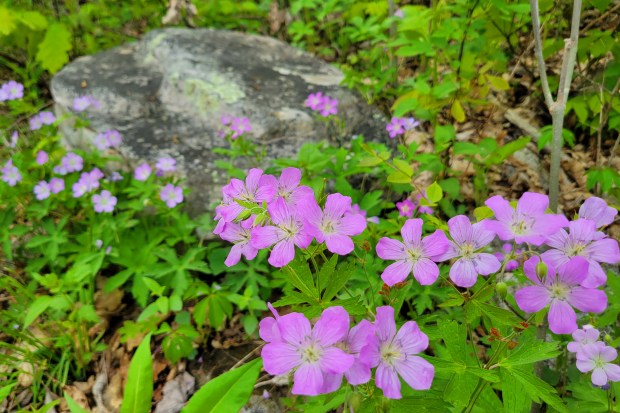
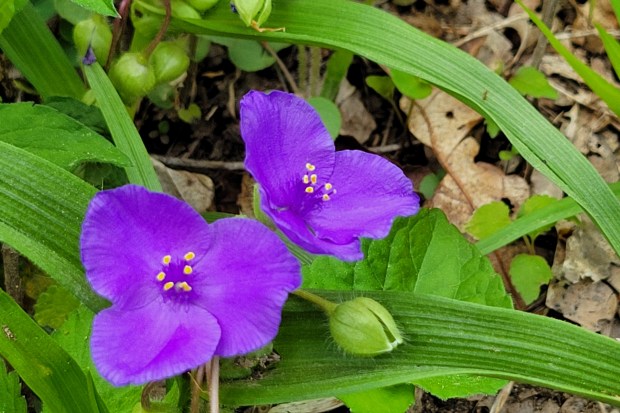
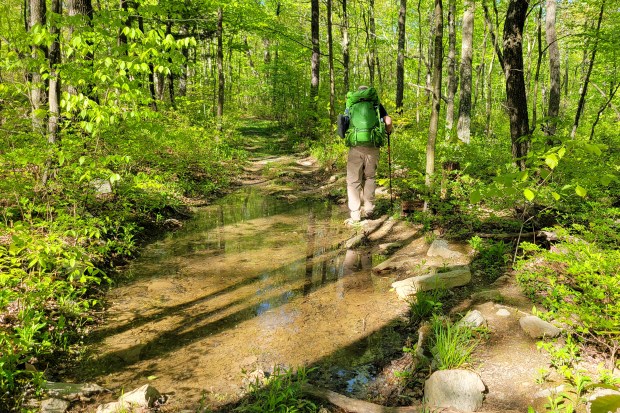
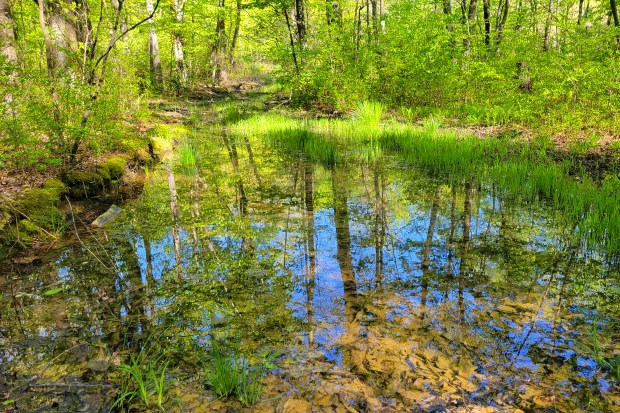
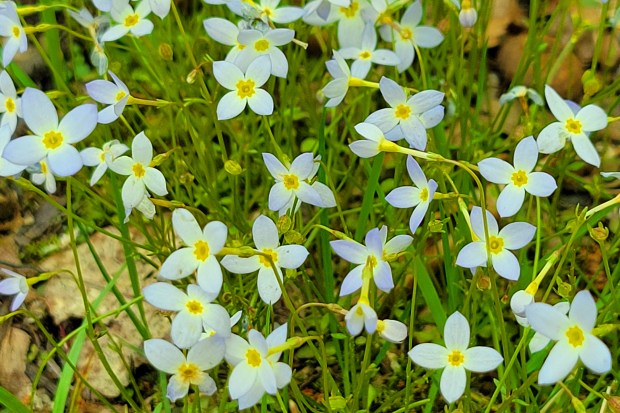
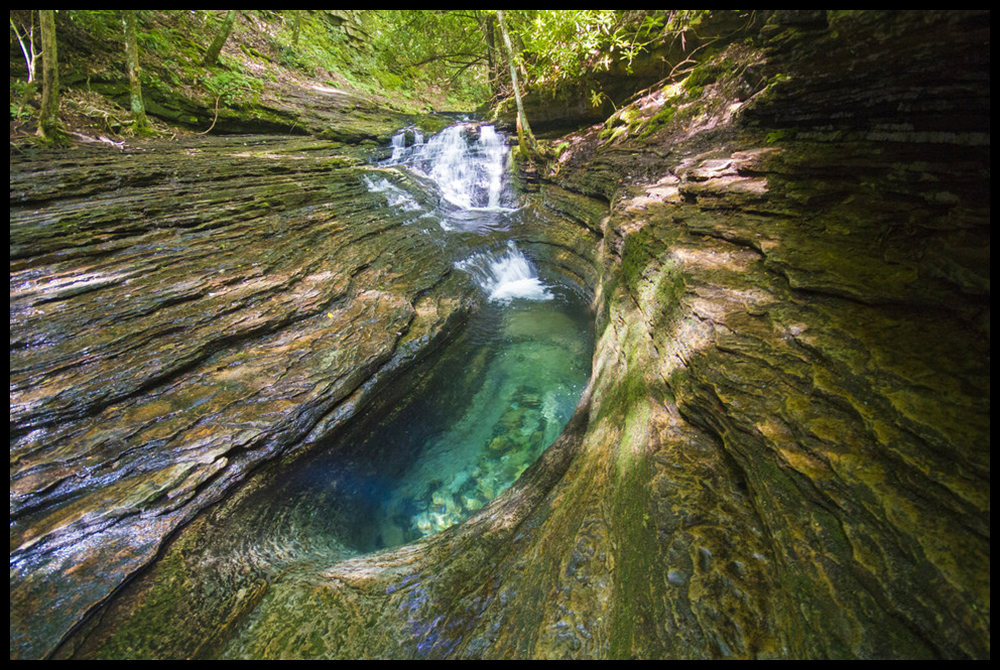
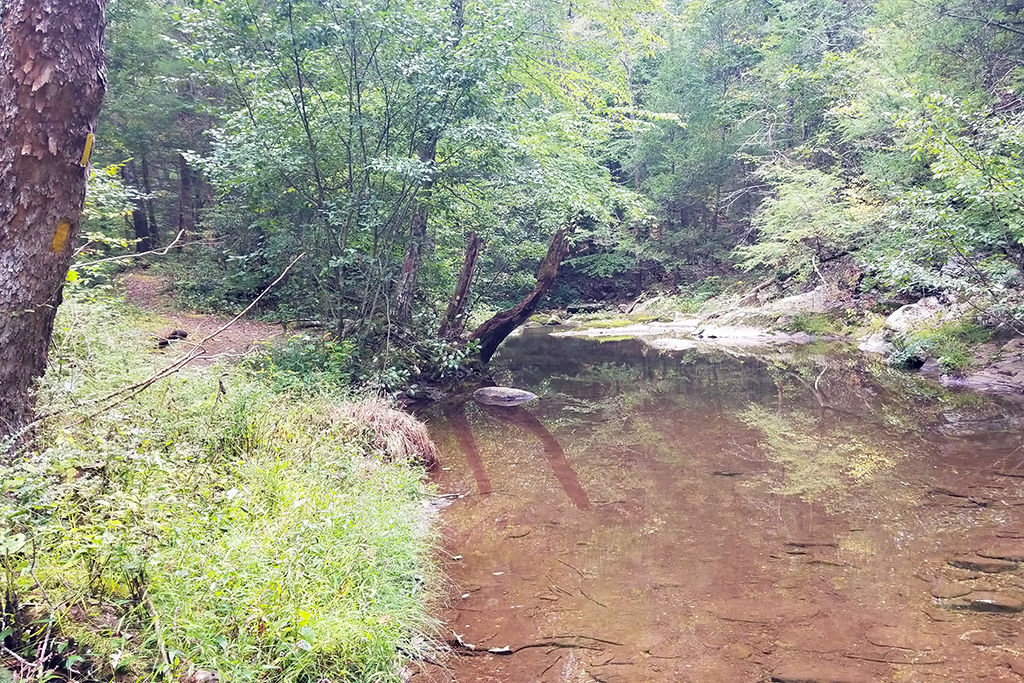
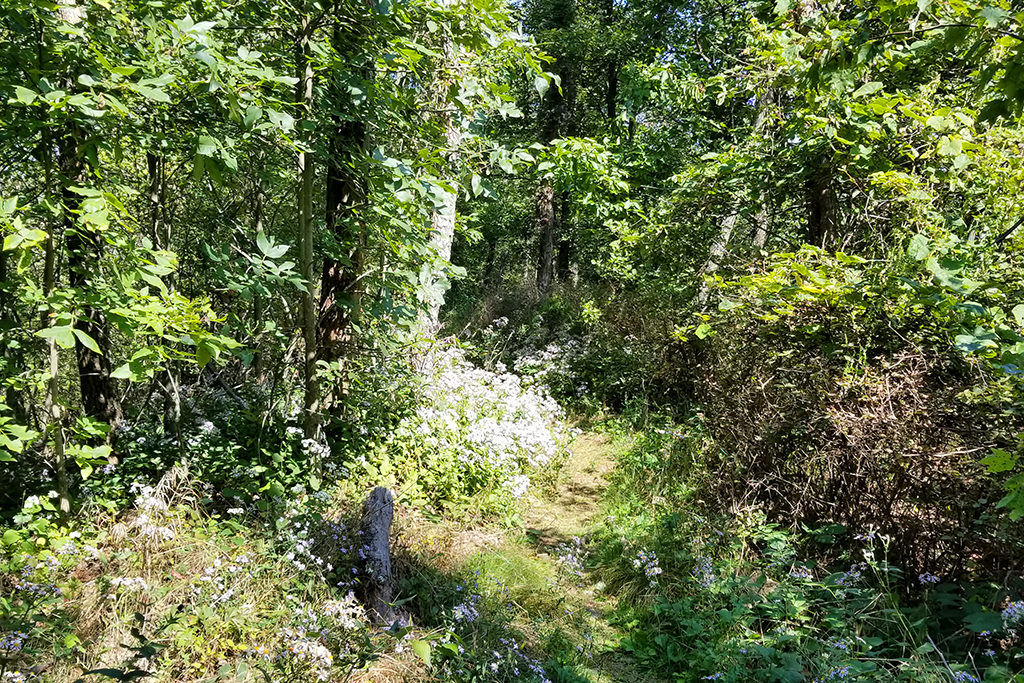
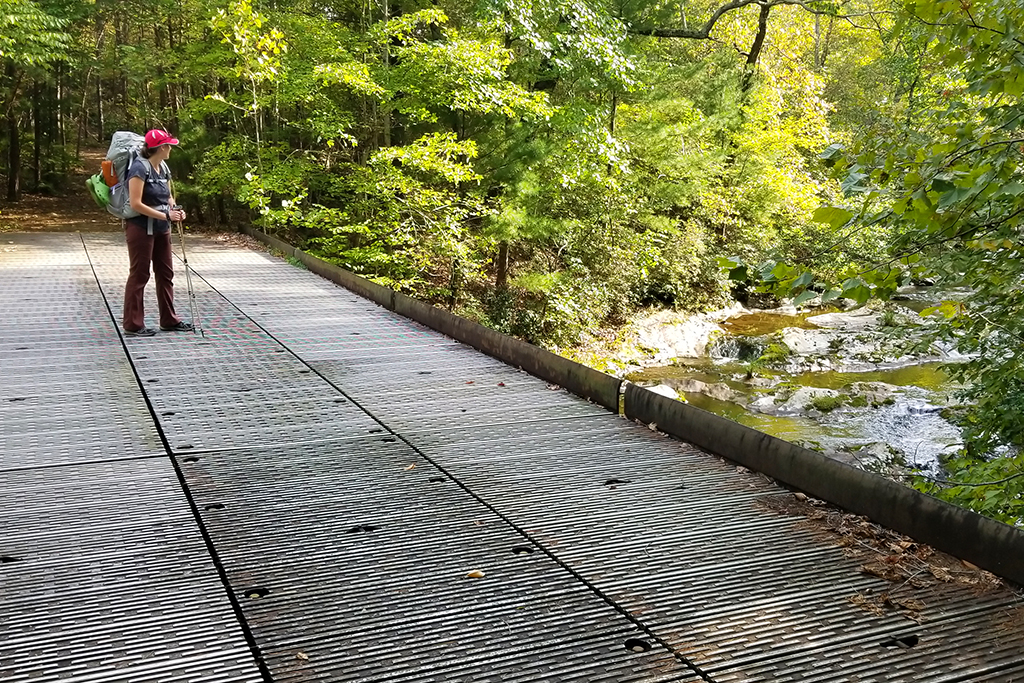
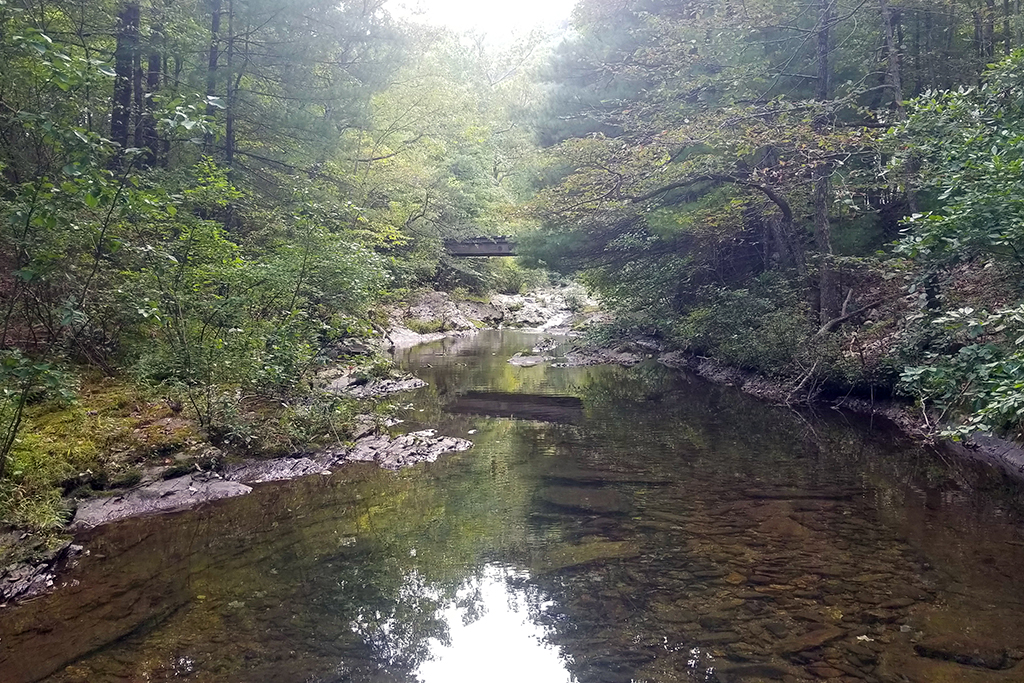
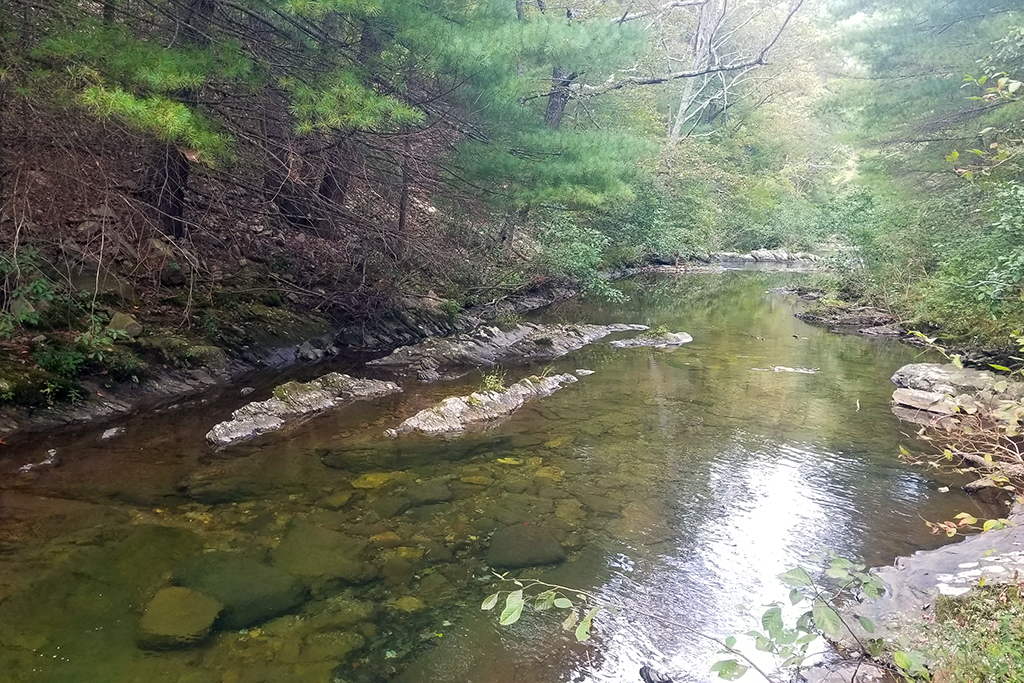
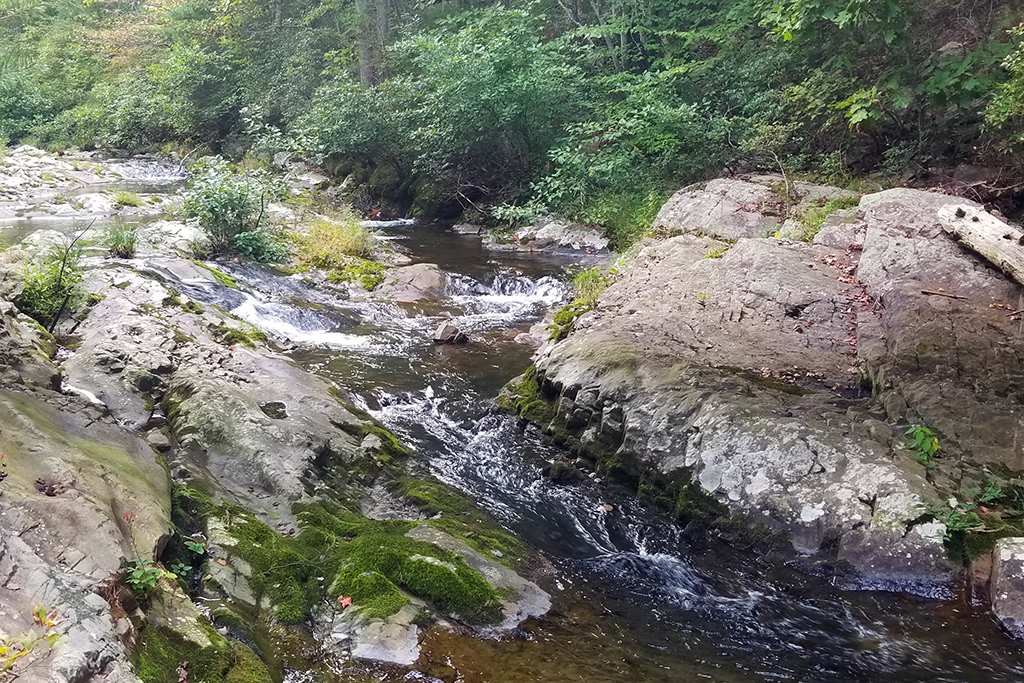
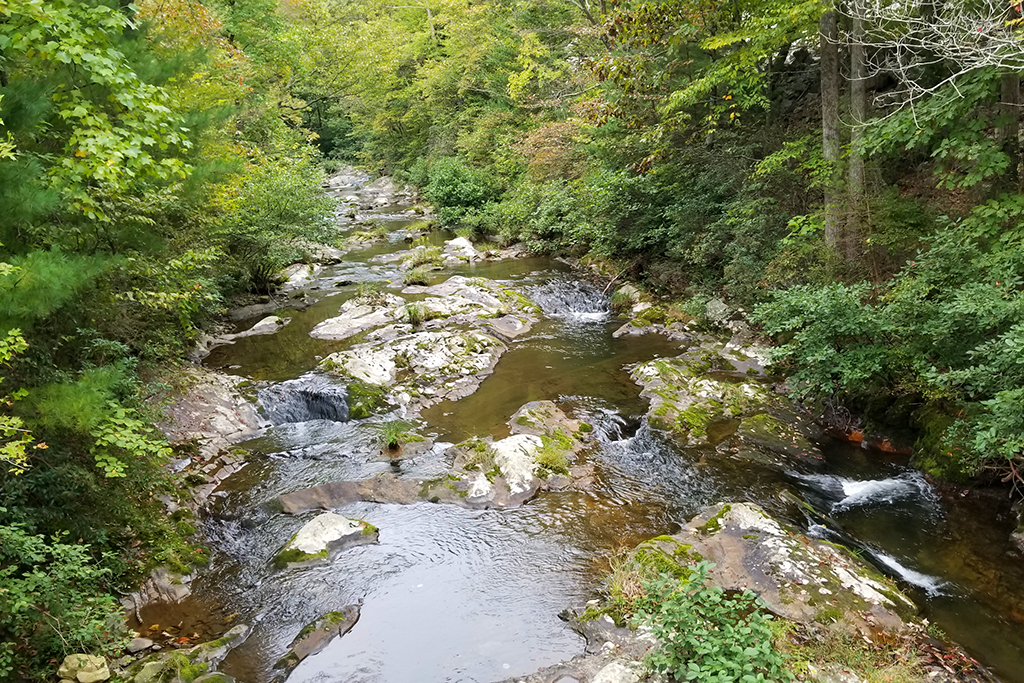
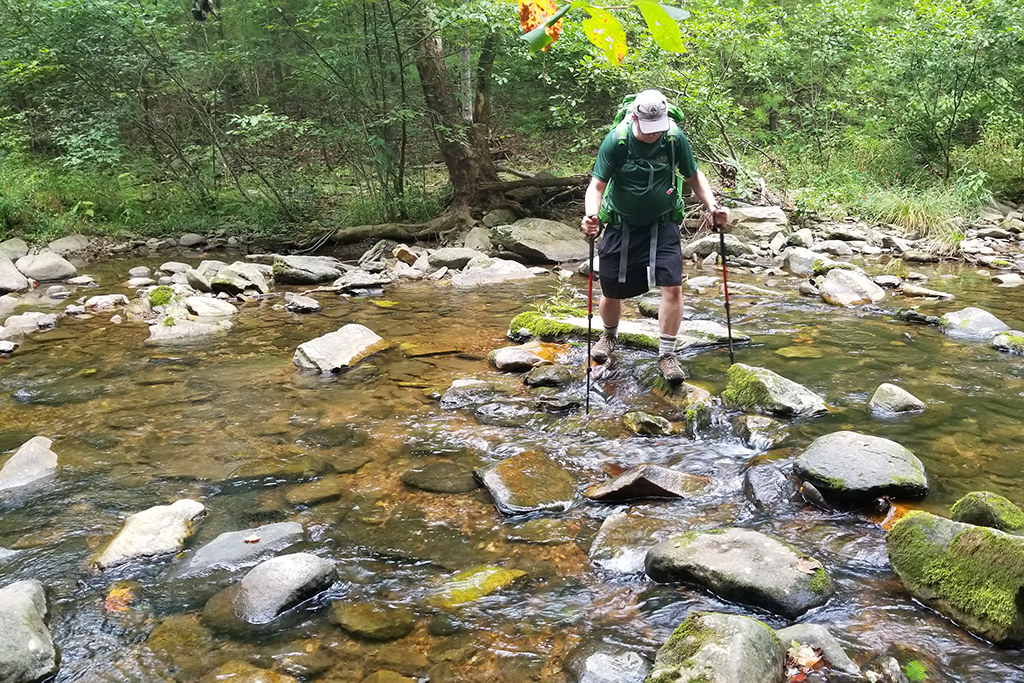
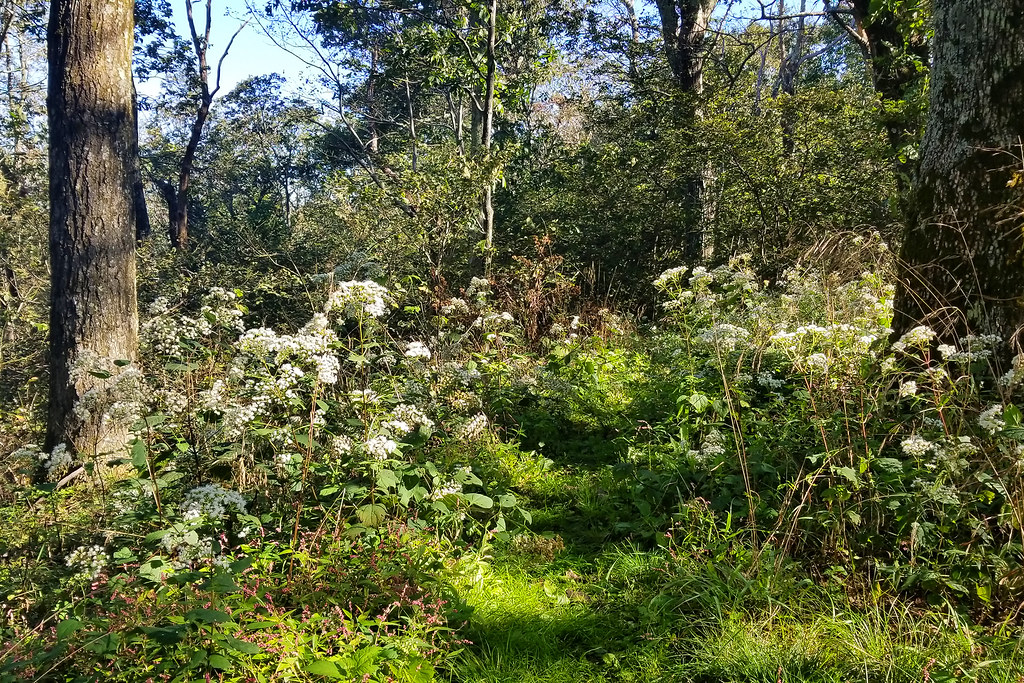
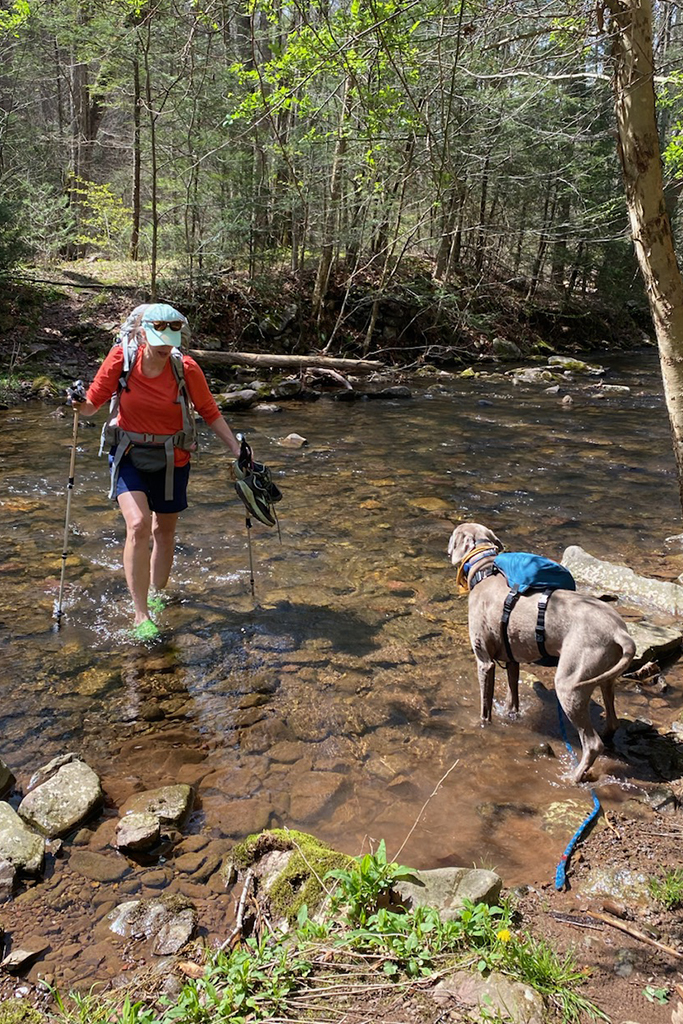
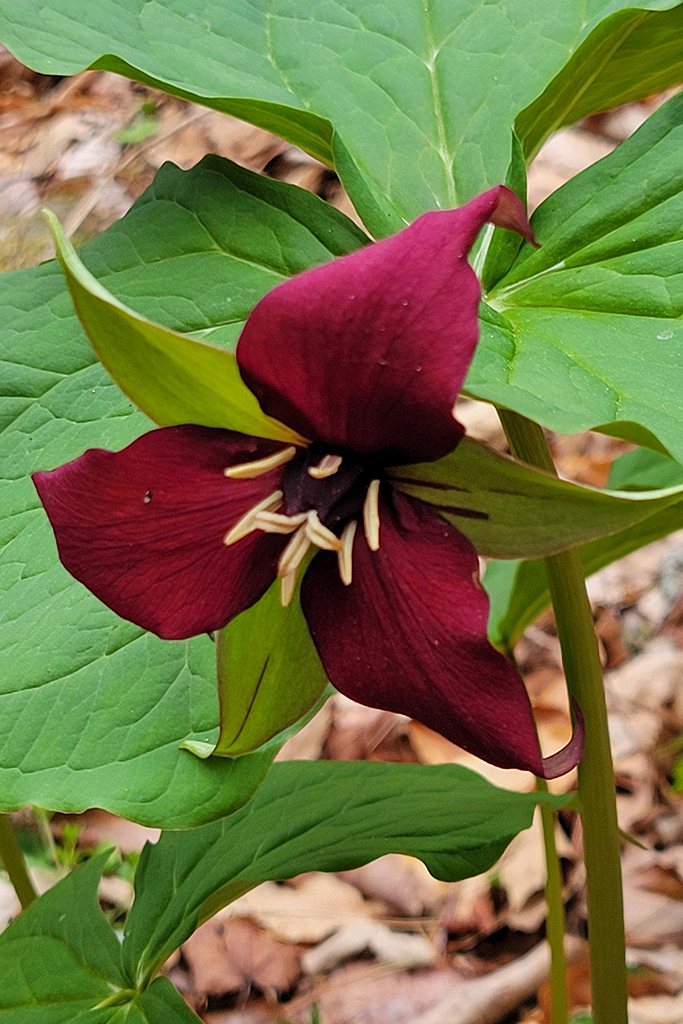
This route is well known for its flowing streams, abundant wildflowers, and dying hemlocks. When we visited, recent rains had the streams running high, and the countless water crossings were full. We came prepared to get wet, each of us carrying a pair of Crocs for wading.

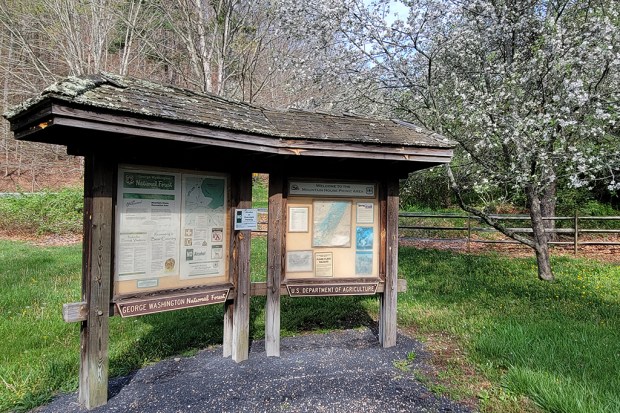
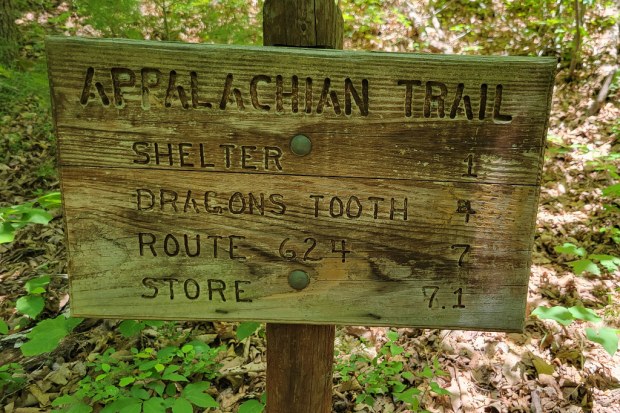
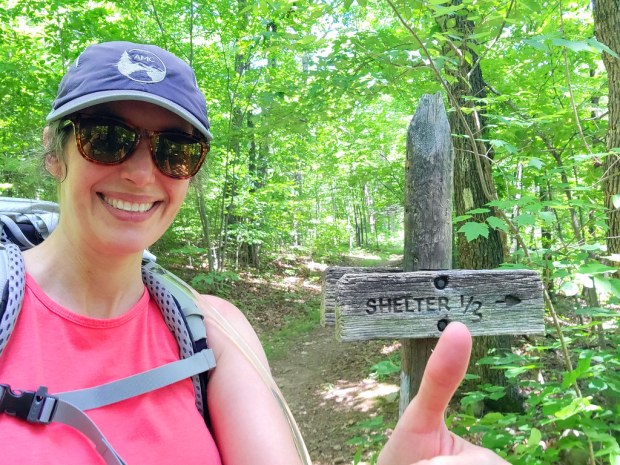
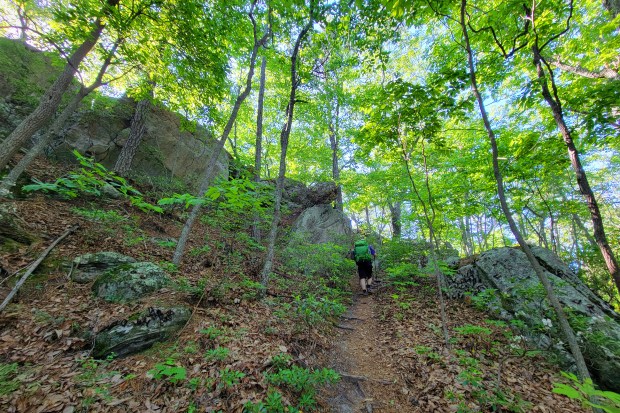
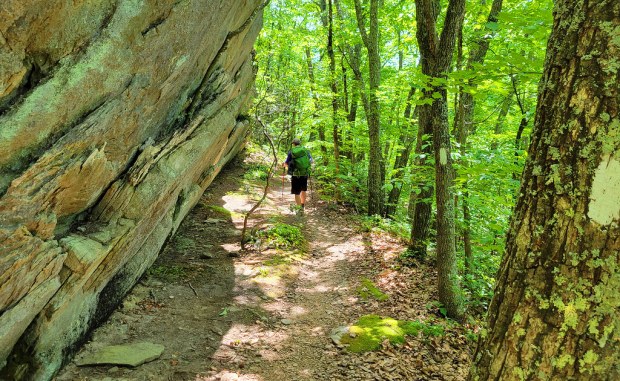
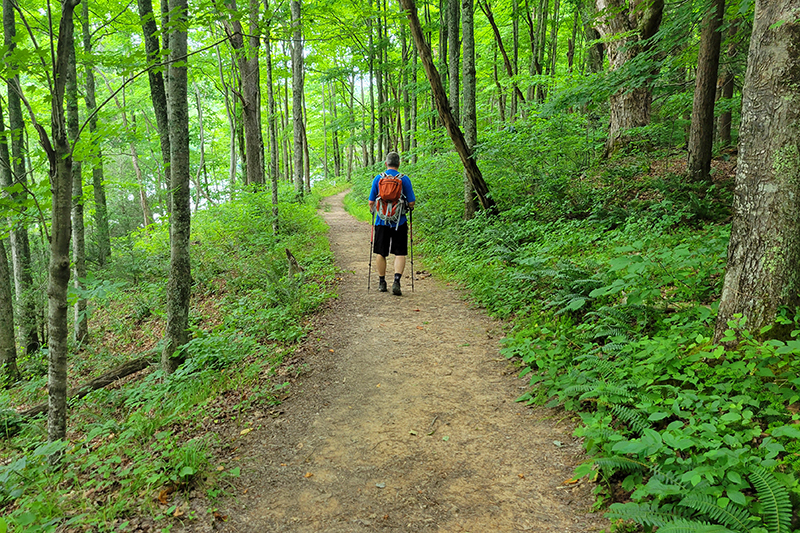
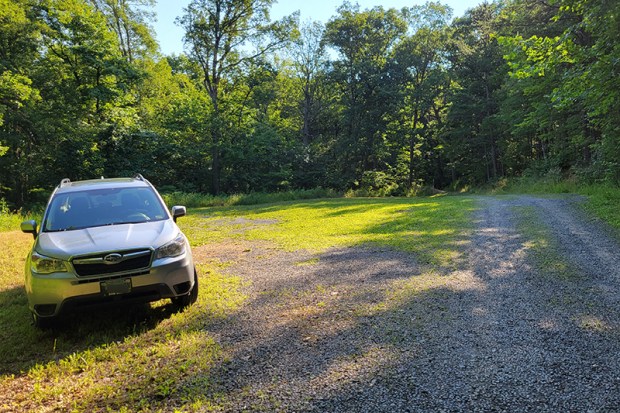
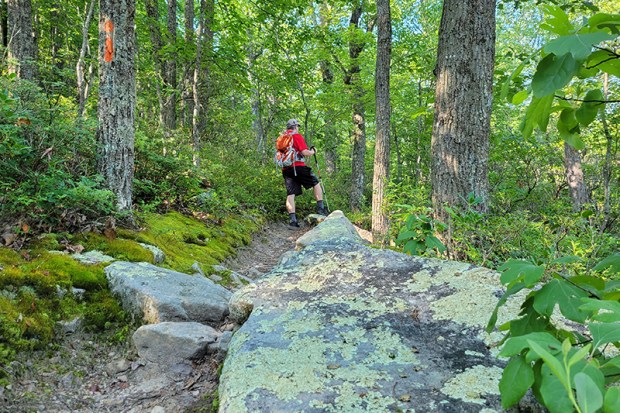
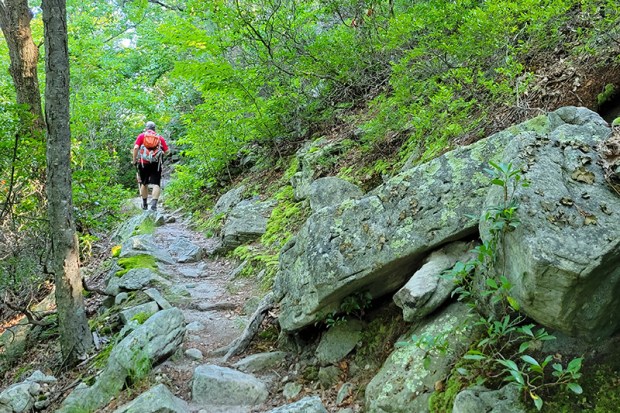
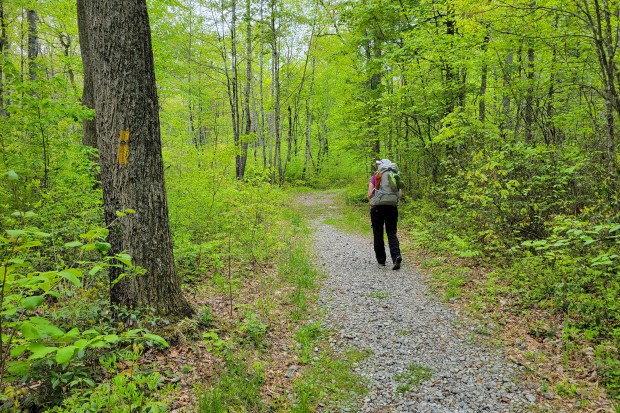
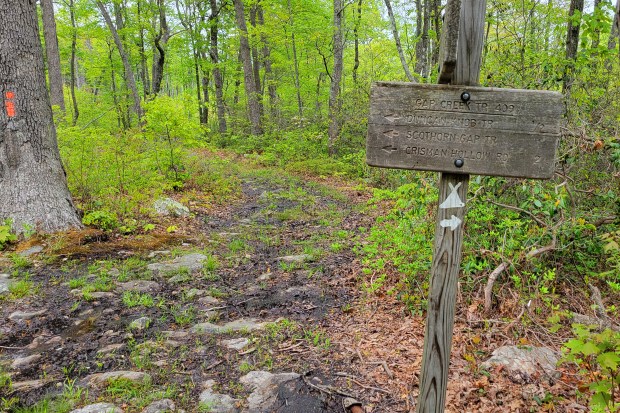
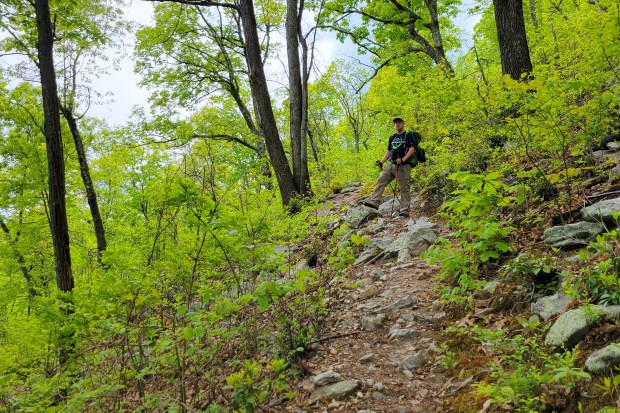
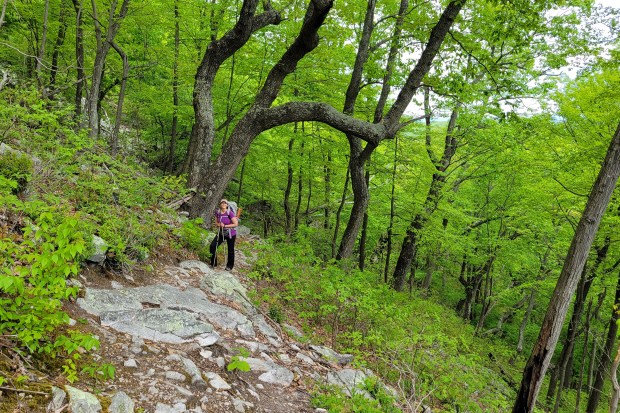
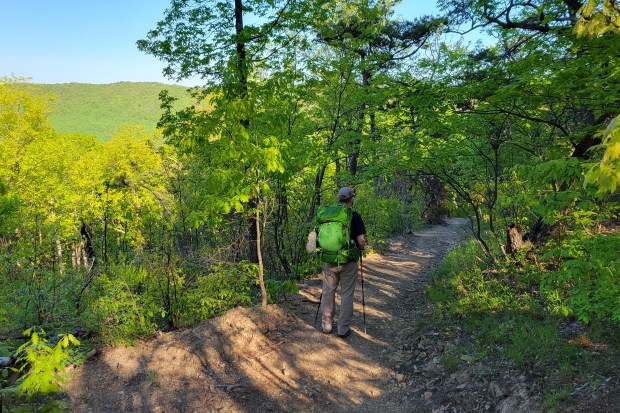
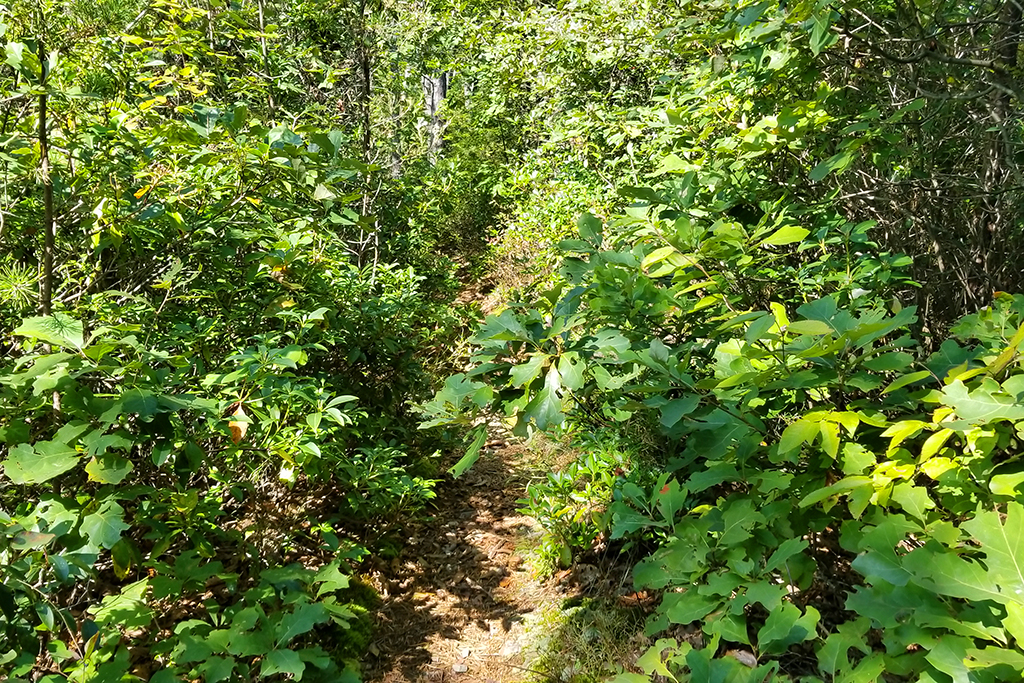
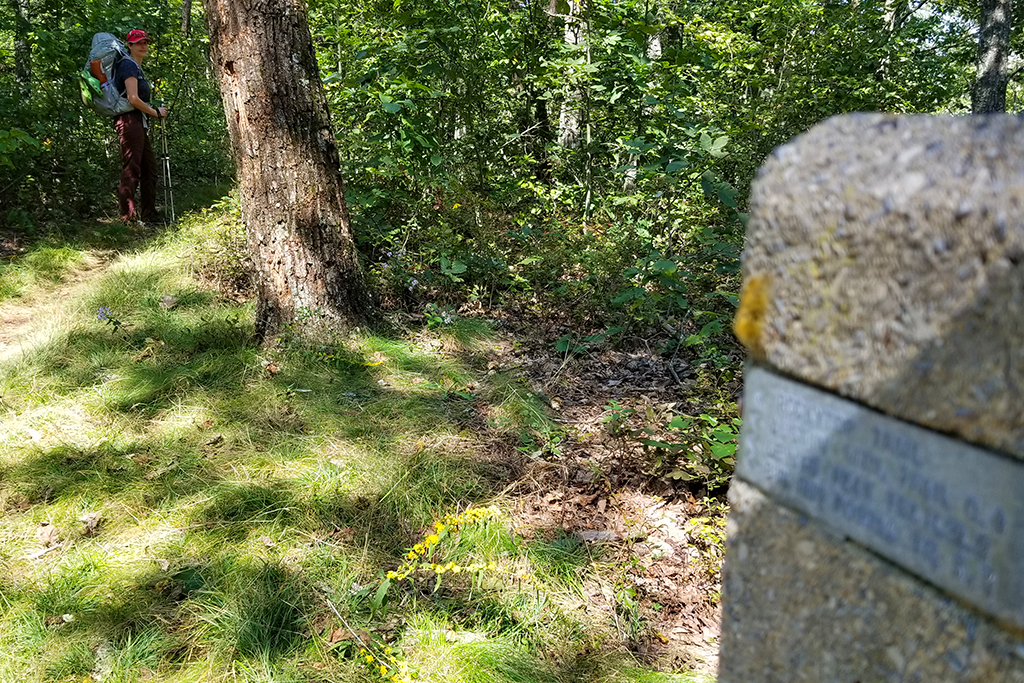
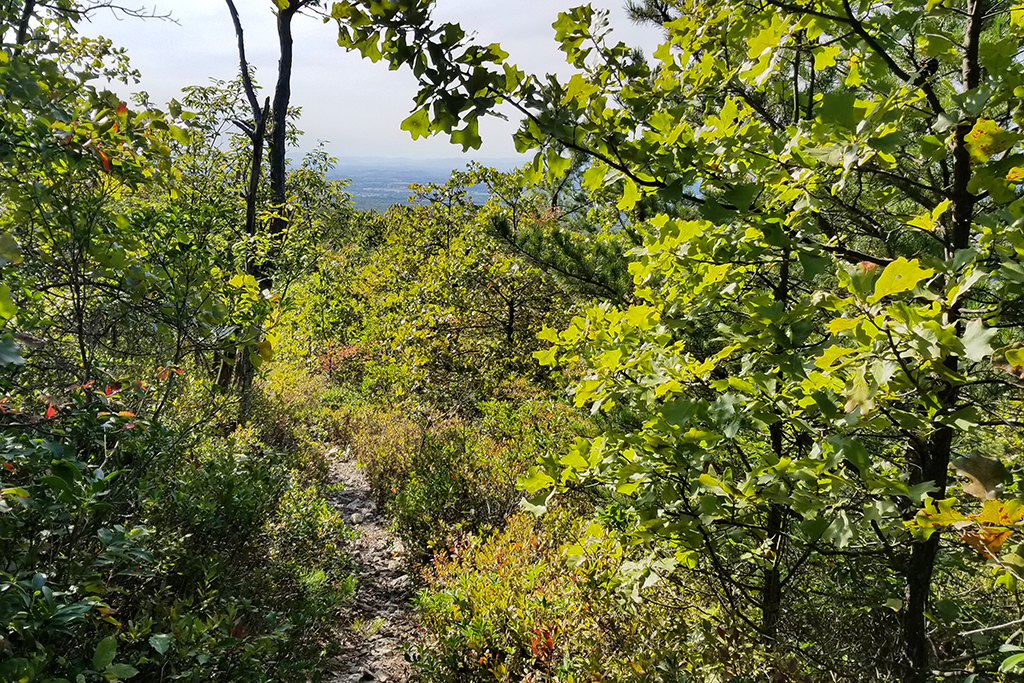
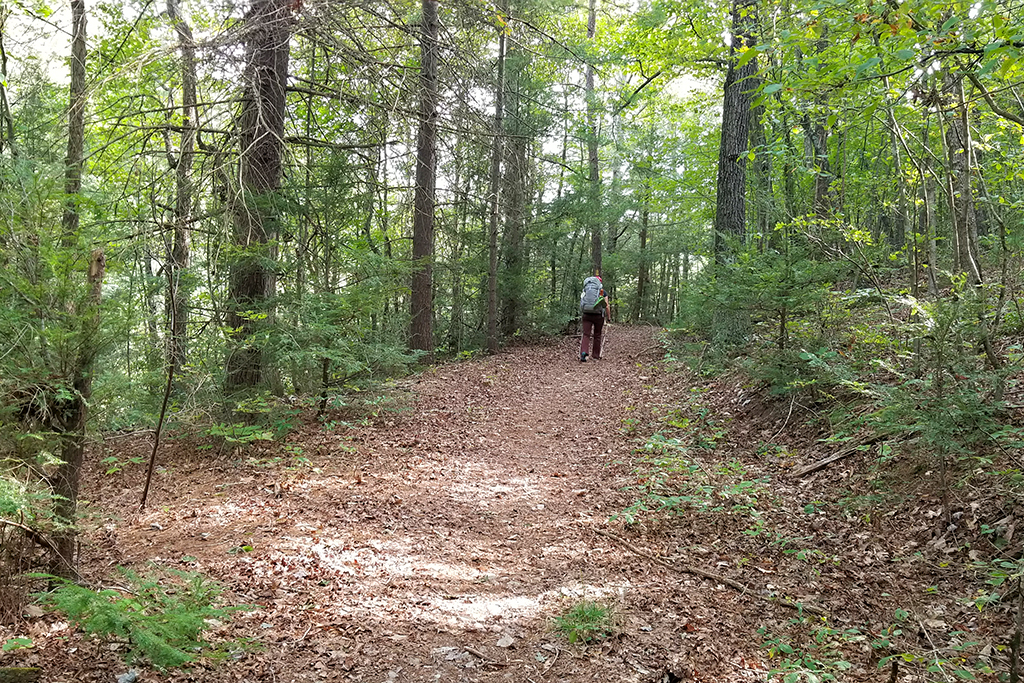
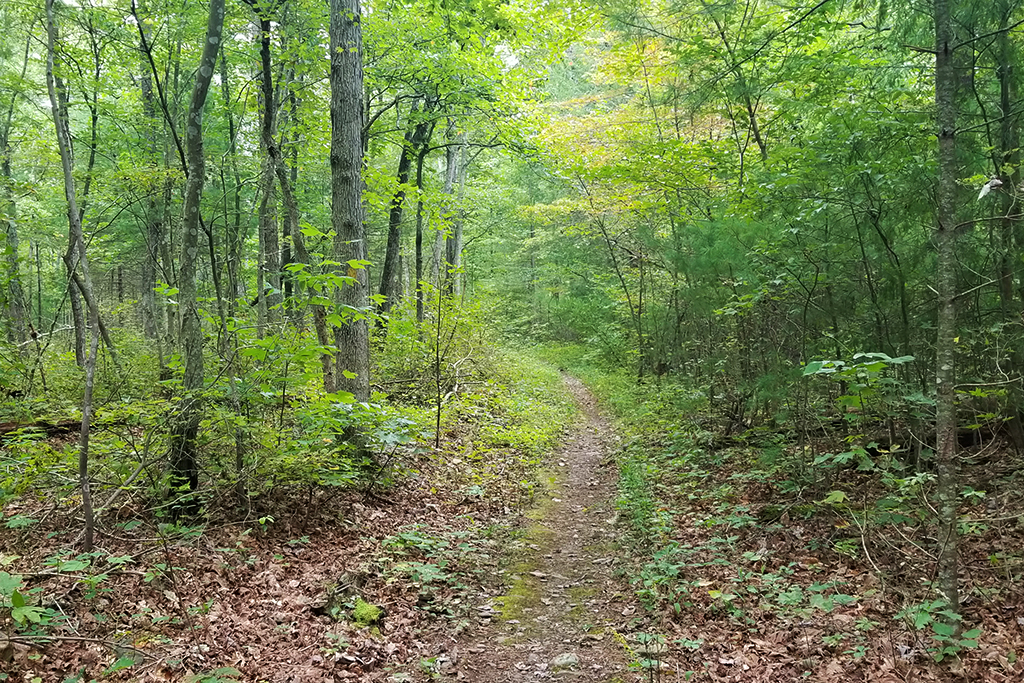
We parked at the Mountain House Picnic Area and hiked about a quarter mile to the official start of the Ramsey’s Draft Trail. At the beginning of the hike, you’ll see options for both the Bridge Hollow Trail and the Road Hollow Trail, but continue straight on Ramsey’s Draft. Follow it for about 2.5 miles until you reach the junction with the Jerry’s Run Trail.
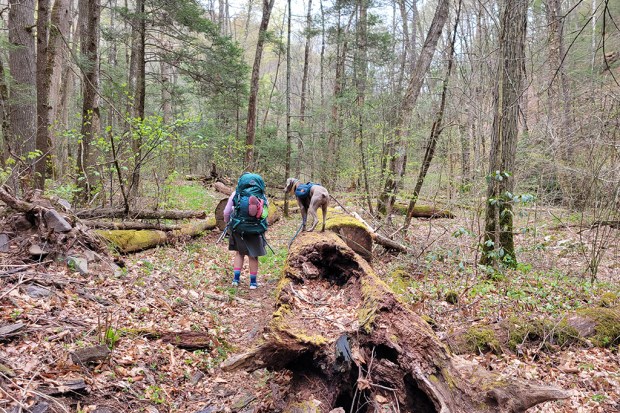
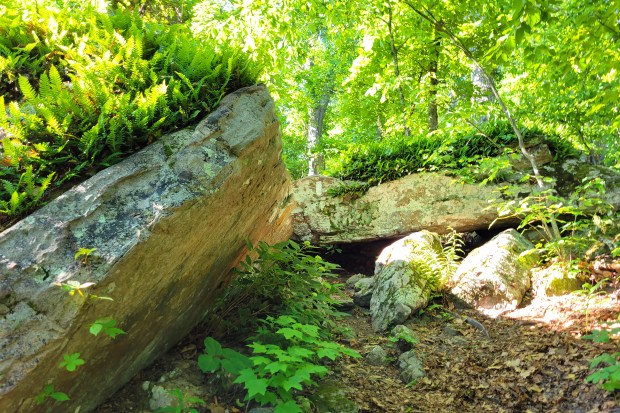
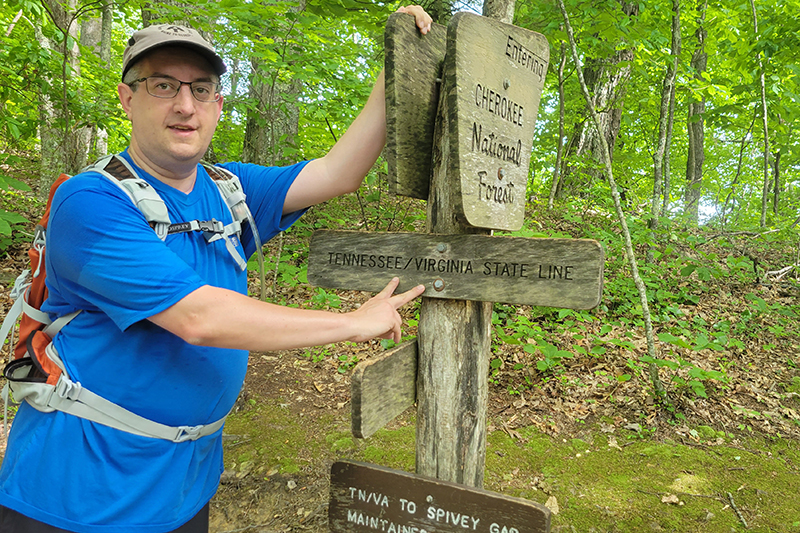
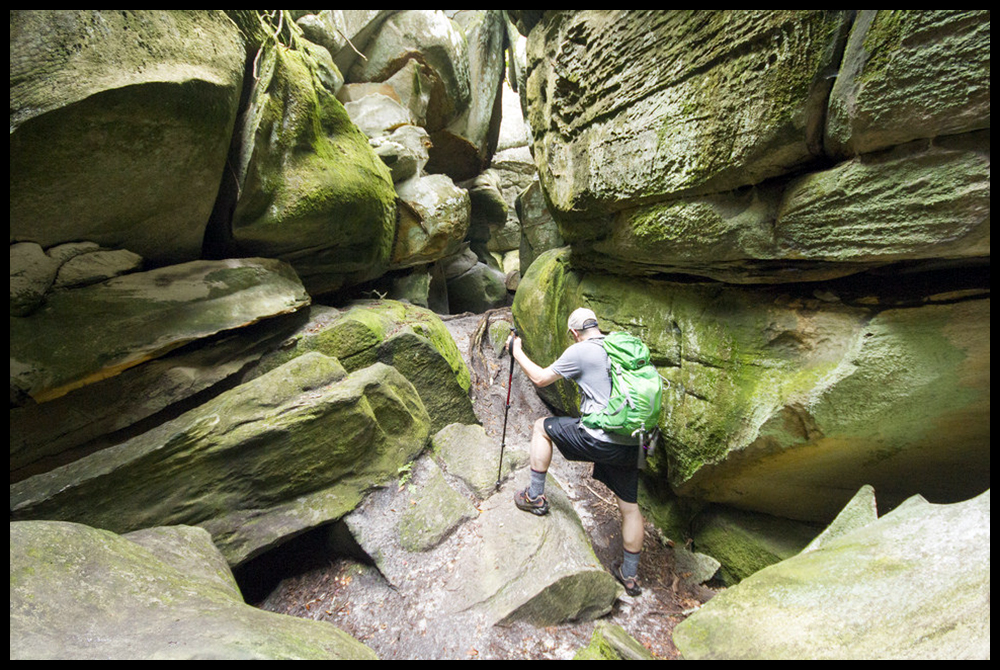
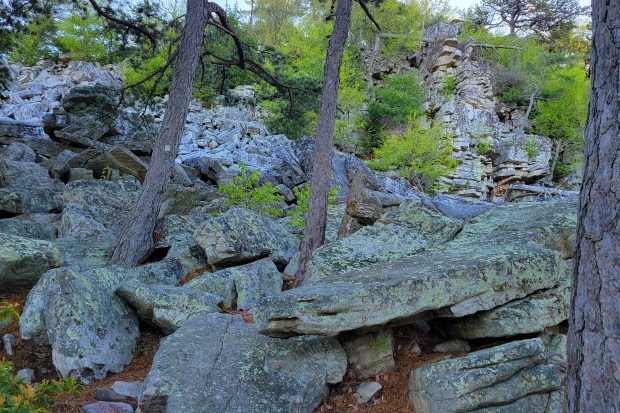
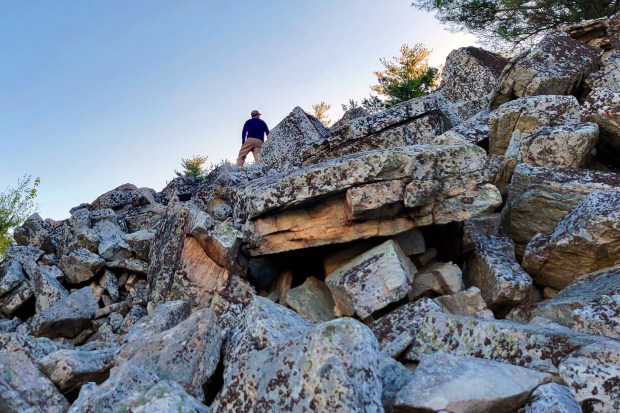
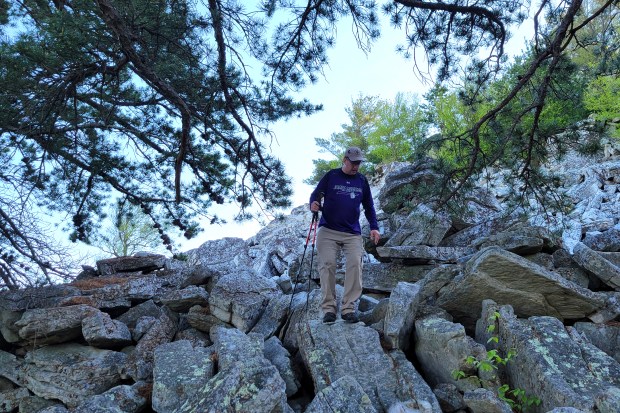
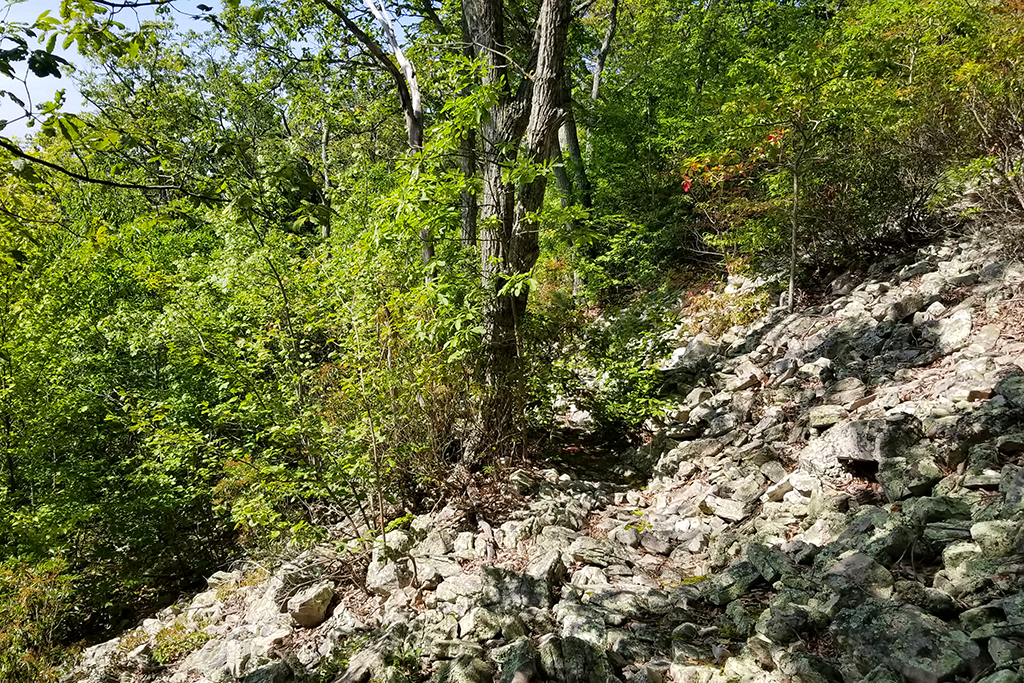
Not long after passing the wilderness boundary sign (and stopping for the obligatory photo), the trail settled alongside a beautiful, wide stream. We passed an old Forest Service shed and soon reached some impressive rock ledges at the first stream crossing. From there, the crossings just kept coming. We encountered at least four more major crossings, along with countless smaller ones.
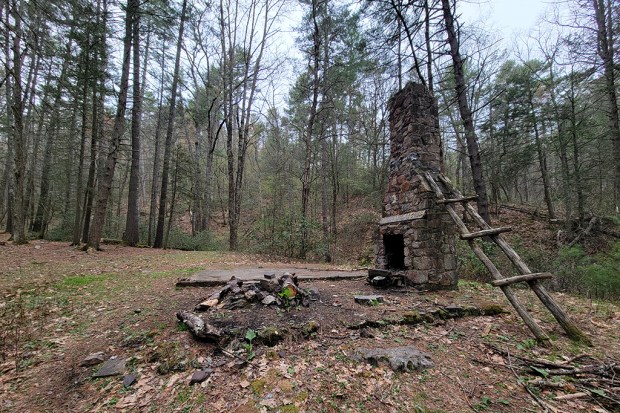
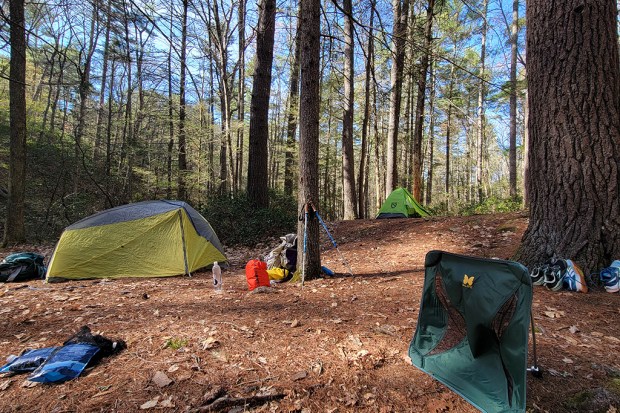
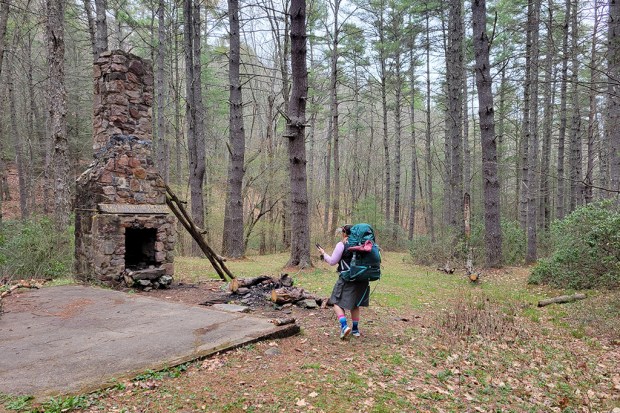
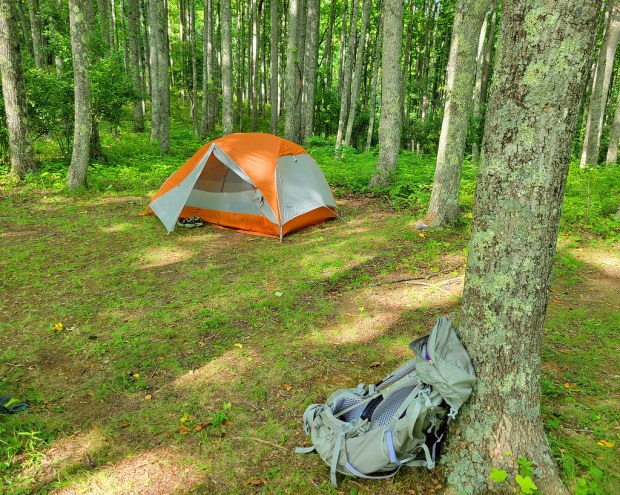
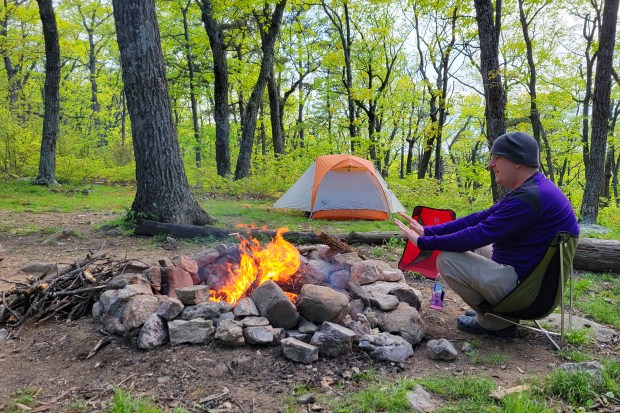
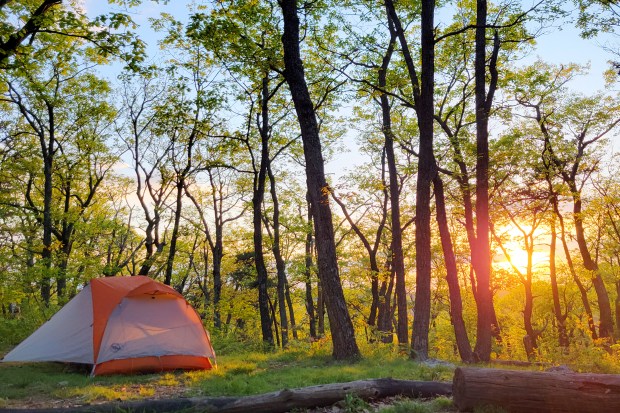
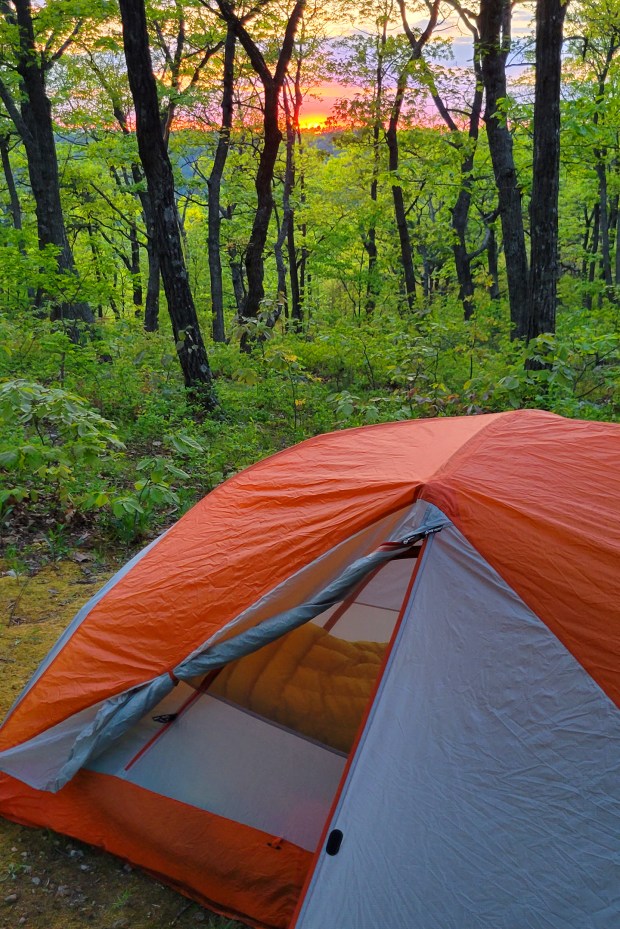
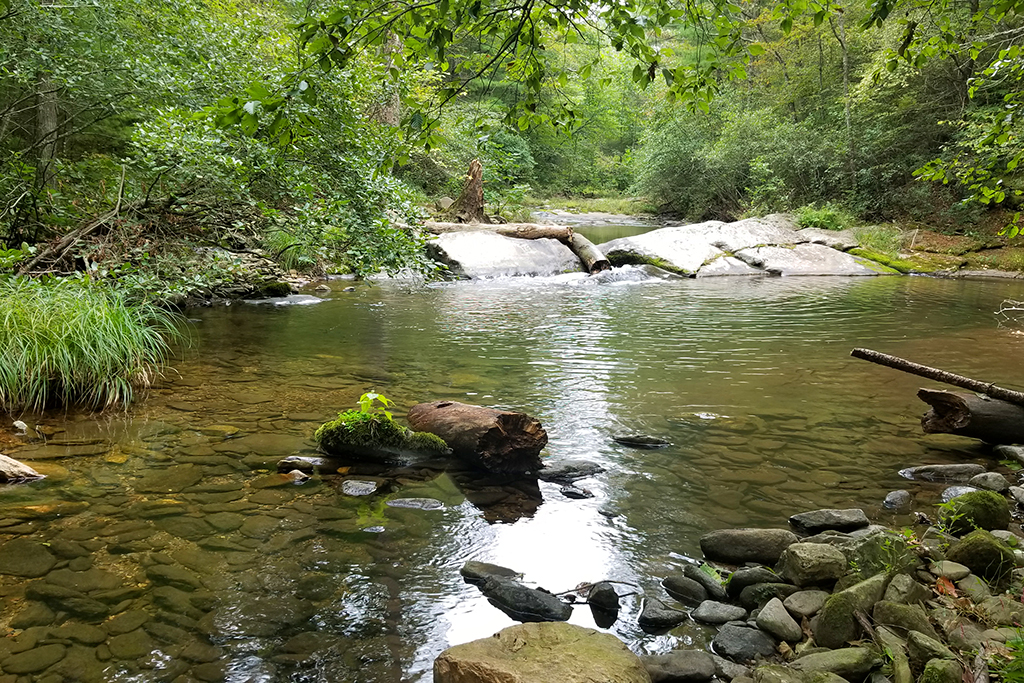
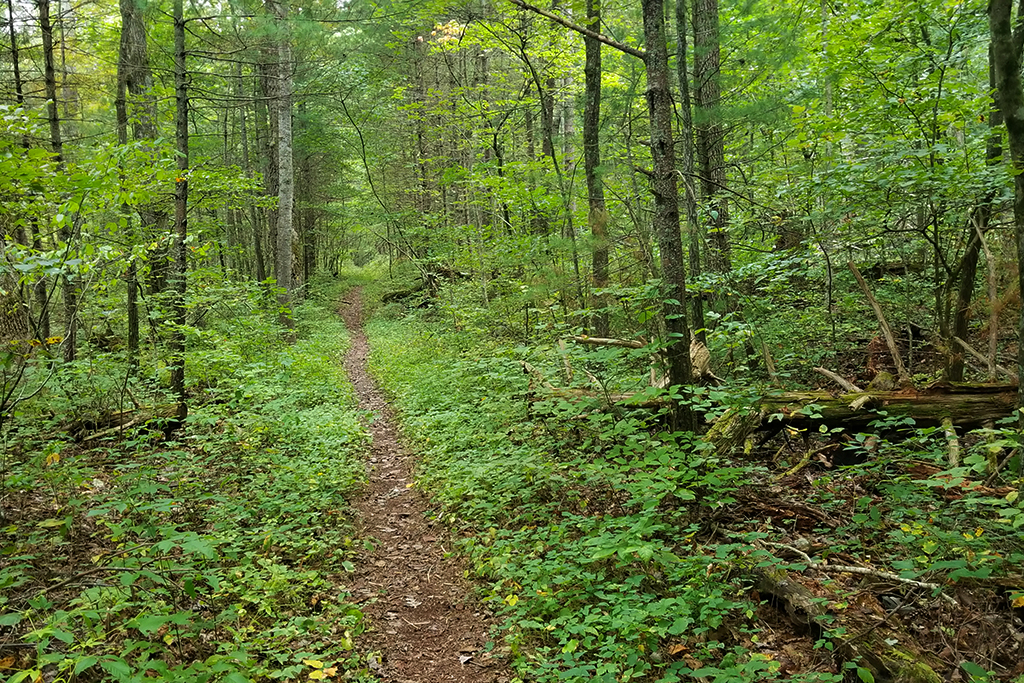
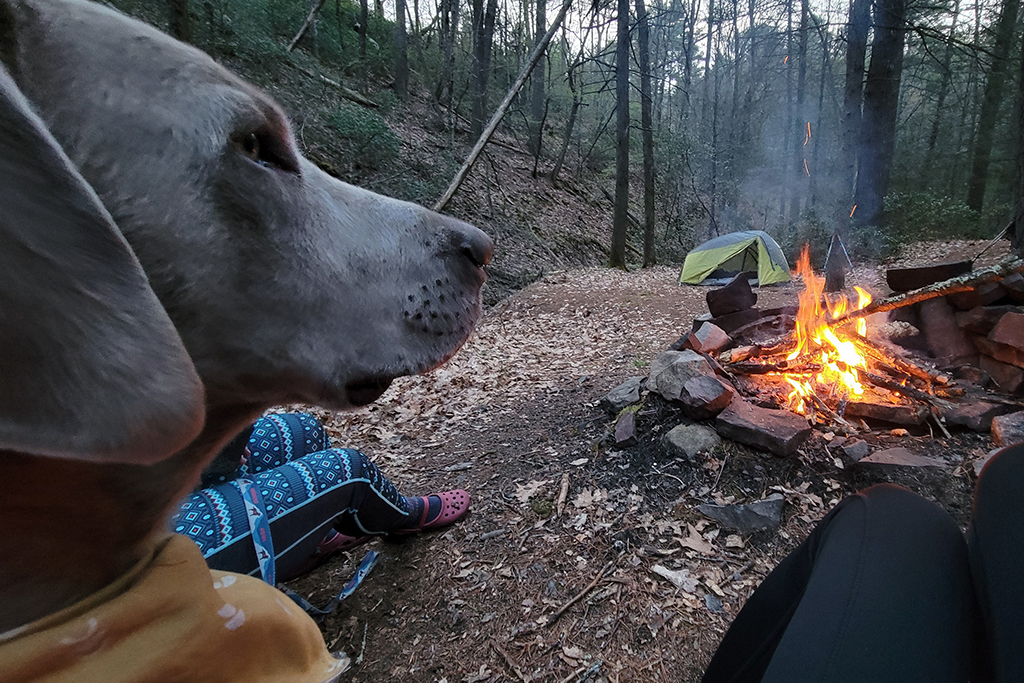
A little over 2.75 miles into the hike, you’ll reach the junction with the Jerry’s Run Trail on the left. From there, the trail climbs gently uphill as it follows the stream, with several more small crossings along the way. After another couple of miles, you’ll arrive at the large grassy clearing where the Sexton Cabin once stood. That’s where we made camp for the night.
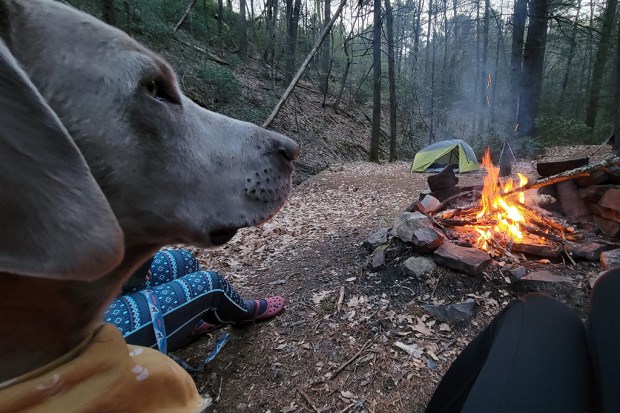
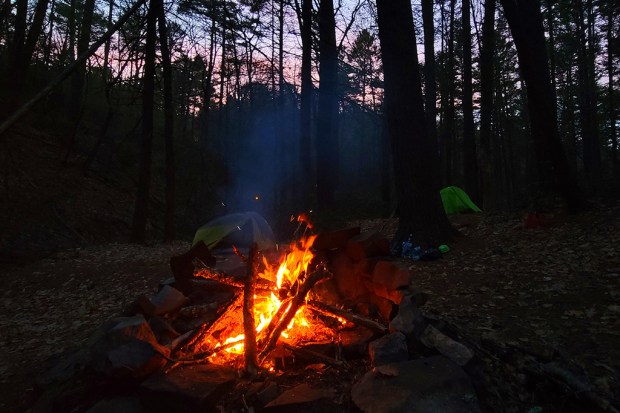
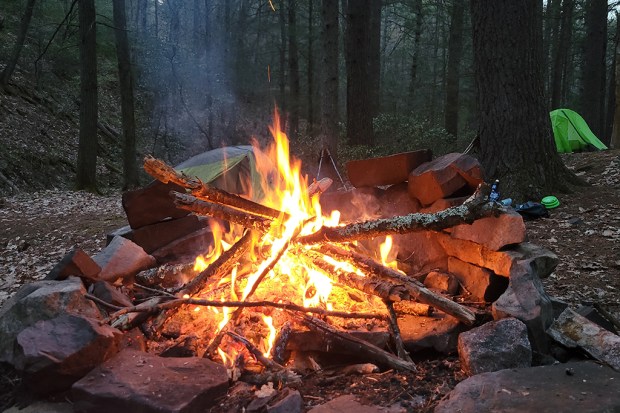
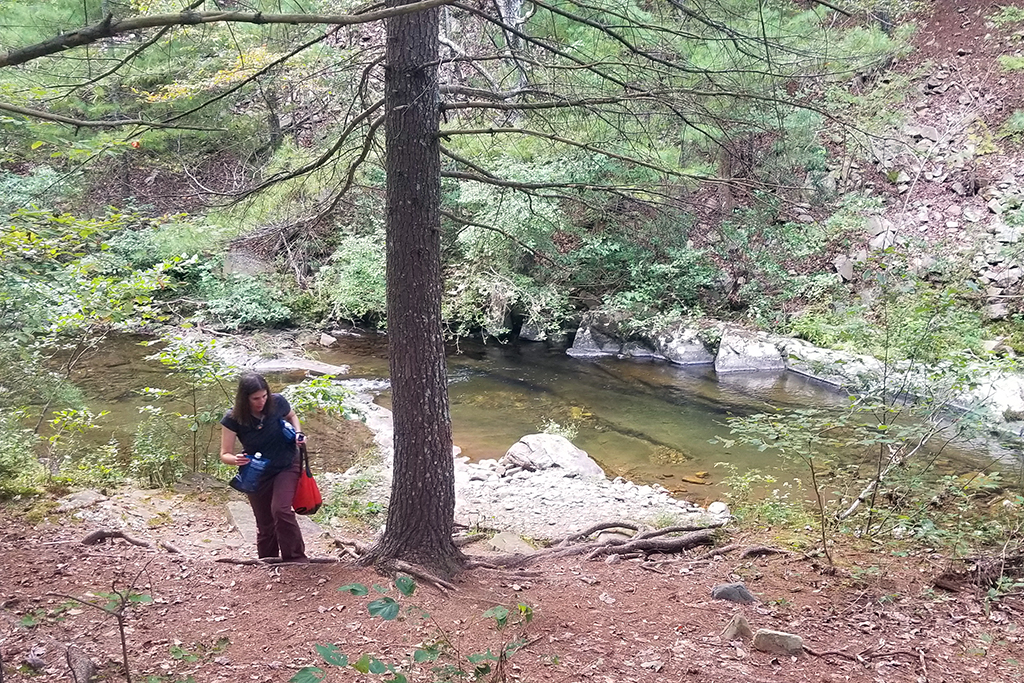
It turned out to be an ideal campsite. There was plenty of room for multiple groups to spread out without feeling crowded, a small stream with more than enough water for filtering and cooking, soft, level ground for tents, and several well-established fire rings.

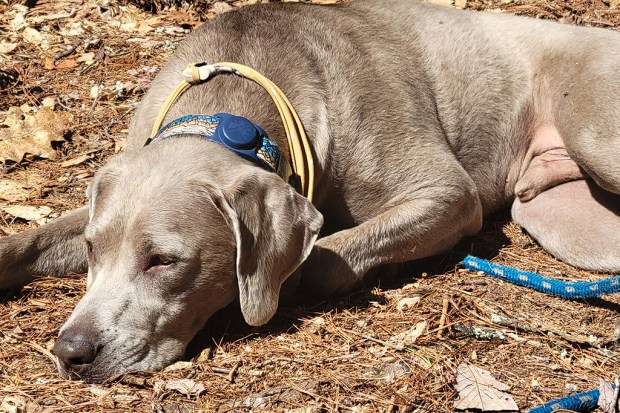
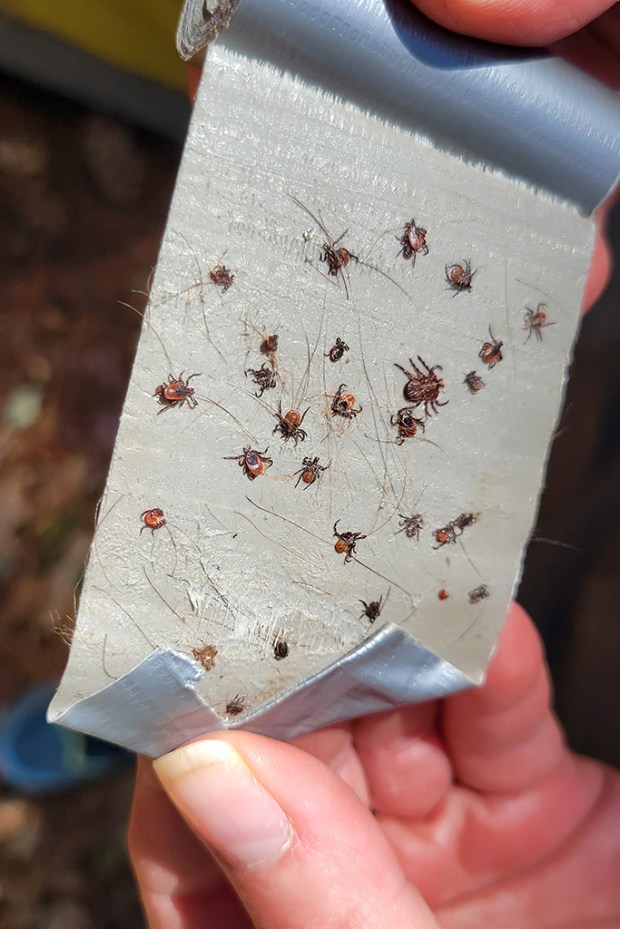
Once camp was set up, we collected firewood, relaxed in our camp chairs, and spent an alarming amount of time pulling ticks off Ridgley. (Yikes!) He had spent much of the hike happily bounding through the undergrowth off leash, and the warm, wet April weather had the ticks out in force. He made for a very appealing meal to those nasty ticks. Thankfully, I didn’t find a single tick on myself.
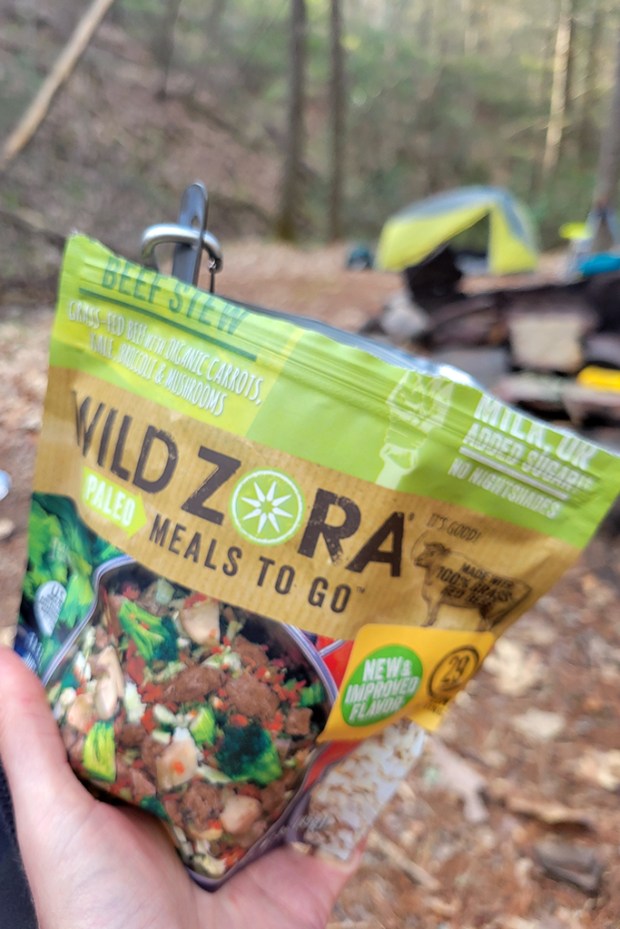
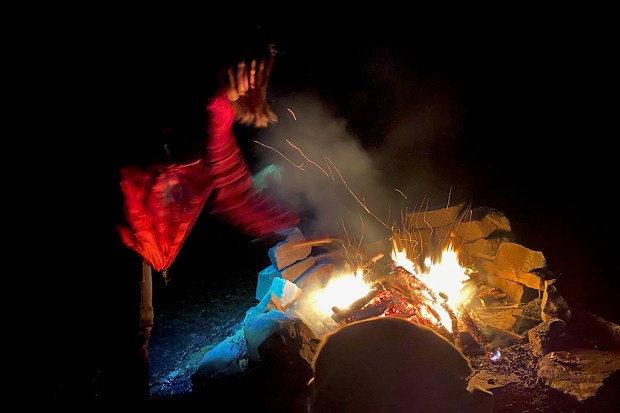
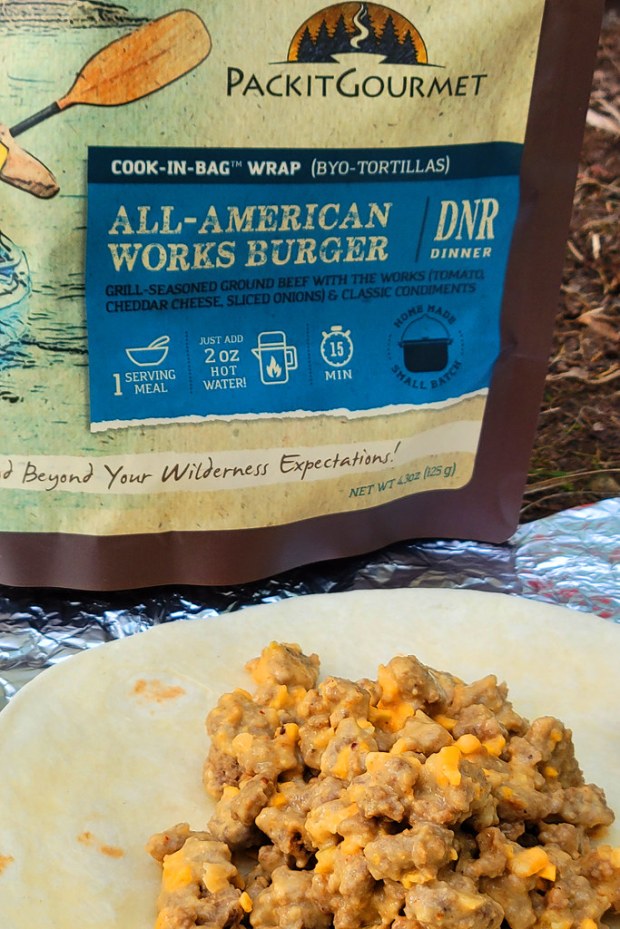
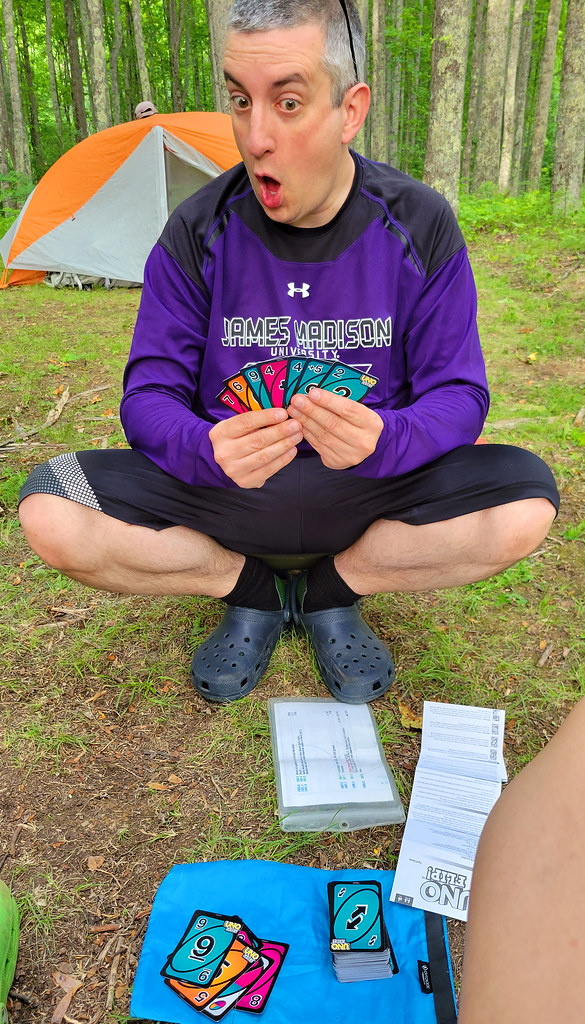
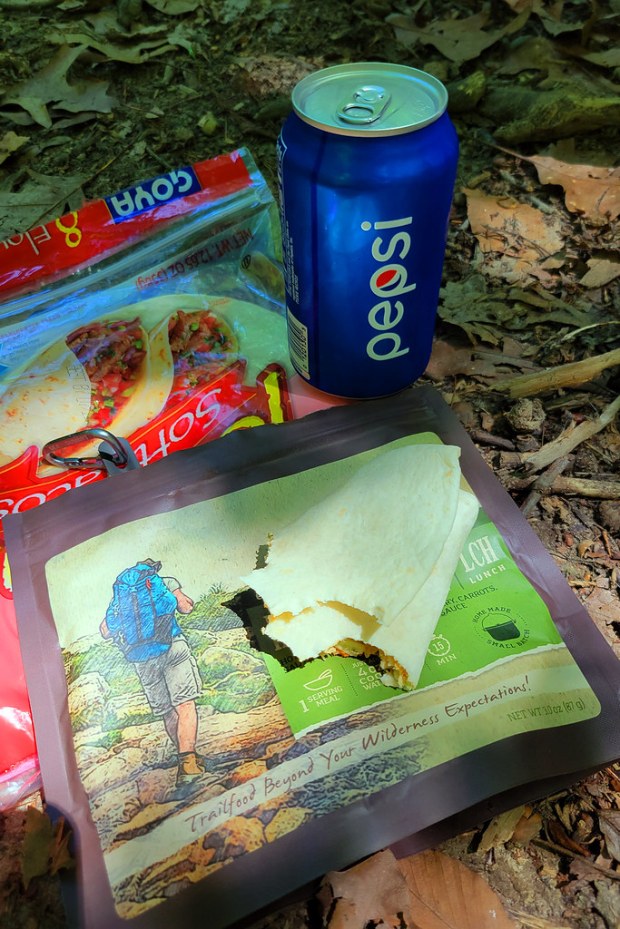
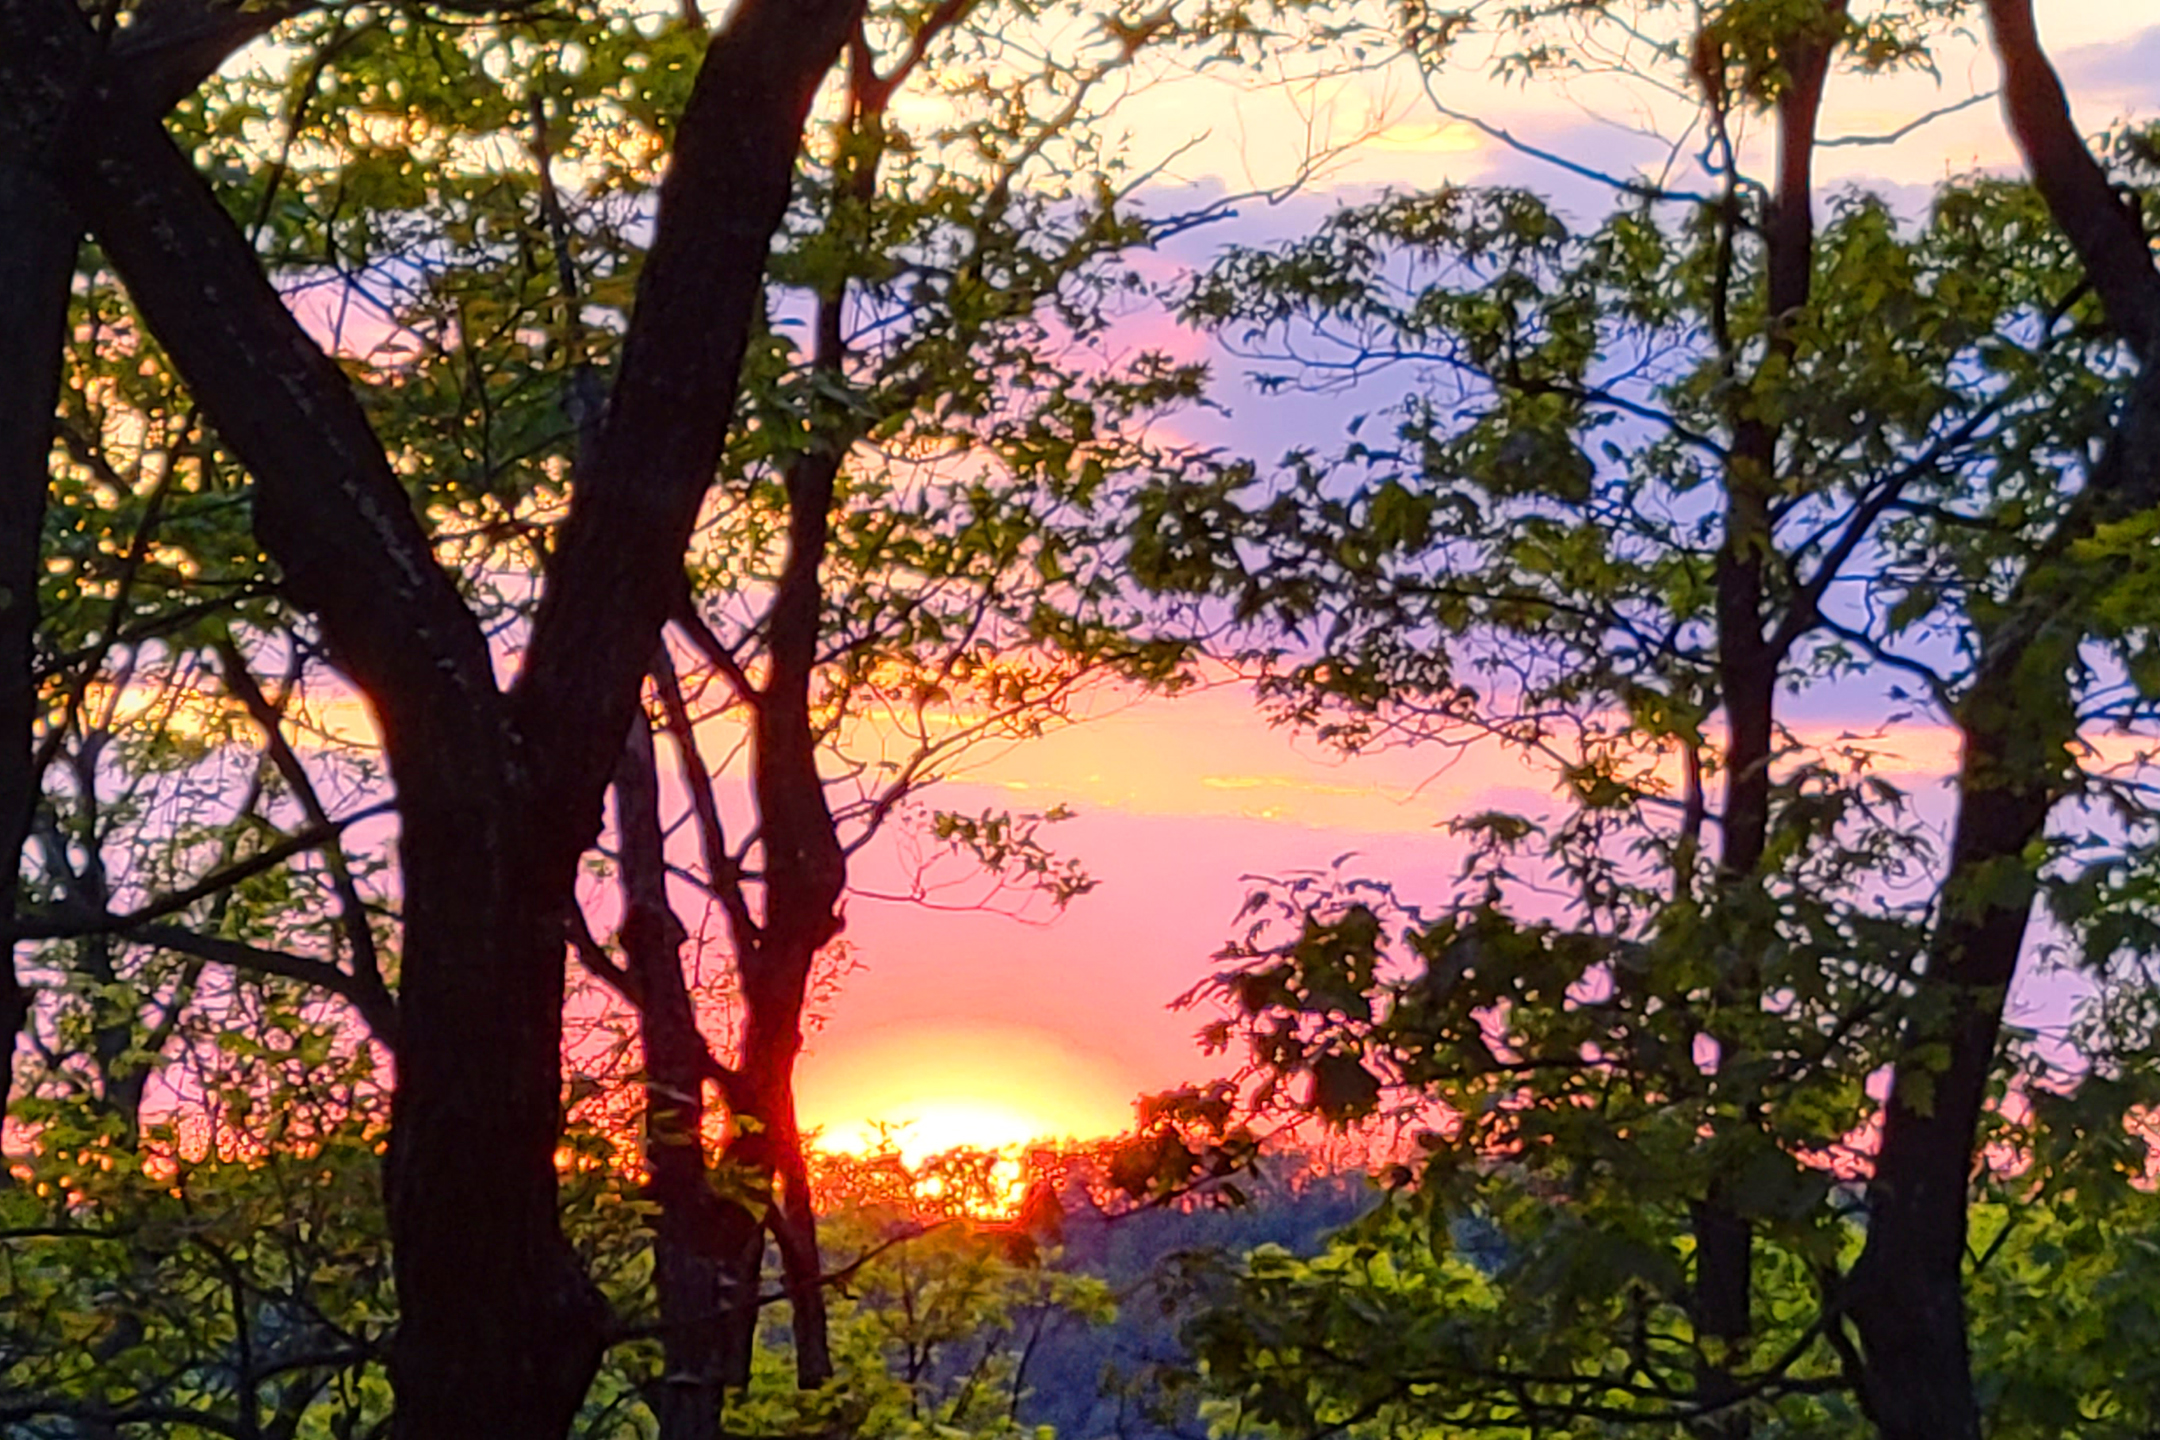
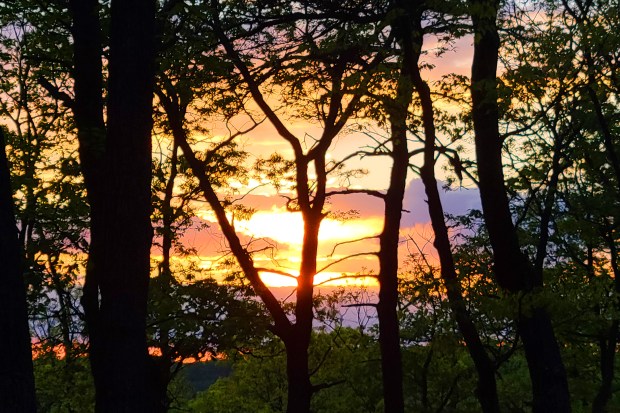
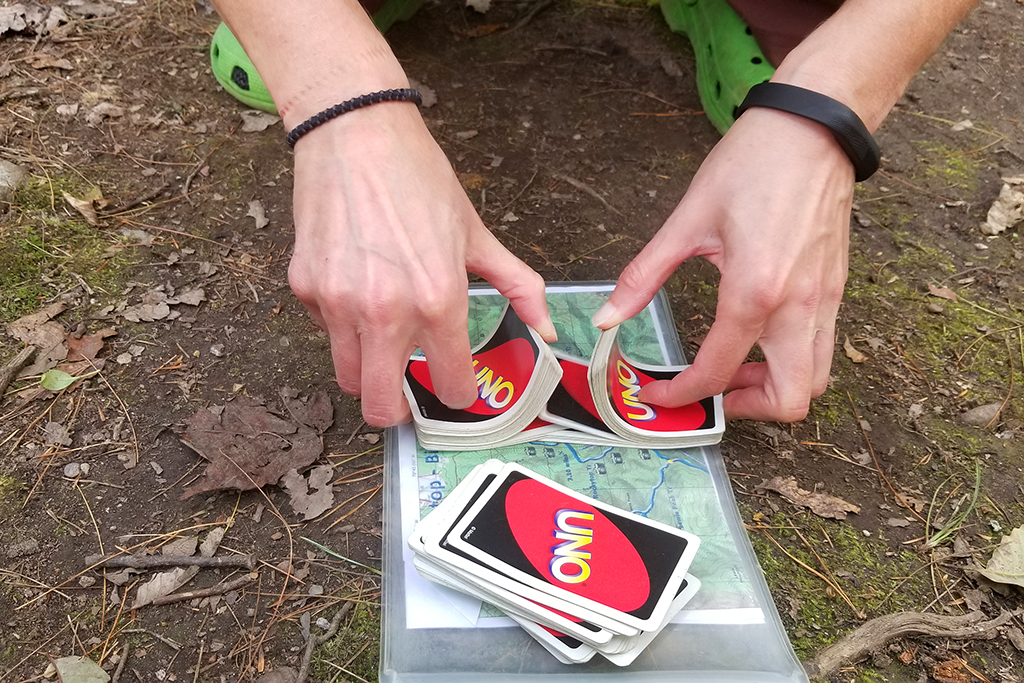
That evening we built a campfire, cooked dinner, and enjoyed several hours of good conversation before turning in for the night.
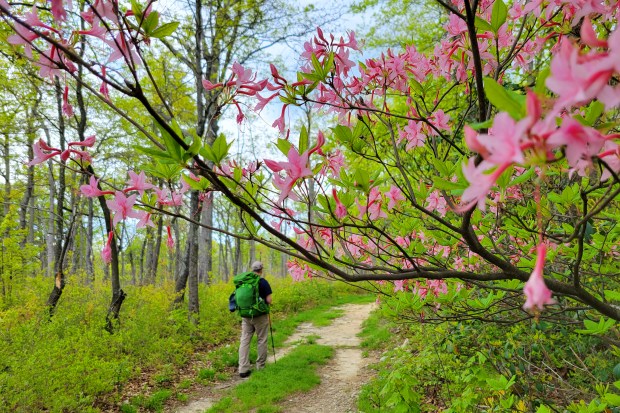
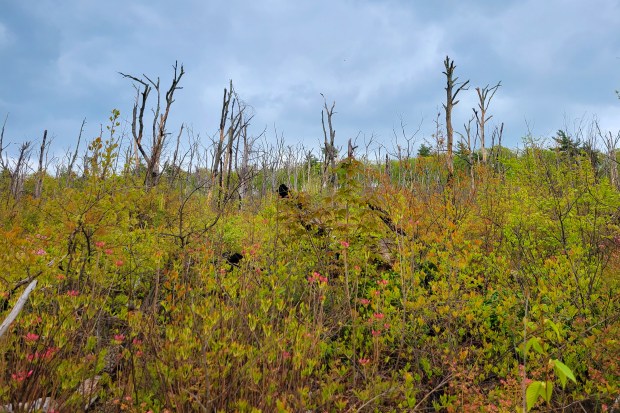
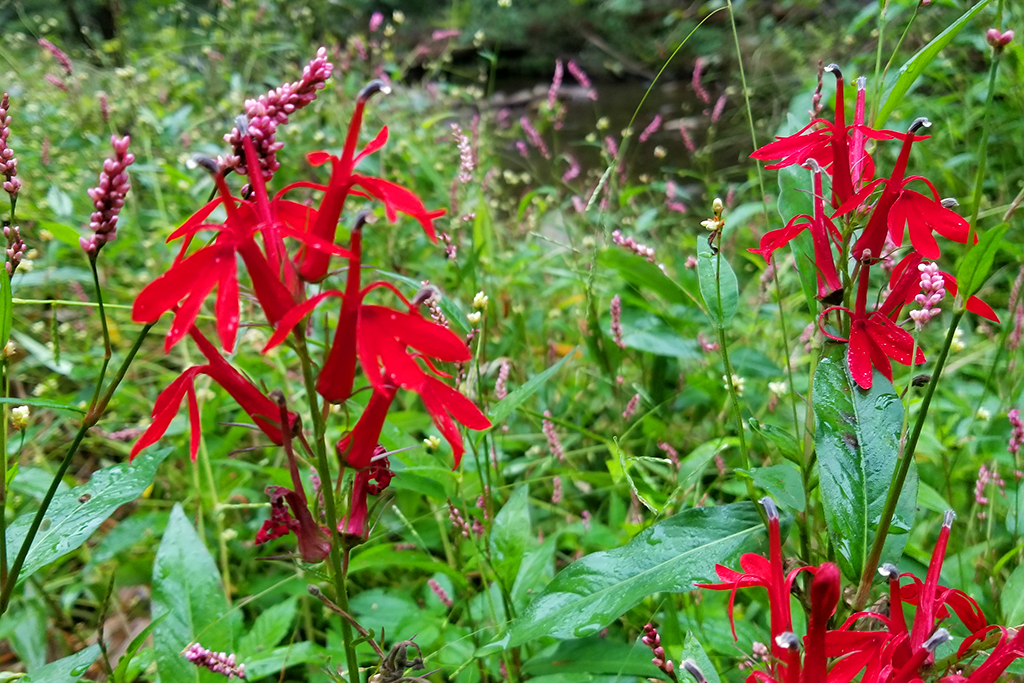
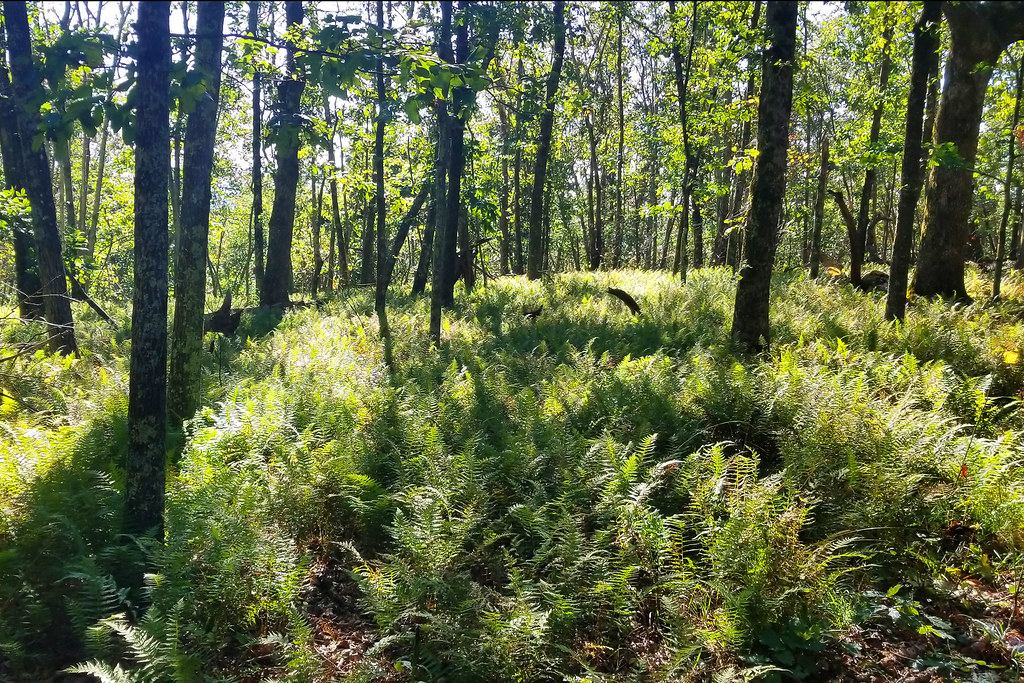
The next morning we packed up and retraced our steps. Without the pressure of reaching camp before others claimed the best campsites, we took more time to admire the wildflowers and the enormous fallen hemlocks. It was heartbreaking to see so many magnificent trees lost to the invasive hemlock woolly adelgid.
We also abandoned any attempt to keep our feet dry. Rather than changing into Crocs at every crossing, we simply walked straight through the streams and embraced the feeling of squishy hiking shoes.

We reached the car just as clouds began rolling in—perfect timing. It was exactly the kind of backpacking trip we’d hoped for: beautiful, relaxing, and uncomplicated. I’d highly recommend this route to anyone looking for an easy overnight with lots of water crossings. If you’re hoping for something longer, there are also plenty of options in Ramsey’s Draft to turn this into a loop or extend the adventure.
Trail Notes
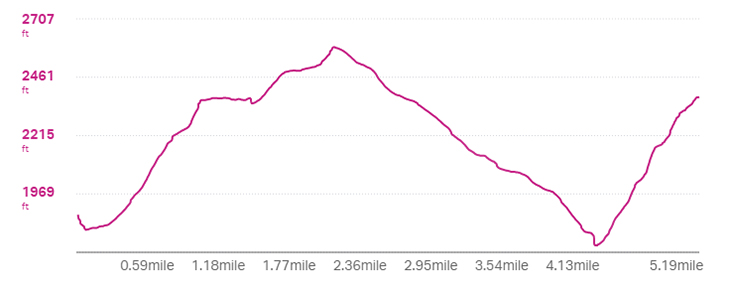
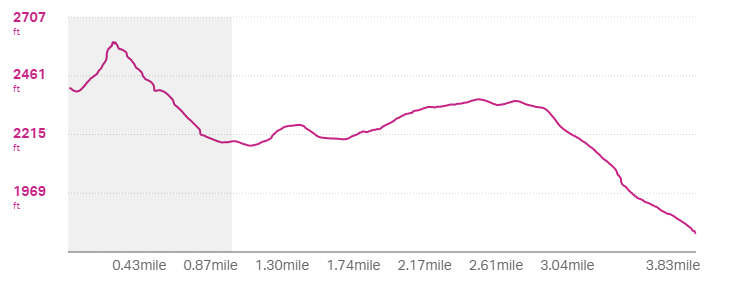
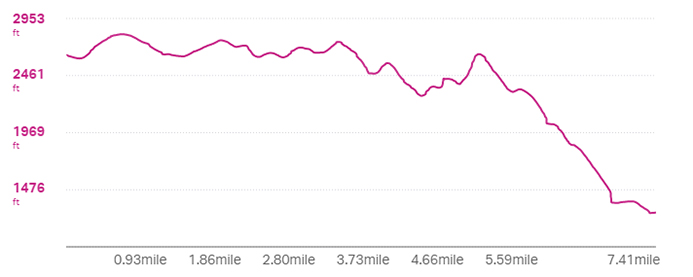
- Distance – 9.5 miles (out-and-back, with 4.75 miles each day)
- Elevation Change – 946 ft. (900′ on Day 1, 46′ on Day 2)
- Difficulty – 2. This is an easy hike, but you should be confident with water crossings
- Trail Conditions – 3. Some deadfall and potentially tricky water crossings
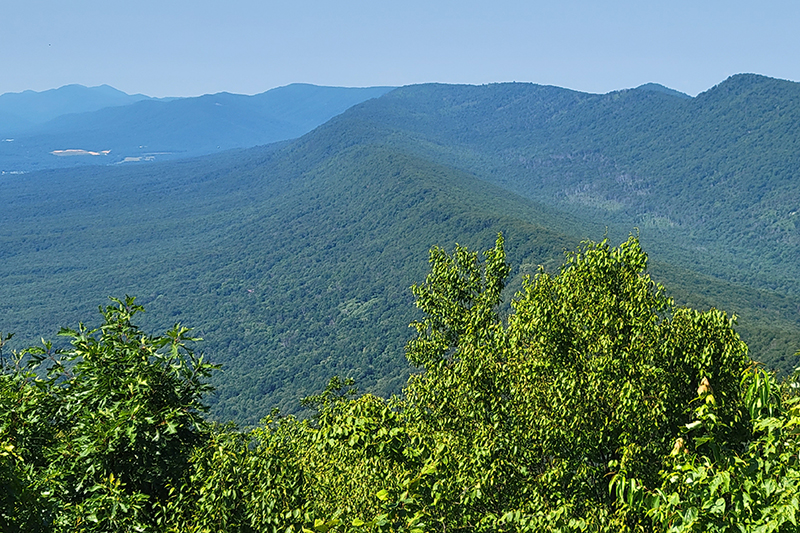
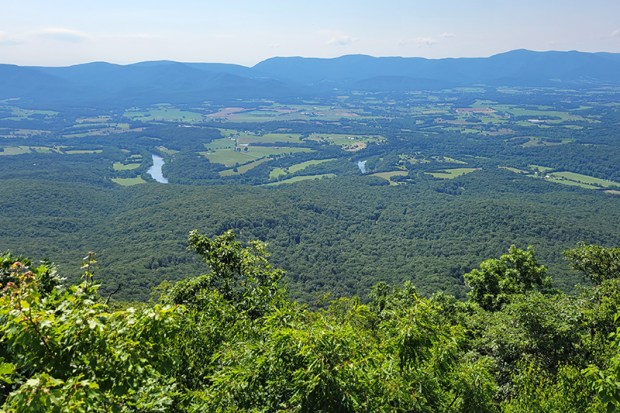
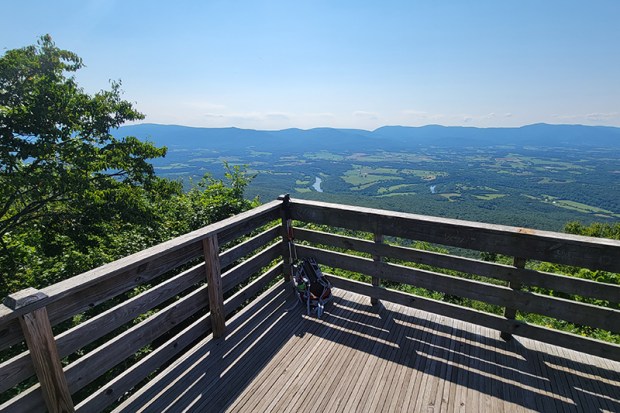
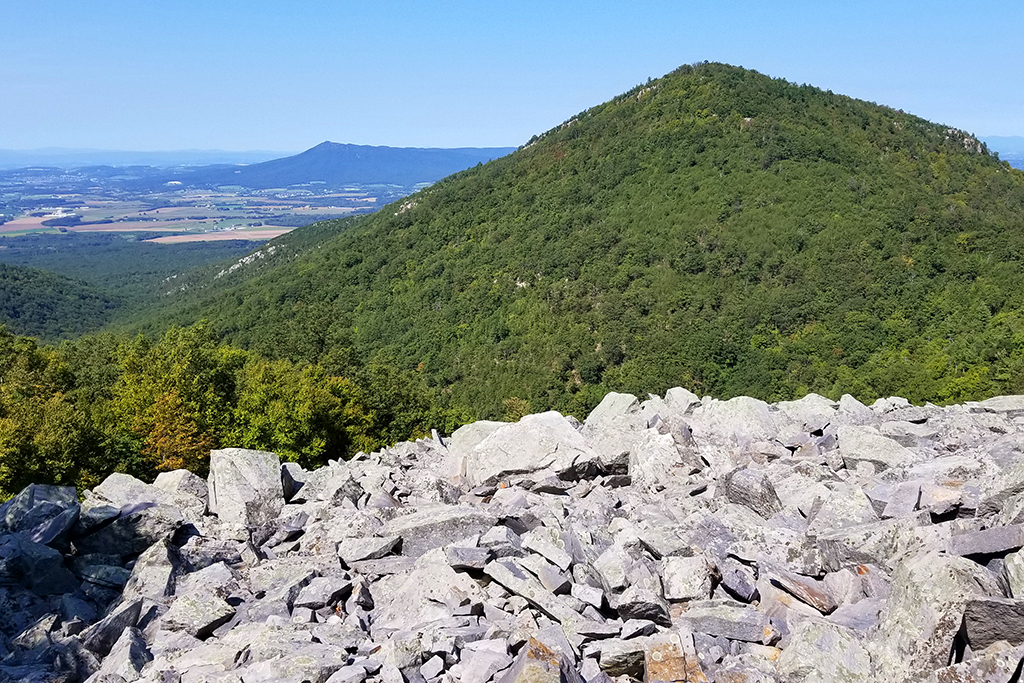
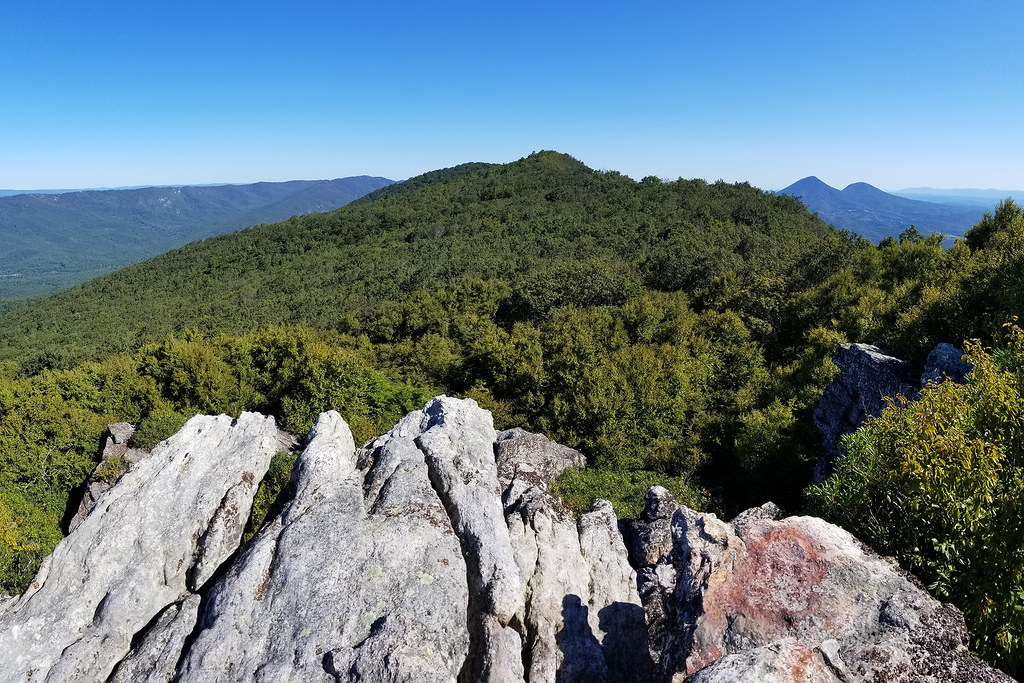
- Views – 0.
- Streams/Waterfalls – 5. Gorgeous, abundant streams
- Wildlife – 0. Unless you count ticks, and then… still a 0
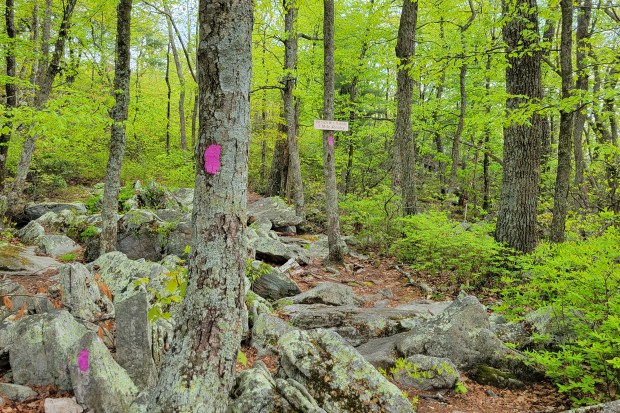
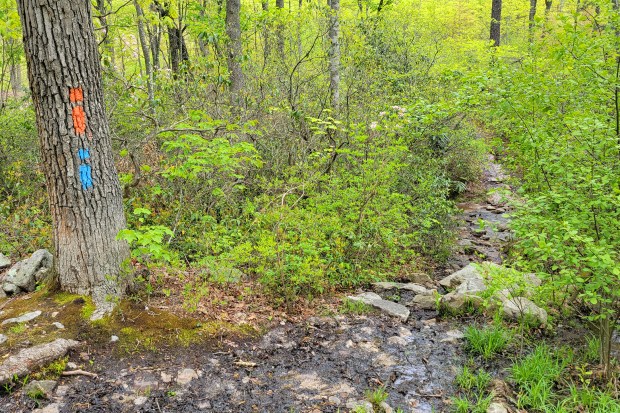
- Ease to Navigate – 3. The trail is not heavily marked and can be lost at water crossings
- Solitude – 2. We hiked on a beautiful spring weekend, and only saw a handful of people