This 4.5-mile hike is close to Charlottesville and is extremely popular for its beautiful river scenery, swimming holes, and waterfalls.
View the Full Album of Photos From This Hike
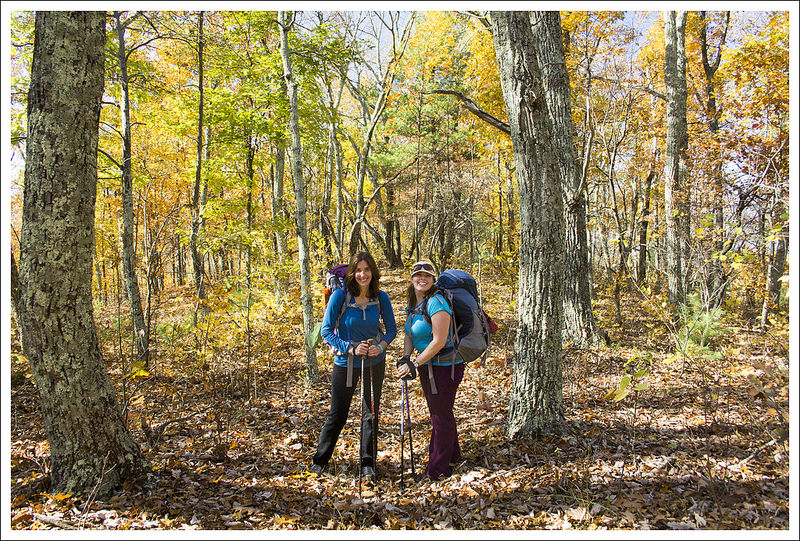
Adam Says…
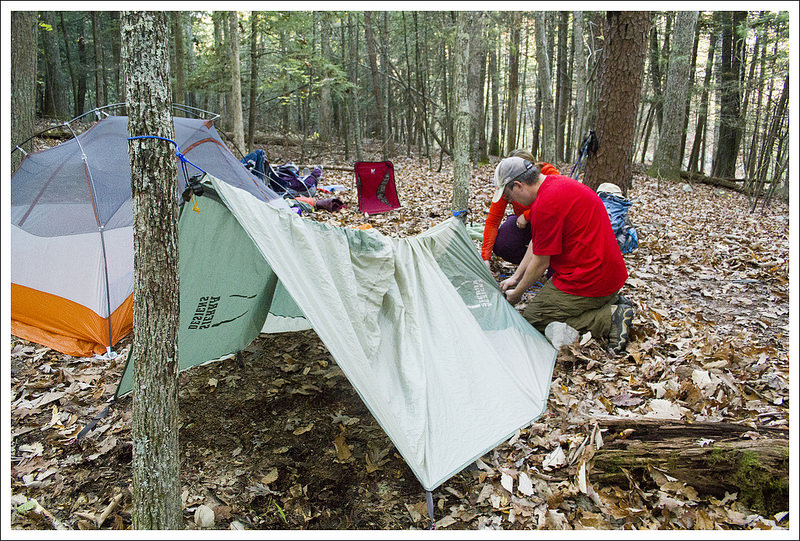
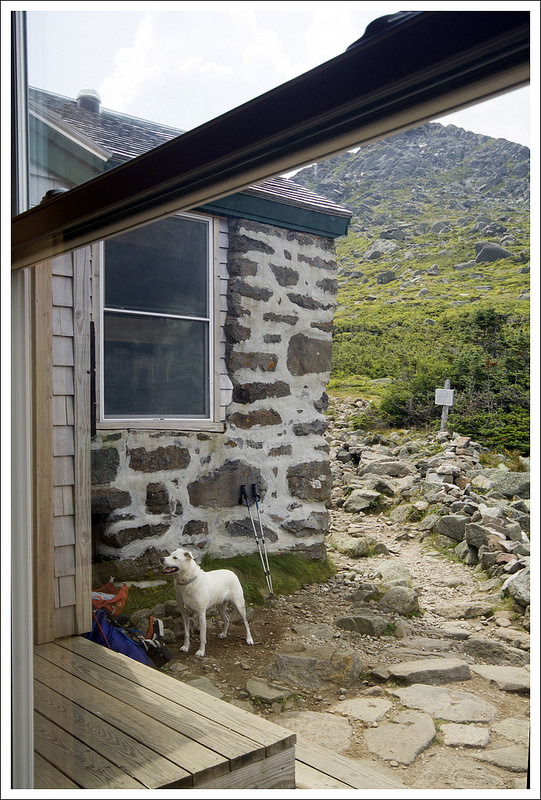
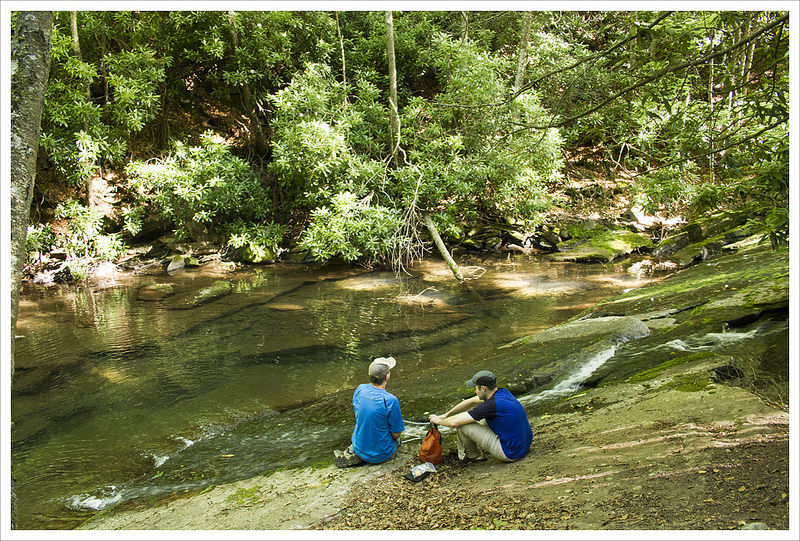
For people that are looking for a nice family-friendly waterfall near Charlottesville, look no further than this hike. In fact, it was rare to not see groups of people that weren’t hiking as a family. Most of the families with smaller children tended to stop along the river at some of the crossings to eat a snack or try and skip stones. And I can’t think of any hike that I’ve been on where I have as many dogs on a trail. So, if you want to take Fido for a walk (and a possible dip in the river) near Charlottesville, this would be a great spot as long as your dog is friendly with other dogs. We saw a couple of dogs that were running full speed chasing each other and crashing into the water. The park requires all dogs to be leashed, but we saw many (most!) people breaking this rule.
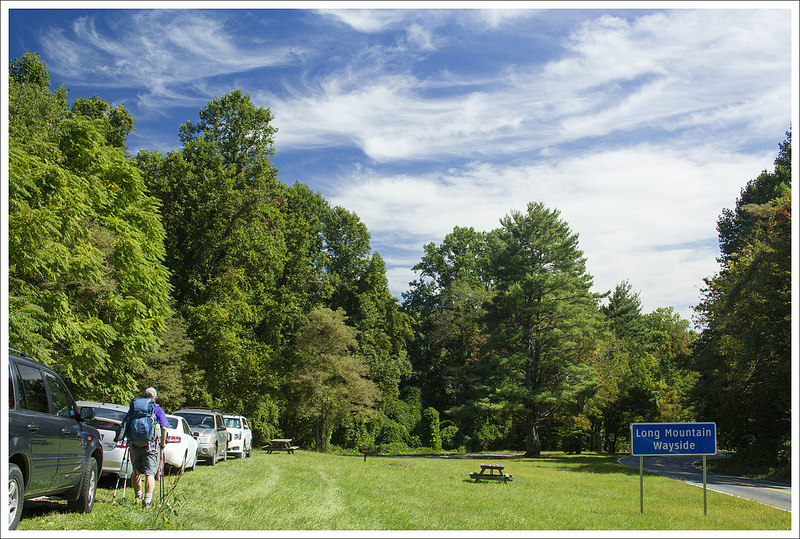
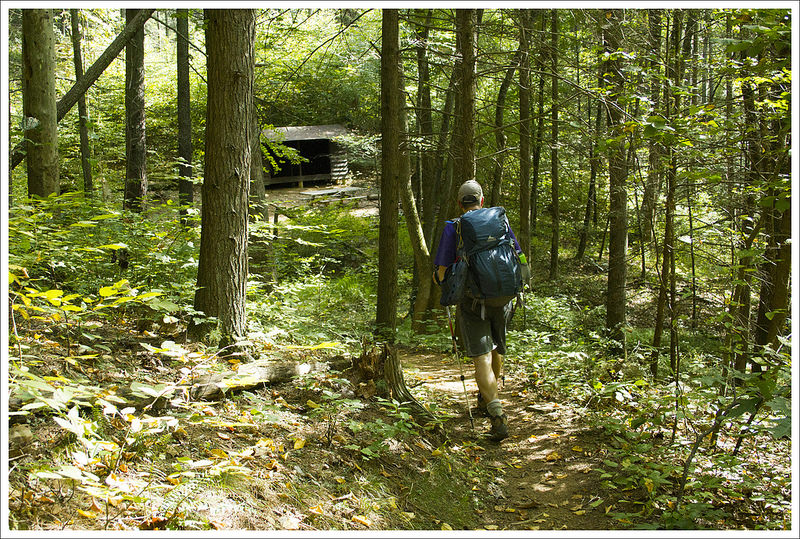
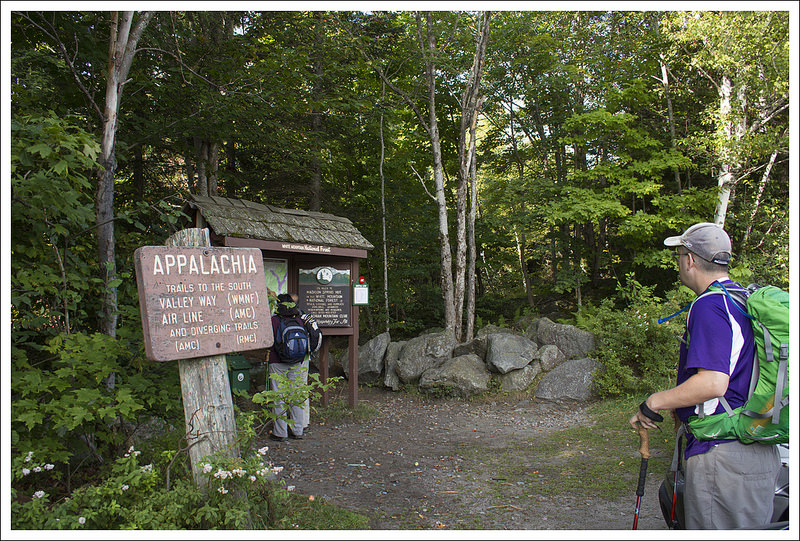
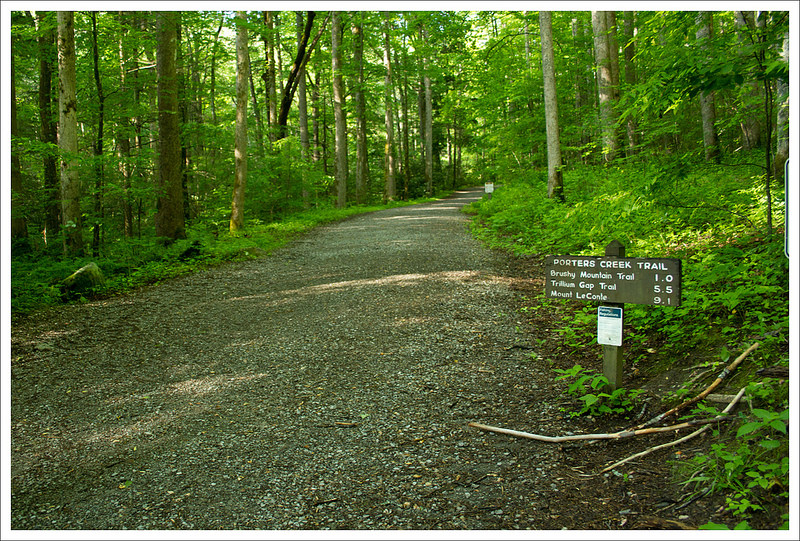
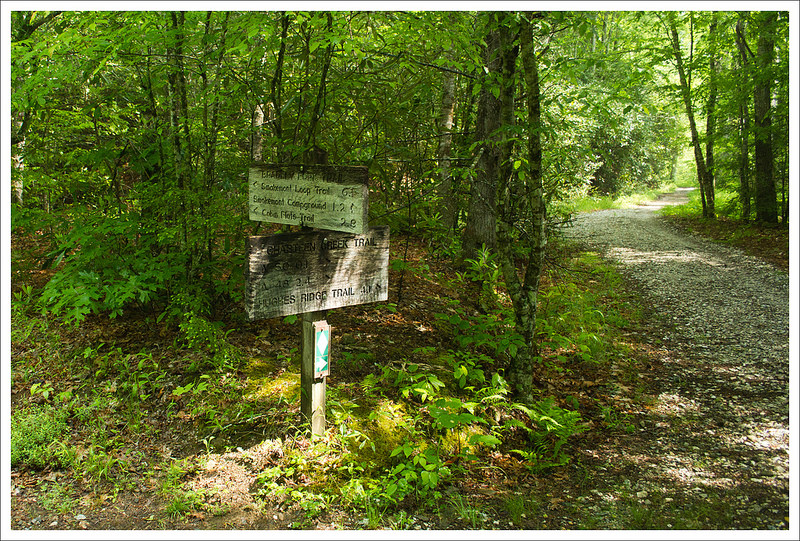
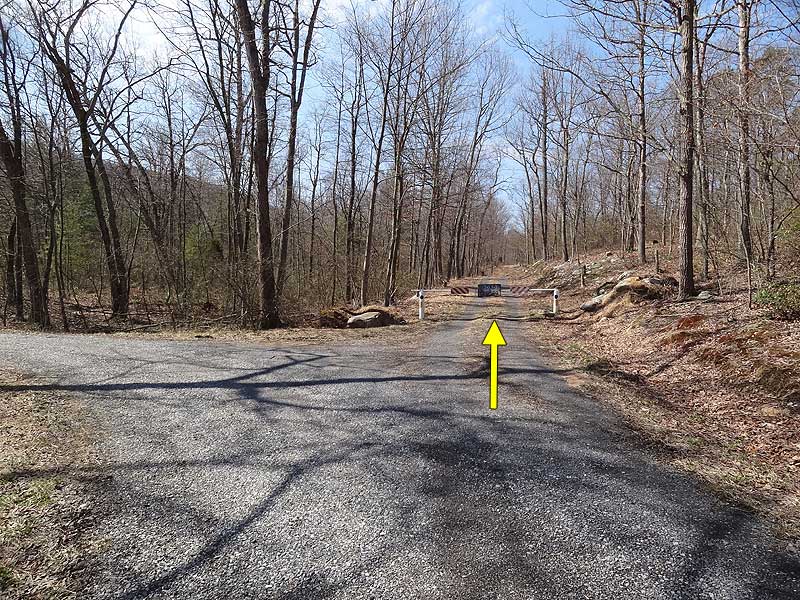
When we arrived at the trailhead, there were a ton of other cars here. There are two parking lots on this hike – the first being the larger lot and the second being a half-mile further up a rough road, but I would recommend having a four-wheel drive due to the uneven ground (even though we did see a convertible BMW driving on here with reckless abandon). The first, main parking lot was full, so we ended up parking along the roadside just a short distance prior to the first large parking lot. From the parking lot, there are two trails. You want to take the one that continues up the gravel road heading north (North Fork Trail). Walking up the gravel road, we came to the second parking area at .5 miles. There is a large closed gate directly behind the lot where the trail continues.
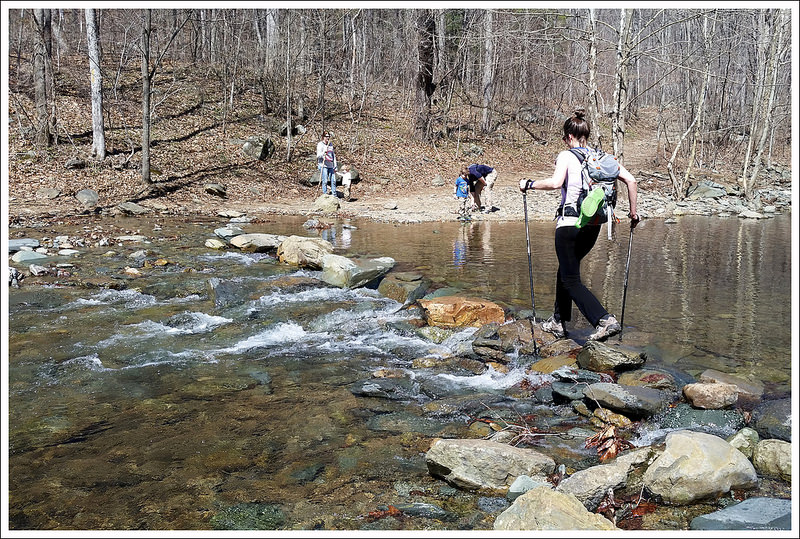
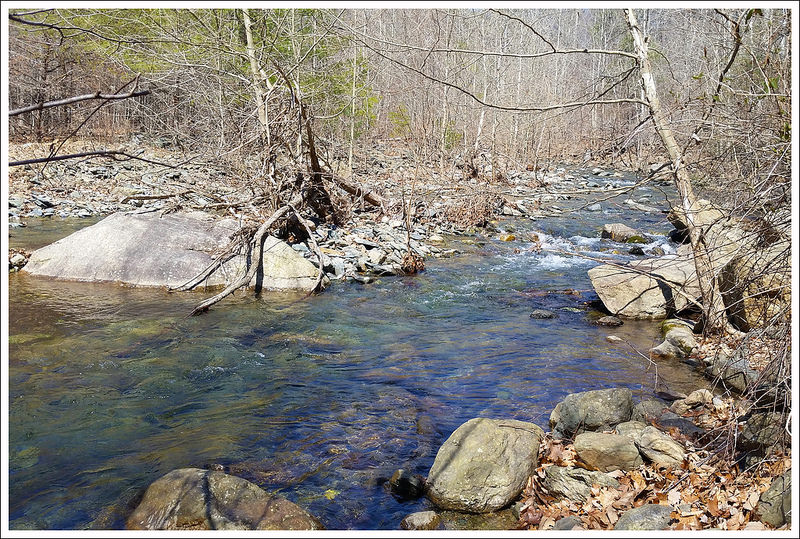
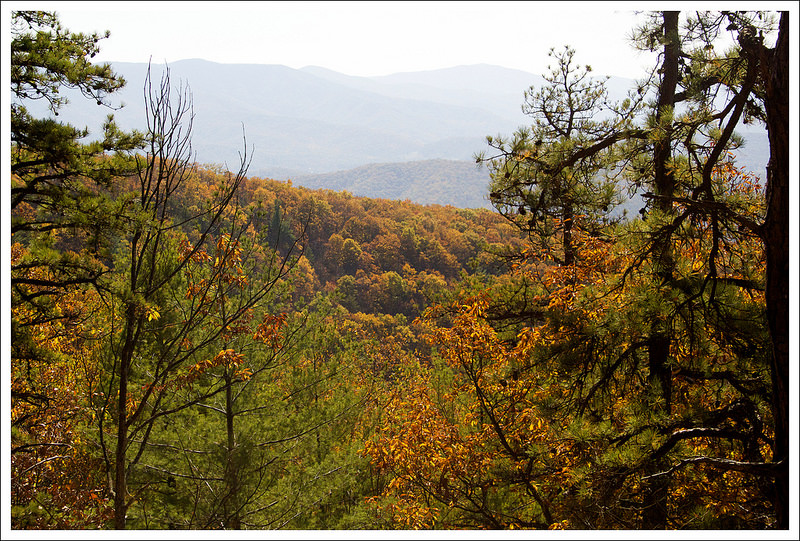
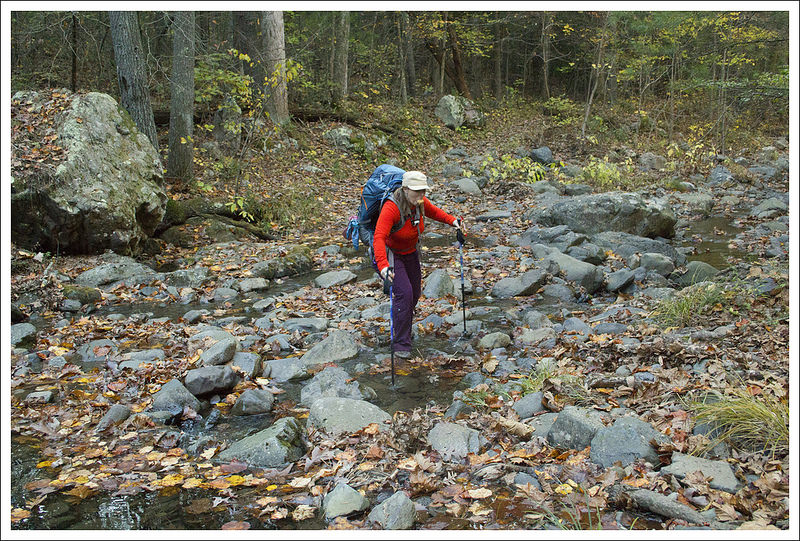
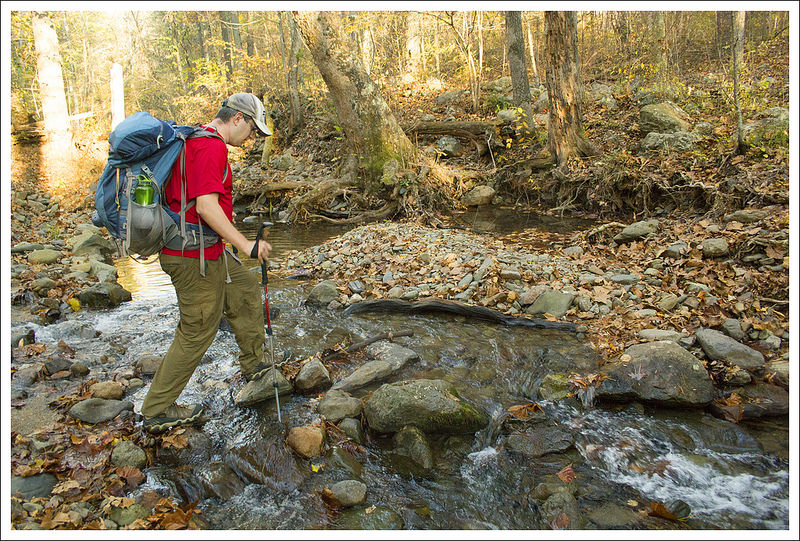
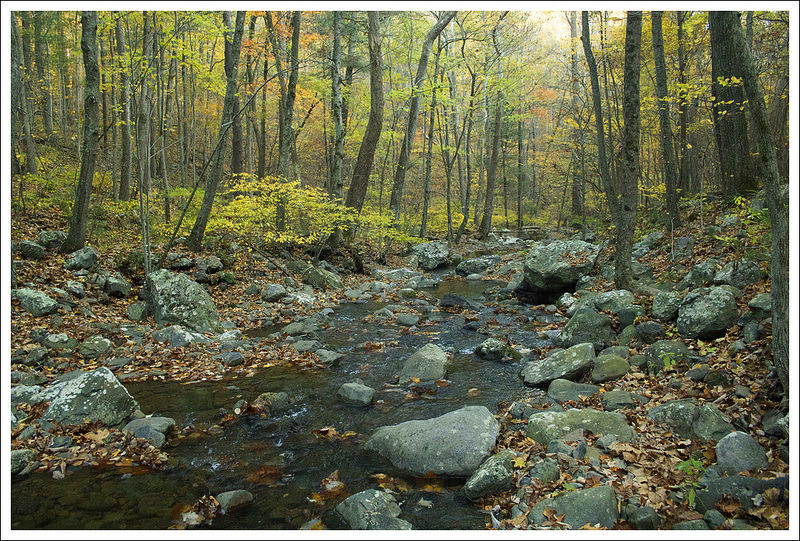
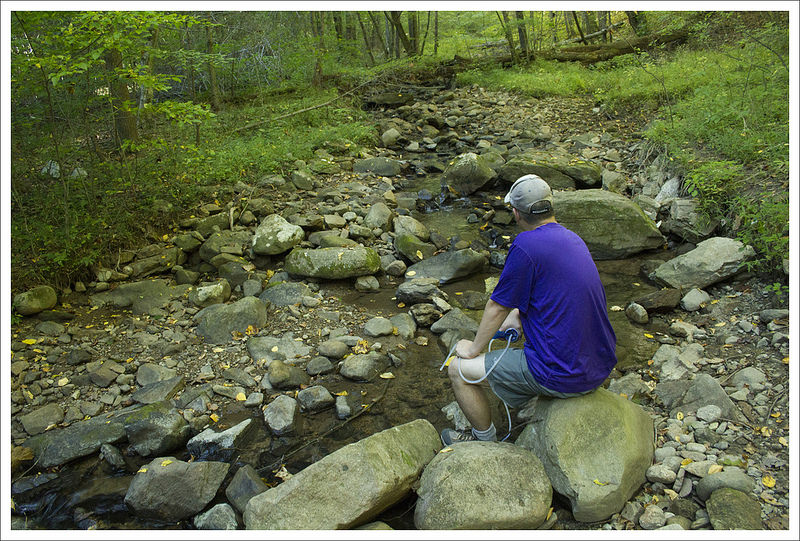
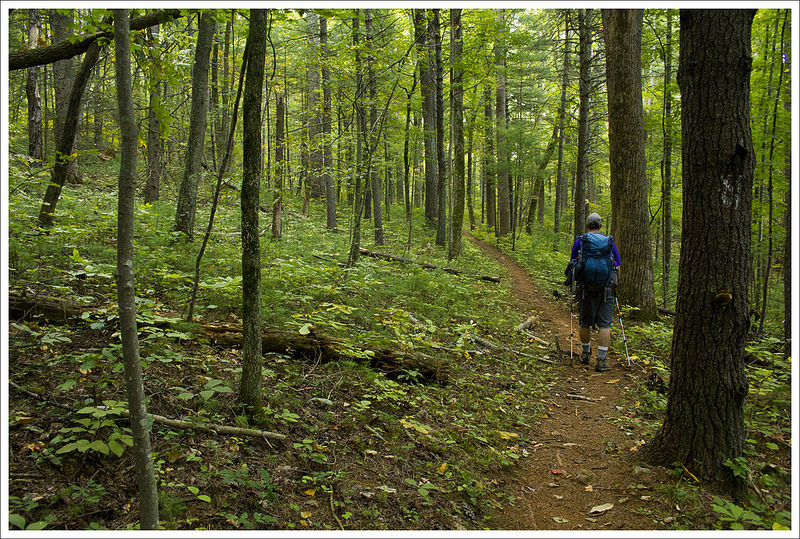
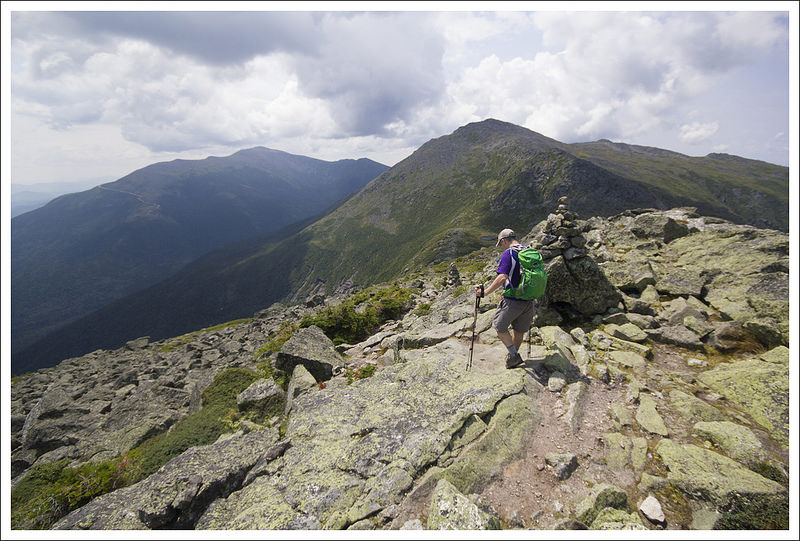
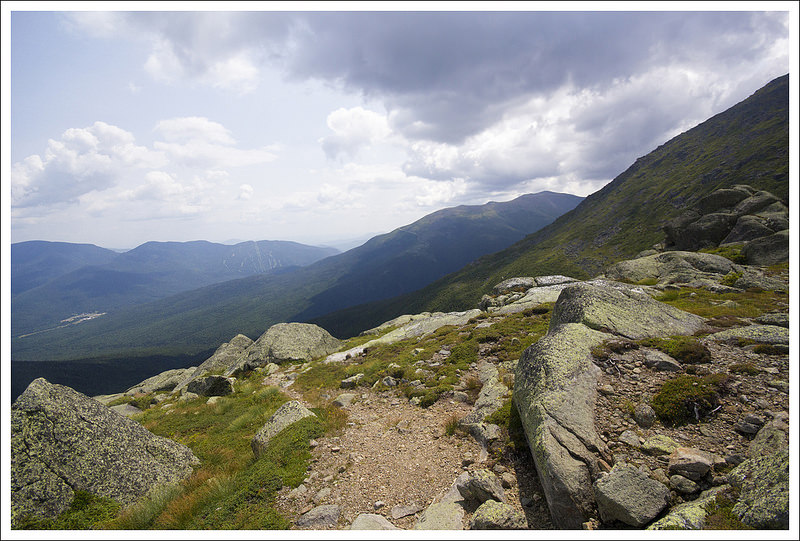
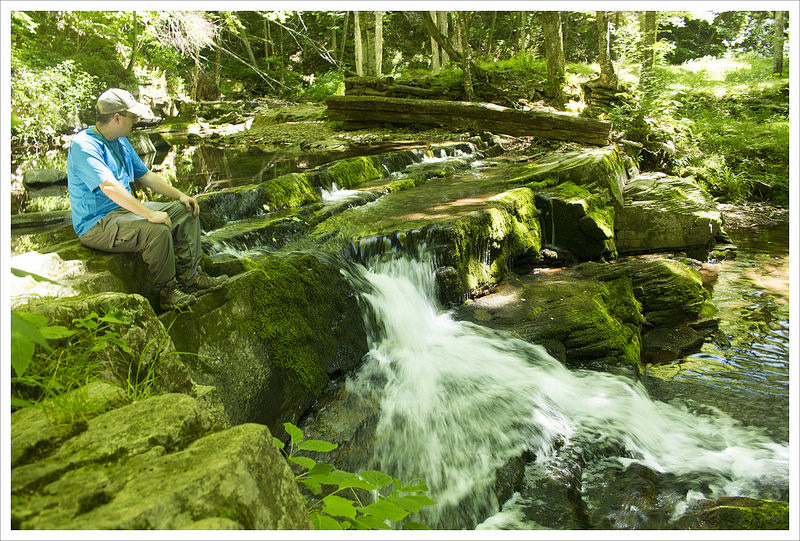
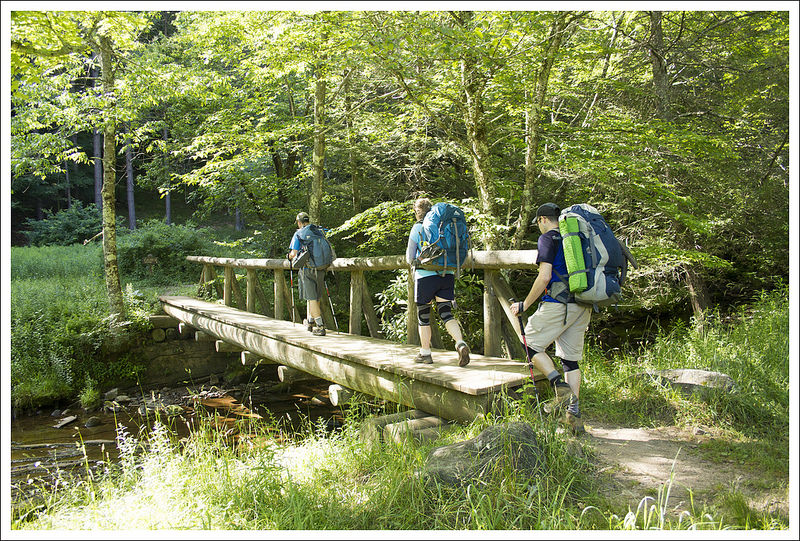
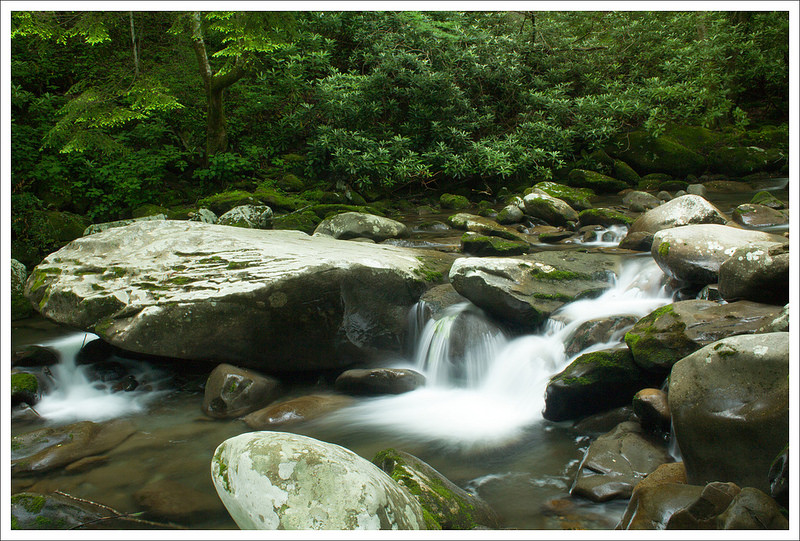
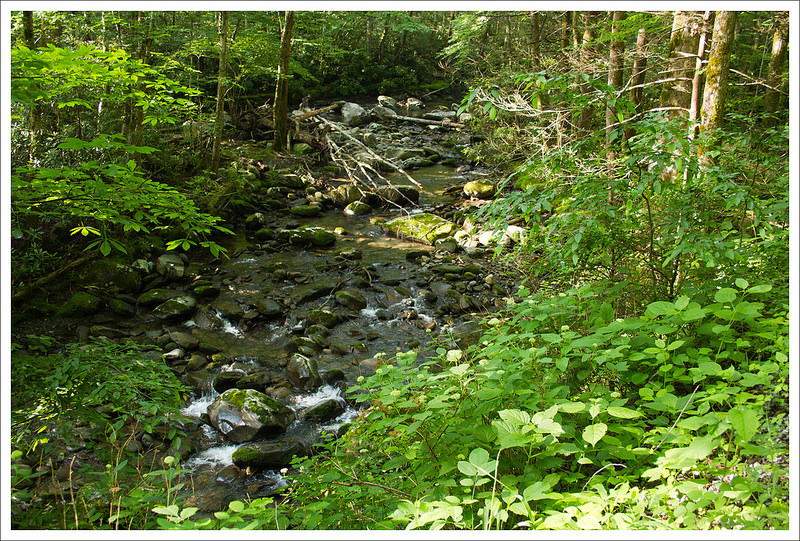
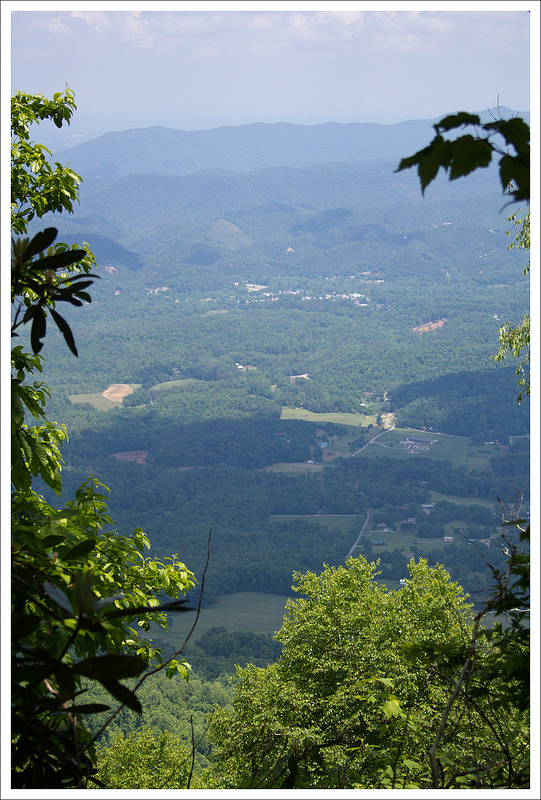
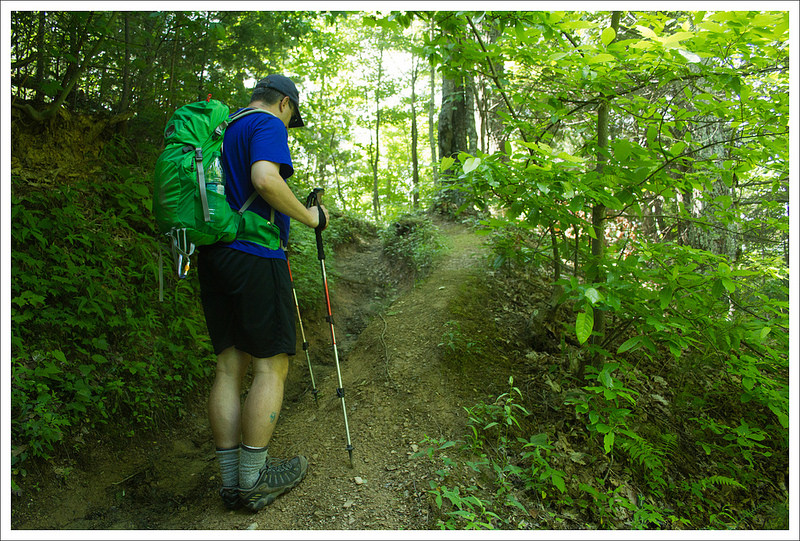
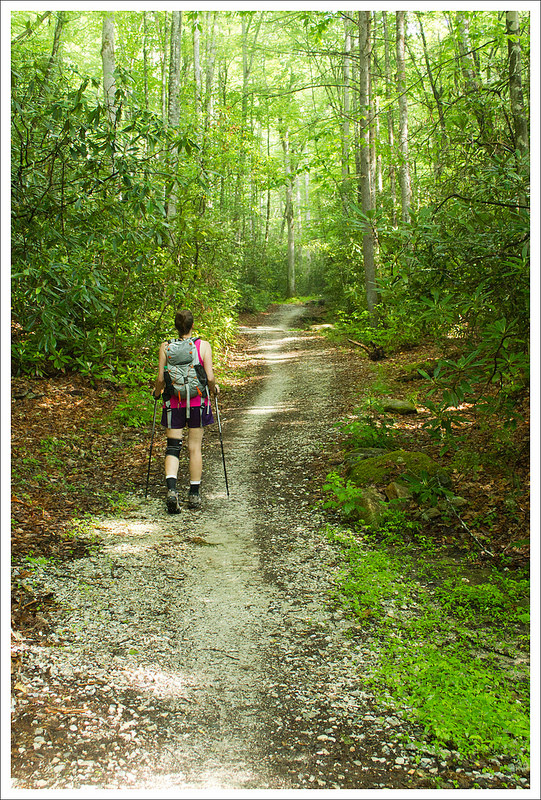
Most of the trail gives you nice views of the Moormans River as you are walking by. In .75 miles, you reach your first of four river crossings. There had been a recent, heavy rain so we were expecting these to be a little challenging. The first three of the rock crossings were fairly easy to rockhop across. The fourth crossing however required us to get our feet wet in the fast-flowing current. We brought our crocs to change into for just this occasion and the cold water was refreshing. It always makes us a little nervous carrying camera equipment though when the water is moving fast and you are not 100% sure of how deep the water is or if the rock you are putting your foot on is stable. The water ended up halfway up my calf at one point, so if there has been a lot of rain, be careful.
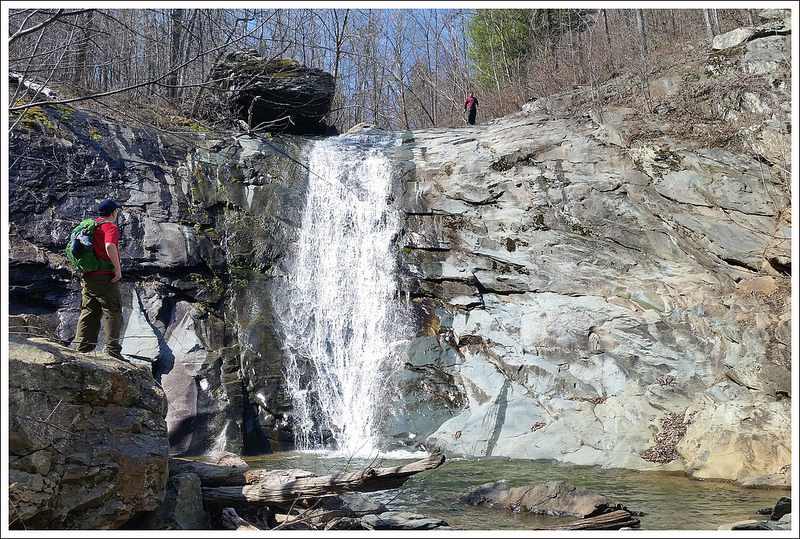
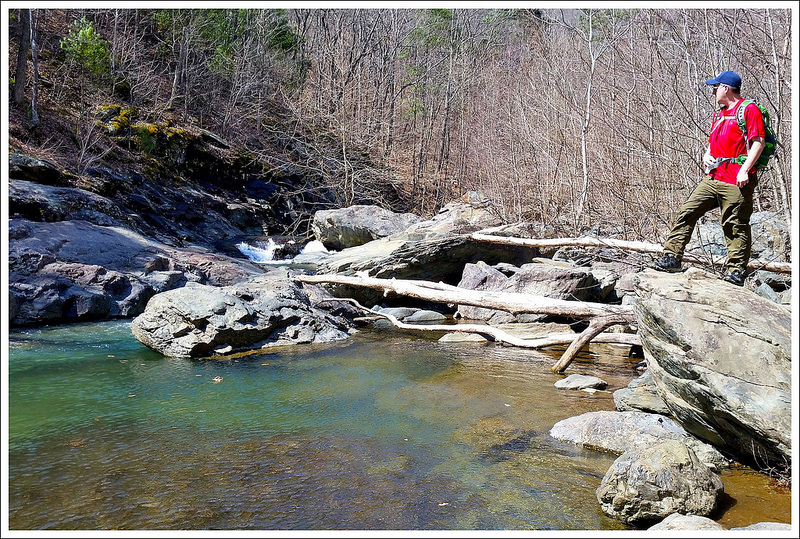
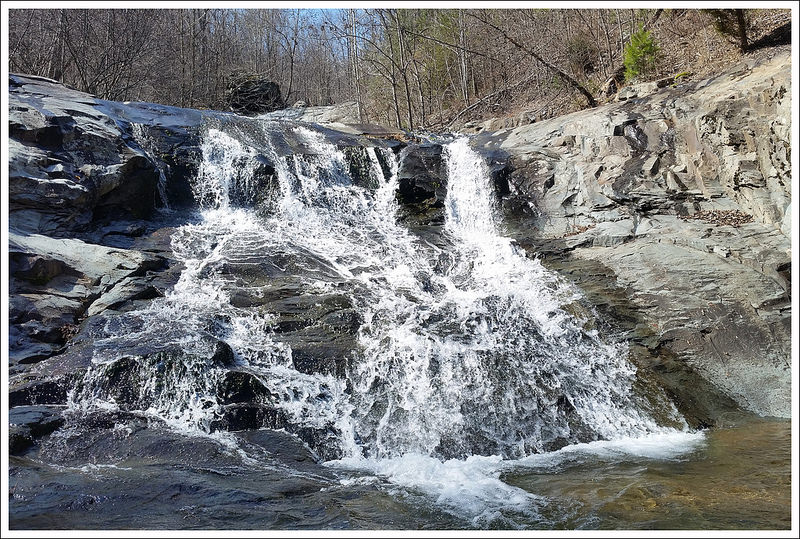
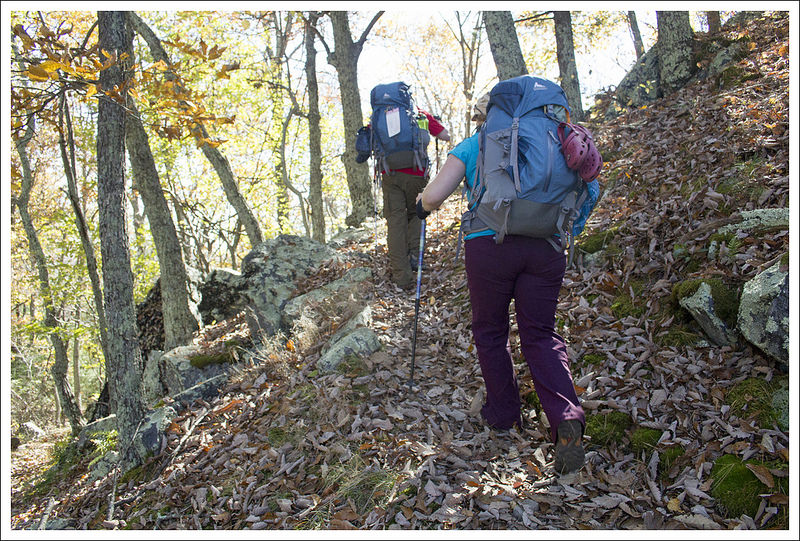
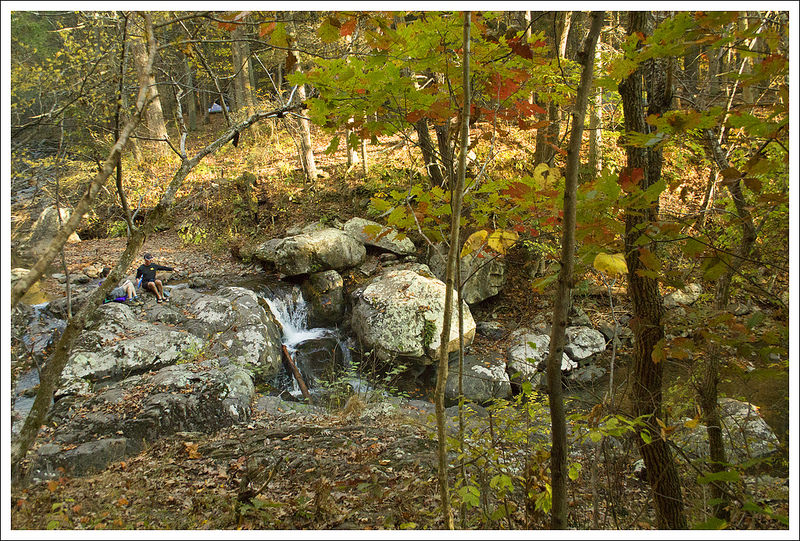
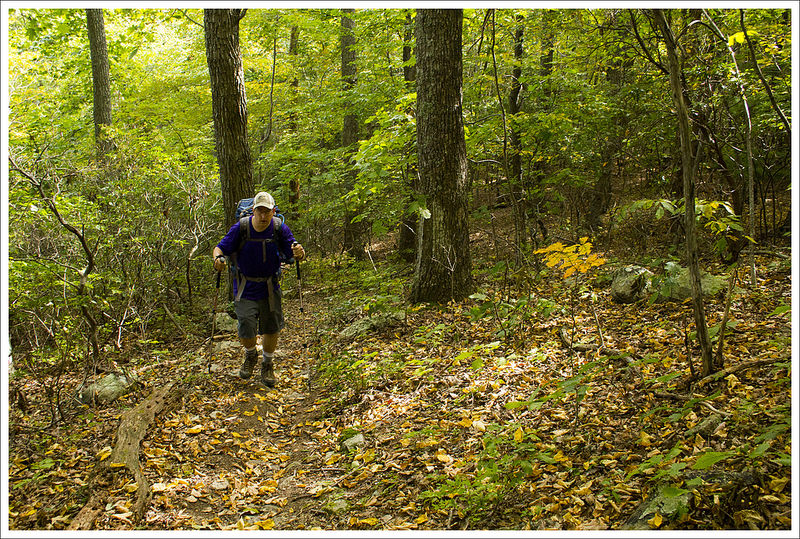
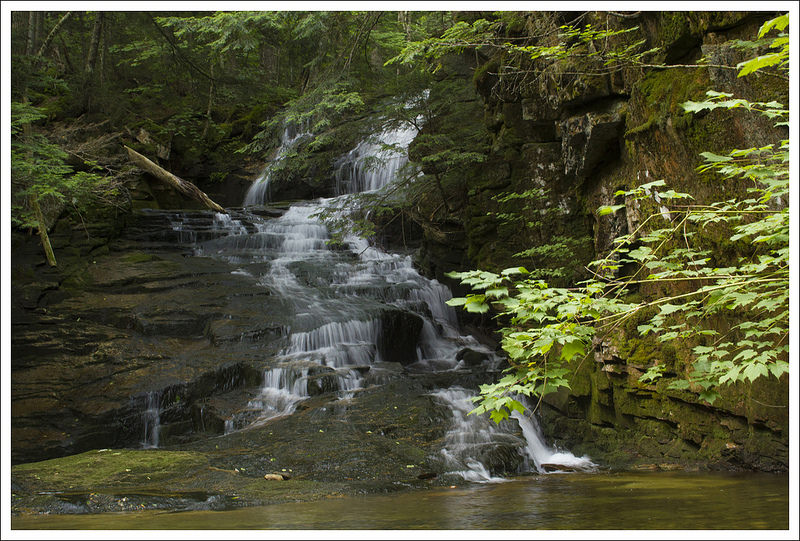
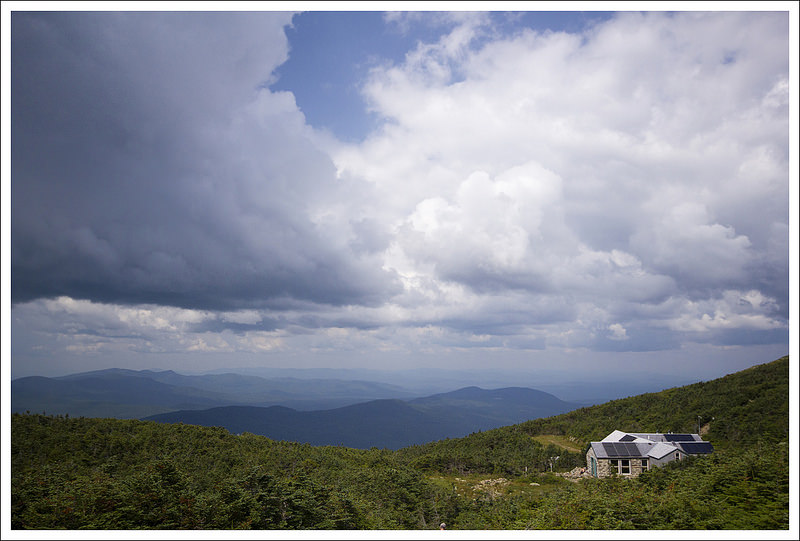
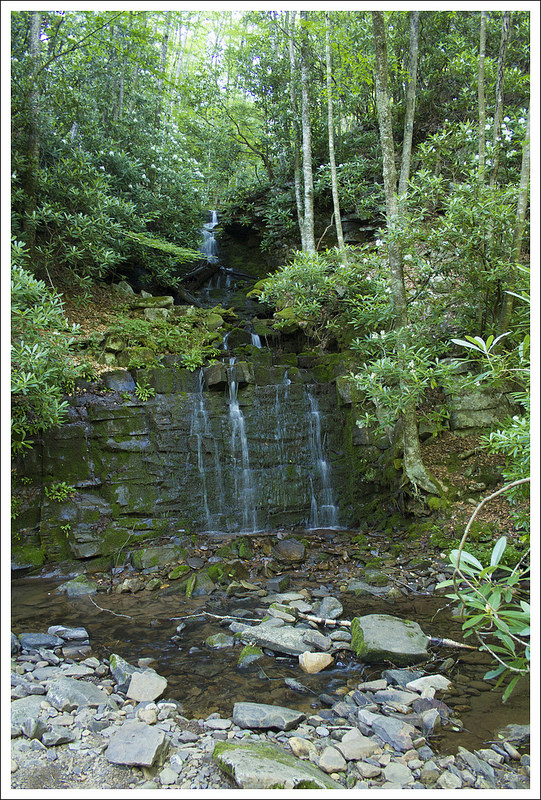
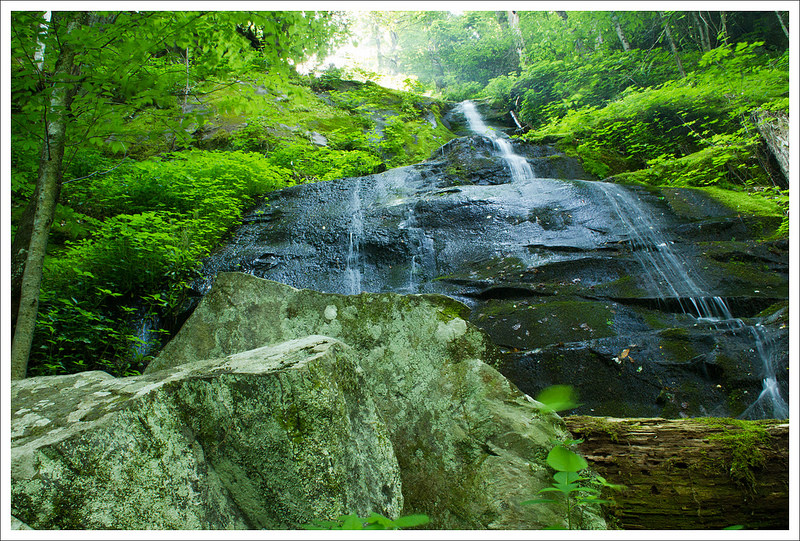
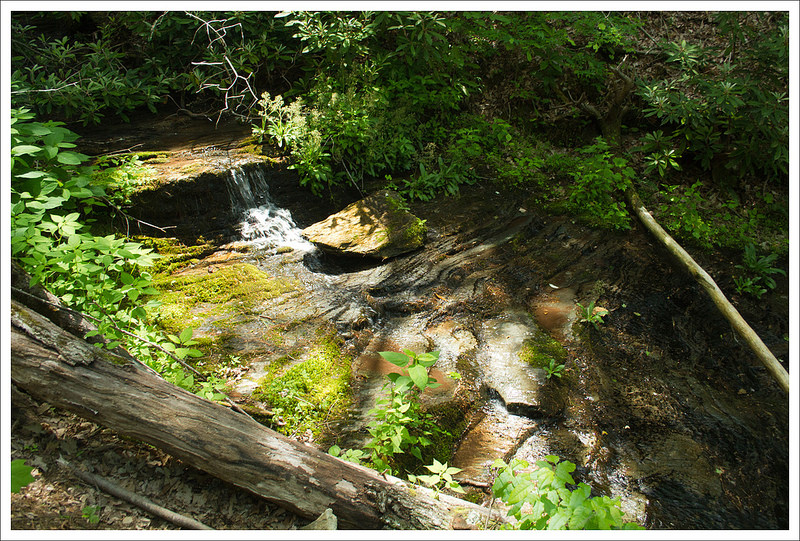
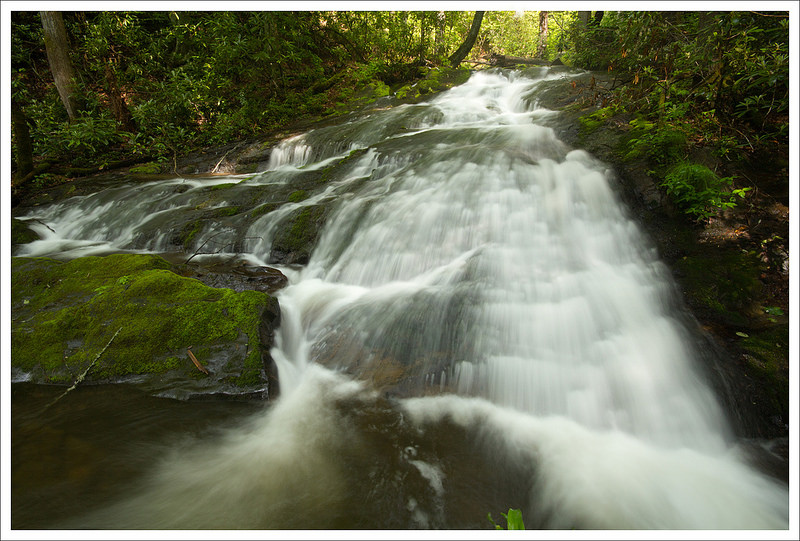
At the 2.0 mile marker, the trail starts to gain some elevation. At 2.15 miles, we took the side trail to Big Branch Falls. You arrive at the lower falls fairly quickly, but continue further and you will see the larger Big Branch Falls at 2.25 miles. Because of the recent rains, the water was flowing nicely over the top, but probably during the dry summer months, this would be less impressive. After we took some time to enjoy the falls, we headed back the way we came to get back to our car at 4.5 miles.
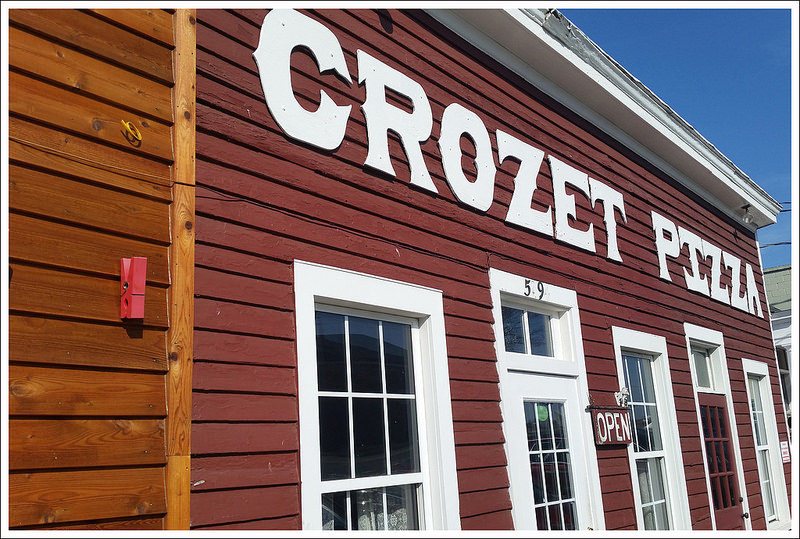
After our trip, we headed to nearby Crozet, VA to try Crozet Pizza. We had heard about how wonderful their pizza was for about 25 years now and I’m glad to say that we finally got to try it. Then, we stopped right down the road at Starr Hill brewery to sample a few post-hike beers.
Christine Says…
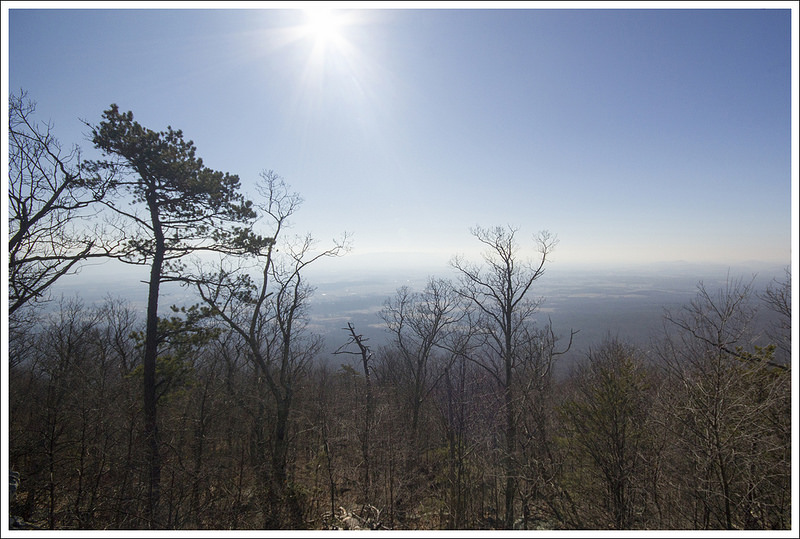
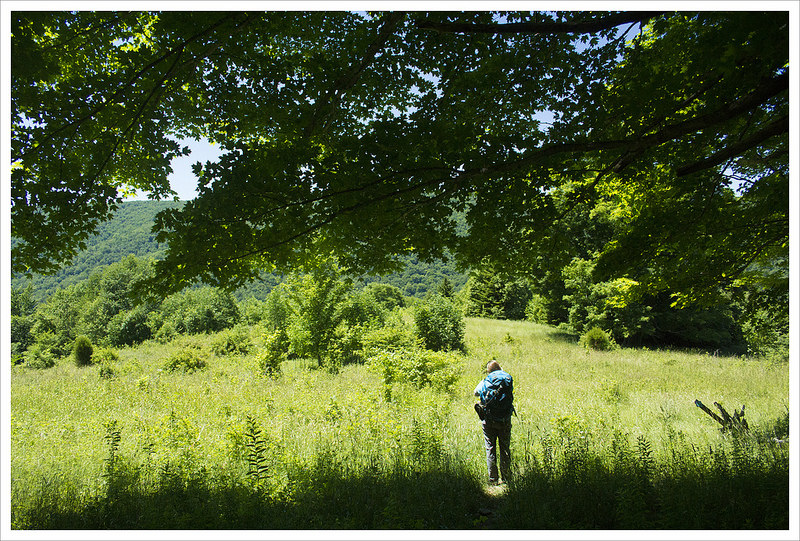
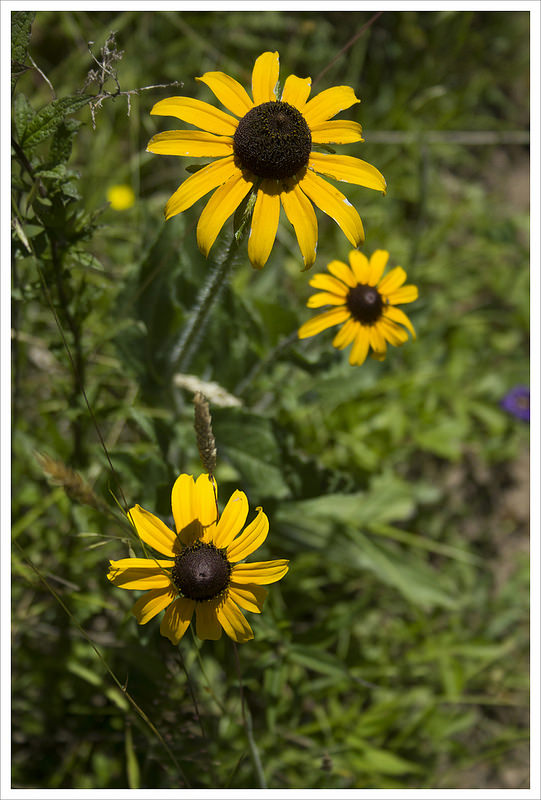
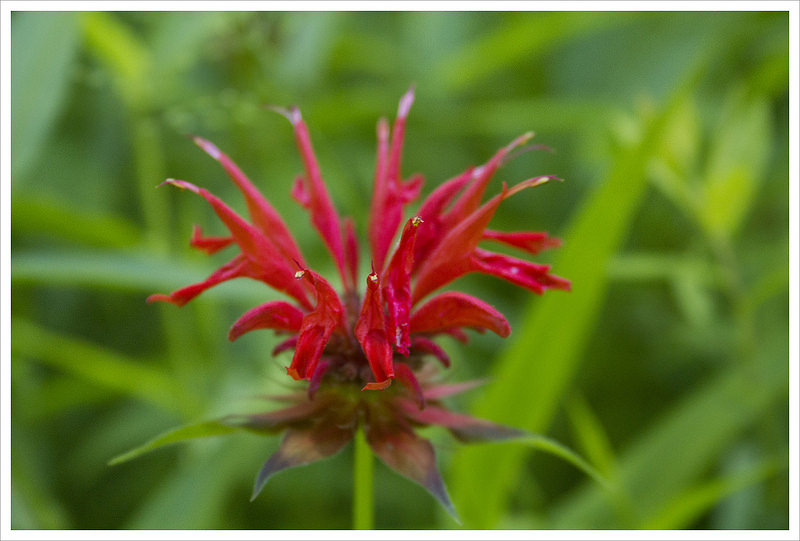
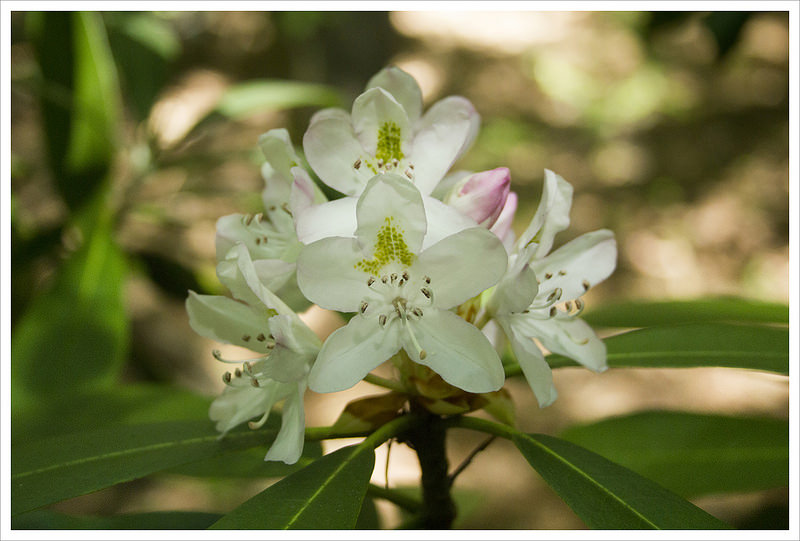
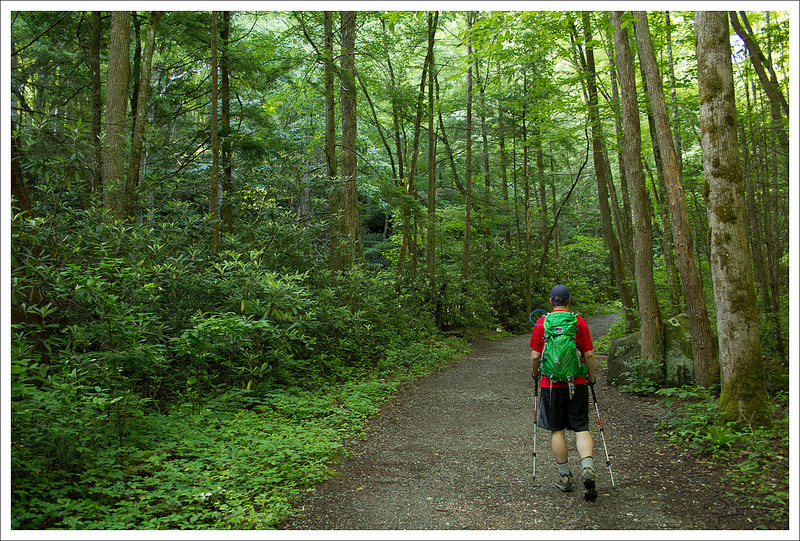
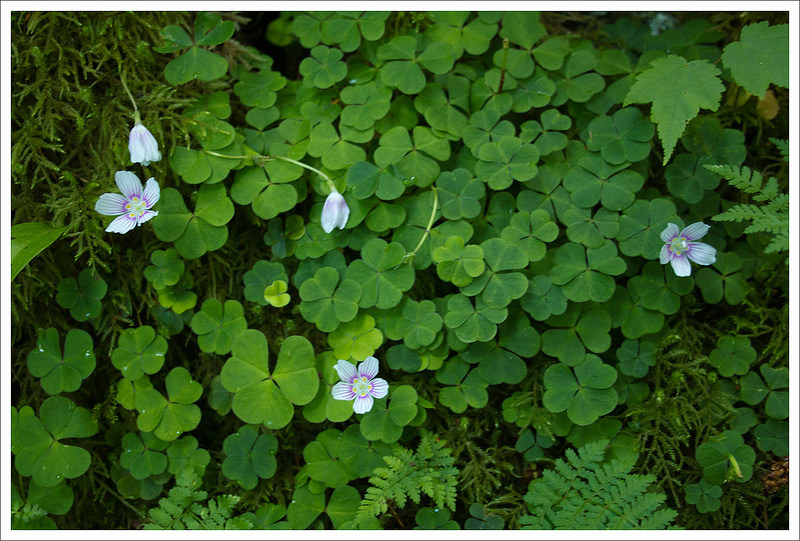
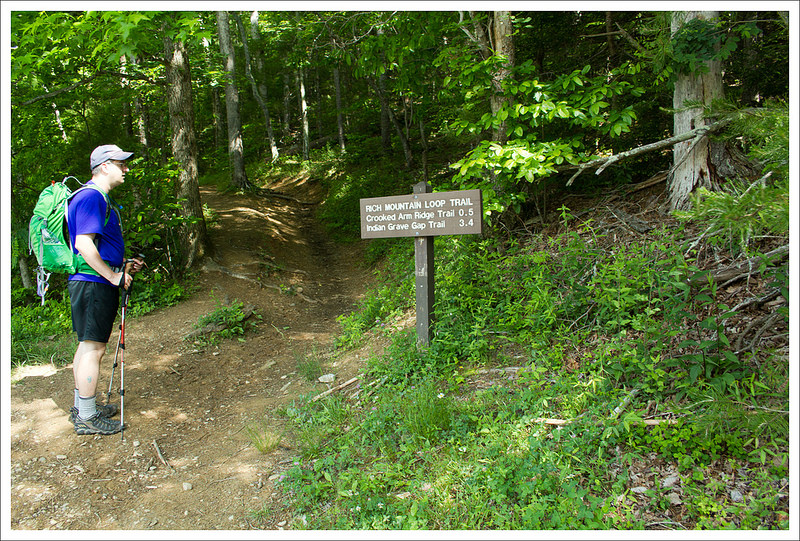
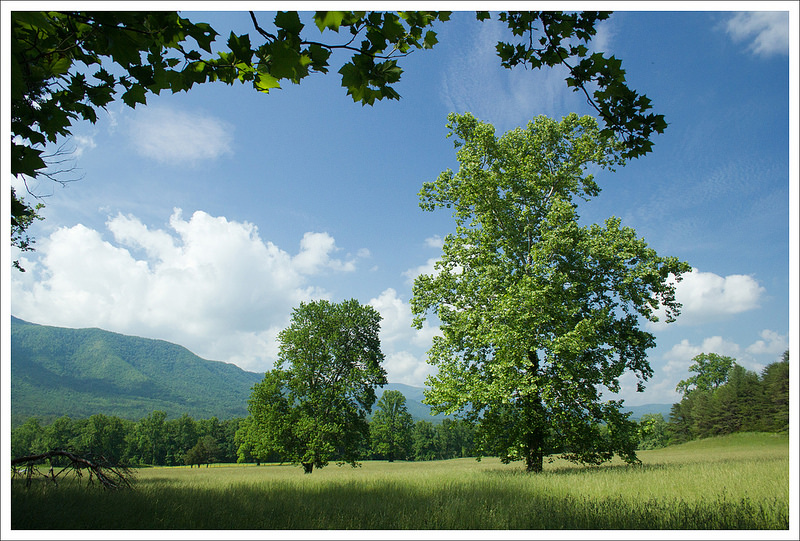
What a beautiful March day we had to hike Moormans River! It was the first day in a long time that actually felt warm. Early wildflowers were starting to bloom and the sunshine felt great. We started out pretty early, but found the parking lot already completely full at the trailhead. We had to find a place alongside the gravel road with enough room to park our car. After we were situated, I started MapMyHike, grabbed my camera, and started hiking.
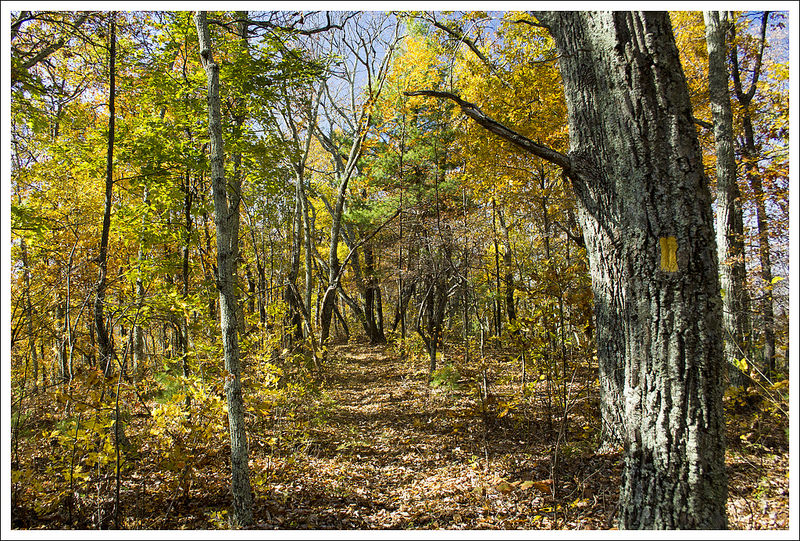
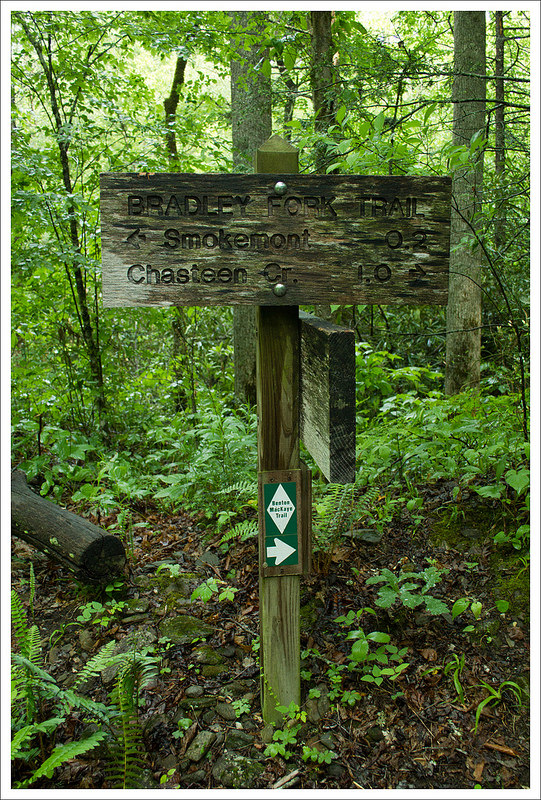
I pointed my camera up to take a shot of the first trail marker, and the camera wouldn’t even turn on! Hmm… I had recently charged the battery, so it didn’t really make sense. I pulled out the battery and memory card to reset everything, and still no power. I figured that I had finally killed my Canon Rebel T2i. That camera has accompanied me on countless hikes. It’s been rained on, bumped against rocks, left sitting out overnight in the damp. I’m not careful with it at all, because I find I just don’t take photos when my camera is safely packed away in its padded, waterproof bag. I knew it would eventually meet this end. So… today, you get photography from my cell phone! Honestly, my phone takes decent photos – just not quite as nice as my dSLR. (Fortunately, when I got home, I found that the battery was drained after all. I guess I stored it accidentally with the power button depressed. The Rebel lives to fight another day!)
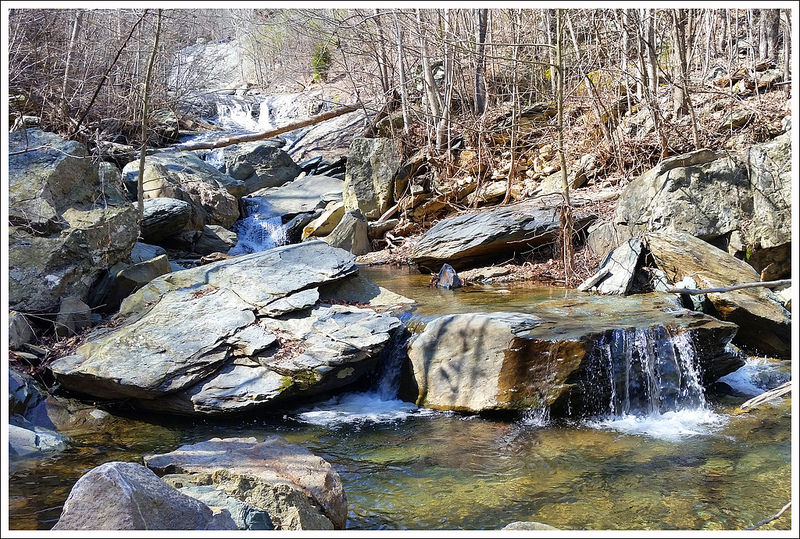
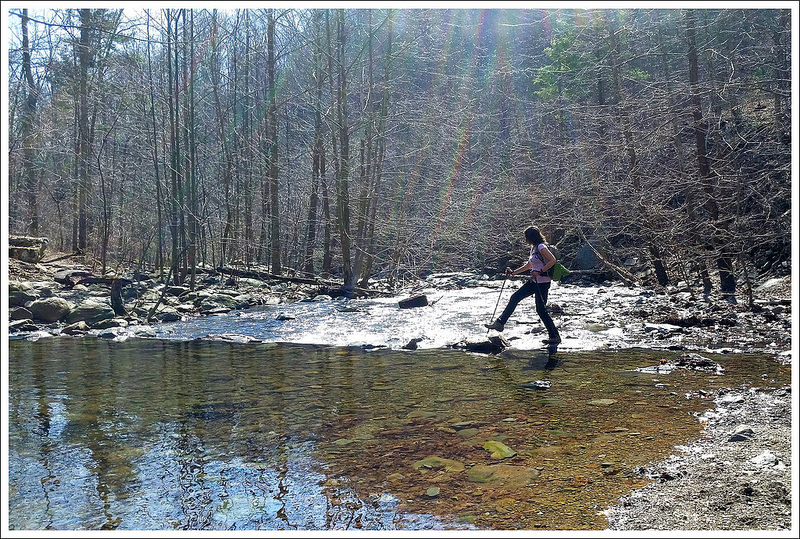
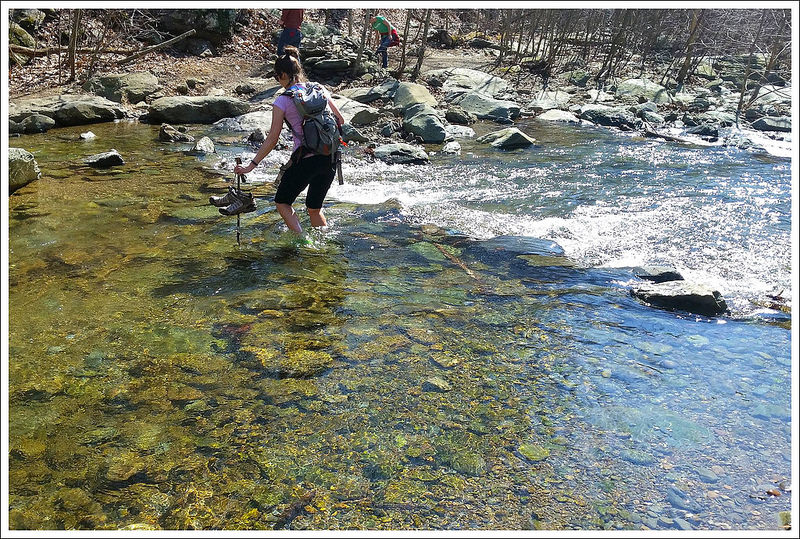
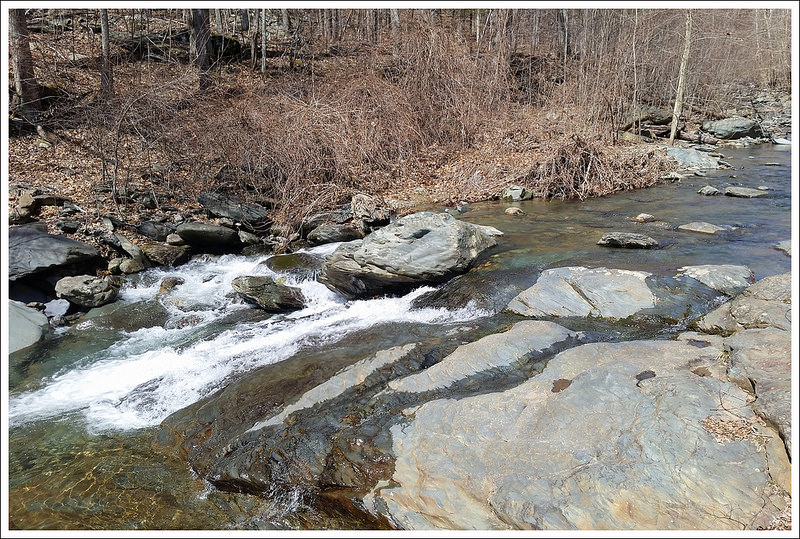
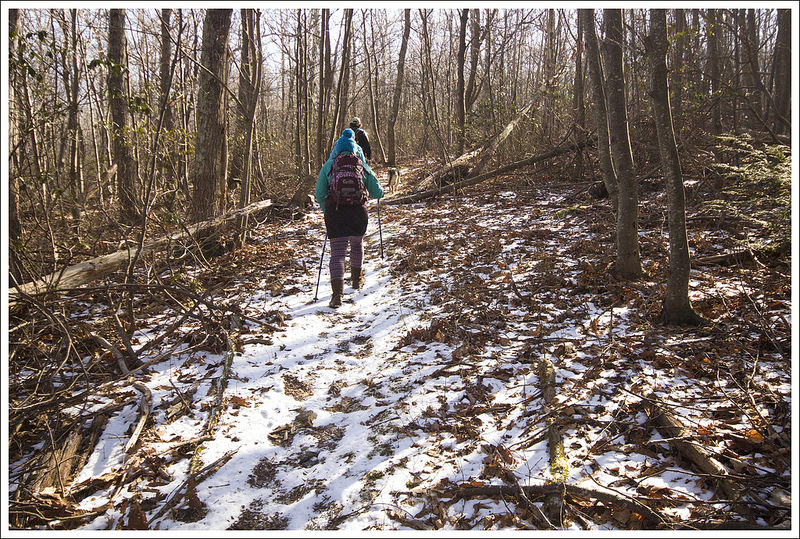
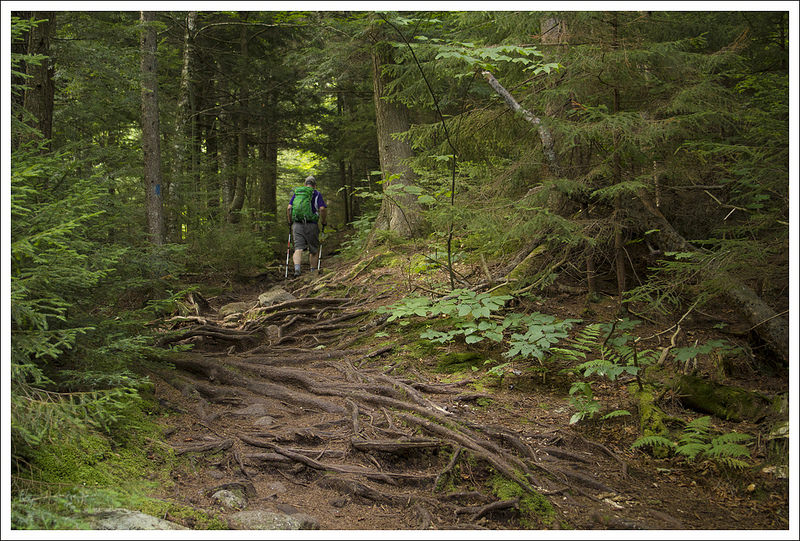
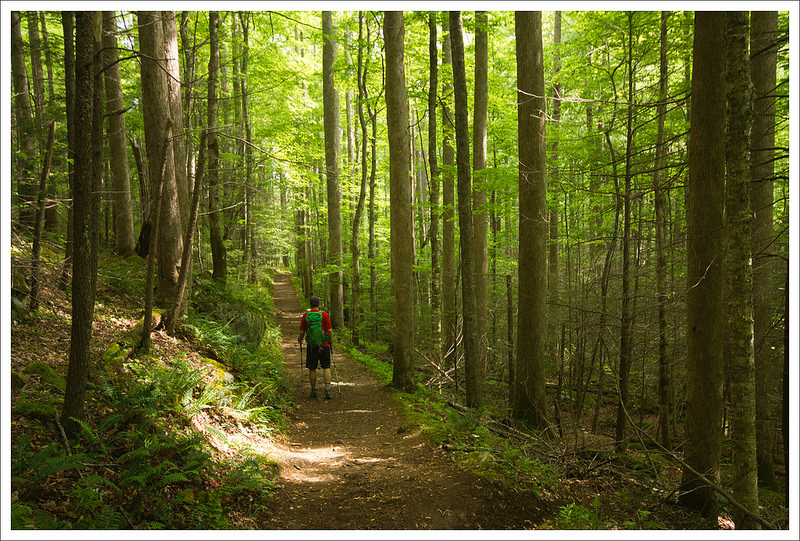
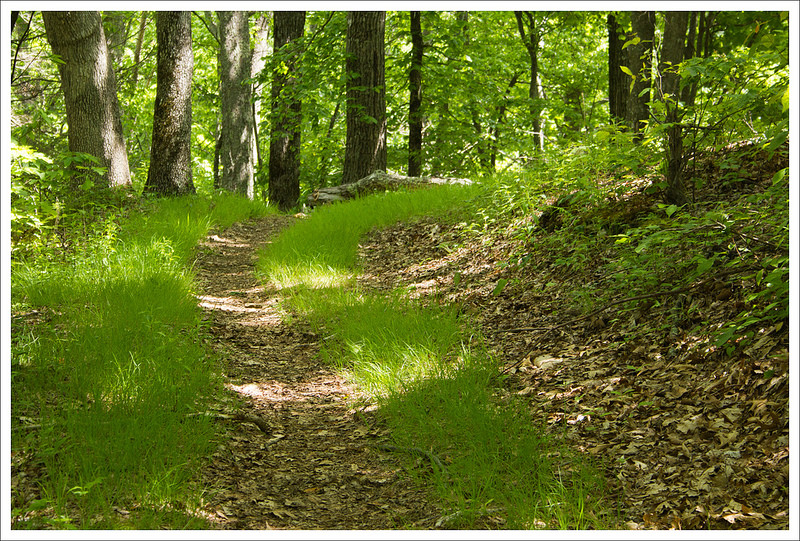
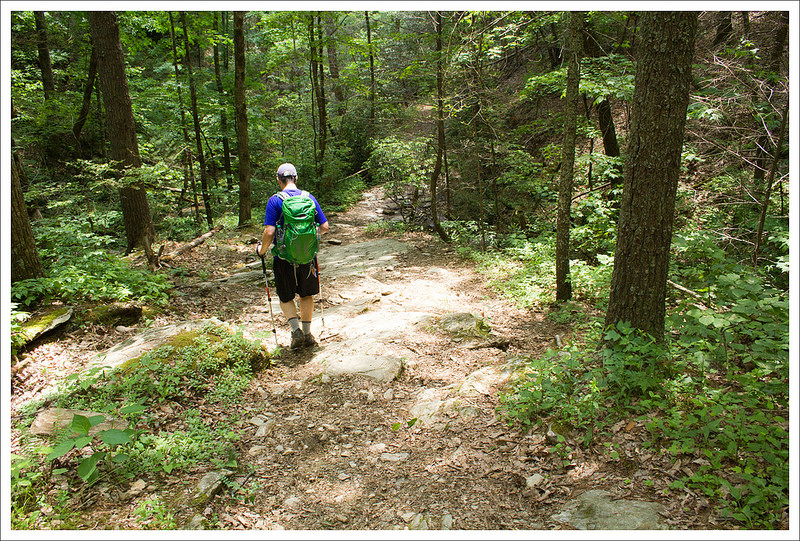
The water was flowing beautifully and we really enjoyed the sights and sounds of running water all through our hike. The trail was one of the easiest we’ve hiked in a long time. It’s relatively level and not too rocky. The stream crossings were all moderate to easy, with the exception of the final one. The last crossing required us to put on water shoes and wade across. We saw several people attempt to rock hop, but they all ended up with wet boots.
When we reached the spur trail to the falls, there were several groups of people at each viewing point. We waited our turn and spent a few minutes enjoying and taking photos of the upper falls. One group had climbed up to the top of the falls and was picnicking on the rocks alongside the cascade. A man with the group walked out to the precipitous, domed edge of the falls several times. We were worried he might slip and have a nasty fall to the rocks below. Thankfully that didn’t happen!
On our way back down, we scrambled off the trail to a rock shelf beneath the lower falls. On the climb back up, I stuck my trekking pole in a hidden hole. When the pole suddenly dropped and vanished under the weight of me climbing up, I slipped and smashed the bridge of my nose into the trekking pole handle. Wow – did that hurt! I thought I hit hard enough to break the skin open, but thankfully it was just swollen and lightly bruised. Between that and the broken camera, it was not one of my luckier days on the trail!

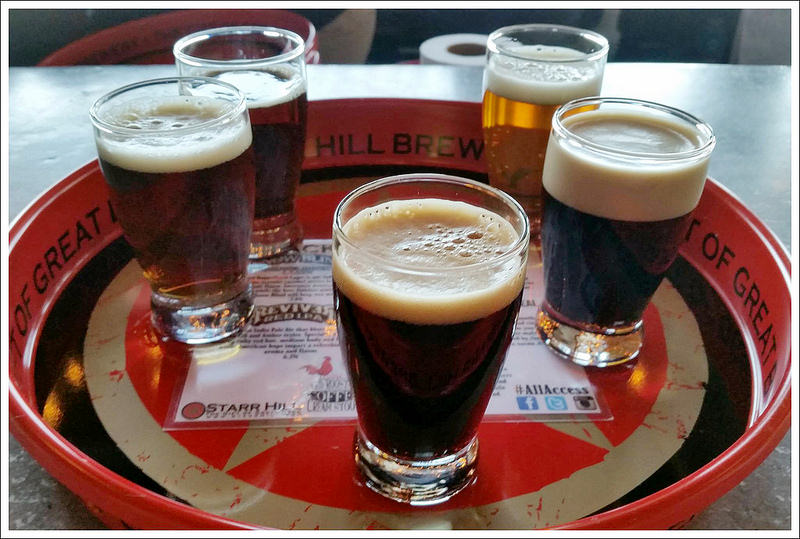
The hike back went very quickly. After we got back to the car, we made our way to a great lunch at Crozet Pizza and a flight of beers at Starr Hill. It was a fun day! I would definitely recommend this hike when there has been significant, recent rain. The falls dry up pretty quickly.
Trail Notes
- Distance – 4.5 miles
(Check out the stats from Map My Hike)* - Elevation Change – 625 ft.
- Difficulty – 2. The hike is not difficult with the distance and elevation, but the stream crossings could be a challenge.
- Trail Conditions – 4. The trail is heavily-used and well-maintained.
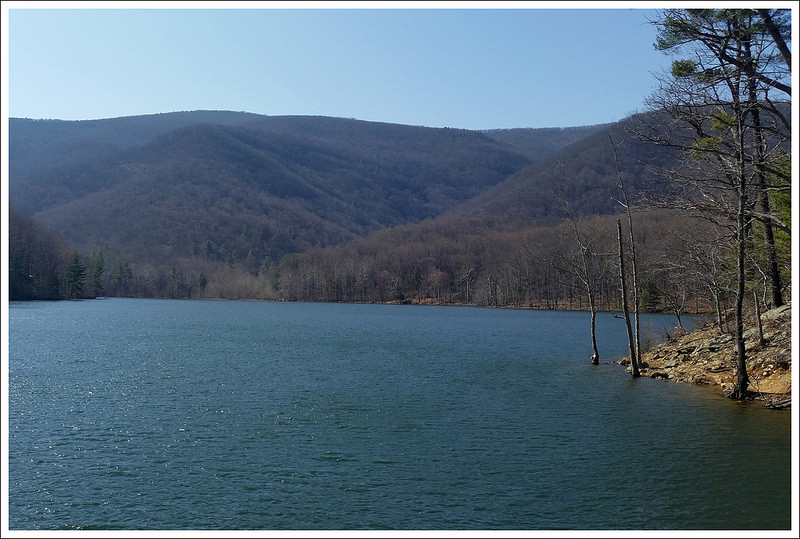
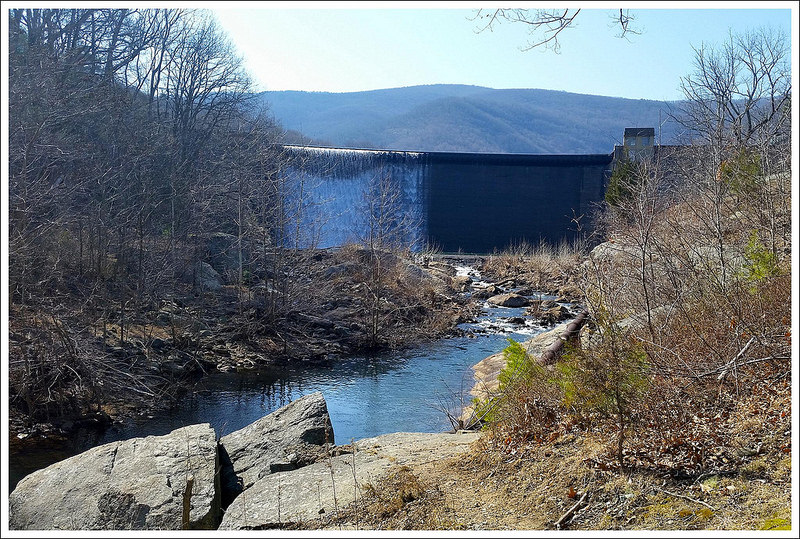
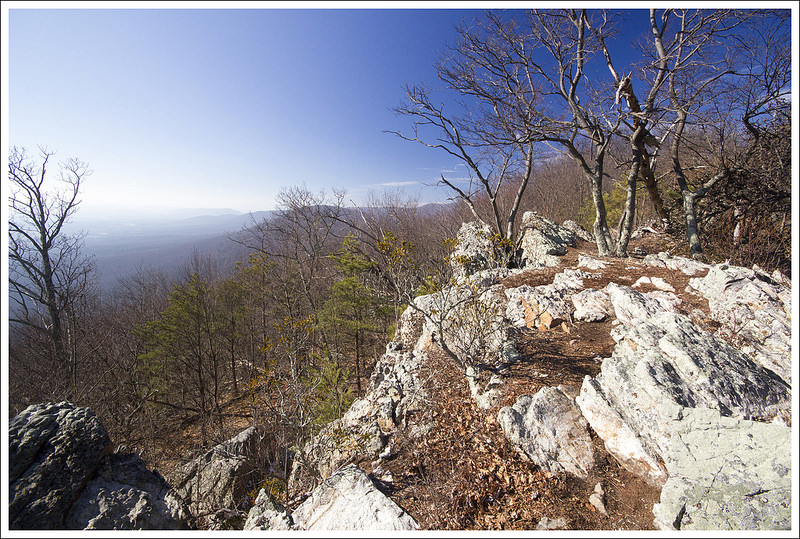
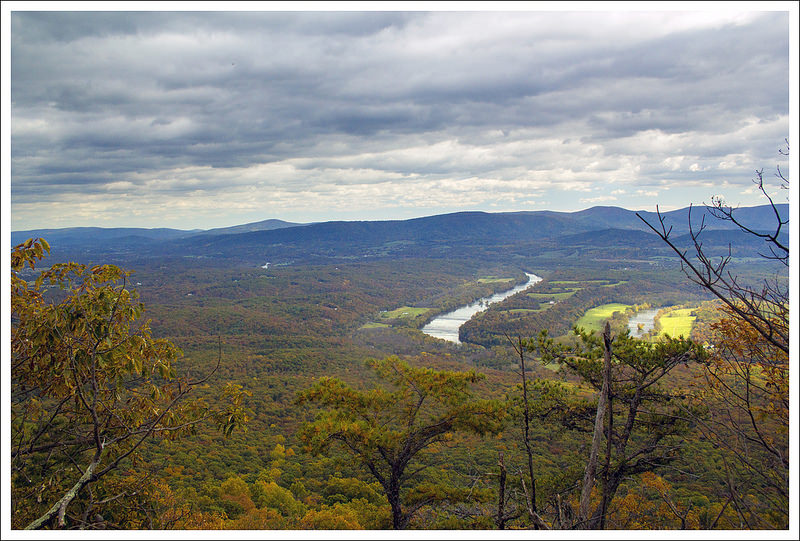
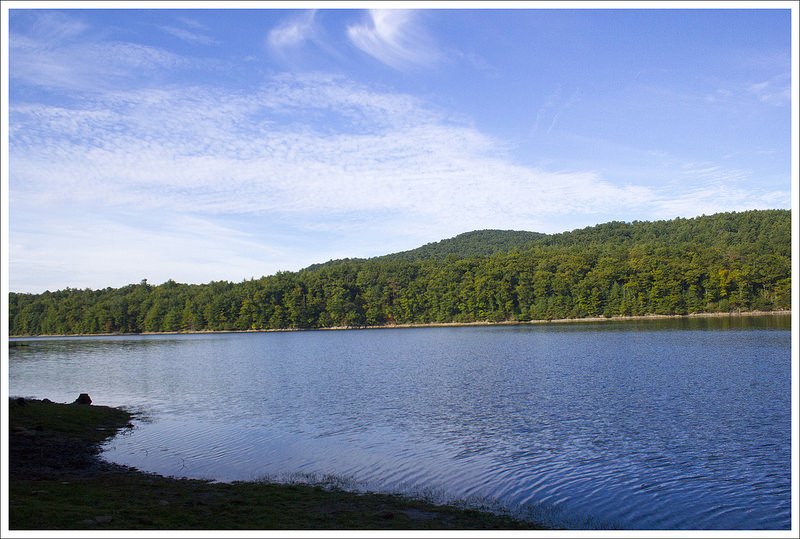
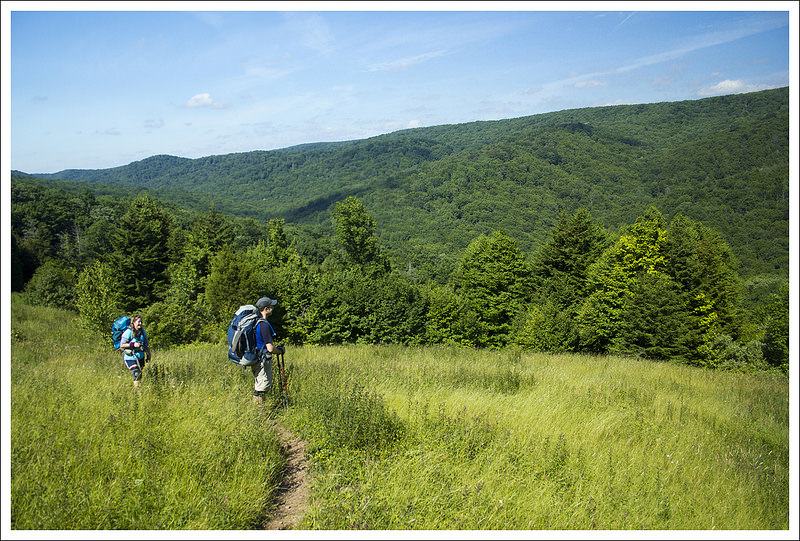
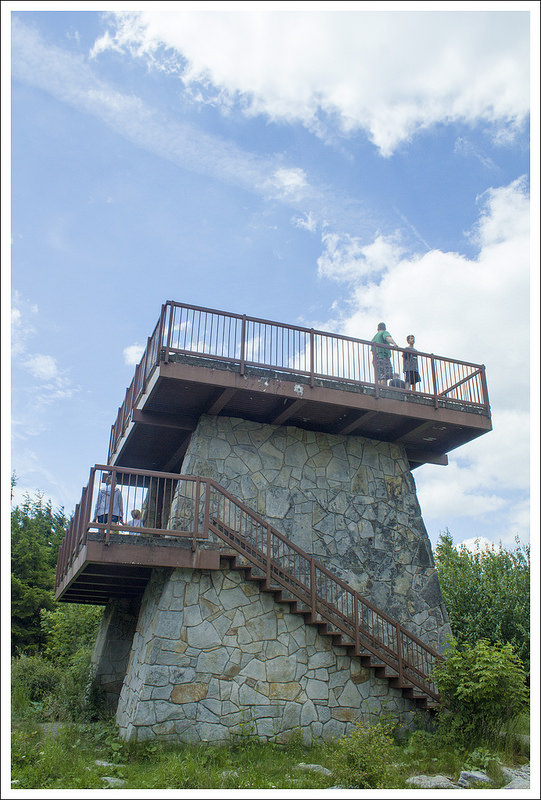
- Views – 1.5. You do get some elevated views of the river. Views from the top of the dam (after the hike) are really nice too, but don’t count in the score because they’re not technically part of the hike!
- Streams/Waterfalls – 4. The waterfalls are nice to see (but could be disappointing in dryer months), but the highlight is probably walking along Moormans River.
- Wildlife – 0. Due to the location and popularity, I wouldn’t expect to see much.
- Ease to Navigate – 4. Once we knew where to go from the parking lot, it was easy to navigate.
- Solitude – 1.5. I would expect on a nice day, you should see lots of people. Go early to beat the crowds and to get parking. But, there weren’t as many people going all the way to Big Branch Falls.
Download a Trail Map (PDF)
Directions to trailhead: From I-64 near Charlottesville, take exit 124 for US-250W. Turn right on 250-W and go 5 miles. Take the Country Road 654/Barracks Road exit. Turn right on Barracks Road and go 2 miles. Continue on SR 601/Garth Road for 9 miles. Continue straight on to Sugar Hollow Road for 5.5 miles. When you pass the Sugar Hollow Reservoir on the left, you are getting close. The road turns into gravel and you will eventually arrive at the first large parking area. Park here and walk further up the road for .5 miles until you reach the second parking area and closed gate.


