This 6.0 mile hike follows fire roads and trails to the summit of Robertson Mountain – one of Shenandoah’s less visited, more interior peaks. It’s a moderate hike with fantastic views!
View the Full Album of Photos From This Hike
Christine Says…
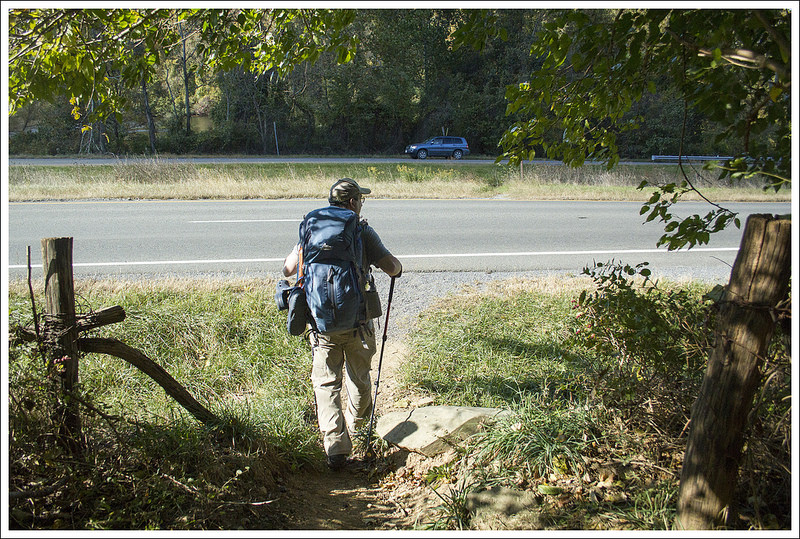
Our traditional Thanksgiving day begins with a hike and ends with homemade pizza and beer. I know it’s not the normal way to celebrate this holiday, but it’s what we’ve done for years now. Eating turkey would just be weird for us! Last year, Skyline Drive was closed for weather, so we had a beautiful short hike along the Appalachian Trail in half a foot of fresh snow. I still remember losing the trail multiple times because branches were so heavily bowed over the path. Thanksgiving of 2015 was quite different! It was so warm and sunny that it felt more like early fall. Even with a brisk breeze, we were able to hike comfortably in t-shirts.
We wanted to hike something new, so we settled on Robertson Mountain. It’s not as well-known or popular as many other Shenandoah trail, but we heard it had nice views of Old Rag and the valley. The hike isn’t listed in any of our hiking guidebooks and most of the online information approaches Robertson Mountain from the Old Rag parking area. That route is known as one of the steepest climbs in the park. We didn’t want to drive all the way around to Weakley Hollow, so we consulted our maps to find a route approaching the summit from Skyline Drive.
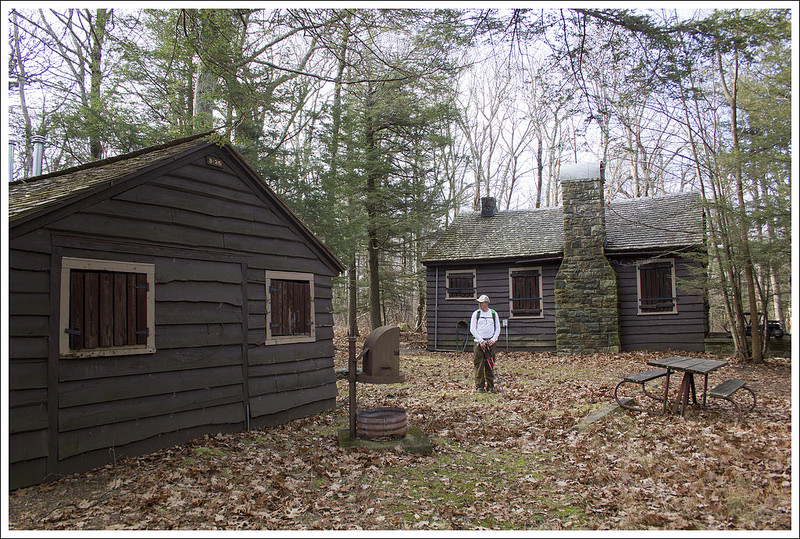
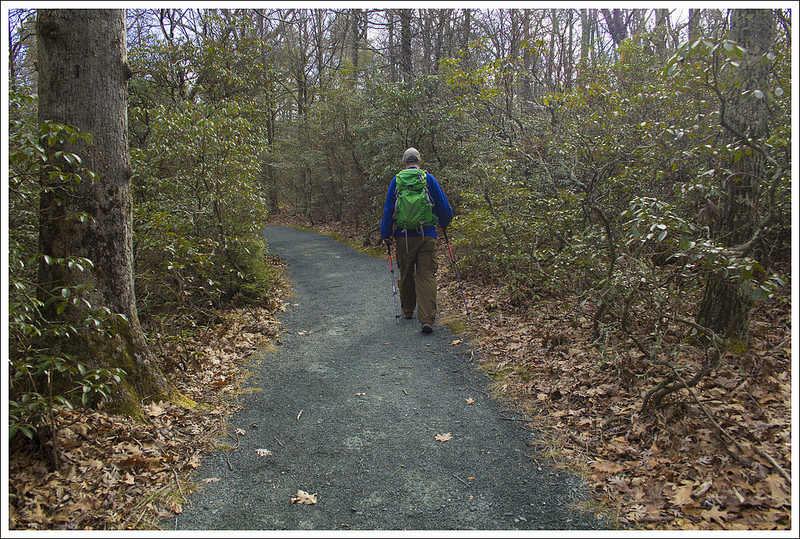


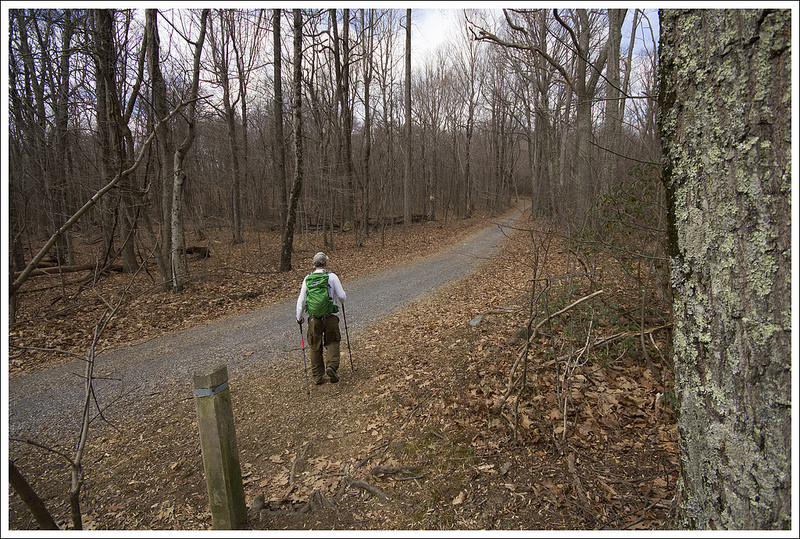
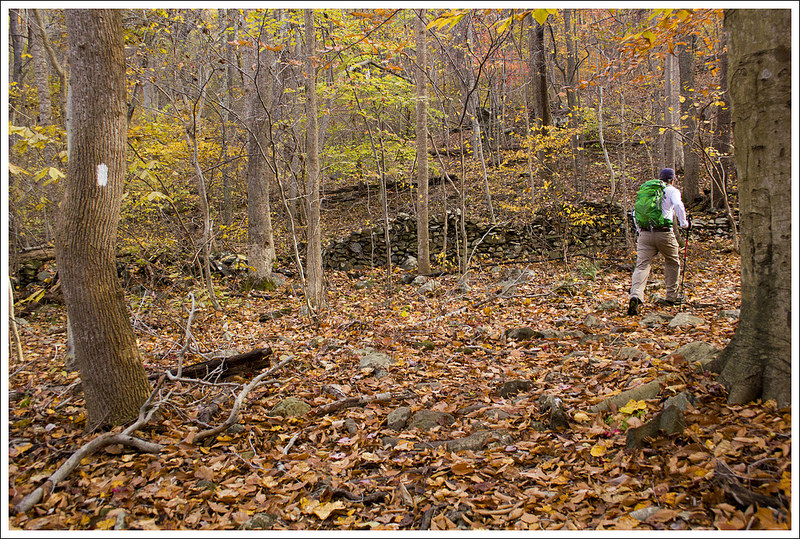
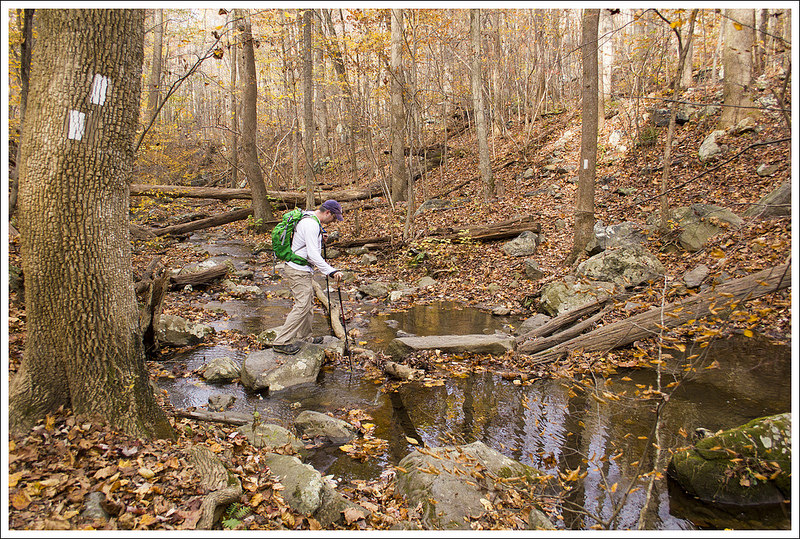
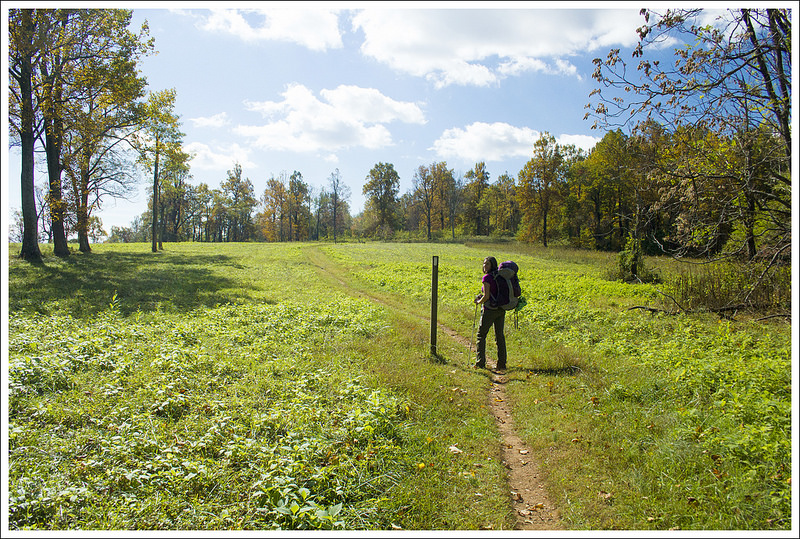
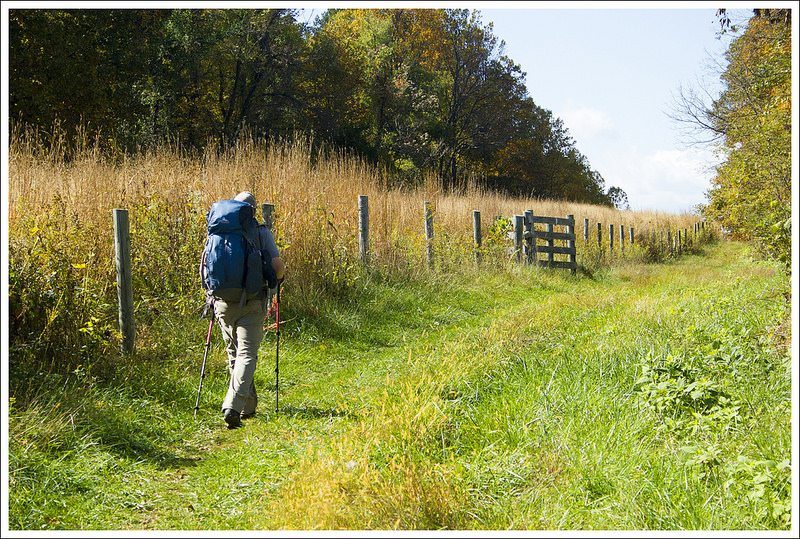
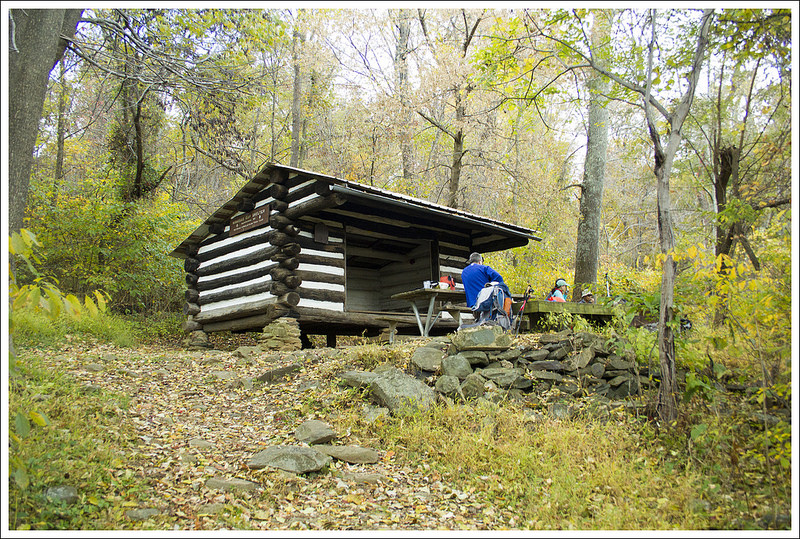
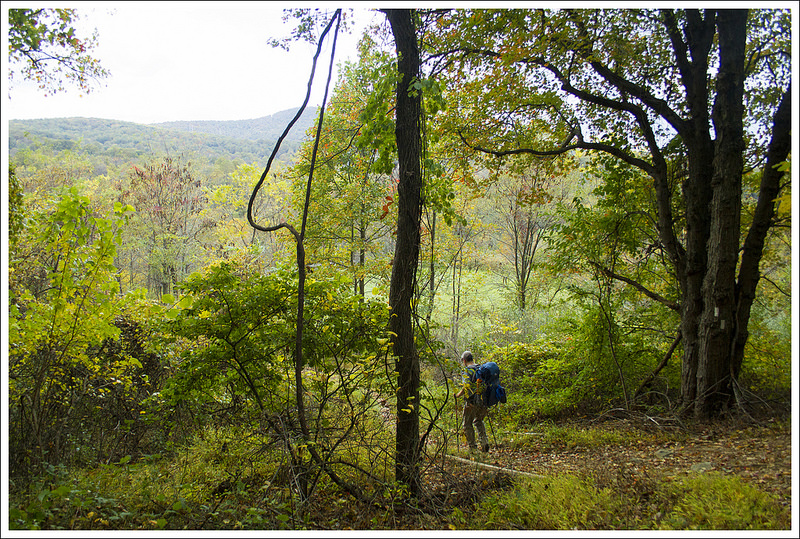
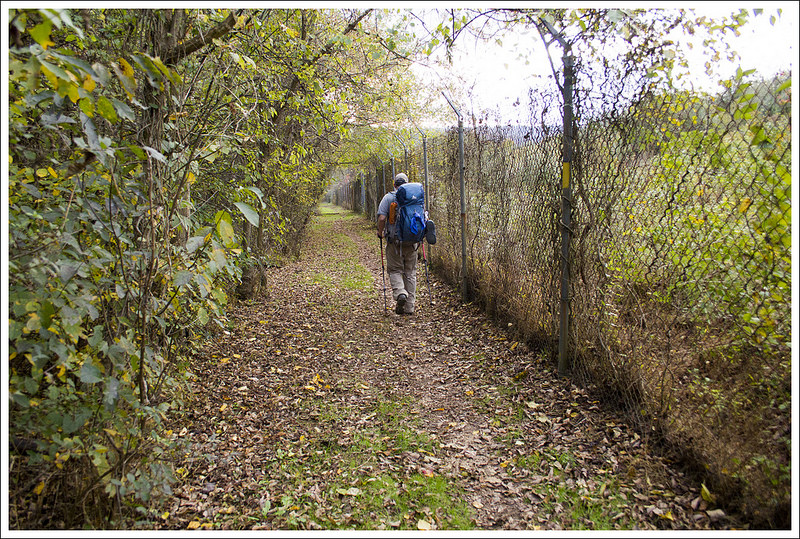
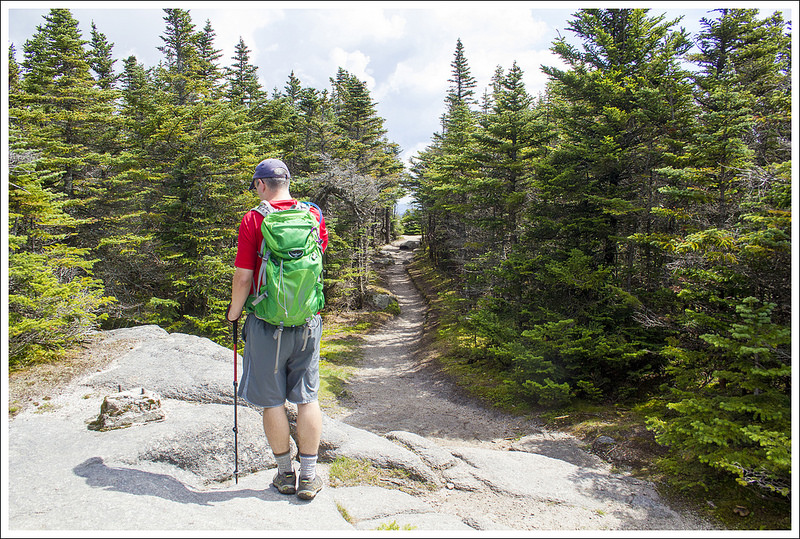
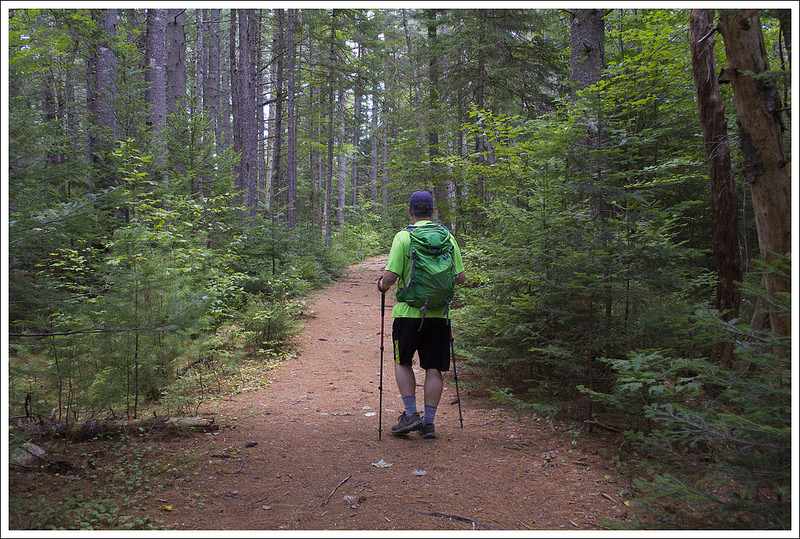
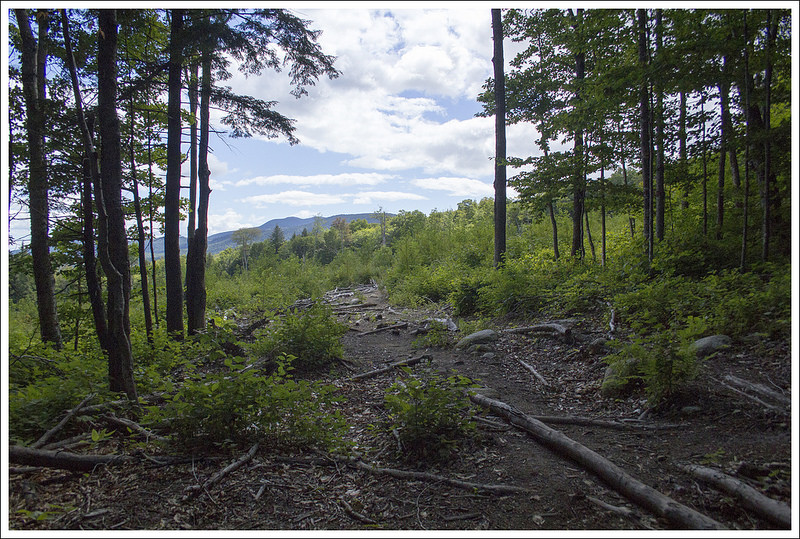
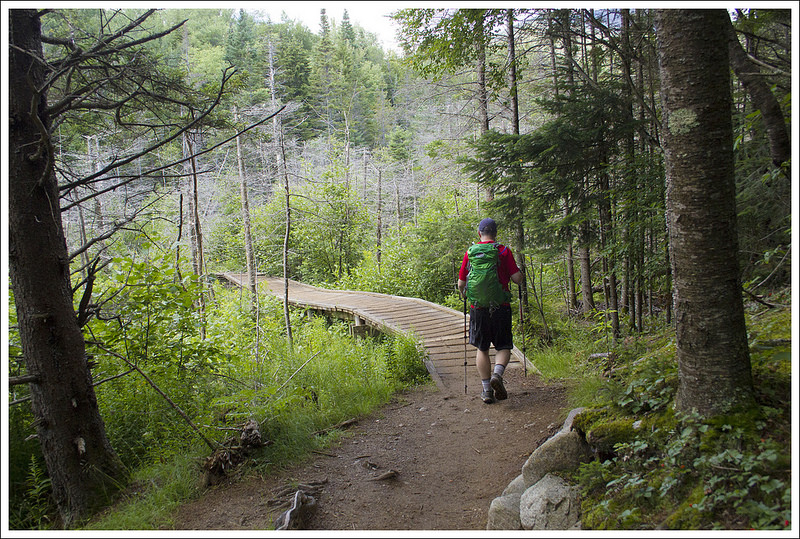
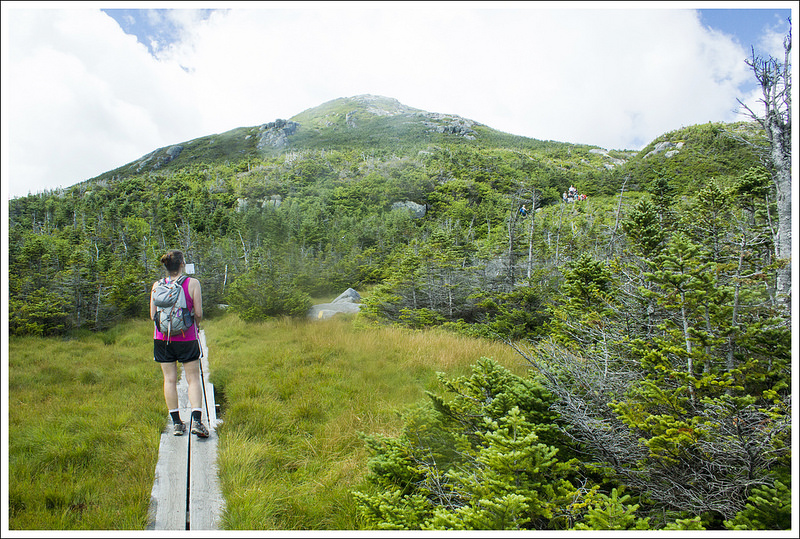
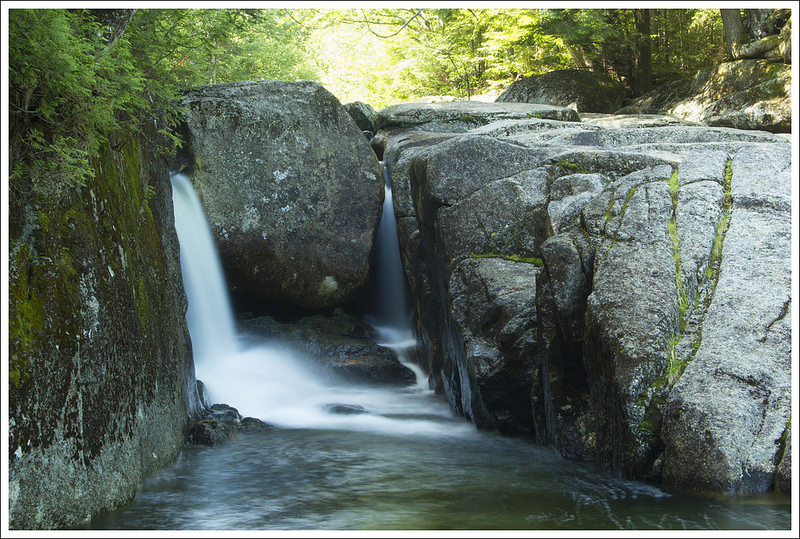
We decided our best option was to park at Limberlost and follow that trail to the junction with the Old Rag fire road. From there, we just followed the Old Rag fire road all the way down to its junction with the Robertson Mountain Trail. At first, the route seemed a little confusing because the fire road and the Big Meadows Horse Trail shared course for a while. Adam will give more specific details about benchmarks and distances in his portion of the post. Most of the walking along the fire road was mundane. We passed a pretty stream early on the route. We also came across a cluster of backcountry cabins. There wasn’t a sign marking them, but apparently they are used for training activities and ranger accommodations. As we descended the fire road, eventually Robertson Mountain came into view. Through the leafless trees, we could see it’s cone-like shape through branches.
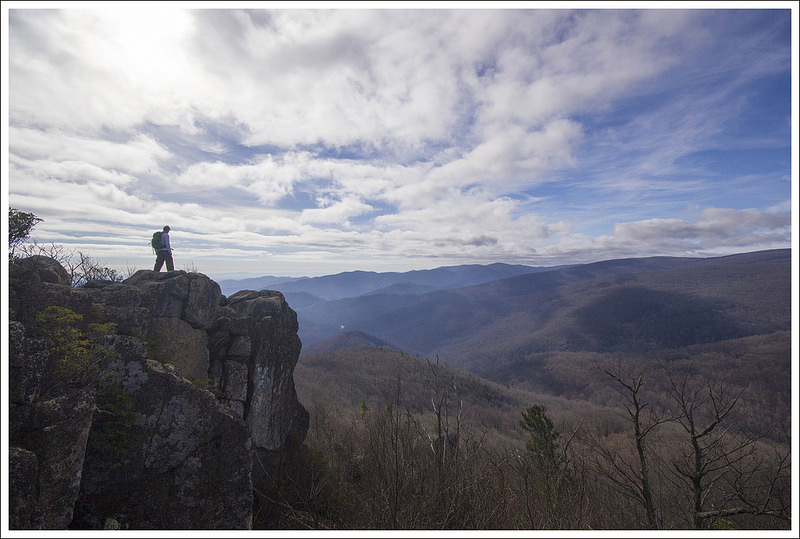
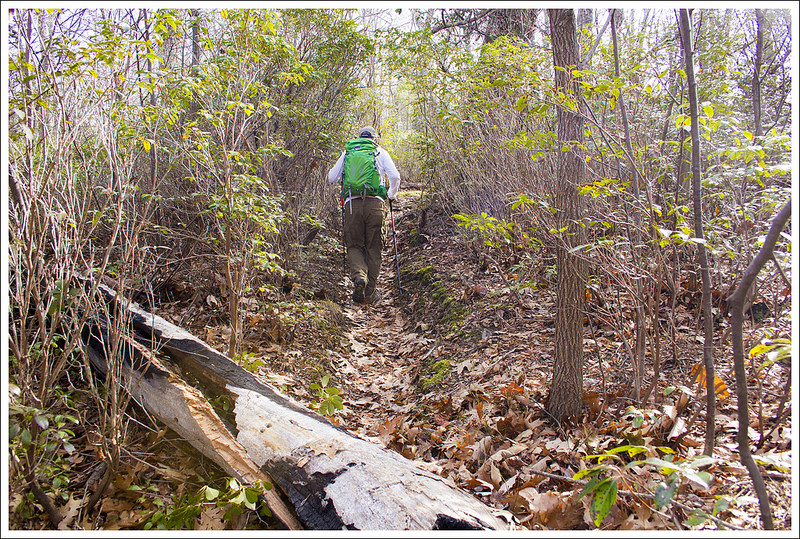
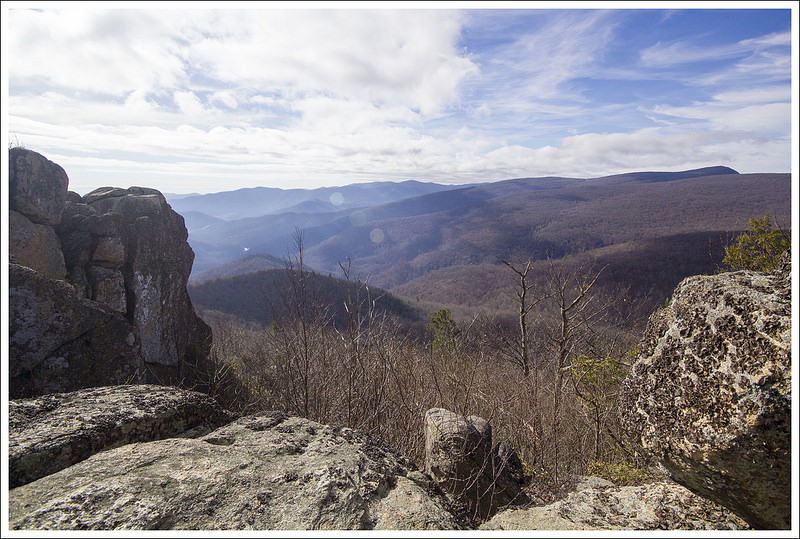
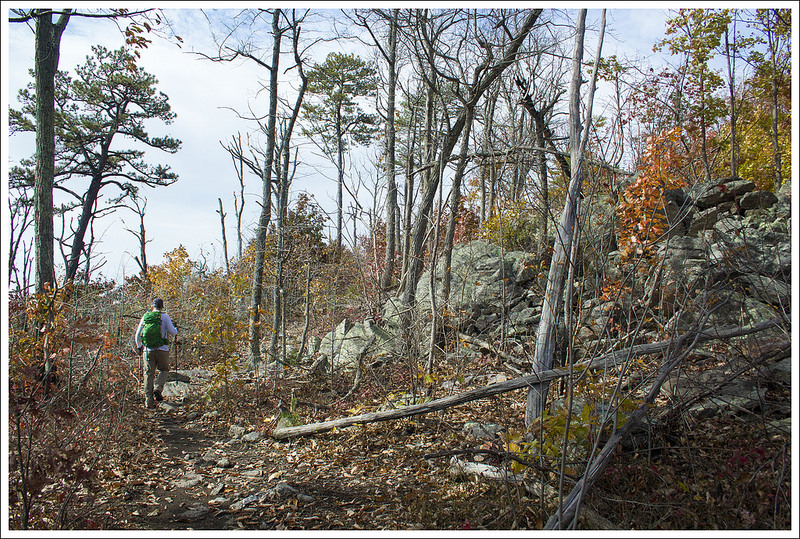
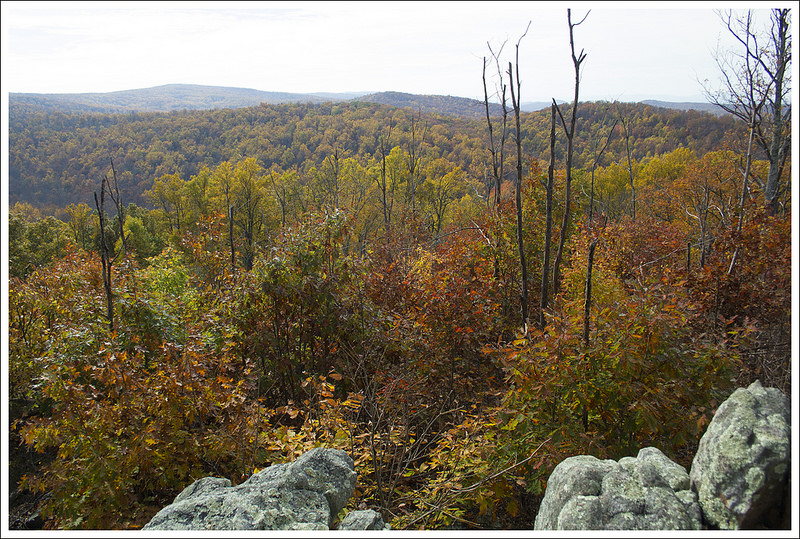
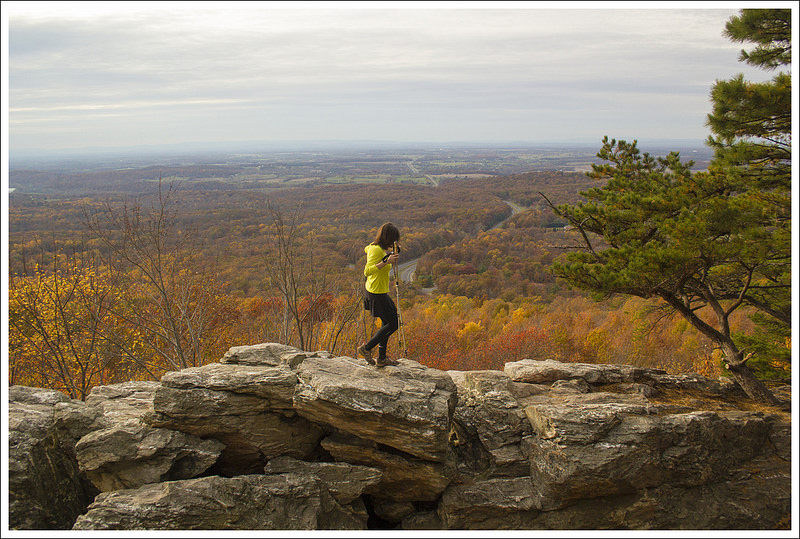
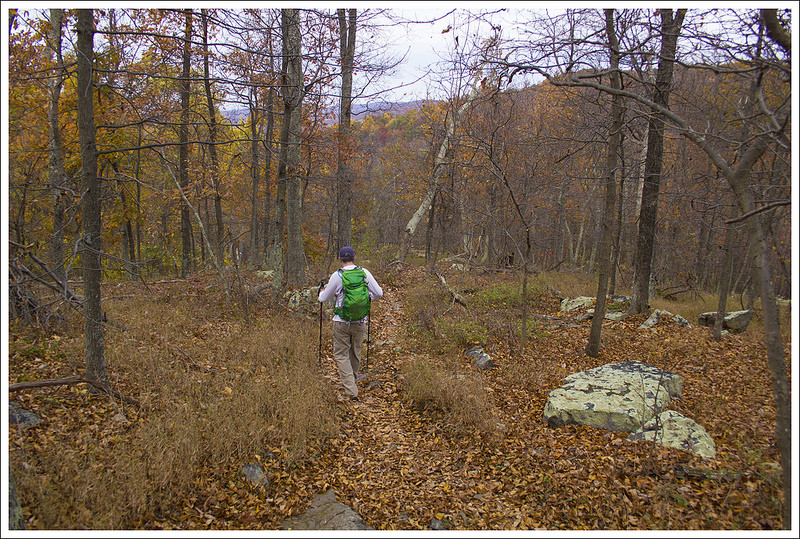
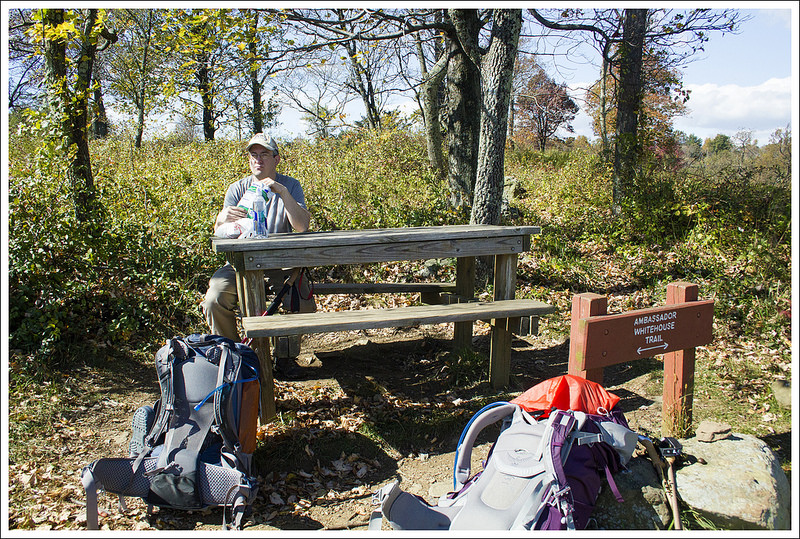
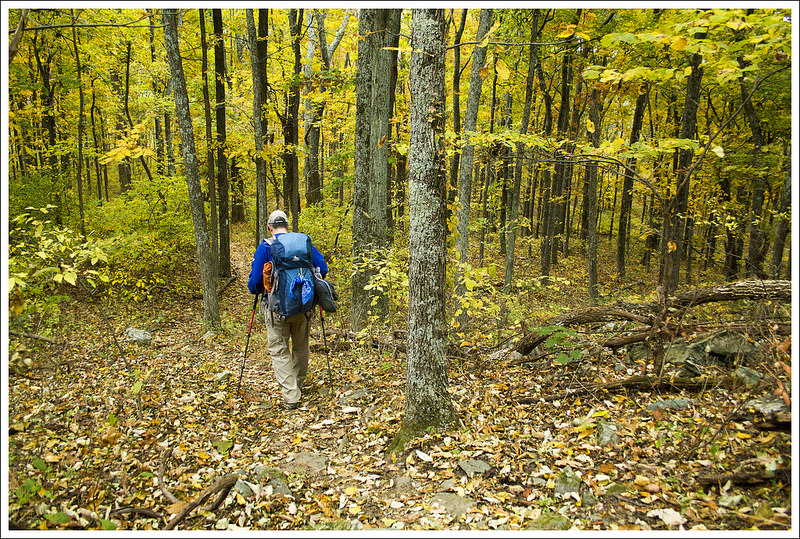
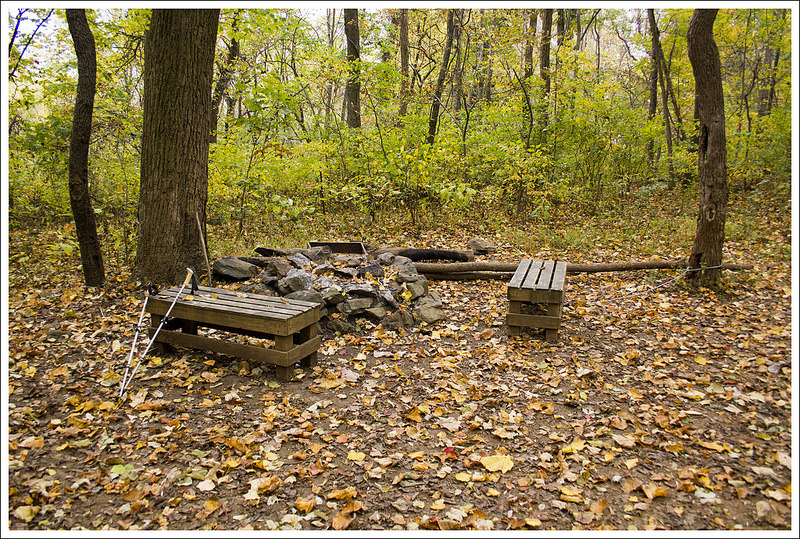
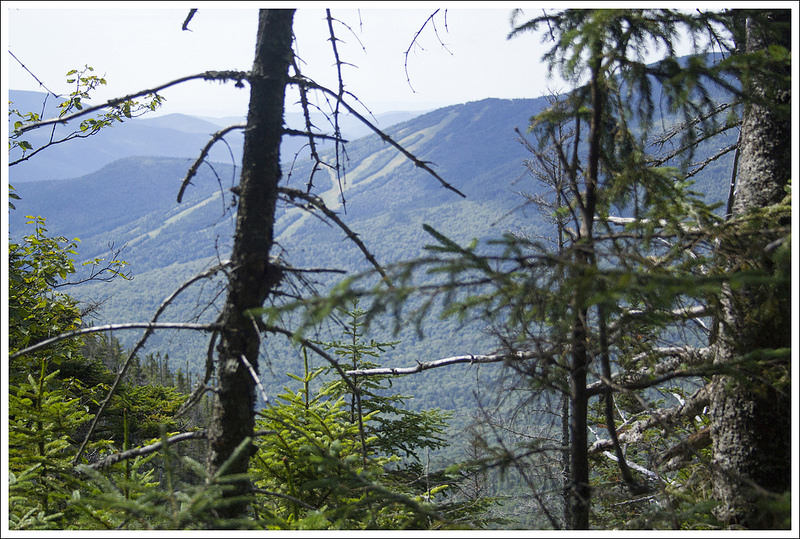
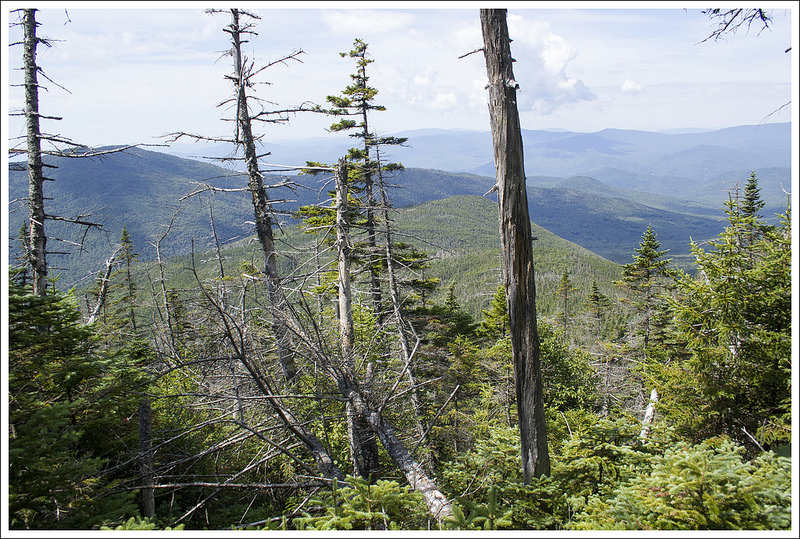
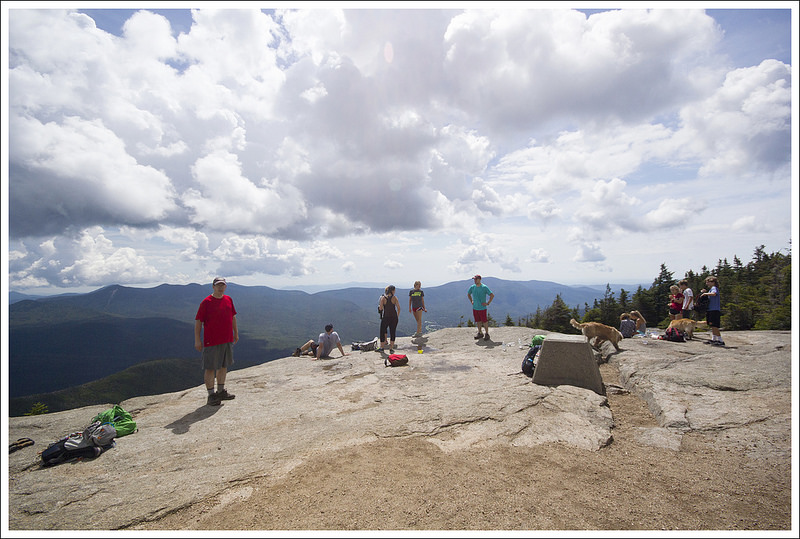
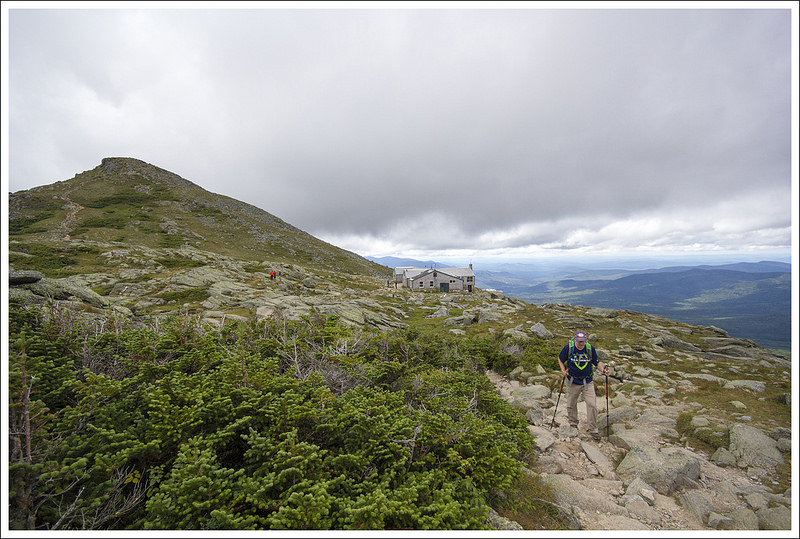
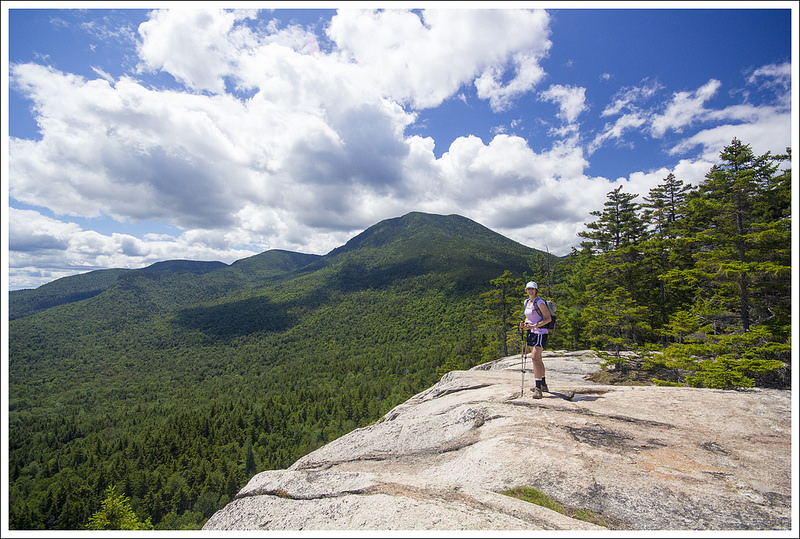
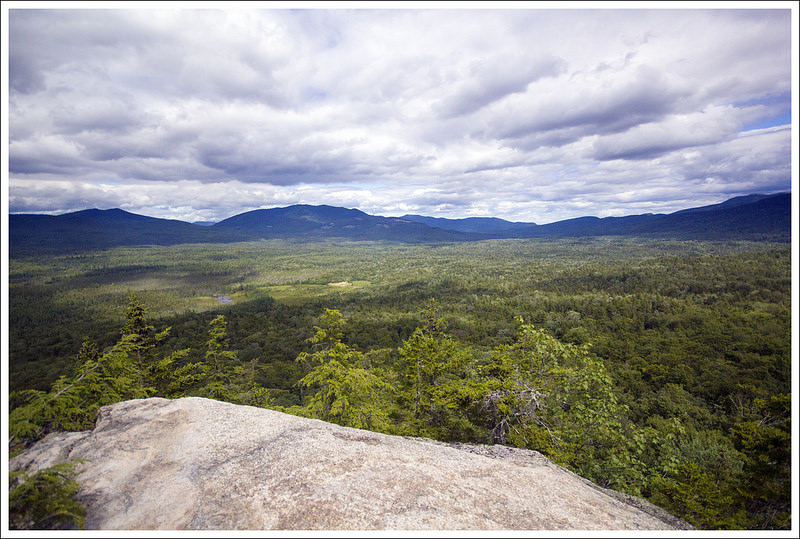
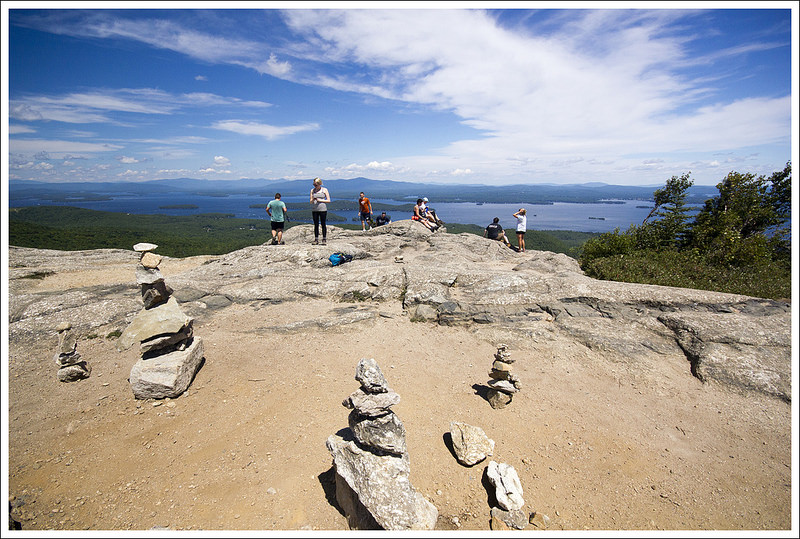
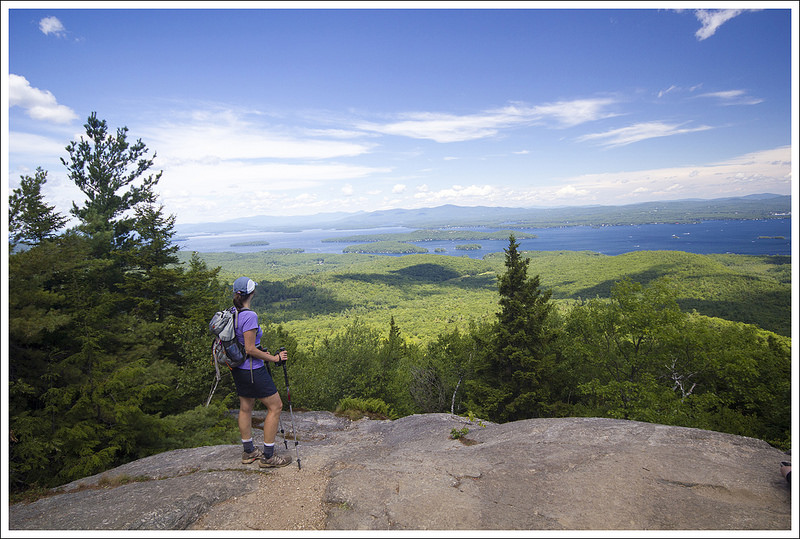
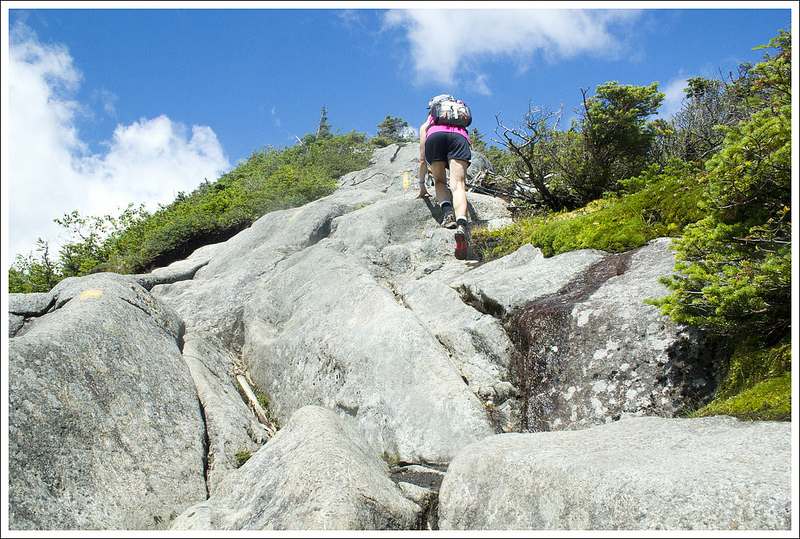
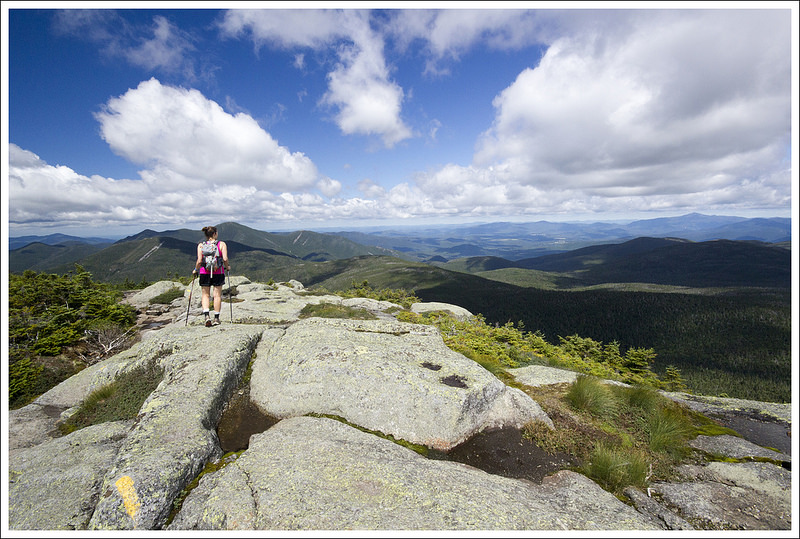
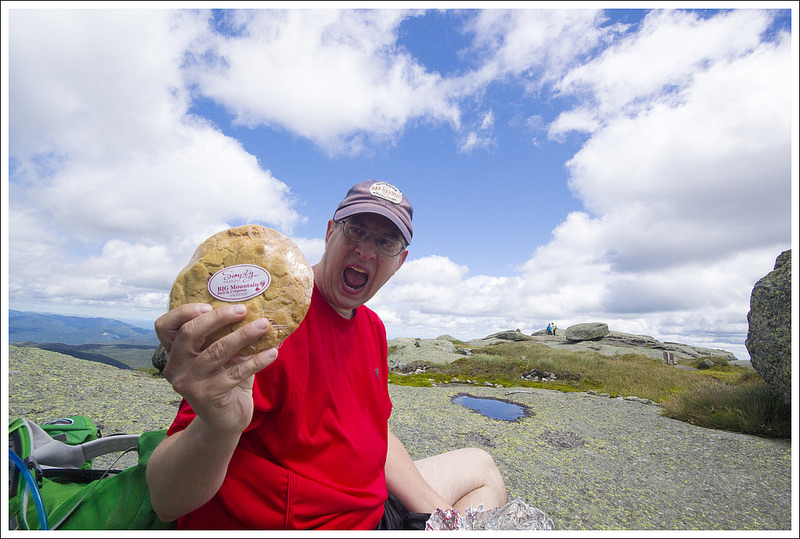
We took a left onto the Robertson Mountain trail. It’s the only ‘real’ section of trail on this hike – the majority is fire road and the graded path of Limberlost. We climbed steadily for about three-quarters of a mile until we reached the top. A side path made it’s way to a rocky outcropping. We had the summit all to ourselves. We enjoyed a light lunch and spectacular views of the mountains. After leaving the summit, we explored a mountain-top campsite. There was definitely enough room for a couple tents, but no water source. Someone had recently put an illegal fire ring in at the site, so we dispersed the rocks before heading back down.
The hike back retraced our steps and was primarily an uphill climb back to Limberlost. If you’re looking for the less steep, easier way to visit Robertson Mountain – this is your route! The approach from Weakley Hollow is about the same total distance, but is a much steeper climb! All in all, this was a pleasant and moderate six mile hike. The route wasn’t very exciting, but the great views more than made up for it. It was the perfect way to spend our Thanksgiving morning.


Adam Says…
Robertson Mountain is one of those hikes that doesn’t get much publicity, but treats you with a serene view over a mountainous landscape with barely a glimpse of civilization. Because of this, on most days, you will find that you can have this slice of serenity all to yourself.
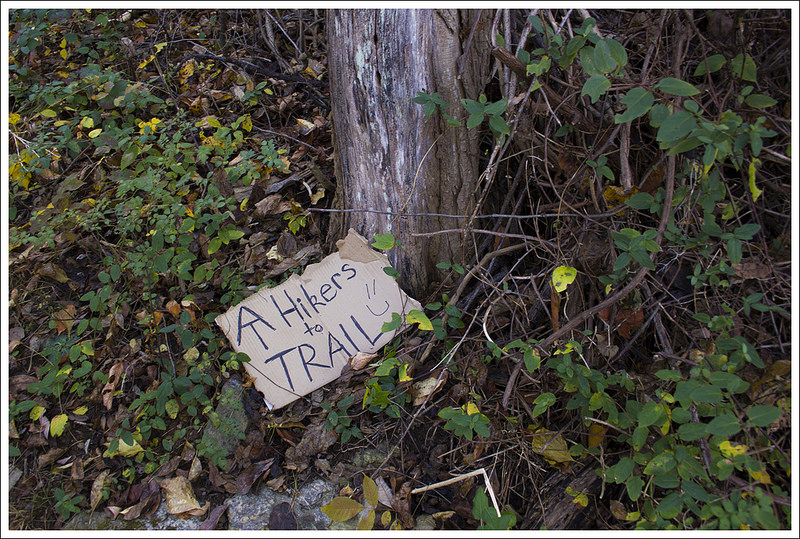
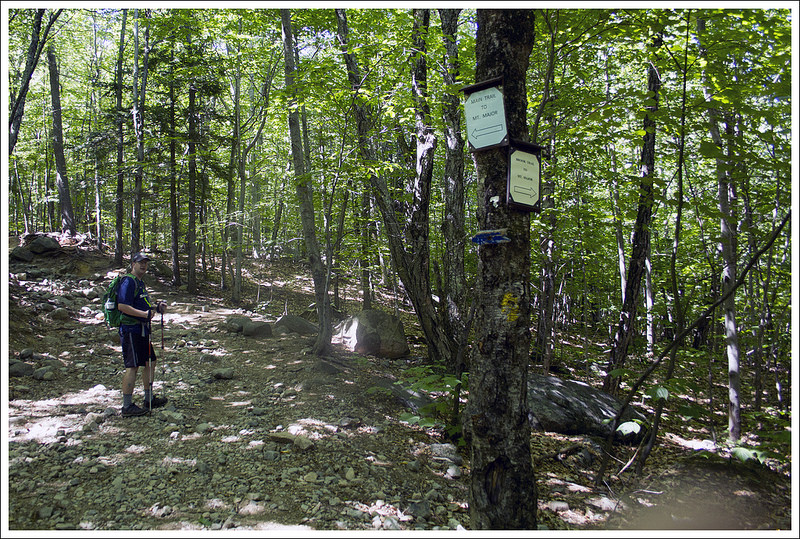
We started our hike from the Limberlost Trail parking lot. The Limberlost Trail is a small loop, but start heading on the left, clockwise from the parking lot. There are several spurs that lead away from the Limberlost Trail and all of the junctions aren’t easily marked. After going just a couple tenths of a mile, we came to a sign that states “Horse Trail” with arrows to Skyland and Big Meadows (the next trail that comes off the Limberlost Trail Loop is the White Oak Canyon Trail – this is not the trail you want). Take this trail off the Limberlost Trail which is the Old Rag Fire Road. The Old Rag Fire Road starts off mostly flat until the one mile mark. At this point, it will start a steeper downhill. At 1.7 miles, you reach a junction with the Indian Run trail, but stay on the Fire Road. At 2.2 miles, you reach the bottom of the steep decline and reach another junction with the Corbin Hollow Trail. Stay on the Old Rag Fire Road and at 2.3 miles, you will see a small post on the left of the road that marks the beginning of the Robertson Mountain trail.
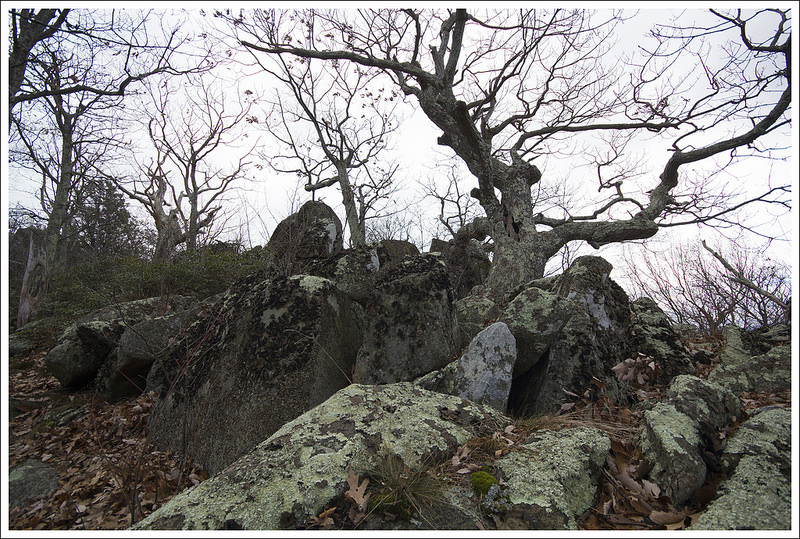

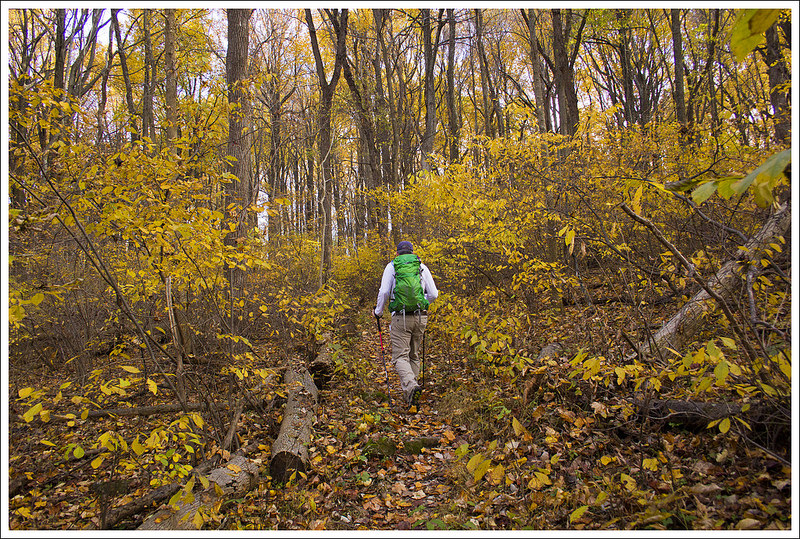
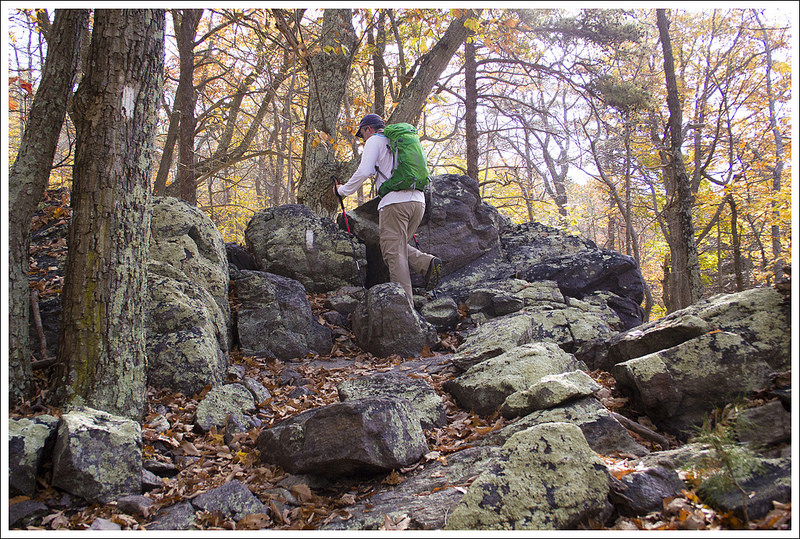
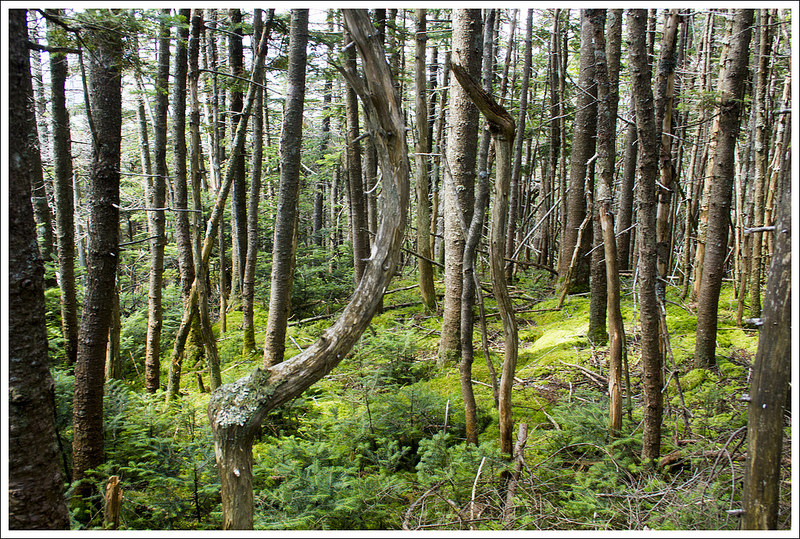
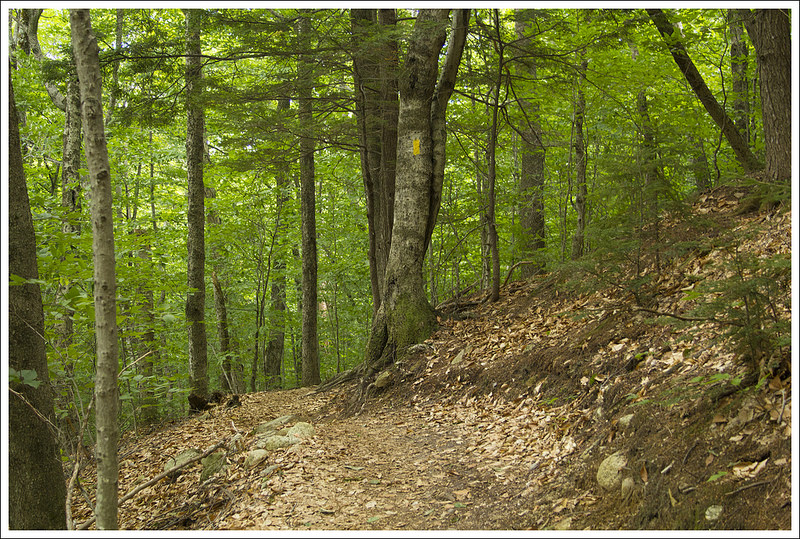
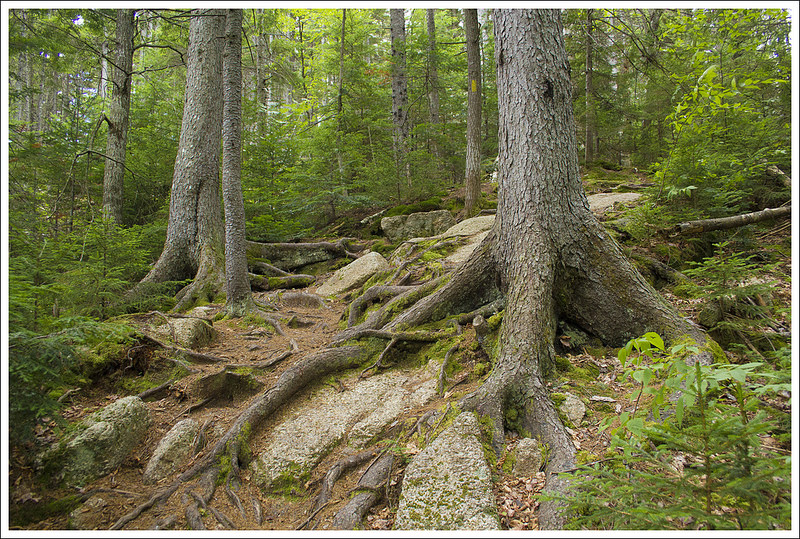
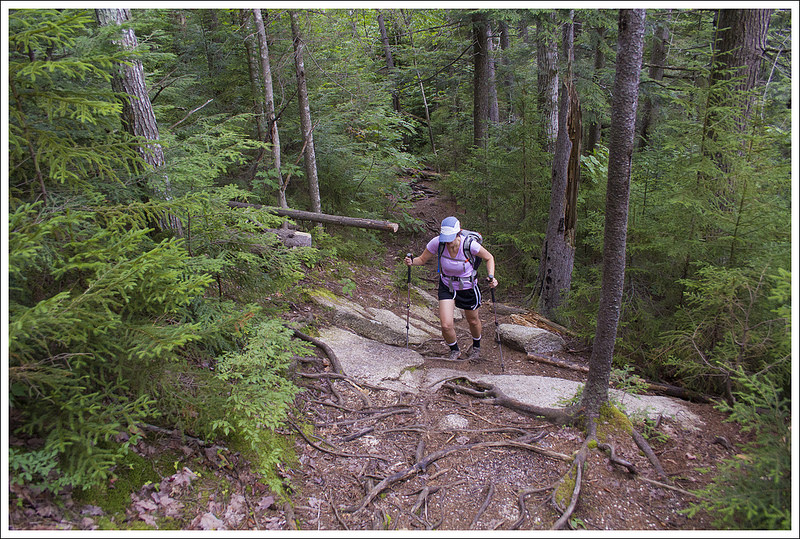
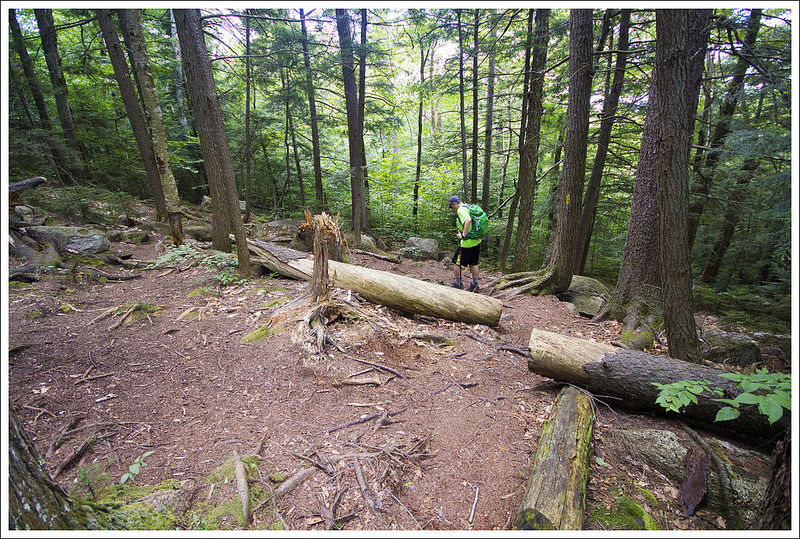
Take this trail, which starts off through some thicker underbrush. This trail is much steeper but it is a short climb of .6 miles. The Robertson Mountain trail was very rocky and you think several times that you have reached a false summit, but the trail continues up. At this 2.9 mile marker, there is a small side trail to the right that leads to the summit. From the summit, you will see lots of nice rock outcroppings to enjoy the view. Continue back the way you came to make this about a 6 mile out-and-back hike.
For those that want to bag a few different peaks from this hike, you can reach Old Rag from here also. You could go back down the Robertson Mountain trail and then take a left at the Old Rag Fire Road. Taking this and then joining the Saddle Trail would take another 4 miles to reach the summit of Old Rag. This would give you about a 15-mile hike, so it could make a decent route for an overnight backpacking trip (but there isn’t really a water source) or a very long day hike for those that are very fit. Shenandoah provides a nice, free trail map of this area on their website.
This was a great way to spend a day on a hidden gem of a hike. While the fire road is not overly thrilling to see, it makes for some easy footing. We feel we have done so much of Shenandoah National Park, so we were pleasantly surprised at how this tucked-away hike gave us some of the better views in the park.
Trail Notes
- Distance – 6.0 miles roundtrip
(Check out the stats from Map My Hike)* - Elevation Change – 1250 ft.
- Difficulty – 2.5. This was an easy to moderate hike. The climbing was mostly gentle and well-graded.
- Trail Conditions – 4. Most of the hike was along accessible trail or fire road. The Robertson Mountain trail was typical Shenandoah single-track.
- Views – 4.5. Beautiful and fairly expansive!
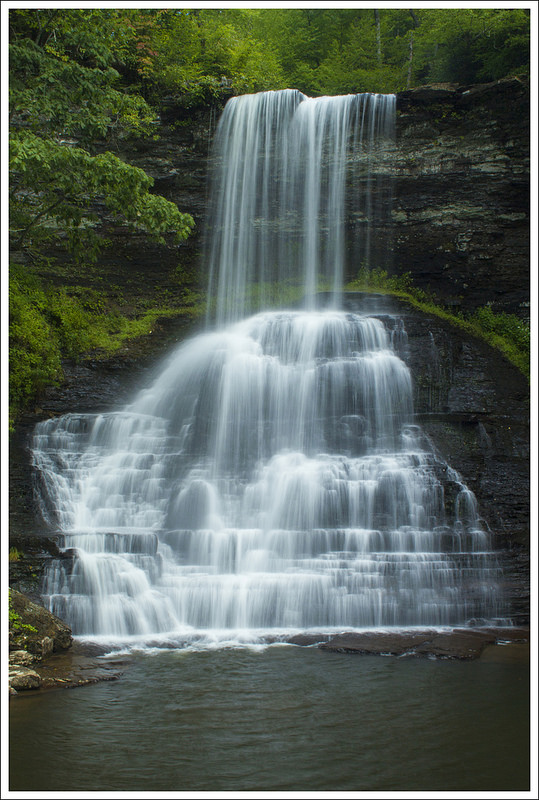
- Streams/Waterfalls – 2. There was one pretty stream early in the hike.
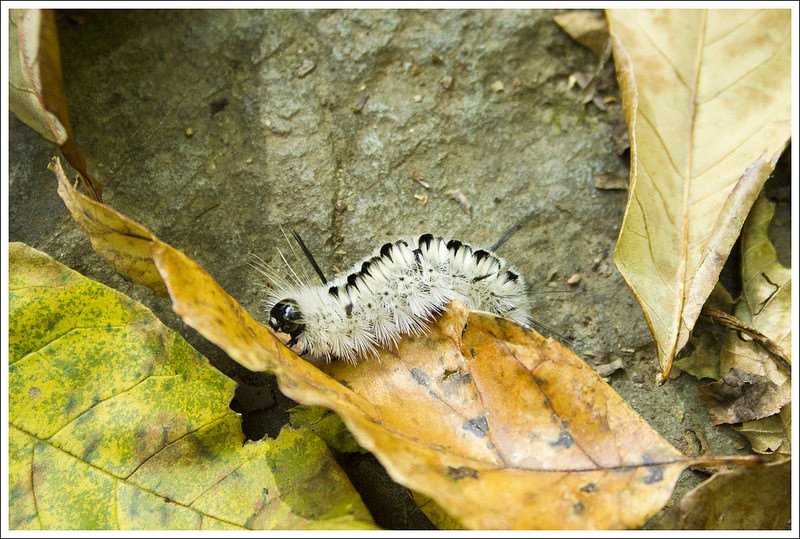
- Wildlife – 3. We saw deer and birds. I am sure some hikers cross paths with bears in this area too. We saw some scat along the fire road.
- Ease to Navigate – 4. The junction of Limberlost and the Old Rag Fireroad is not well labeled, but it’s also hard to miss something as wide as a fire road.
- Solitude – 4. We saw some people around Limberlost, but nobody after that!
* MapMyHike is not necessarily accurate, as the GPS signal fades in and out – but it still provides some fun and interesting information.
Download a Trail Map (PDF)
Directions to trailhead: Located in Shenandoah National Park (fees apply). The Limberlost Parking lot is located around Mile Marker 43 on Skyline Drive. Park in this lot. Head left on the Limberlost Trail loop at the end of the parking lot. Coordinates: 38.580055, -78.381473


