
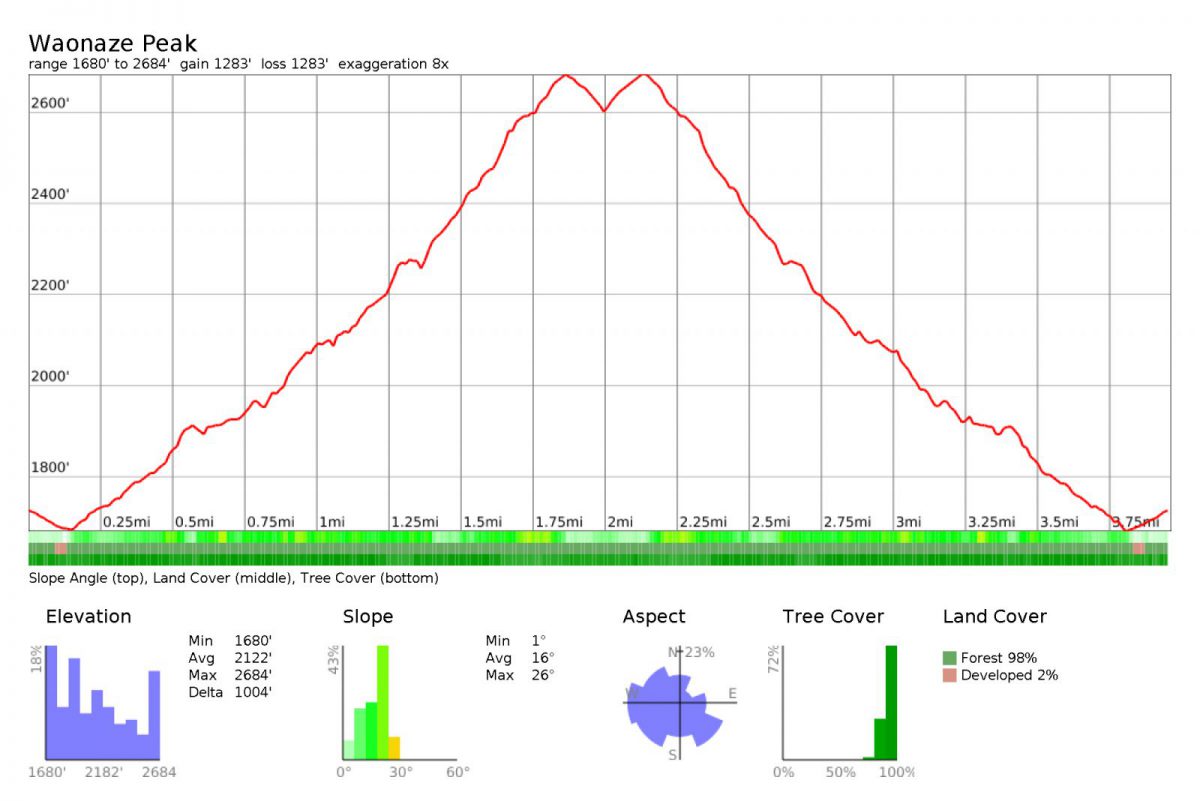
This 4.5 mile hike in North Carolina’s Plott Balsams had some great views, but the trail was in such poor shape that the hike was not that enjoyable. There were parts that were unpleasant (tall grass, blowdowns, and thick overgrowth), confusing (relatively few blazes), and even dangerous (slippery erosion and steep dropoffs).
View the Full Album of Photos From This Hike


Christine Says…
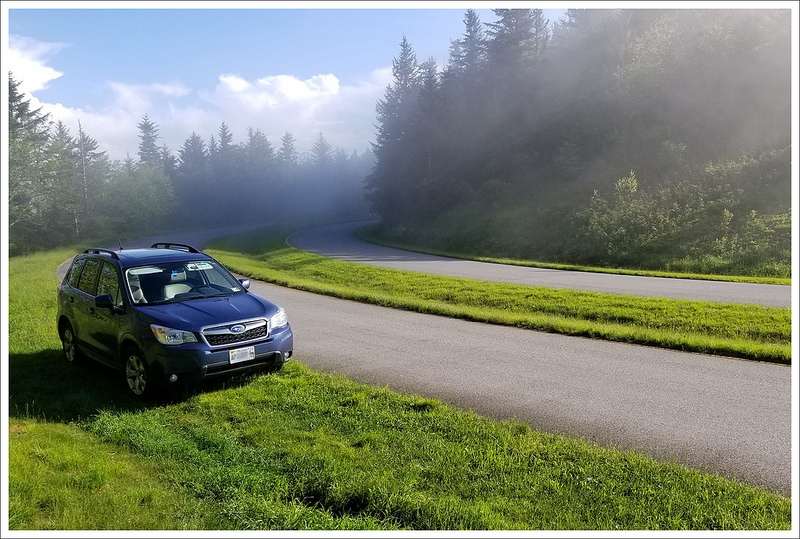
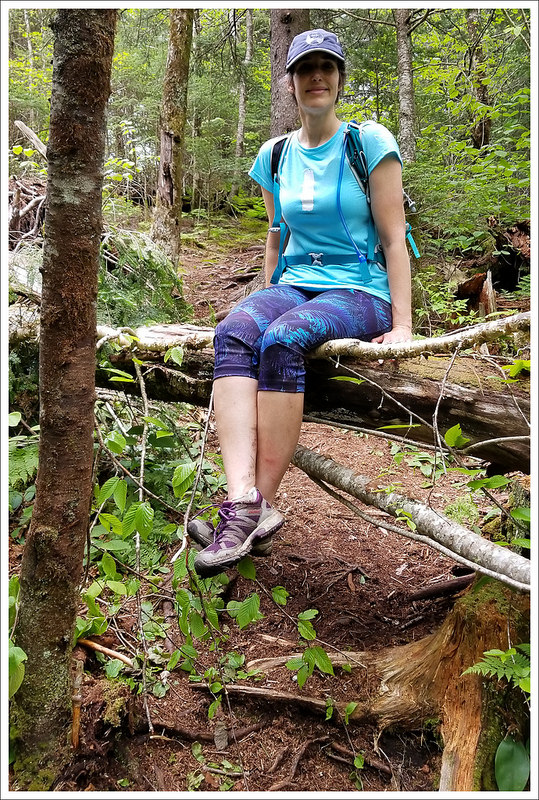
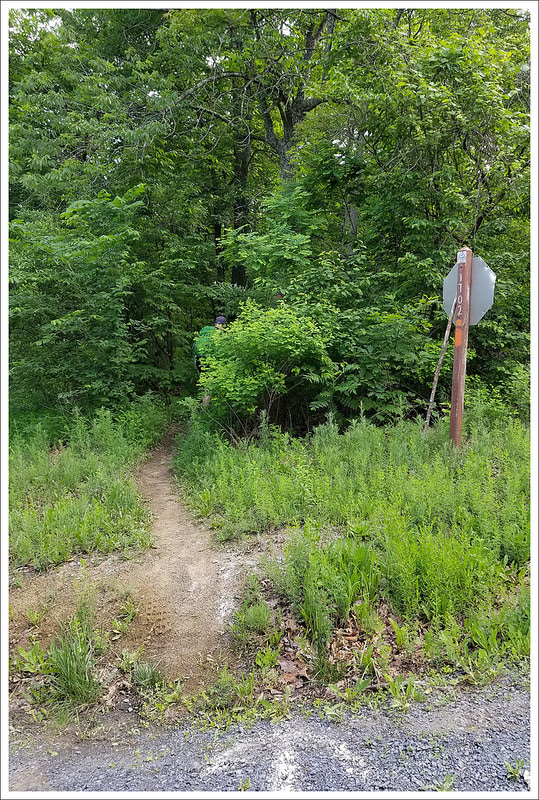
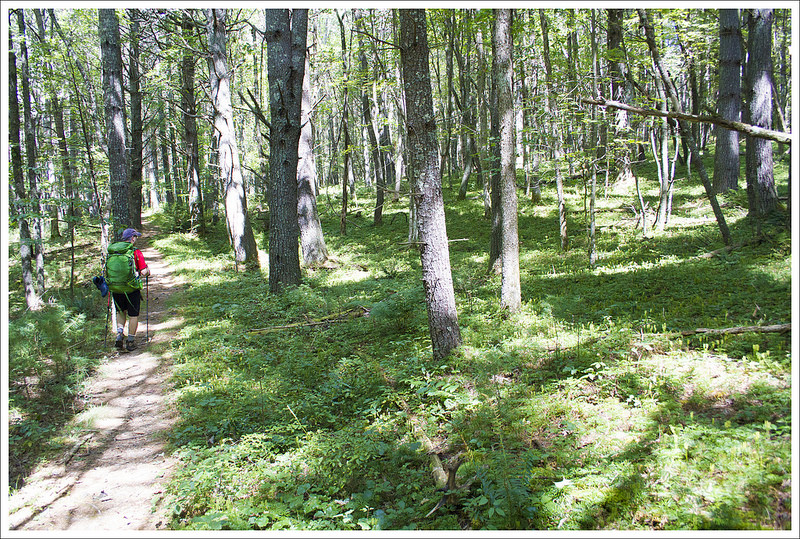
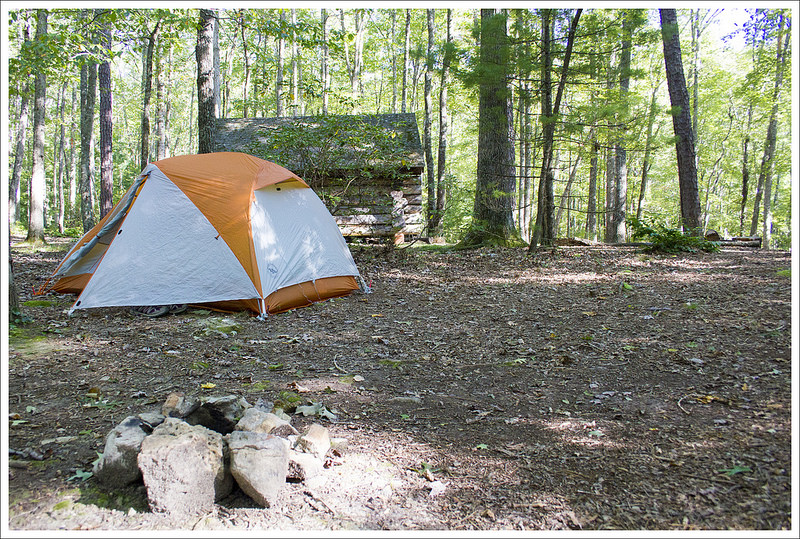
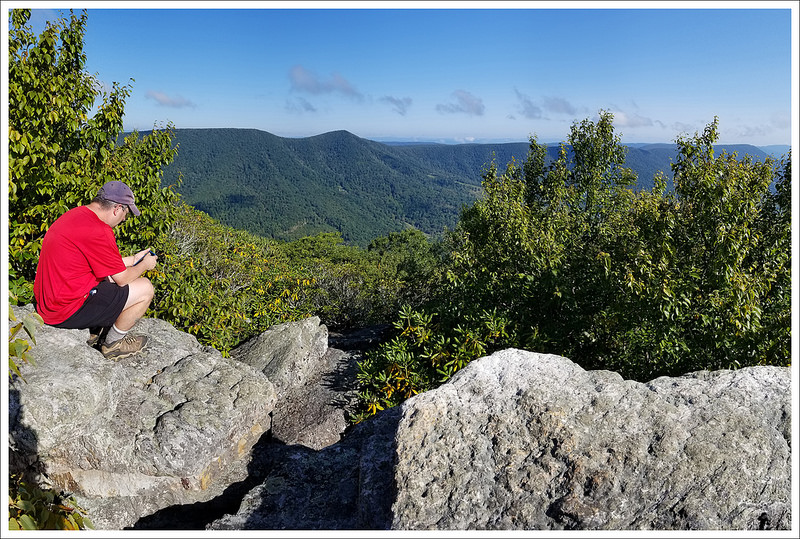
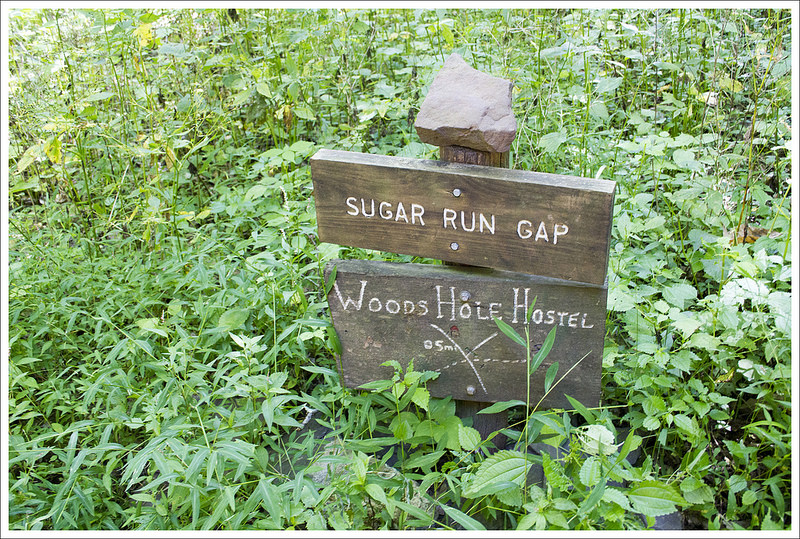
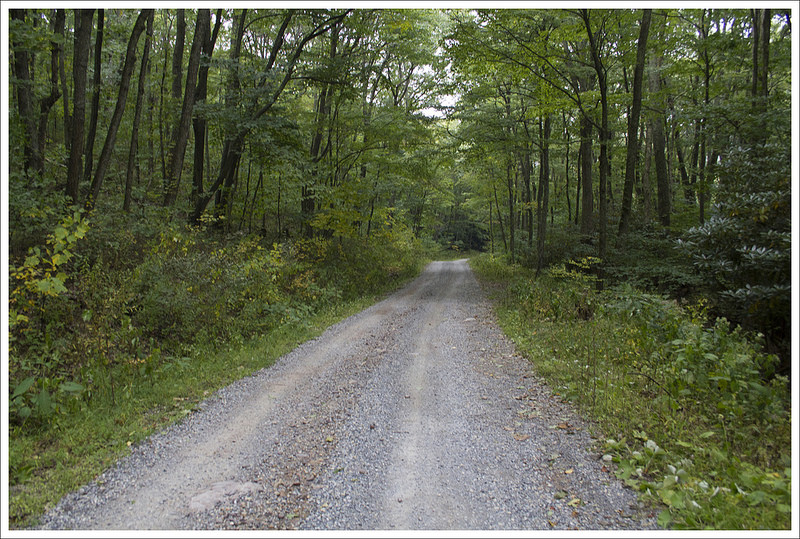
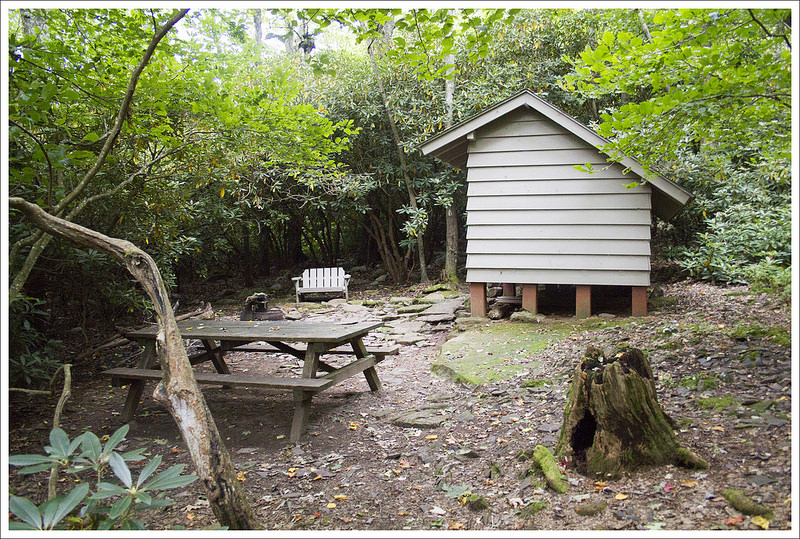
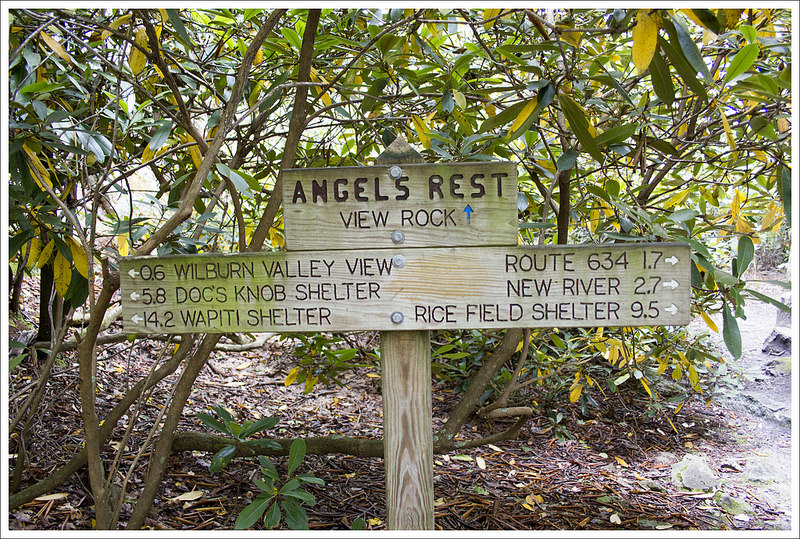
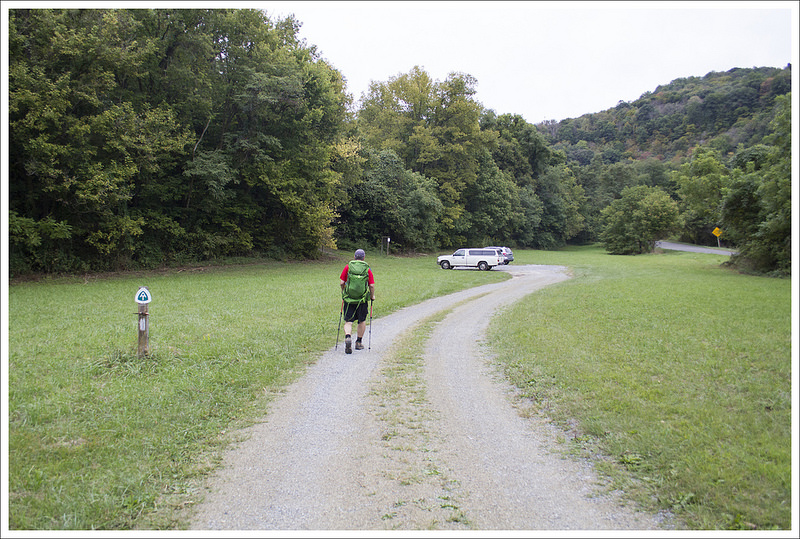
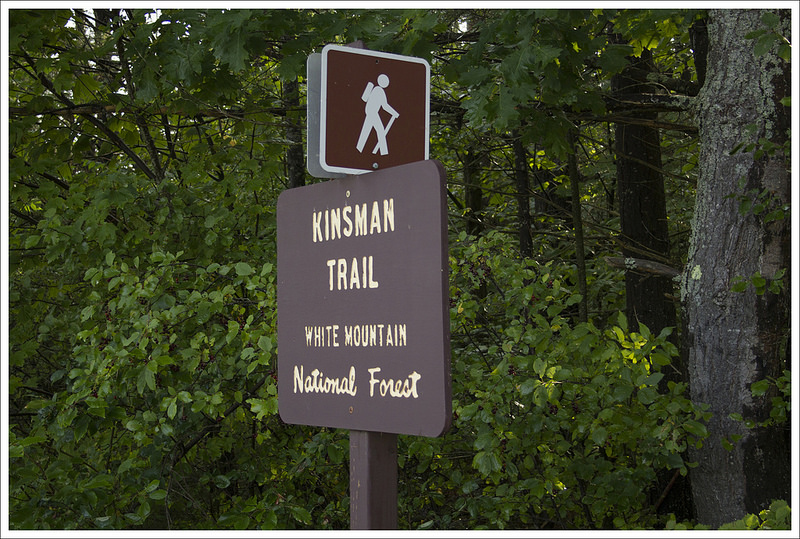
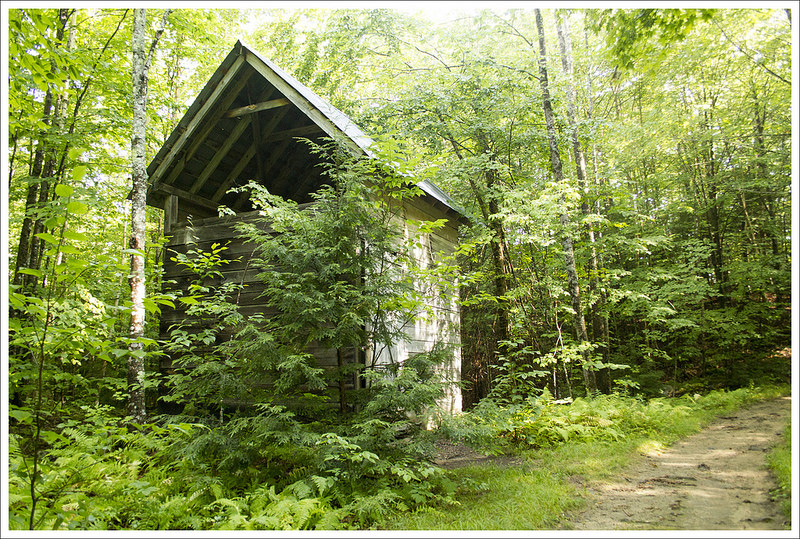
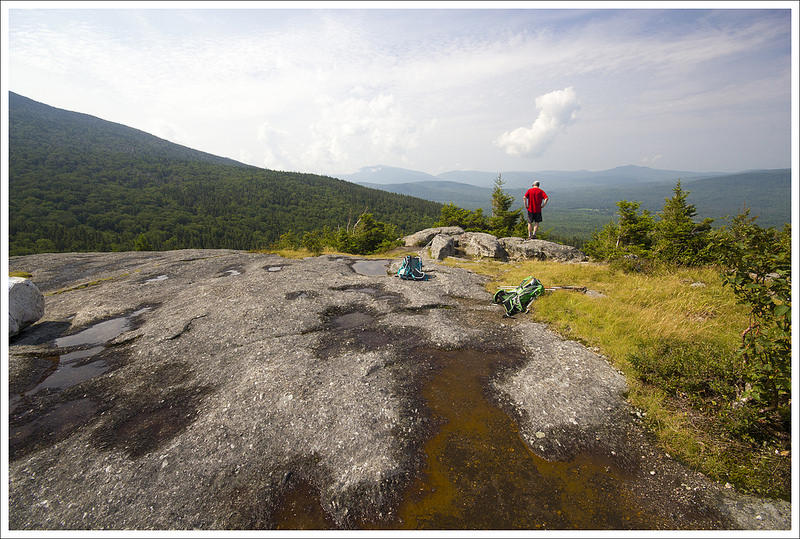
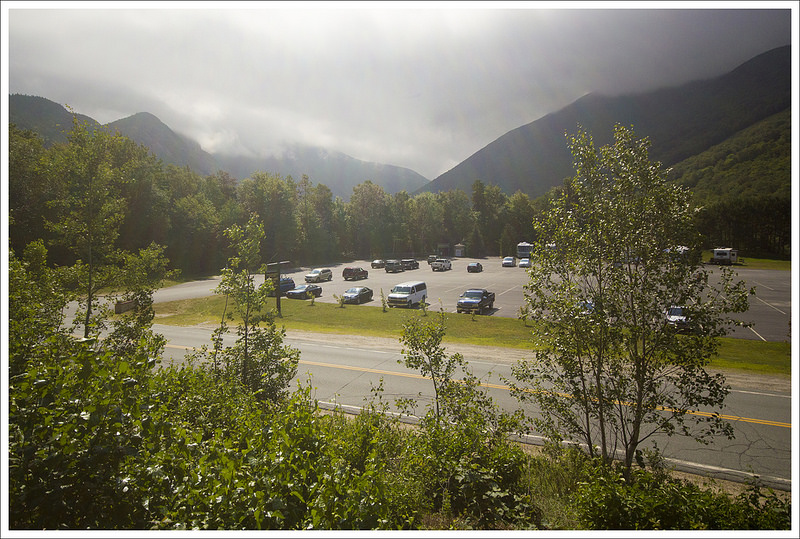
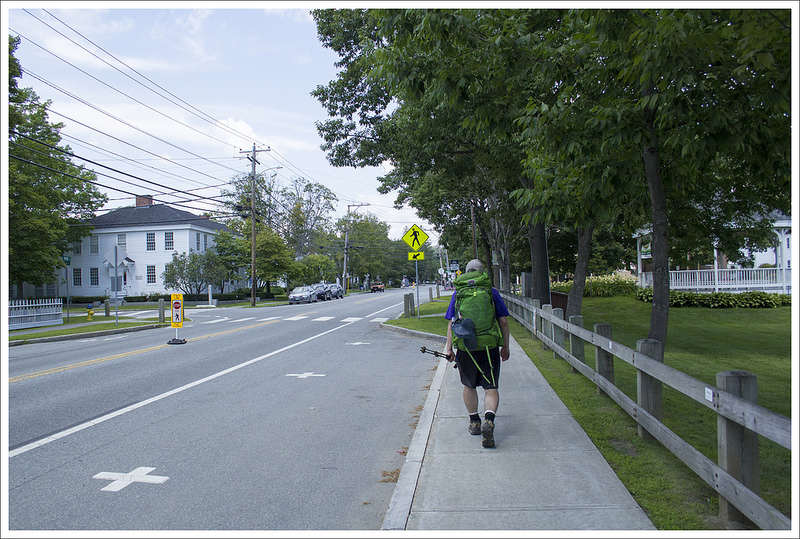
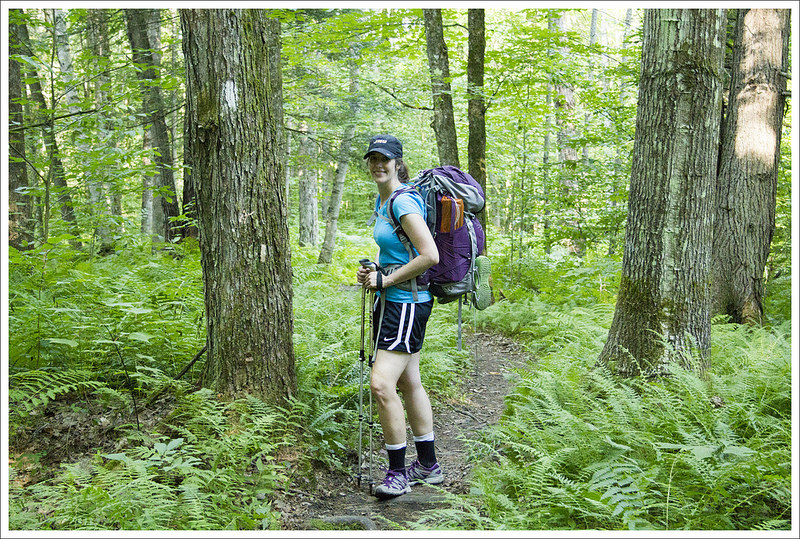
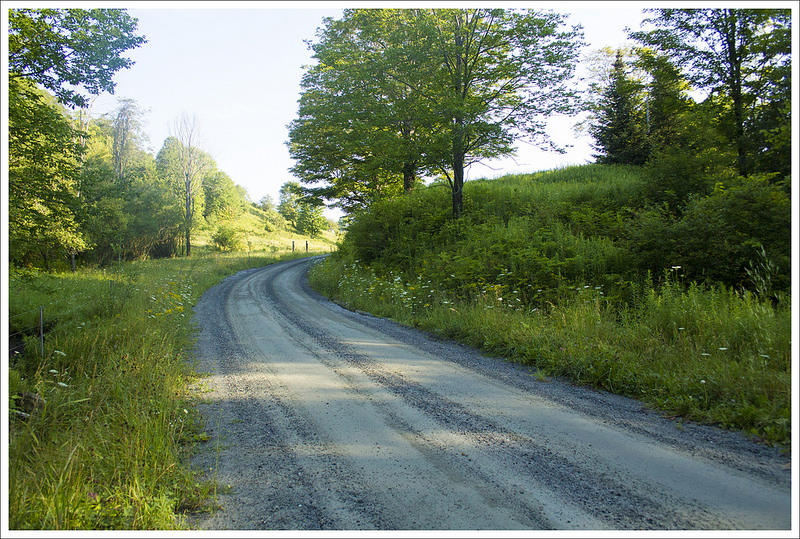
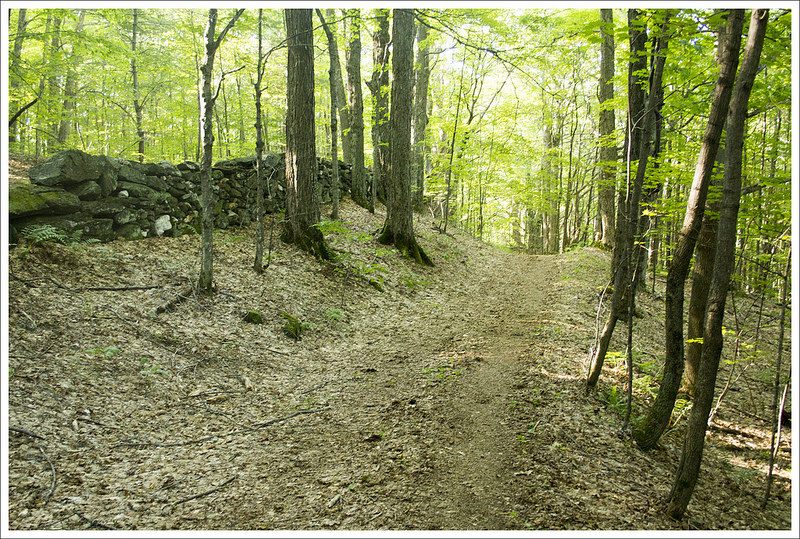
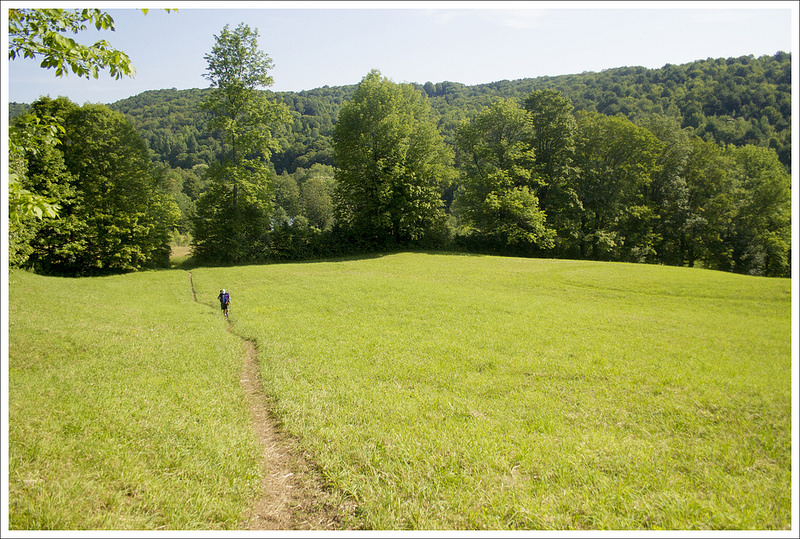
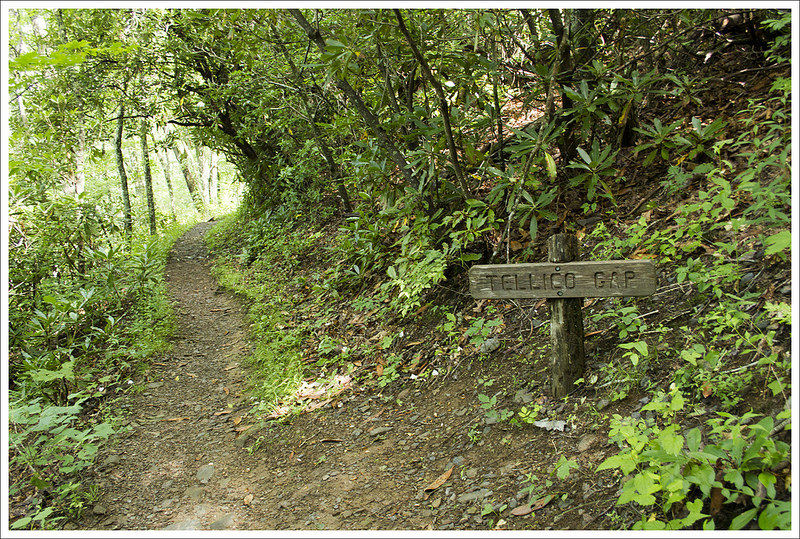
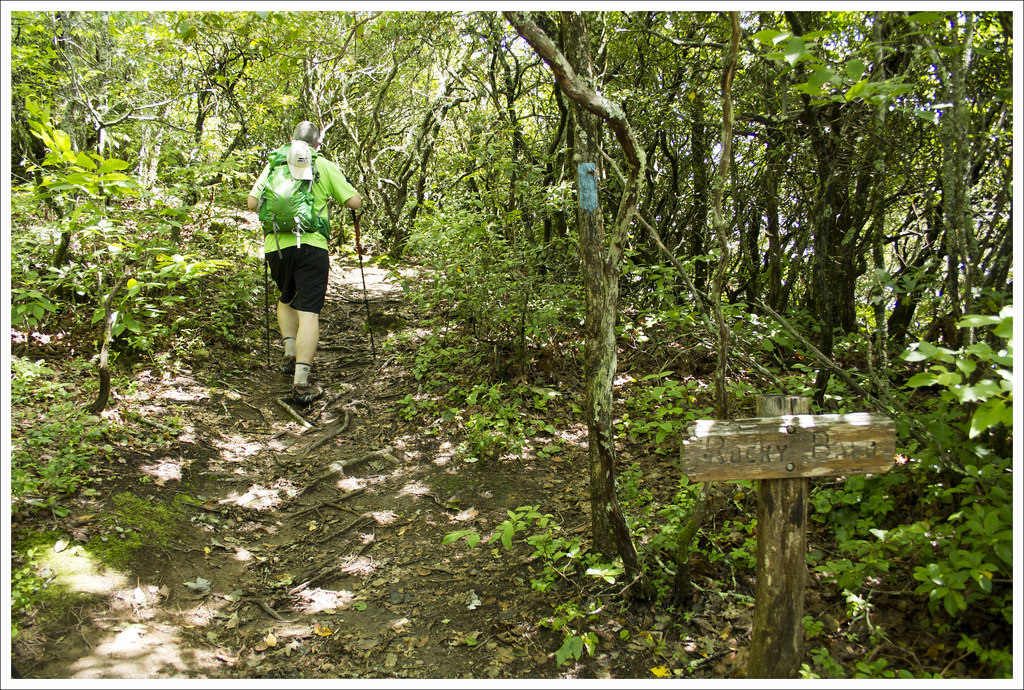
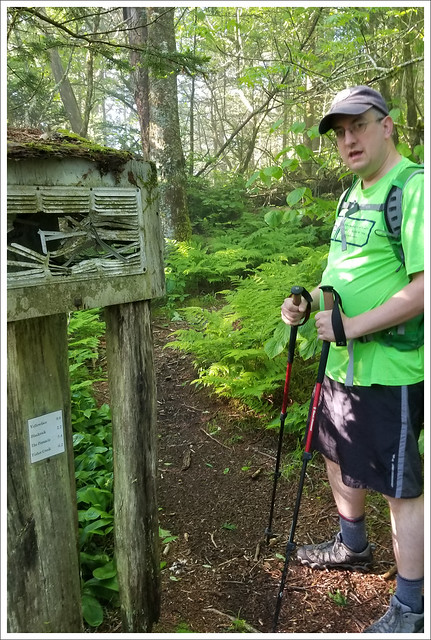
This hike started off along the Blue Ridge Parkway near the Waterrock Knob Visitors Center at BRP mile 451. There is parking right along the shoulder of the road (as pictured above). The entrance to the trail is unmarked, so you’ll need to search along the forest line to find where the trail begins. When you see this old, broken-down kiosk just inside the woods, you’ll know you’re on the right path. The trail has occasional purple/yellow blazes, but don’t count on seeing many along the way to guide you! This area is tricky – even for experienced hikers. Meanderthals hiking blog did a good write-up where they describe getting a bit lost along this stretch of trail.
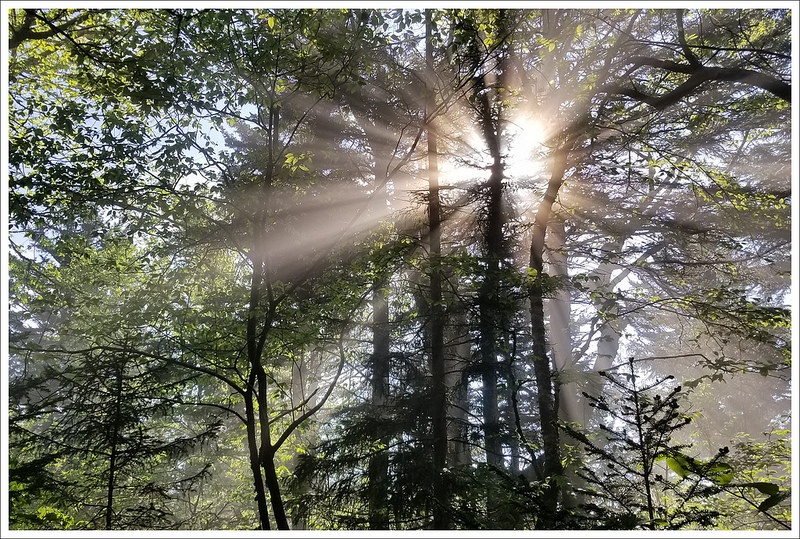
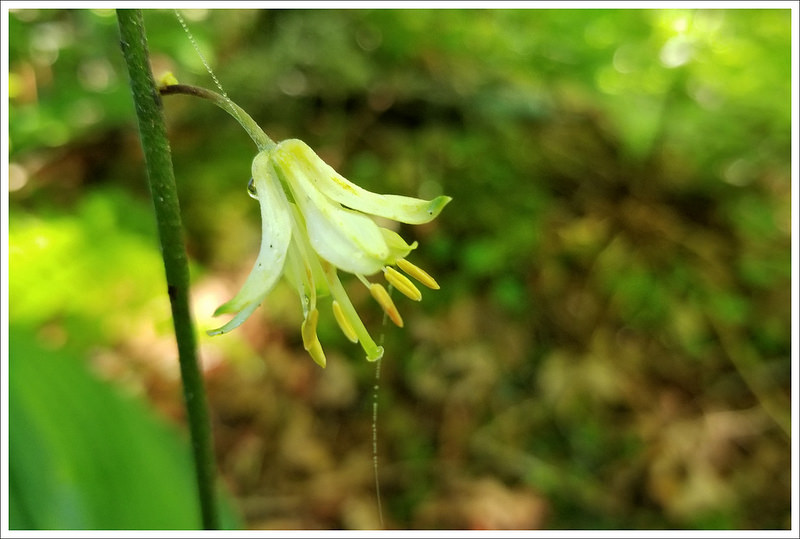
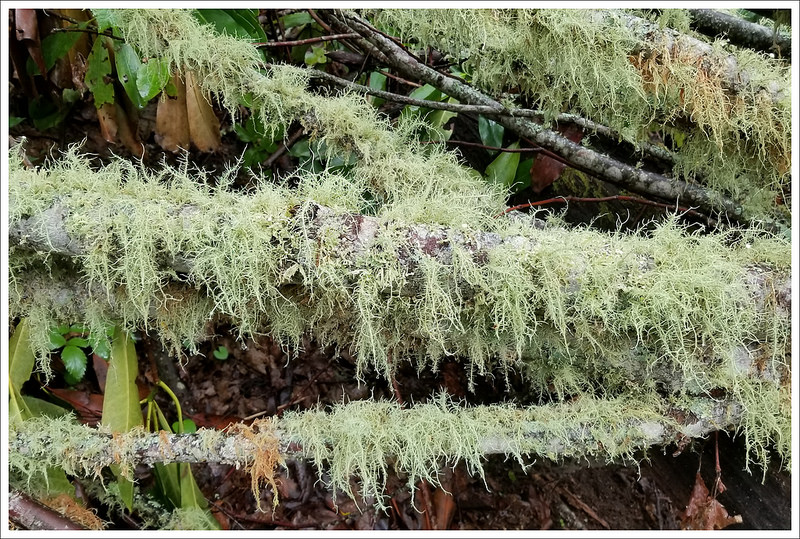
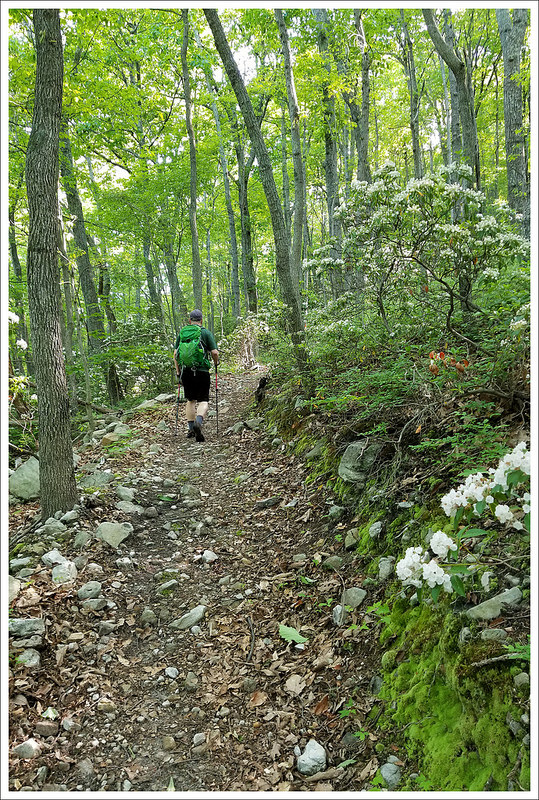
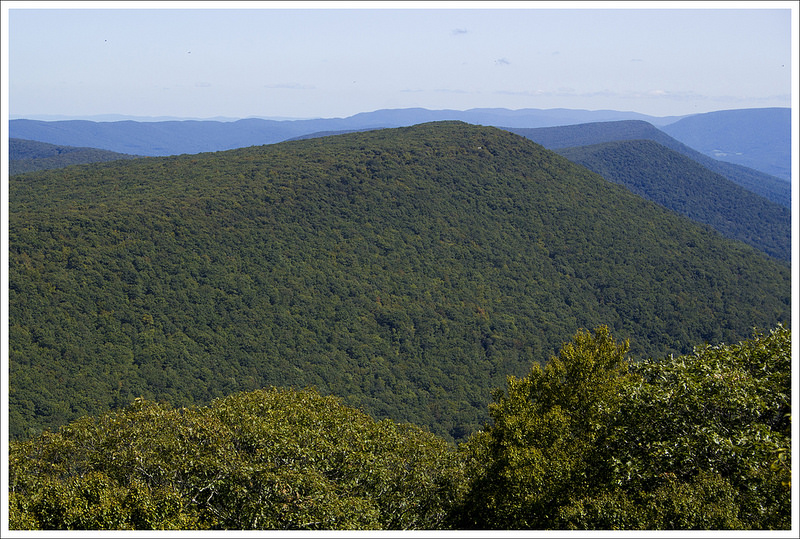
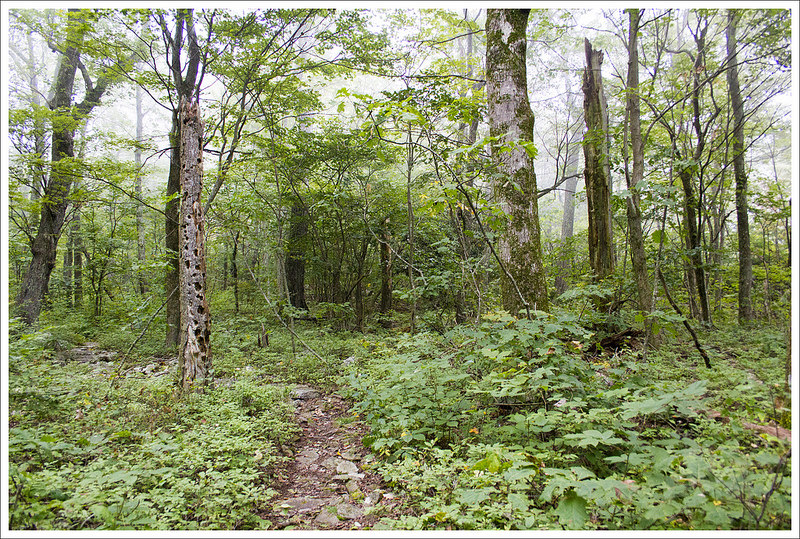
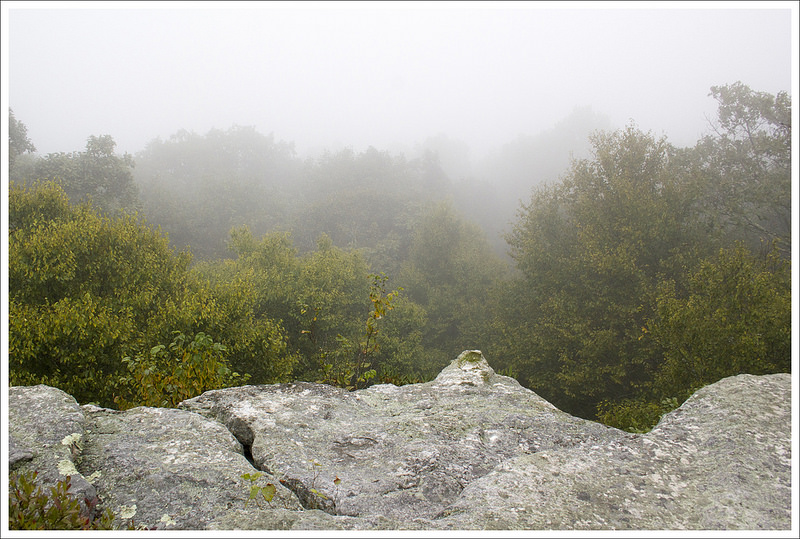
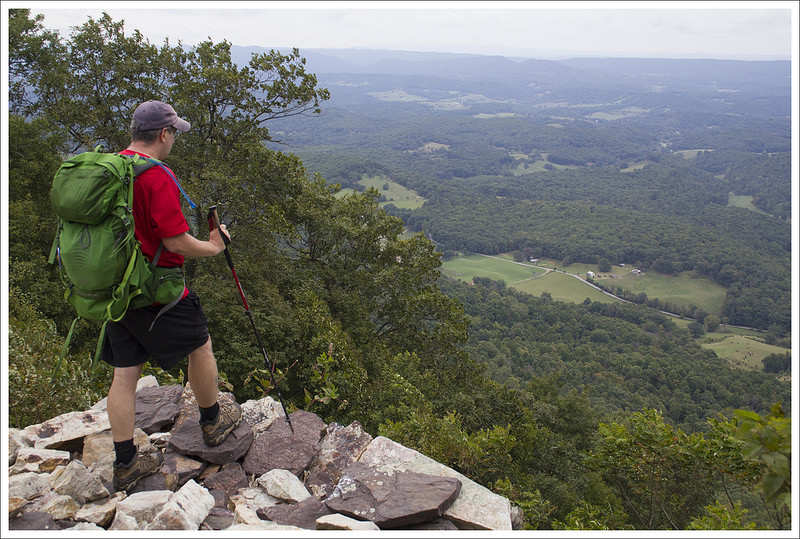
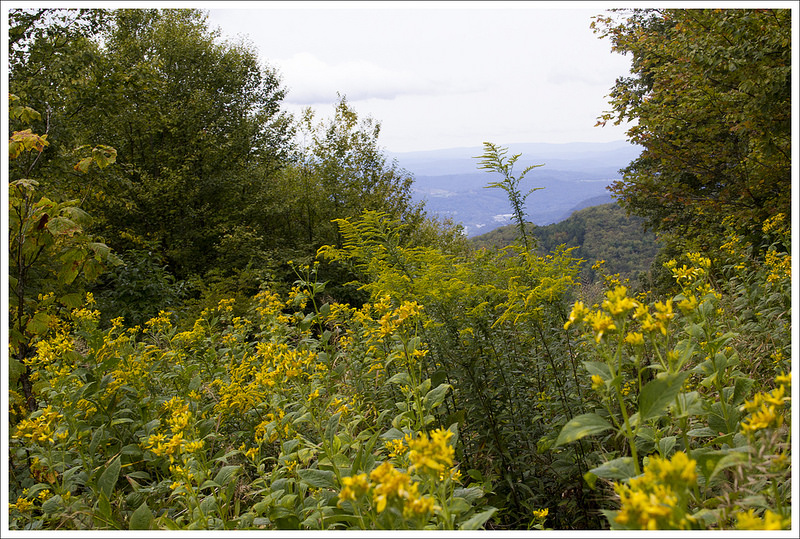
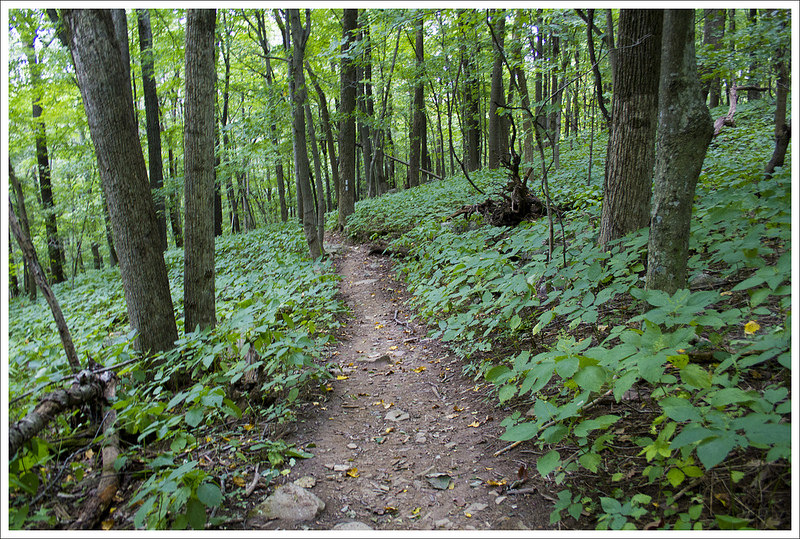
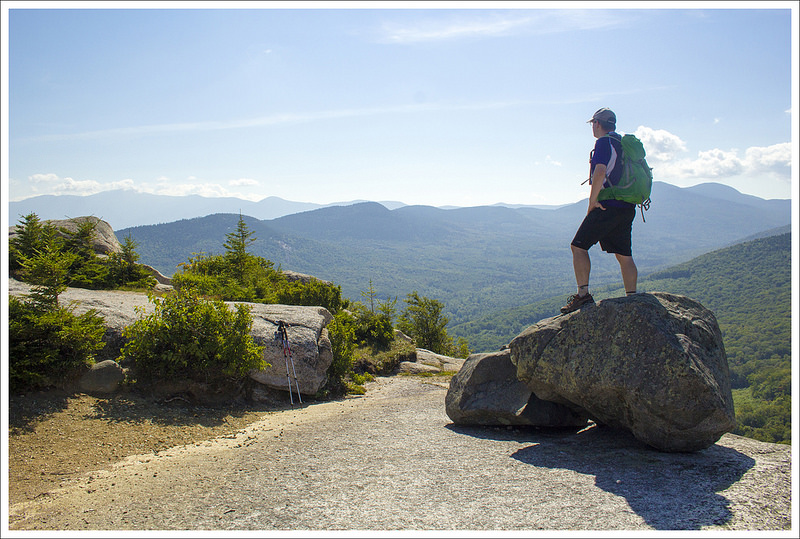
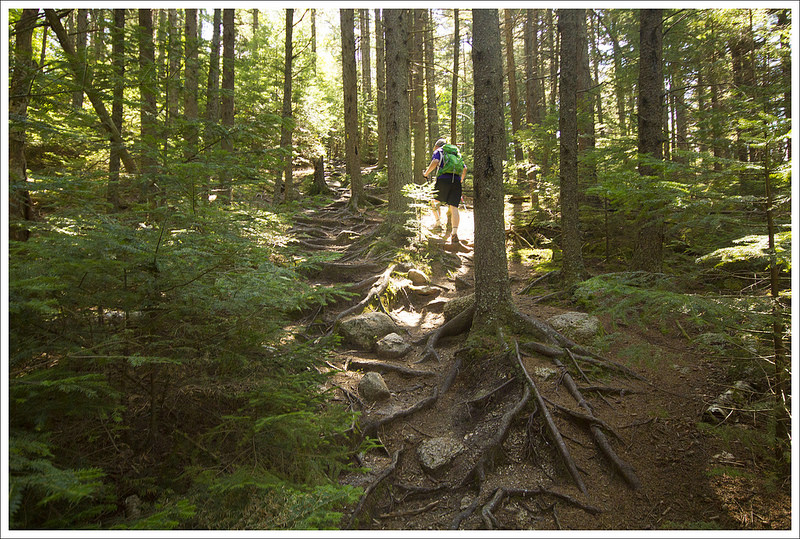
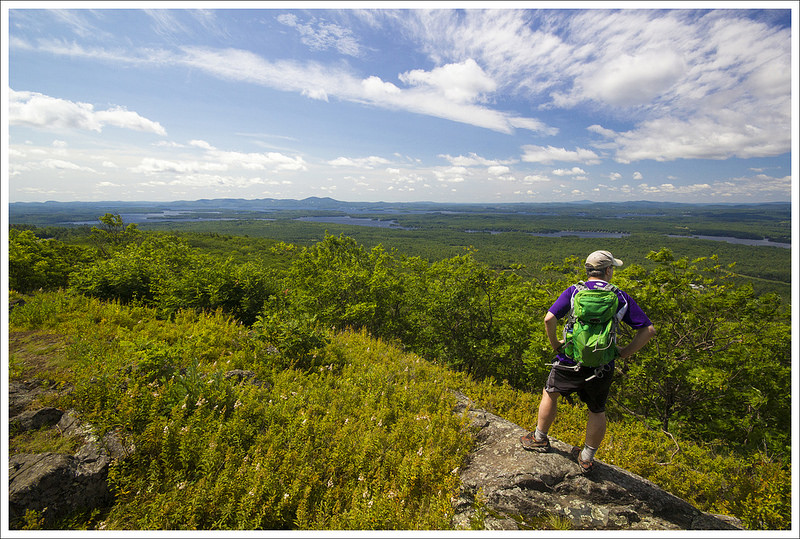
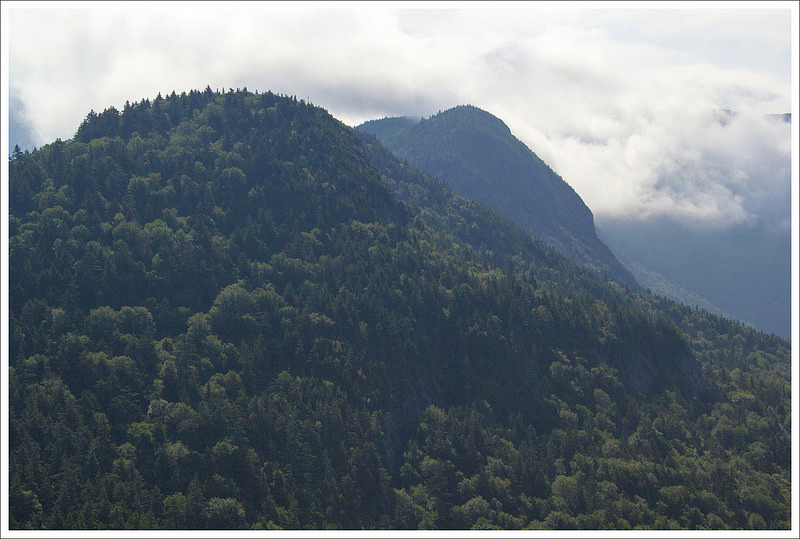
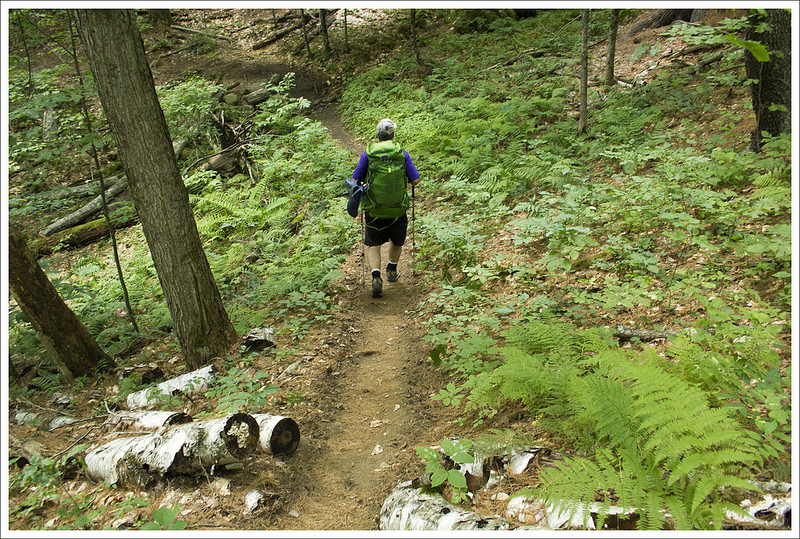
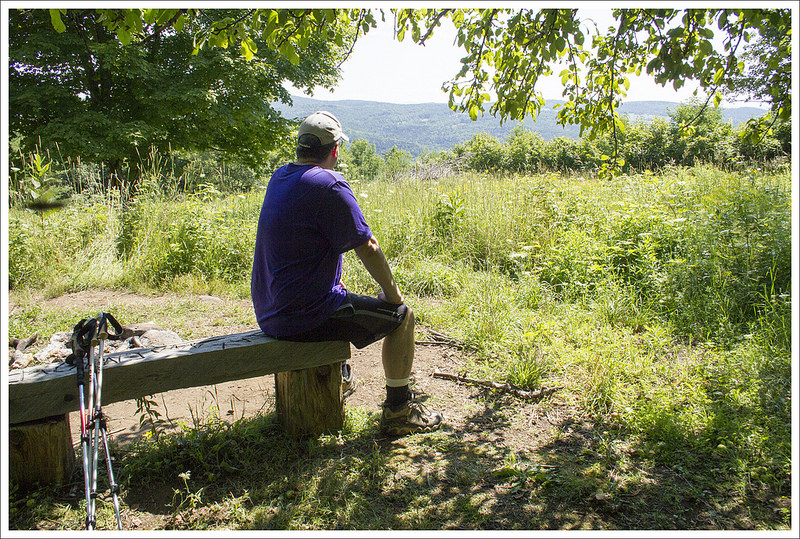
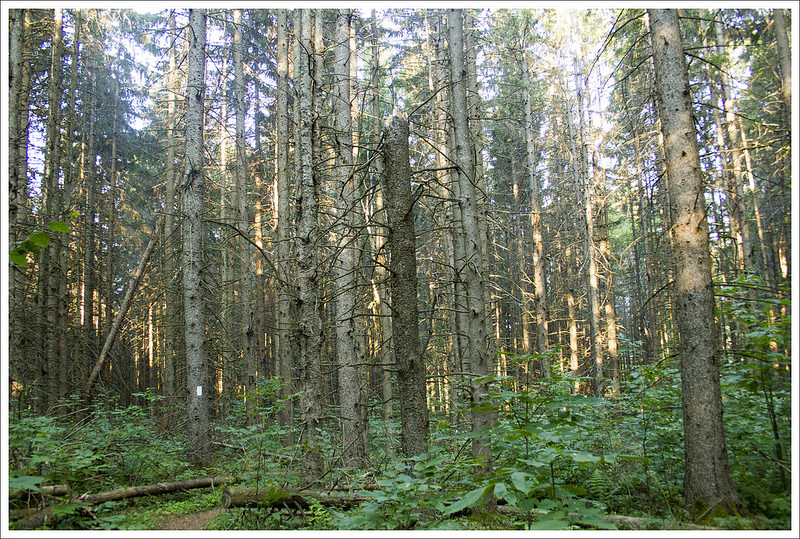
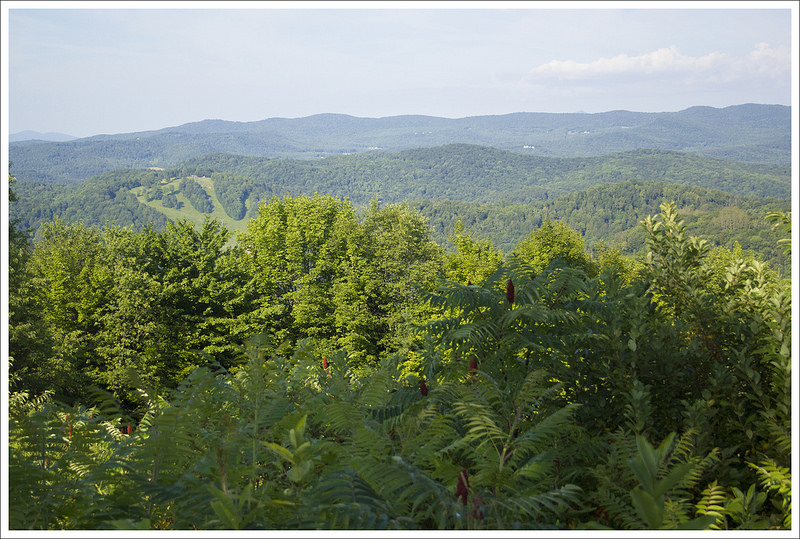
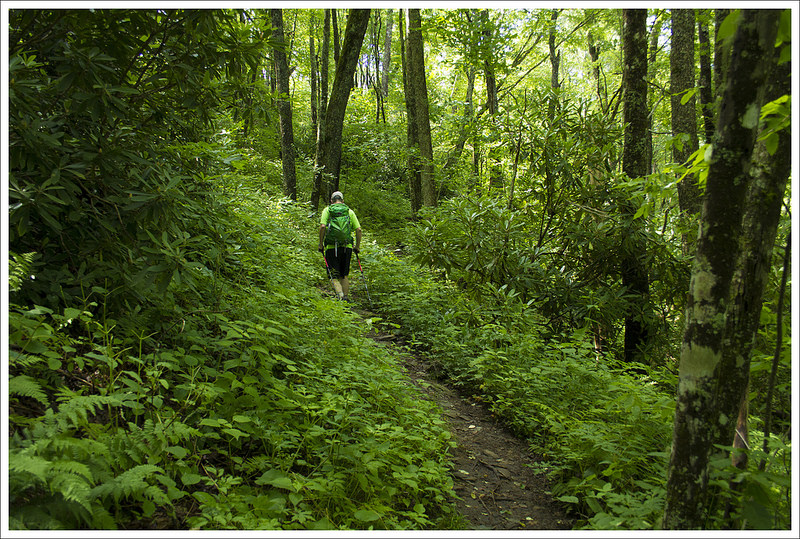
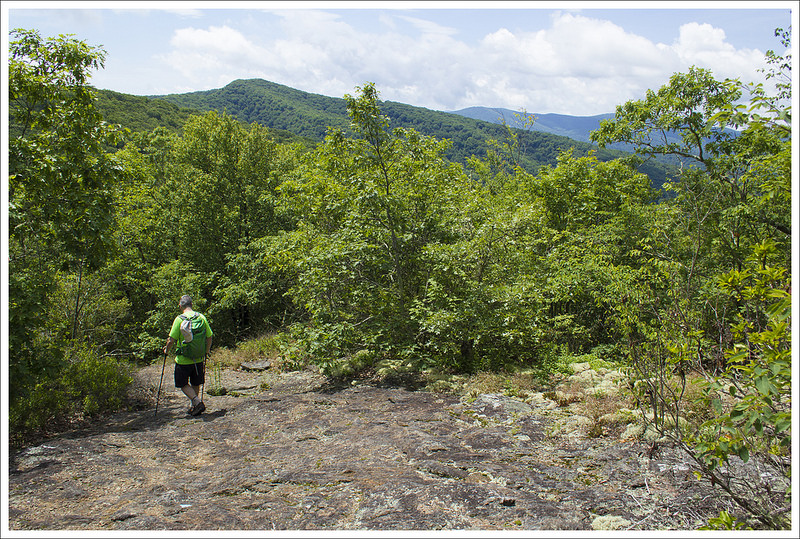
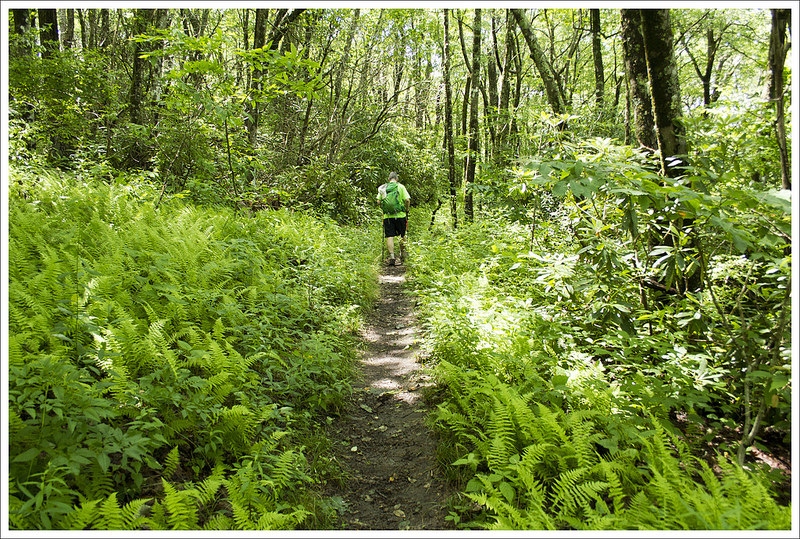
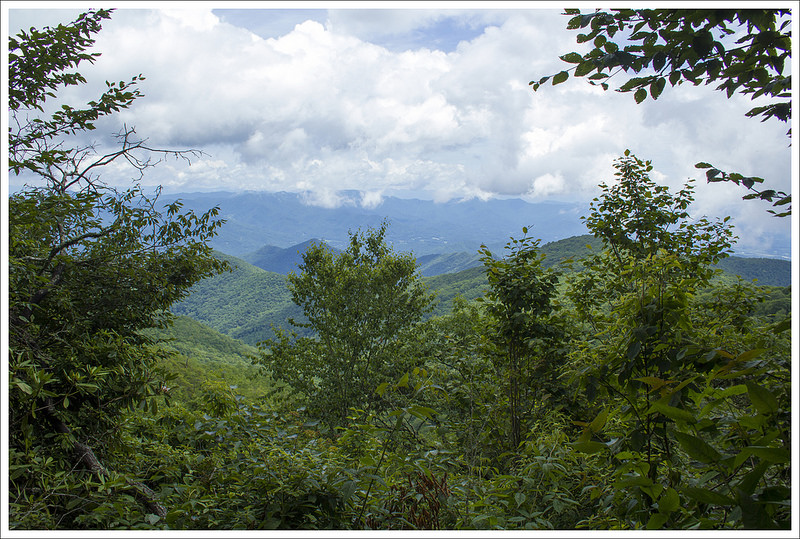
The trail begins a gradual, easy, uphill climb through evergreen forest. There are ferns and mosses draping the ground everywhere. When we hiked in June, there was a ton of blooming Clintonia borealis – a lily found frequently in woodlands around the world. The initial climb goes on for just a couple tenths of a mile before opening up to a nice view to the southeast, including a look at Yellow Face mountain. After the view, the trail descends into a brief saddle. Fog from the unsettled weather seemed to sit in every dip in the trail along the way.


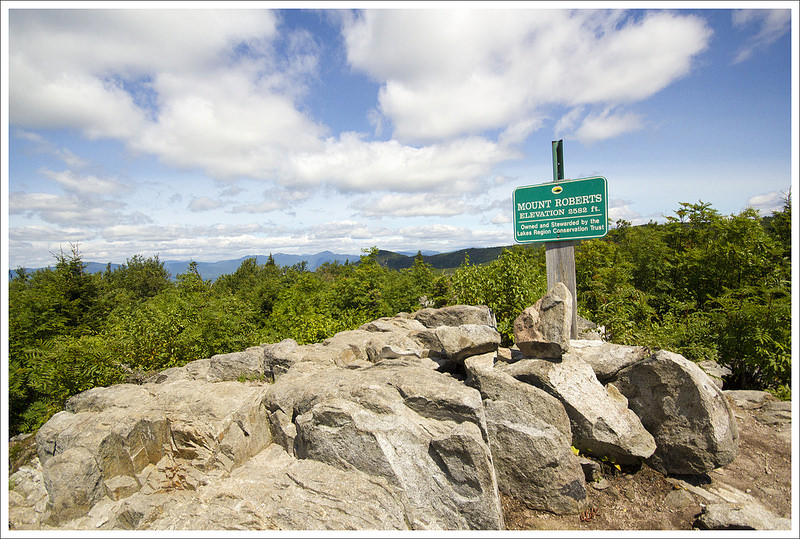
At just under three quarters of a mile, we reached the summit of Yellow Face. This mountain stands at just over 6,000 feet and was donated by the Eastern Band of the Cherokee Indians to the National Park Service around 2001 or 2002. In fact, the entire trail is cobbled together across land owned the the Nature Conservancy, the NPS, and the town of Sylva, NC. Some sources say the trail itself has existed (in varying forms) for hundreds of years and was used historically by the Cherokee people. It’s currently maintained completely by volunteers – the NPS and the forest service are not involved.
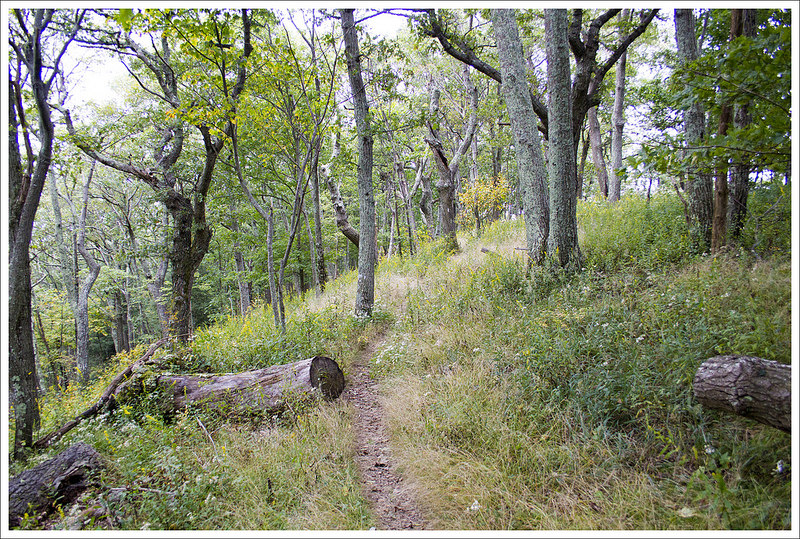
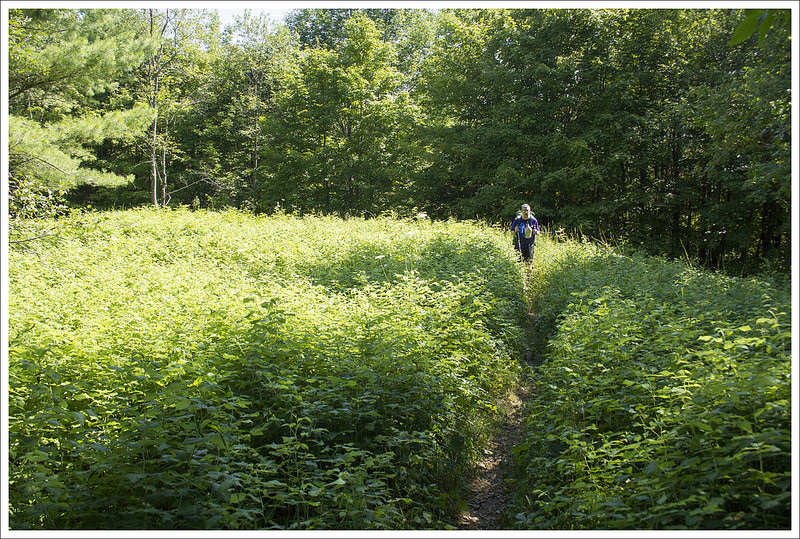
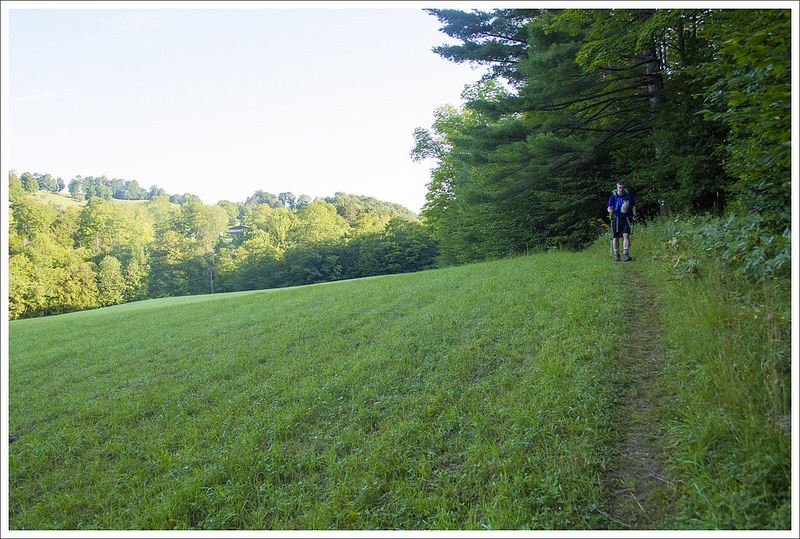
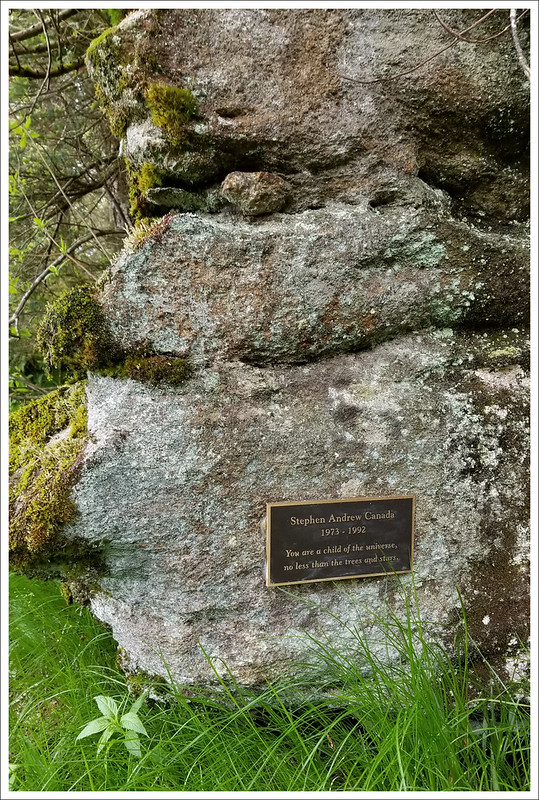
When we hiked, the ‘bald’ at the summit of Yellow Face was really overgrown with tall grasses and bramble bushes. The view was nice, but definitely closing in. Near the summit, there’s a memorial plaque to Stephen Andrew Canada. I tried finding more information about him, but came up empty. Maybe he died on this peak or maybe he just loved this peak.
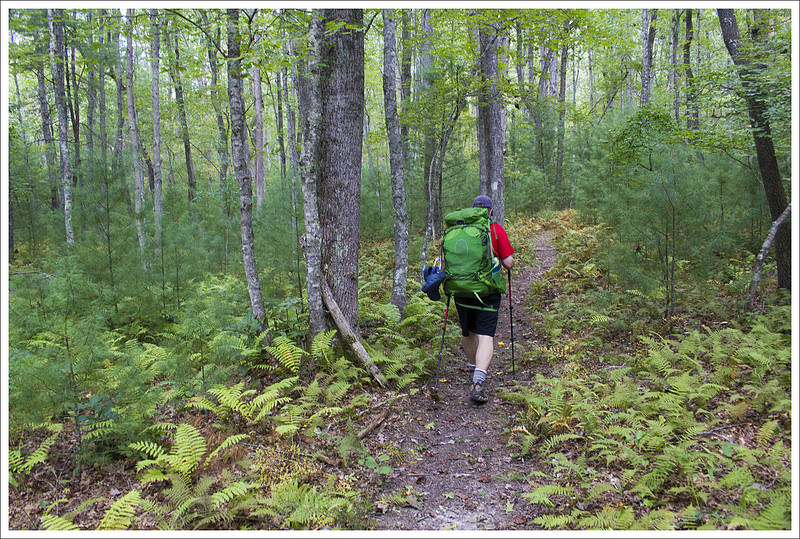
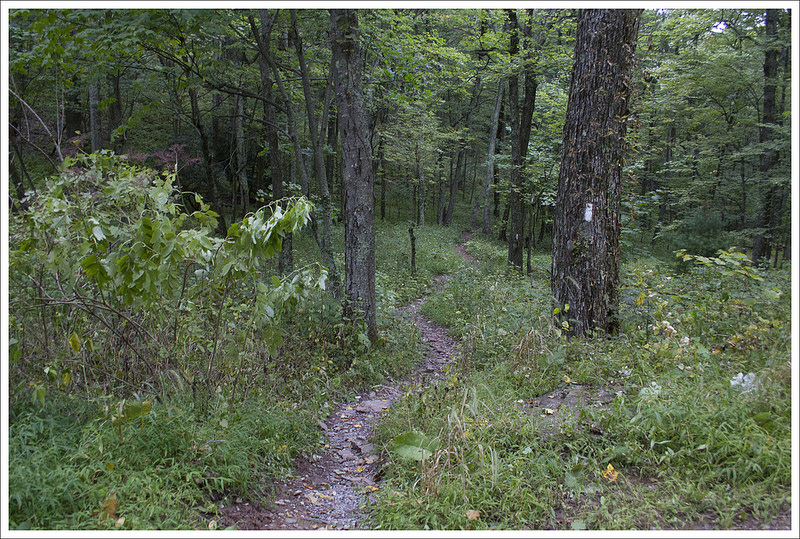
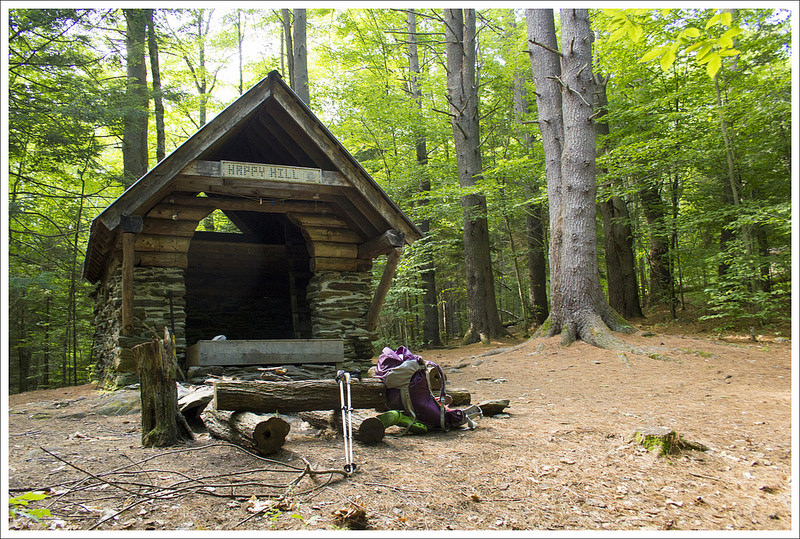
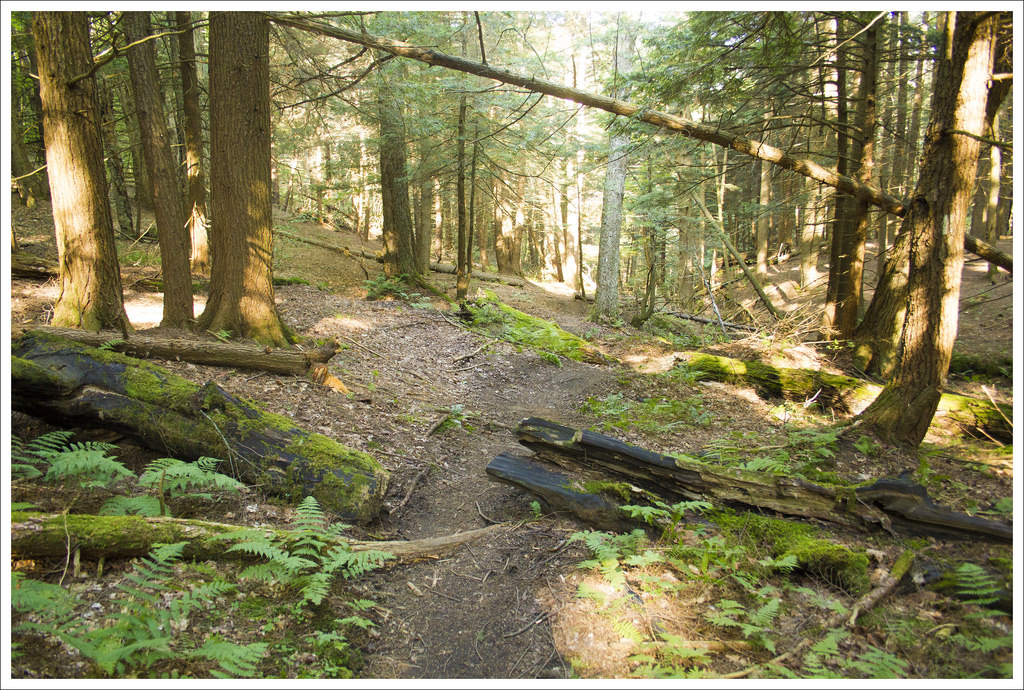
After the summit of Yellow Face, the trail descends again into another saddle. You’ll encounter some blowdowns, a pretty spruce forest, and some more open terrain. Near the low point of the saddle, at 1.3 miles, there are campsites on the right side of the trail. The open grassy area is littered with remnant mechanical parts from old logging equipment. We didn’t see a water source near the campsites, so if you were to overnight at this spot, you would need to carry enough water to cook and drink.


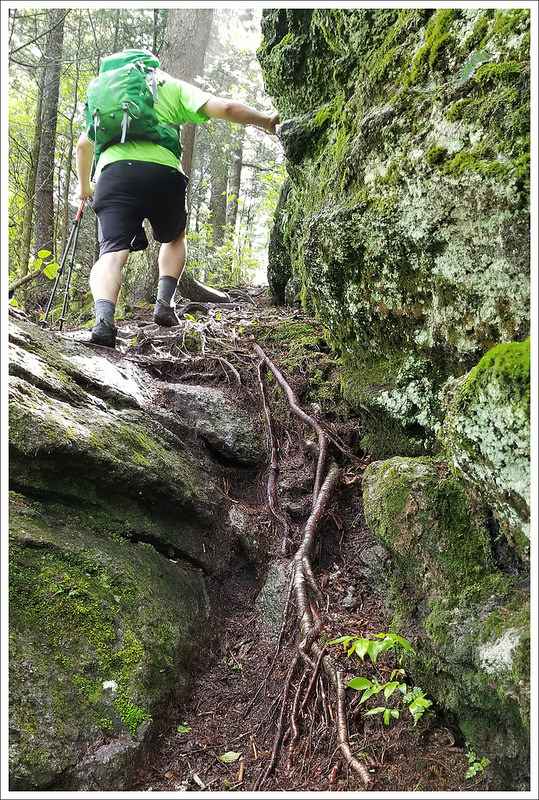
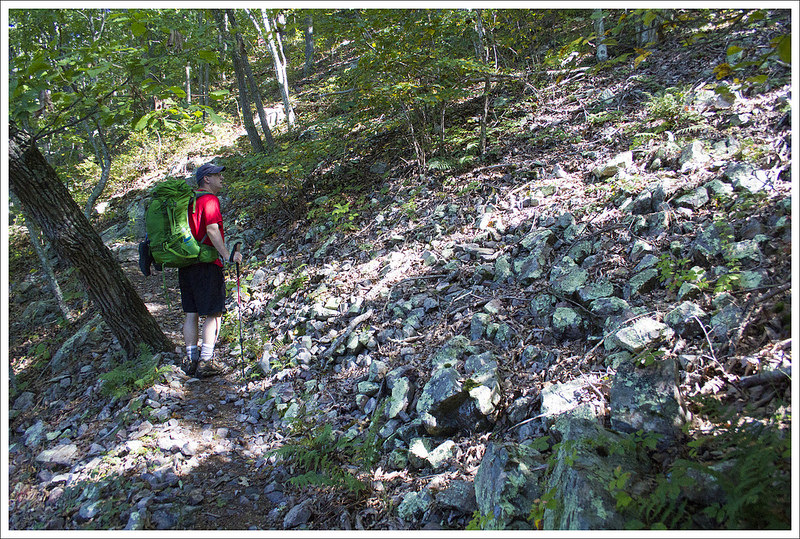
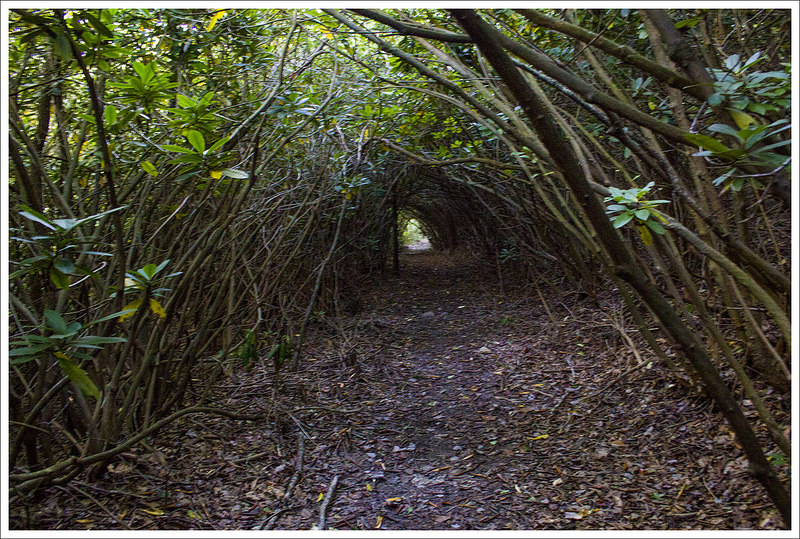
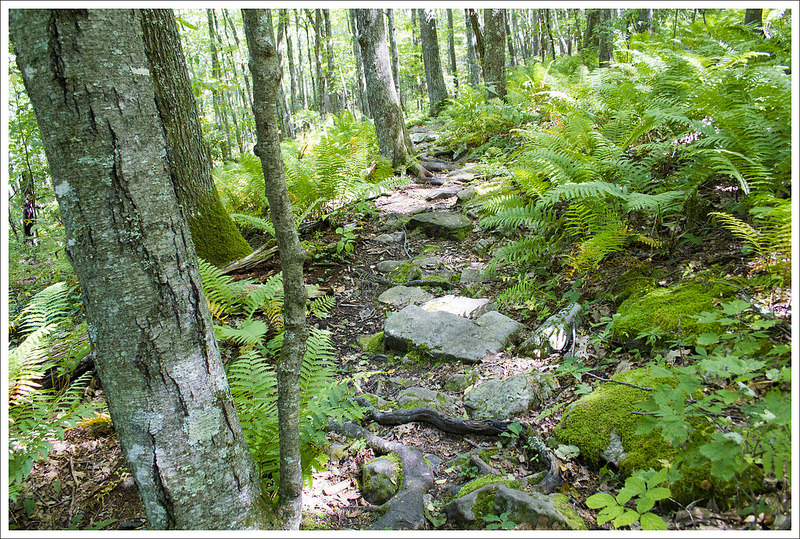
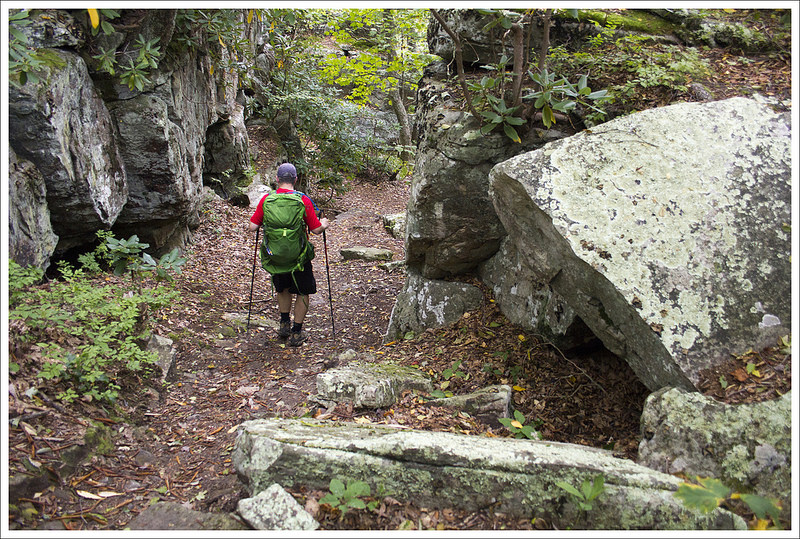
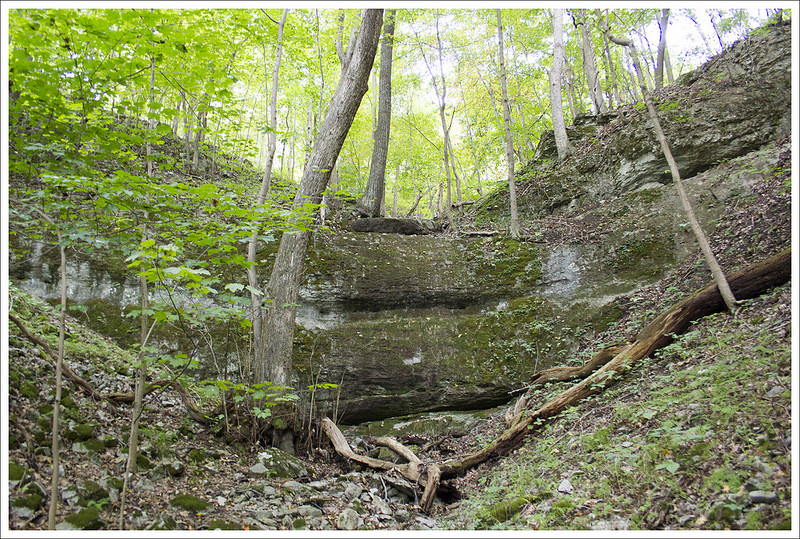
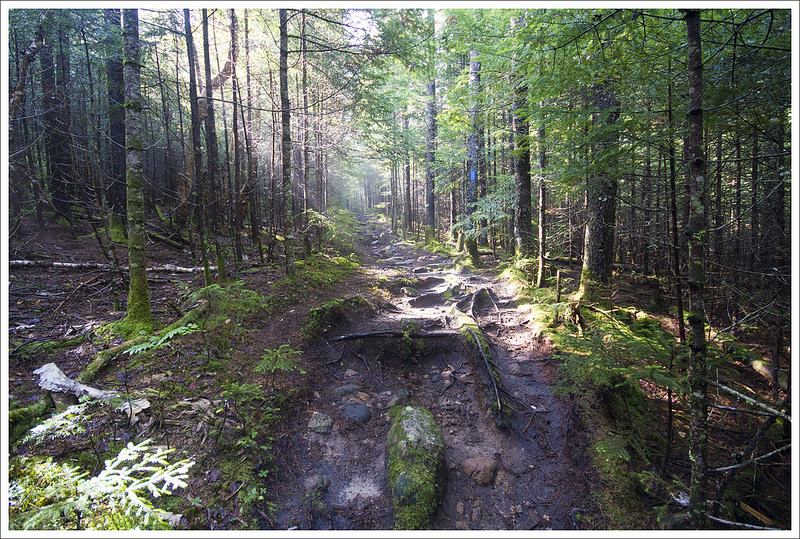
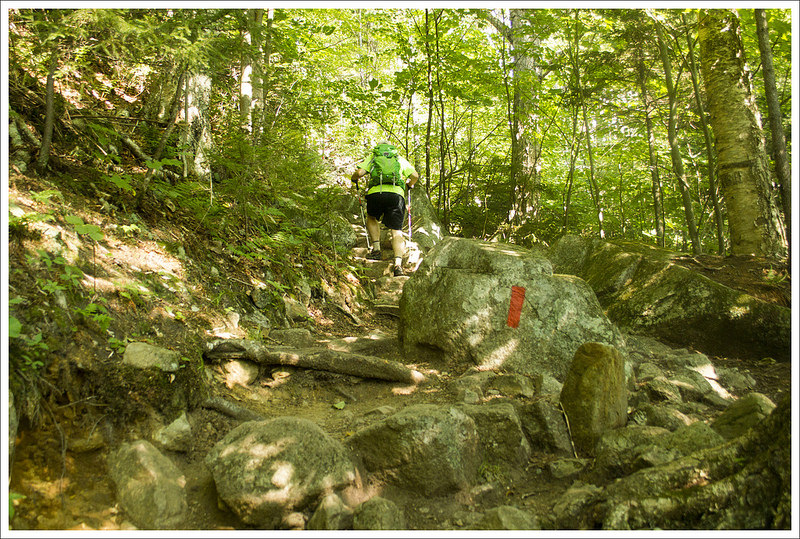
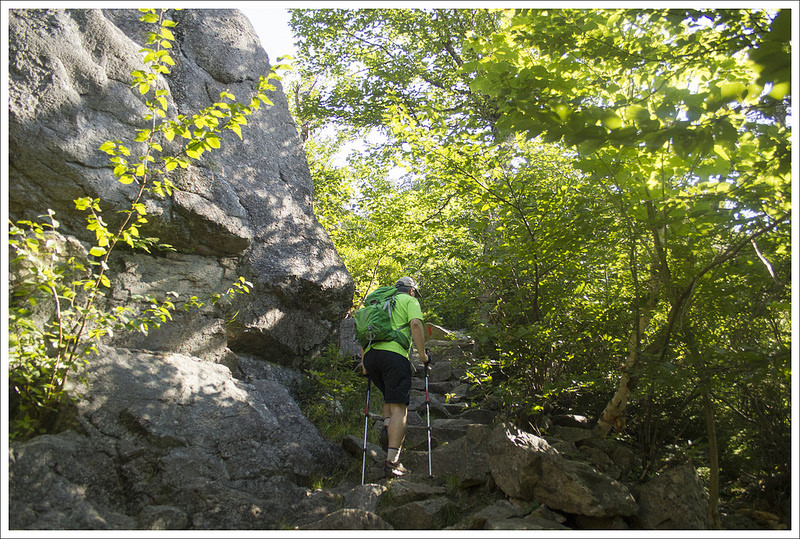
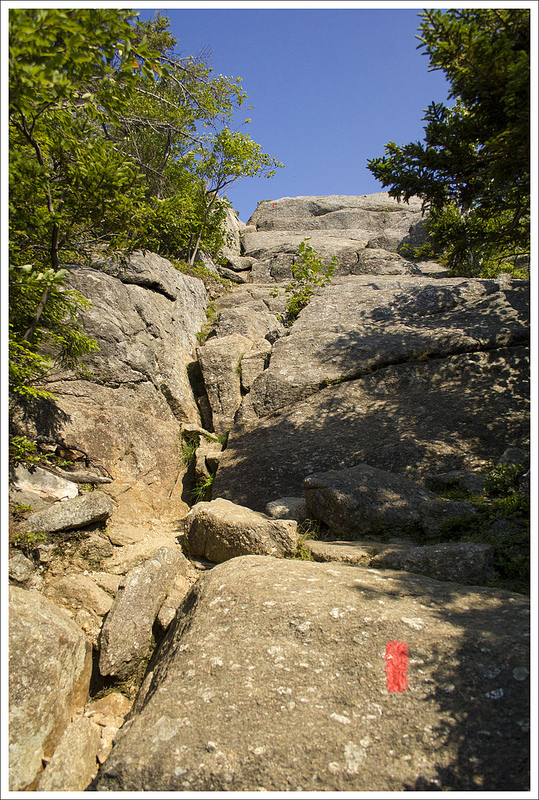
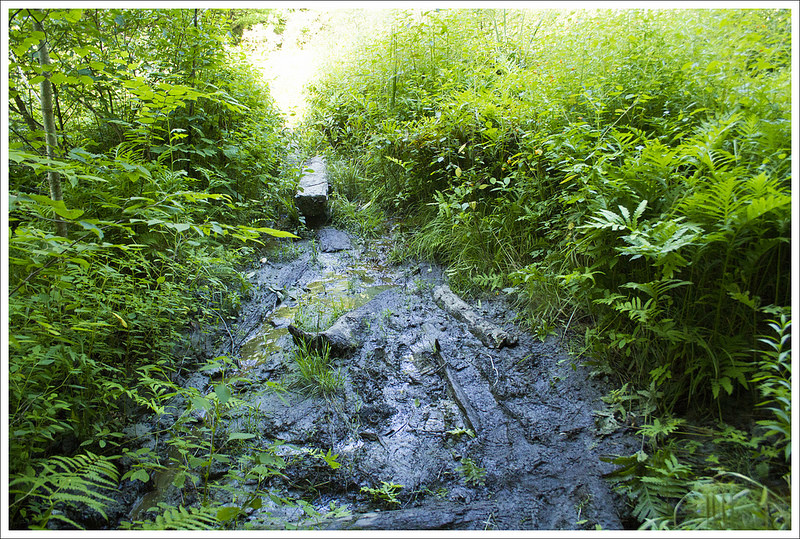
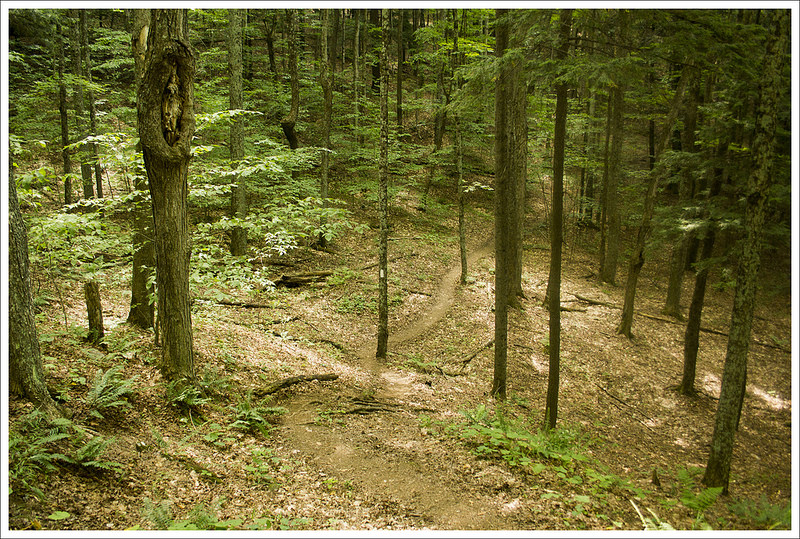
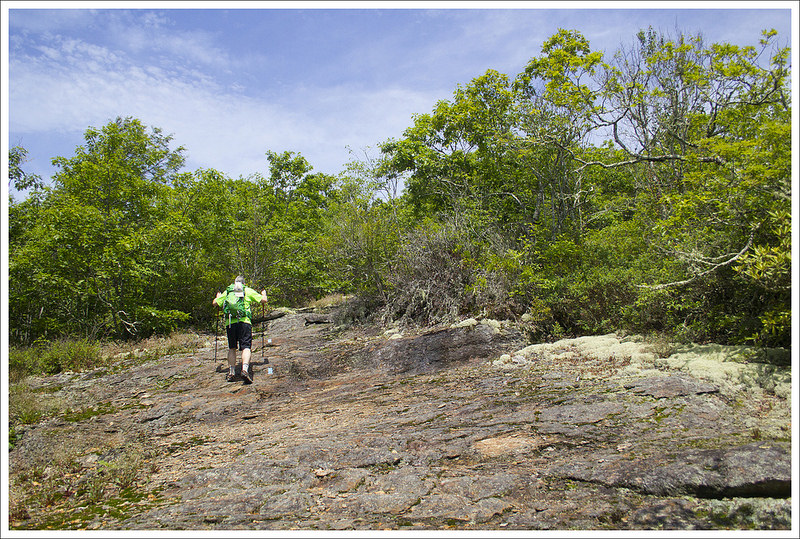
After passing the campsites, the trail climbed again for a few tenths of a mile. We passed over and through a couple more blowdowns. At 1.7 miles, things got tricky. We began walking along a very narrow ridgeline decorated with enormous boulders. The trail was so slippery and eroded that I put my camera away to fully focus on footing and safety. There are more photos of this section included on the return hike below. I don’t think any of the photos truly do justice to the trail conditions along this stretch. It was far sketchier than it appears. The tough terrain went on for about half a mile, where we reached an opening in a dense rhododendron tunnel at 2.2 miles.
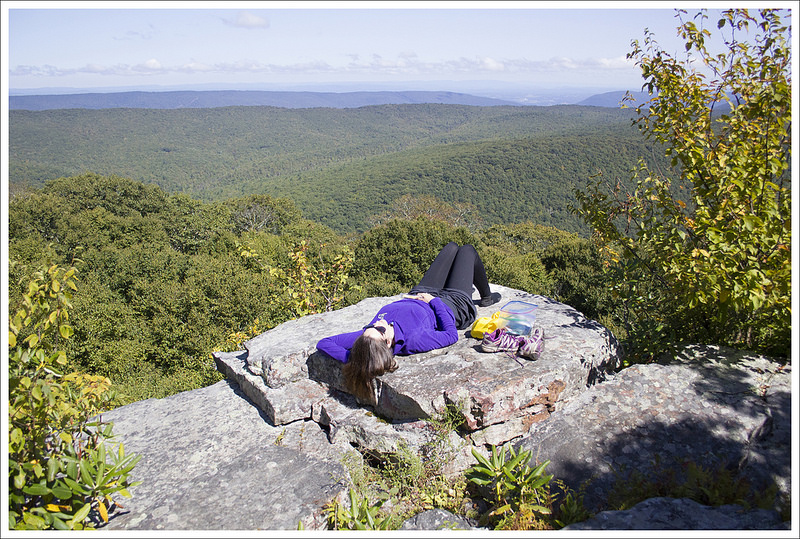
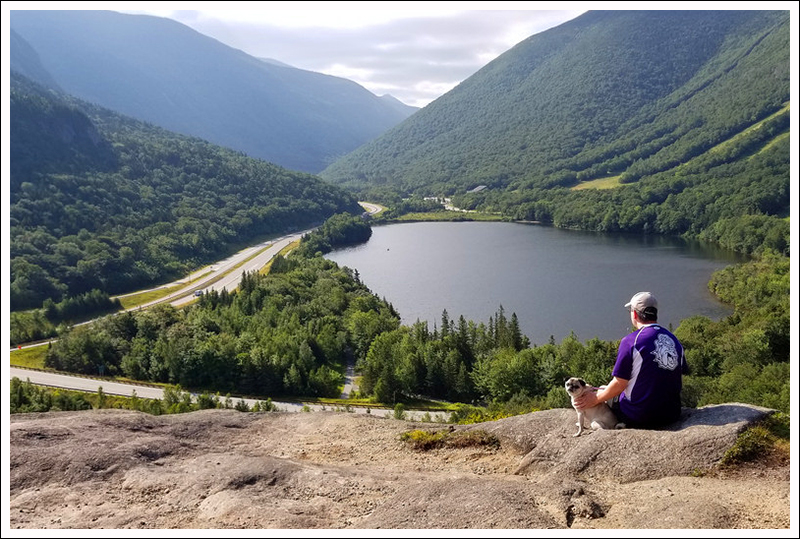
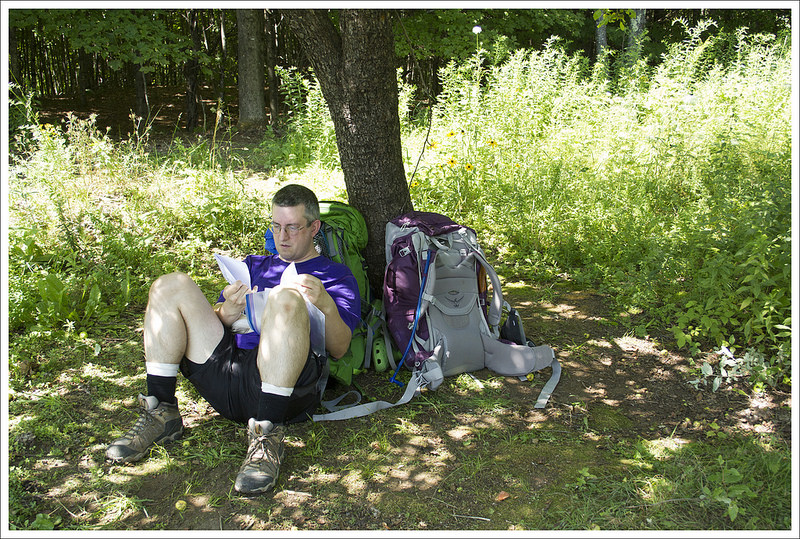
I chose this point to stop. The climb after this point was described by another website as ‘a steep climb up roots and rocks requiring hands and feet‘. On a dry day, I would probably have no problem tackling that climb, but on this particular day I’d been slipping, stumbling, and sliding so much that I decided to stop 100 yards short of the summit. It’s always a tough decision to miss the final destination of a hike, but I think the phrase ‘discretion is the better part of valor’ exists for a reason. Adam went on without me to take photos of the final vista. When he eventually came back he told me that I made the right decision and that the final climb was really slippery and precipitous. I was relieved he made it back safely!


We slowly made our way back across all the terrain we had covered on our hike out. Very rarely do I feel this way, but the whole way back I kept thinking, “I can’t wait to get off this STUPID TRAIL!” We trekked through the overgrowth, slithered back through blowdowns, and slid down rocks and mud. It was a slog. It was a death march. It was not fun at all. We chatted with a couple other hikers who were hiking just to Yellow Face and back (good call!) We crossed paths with a naturalist group looking at plant life along the trail. But, generally, we had the hike entirely to ourselves for most of the day.
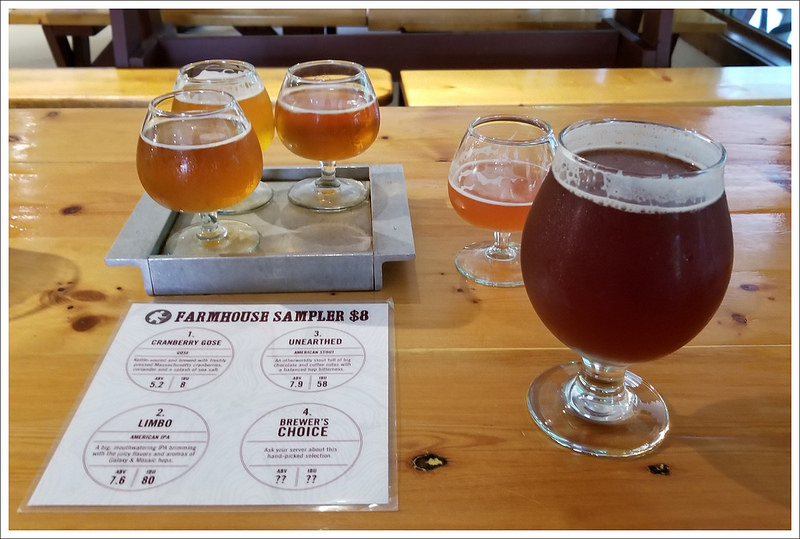
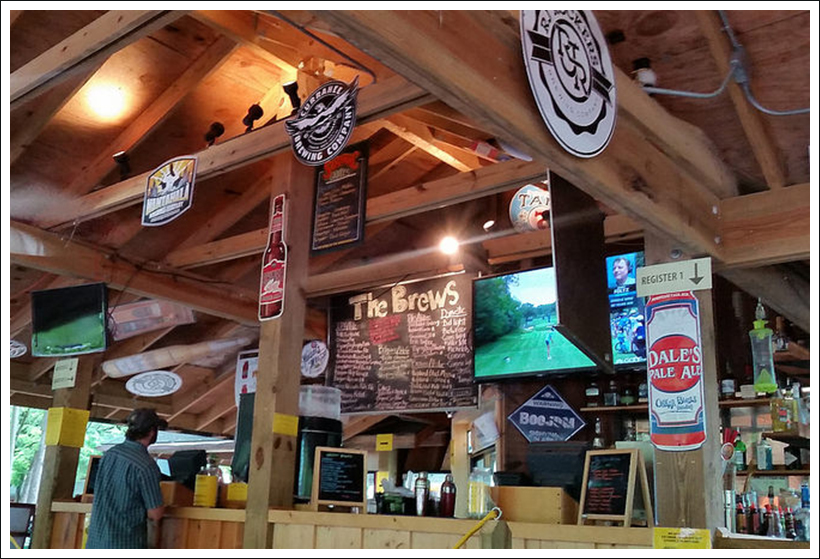
I was very grateful to get back to the car! Afterwards, we paid a quick visit to the Waterrock Knob Visitors Center and then made our way back toward Bryson City for lunch at Nantahala Outdoor Center’s River’s End Restaurant. I had fun counting all my new bruises and scrapes on the drive back to the valley. Maybe this hike would have been more fun on a clear day after a stretch of dry weather. But overall, it’s not a hike I enjoyed. If you’re picking a hike in this area, I recommend The Pinnacle instead. It had much more vertical gain, but the trail was in vastly better shape, and I thought the vista was much more accessible (and just as beautiful!)
Adam Says…
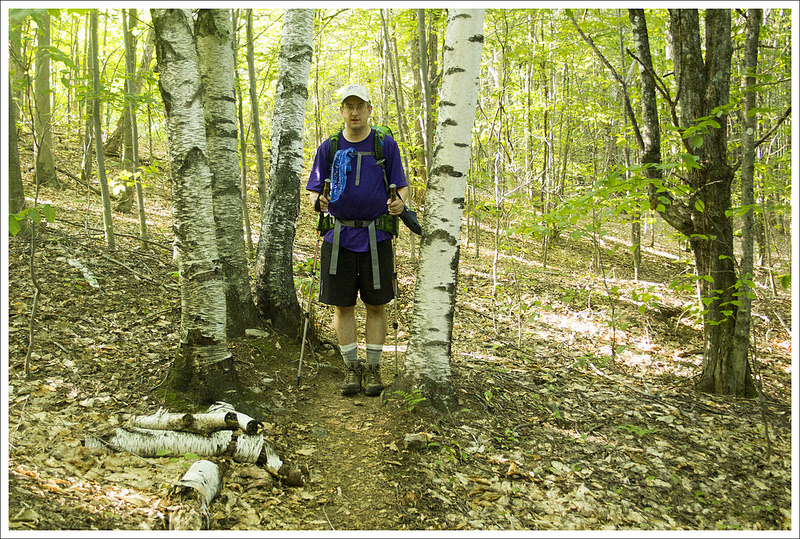
We had attempted to do this Blackrock hike last year. We drove along the Blue Ridge Parkway but the fog was so heavy, we couldn’t even find the trailhead. We hunted around, but with so little visibility, we decided to try this another time. This year, we had a much clearer morning and we were able to find the trailhead somewhat easily.The Blue Ridge Parkway has actually taken down the parking trailhead marker and it isn’t very well blazed (my guess is because of the danger). But, we were able to see an opening in the trees and once we were about 25 yards into the woods, we soon came to a sign that we knew we were on the right path.
Christine described the overall hike well. While the elevation gain wasn’t crazy for much of the hike, the footing was fairly horrendous. The overall hike to Yellow Face was not too bad, but the view isn’t that impressive since it is getting sucked away from overgrown flora. Once you arrive at the saddle, the footing gets very treacherous.


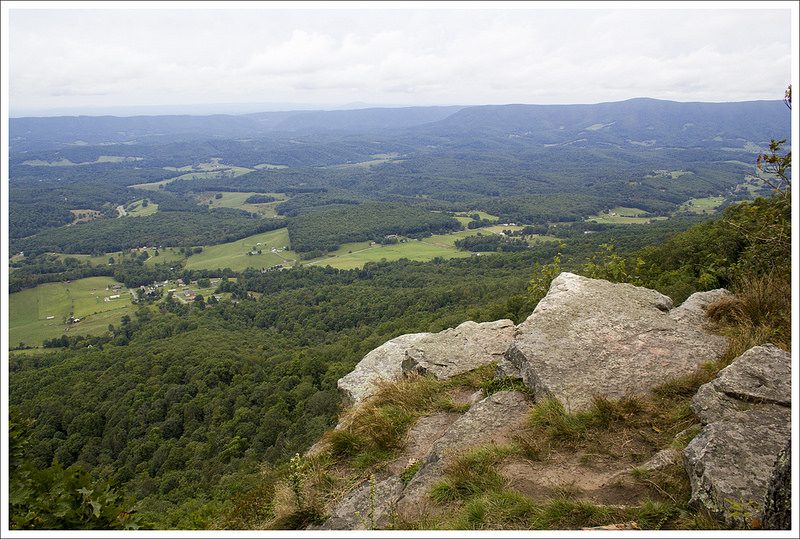
At one point, you climb in a three or four-point stance to go up a very steep terrain on the ridgeline. While we were expecting a nice view from here, it was only a bit of an overgrown one. The trail then takes a precipitous drop down a sheer rock area. Christine decided to stop before descending. I knew the view had to be just ahead, so I pushed forward but it was not something I felt very safe doing. I had to climb down the side of a rock, hanging on to handholds on the rock on the left of me while the width of my foot wasn’t able to fully fit on a step down the rock. A wrong step here, means that you could easily fall about a hundred feet down to the right. We didn’t get pictures of this area because it wasn’t safe. Once I got to the bottom, there was another treacherous climb back up where I had to hang onto roots and pull myself up. Once I got to the summit rock, there is also no easy way to get up. I had to ultimately launch my body up like a wounded sea lion on to the rock and then pull the rest of my weight up with my upper body. Christine was very worried about me making it, so I texted her to let her know that I made it and took some photos, which reduced my heart rate a bit. The views from the summit were impressive, but I could see clouds moving in and it looked like rain was coming. I texted Christine again to let her know I was leaving again, but that text never went through so my goal of easing her mind didn’t really help.


The hike back down and up was equally treacherous, but I was very glad to get reunited. On our way back, we came across an older couple, who we warned to just turn back (they were planning on it). We also came across a large group of naturalists (one was even walking the trail barefoot – crazy). We warned them also, but they said they would likely not make it all the way there since, as one told us, they “get easily distracted by every plant they walk by”. We were very glad when we got back to our car. While we thought this would have been a beautiful, fun hike, the danger really didn’t provide much enjoyment. So, if you attempt this hike, be very careful and feel free to turn around. I won’t be offended if you steal my pictures of the summit and say they were yours to show your family the summit.


Trail Notes
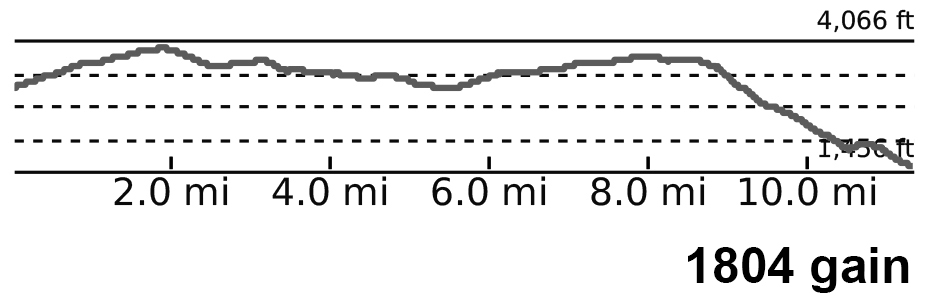
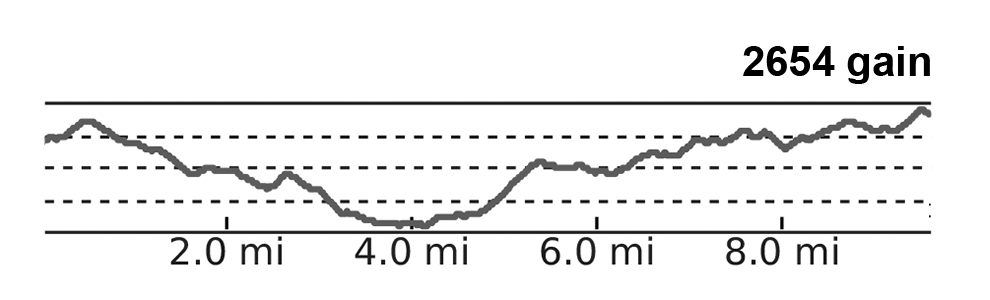
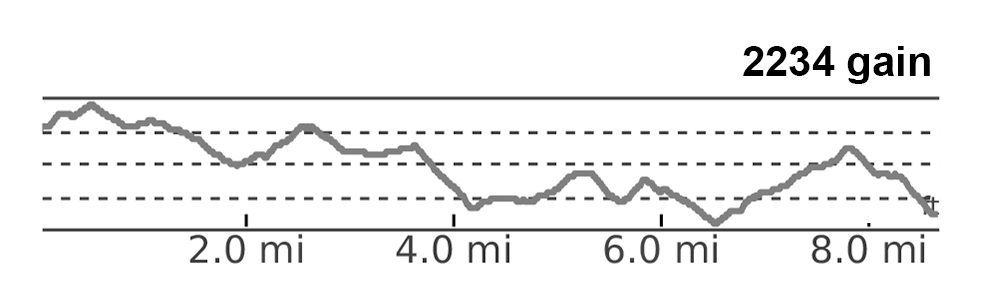
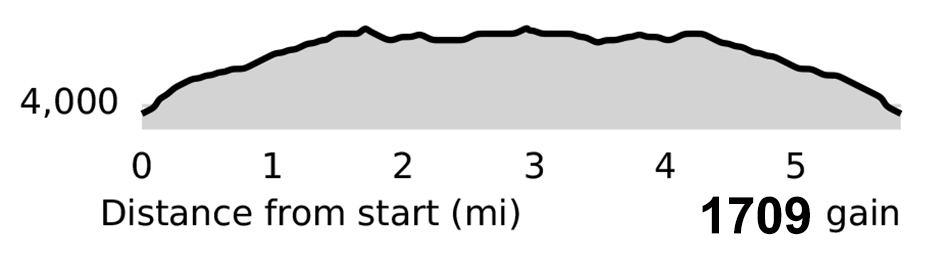
- Distance – 4.5 miles
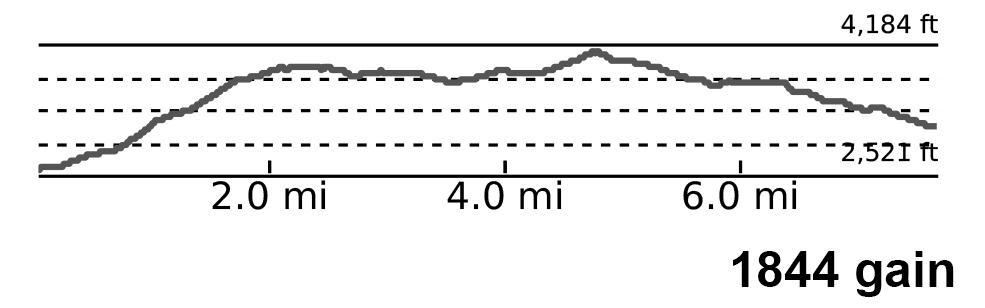
- Elevation Change – 1800 ft
- Difficulty – 4.5 While the climbing is never terribly strenuous, this hike is a series of constant ups and downs (some steep), punctuated by flat stretches. The trail isn’t in great shape, so this adds to the challenge factor you’ll experience on this hike.
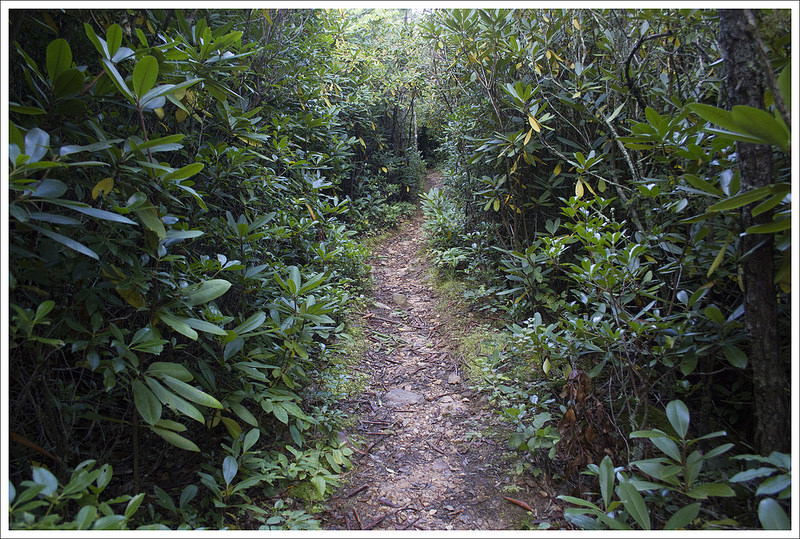
- Trail Conditions – 1.5. The trail was quite overgrown and eroded. The grass and bramble bushes were tall in sunny places. The steeper parts of the trail were eroded with loose soil. There were also many blows to negotiate along the route.
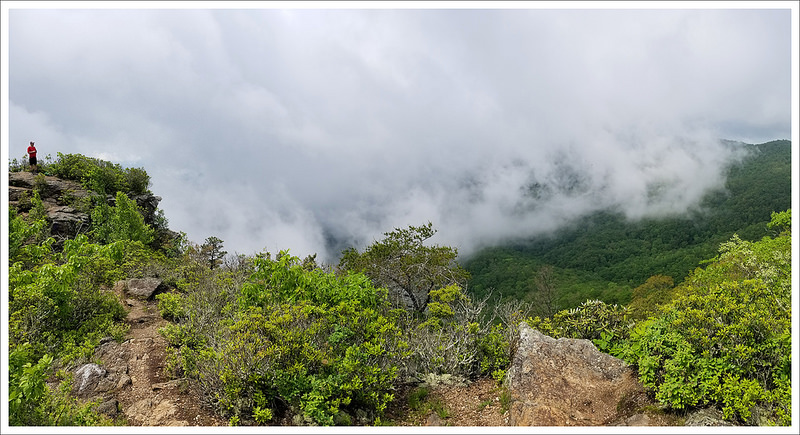
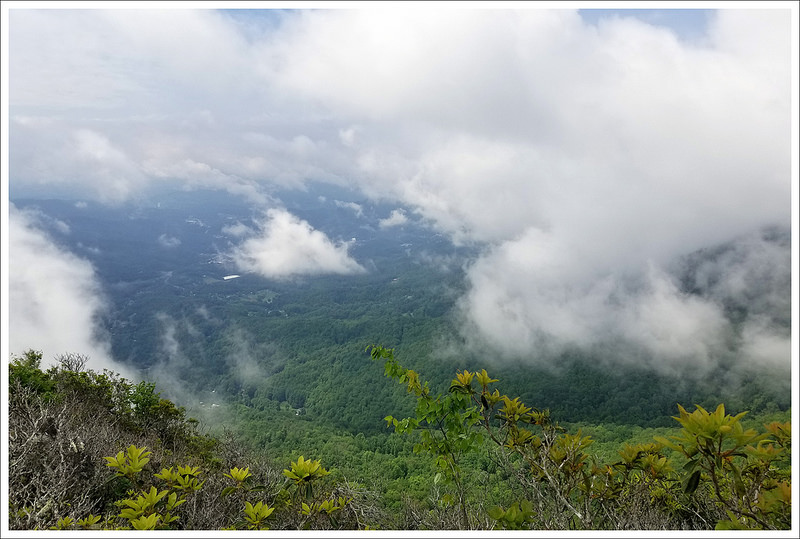
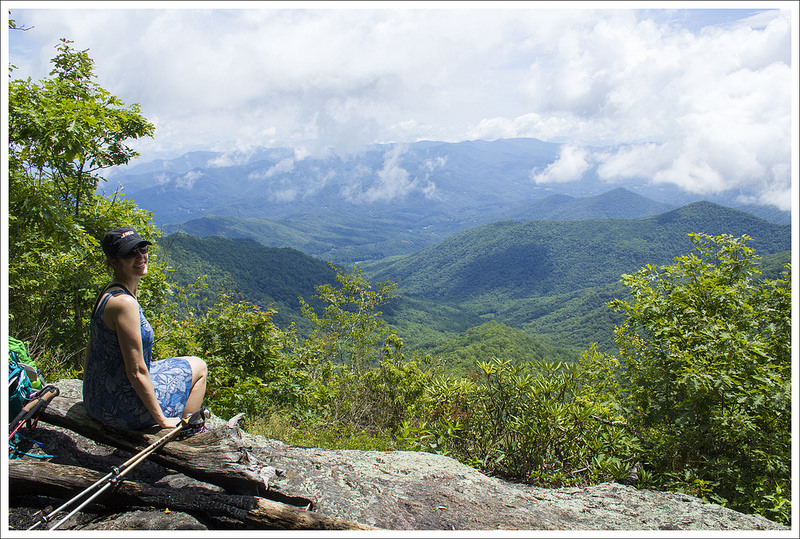
- Views – 5 – We visited on a day with lots of fog and moving clouds, but on clear days the views would be magnificent. There are views to enjoy along the trail and at the vista.
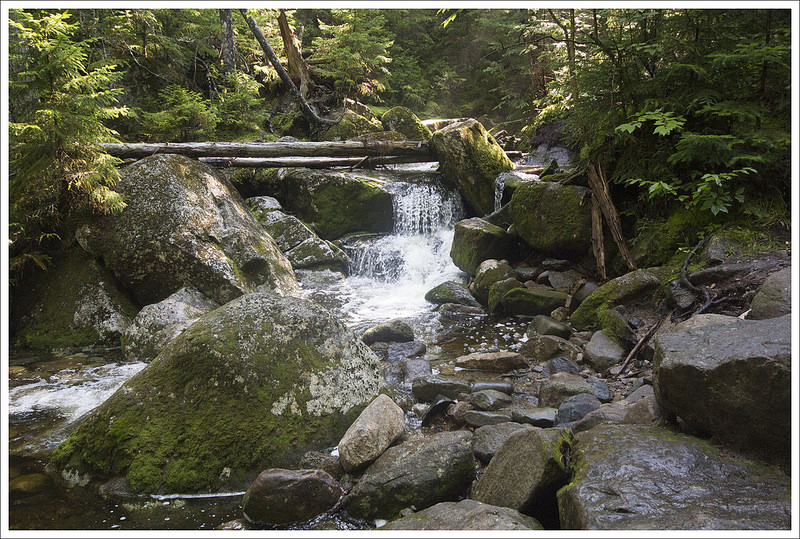
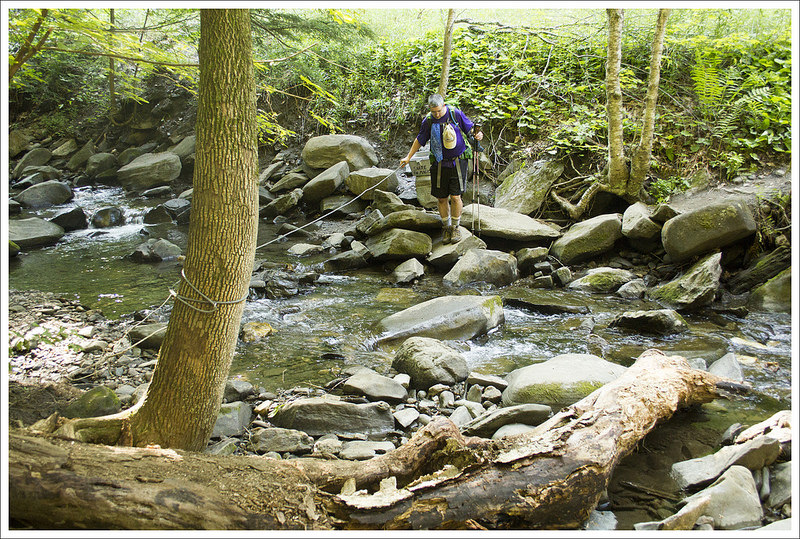
- Streams/Waterfalls – 0. None
- Wildlife – 1. The trail was oddly devoid of animals – we heard a few birds, but we didn’t even see pedestrian wildlife like squirrels and chipmunks.
- Ease to Navigate – 2.5. There is only one trail to follow, but it is overgrown in many places. Blowdowns may also take you off course. There are relatively few blazes along the route.
- Solitude – 2. We saw a few people along the way (most turning around at Yellow Face), but generally this trail seems lightly traveled.
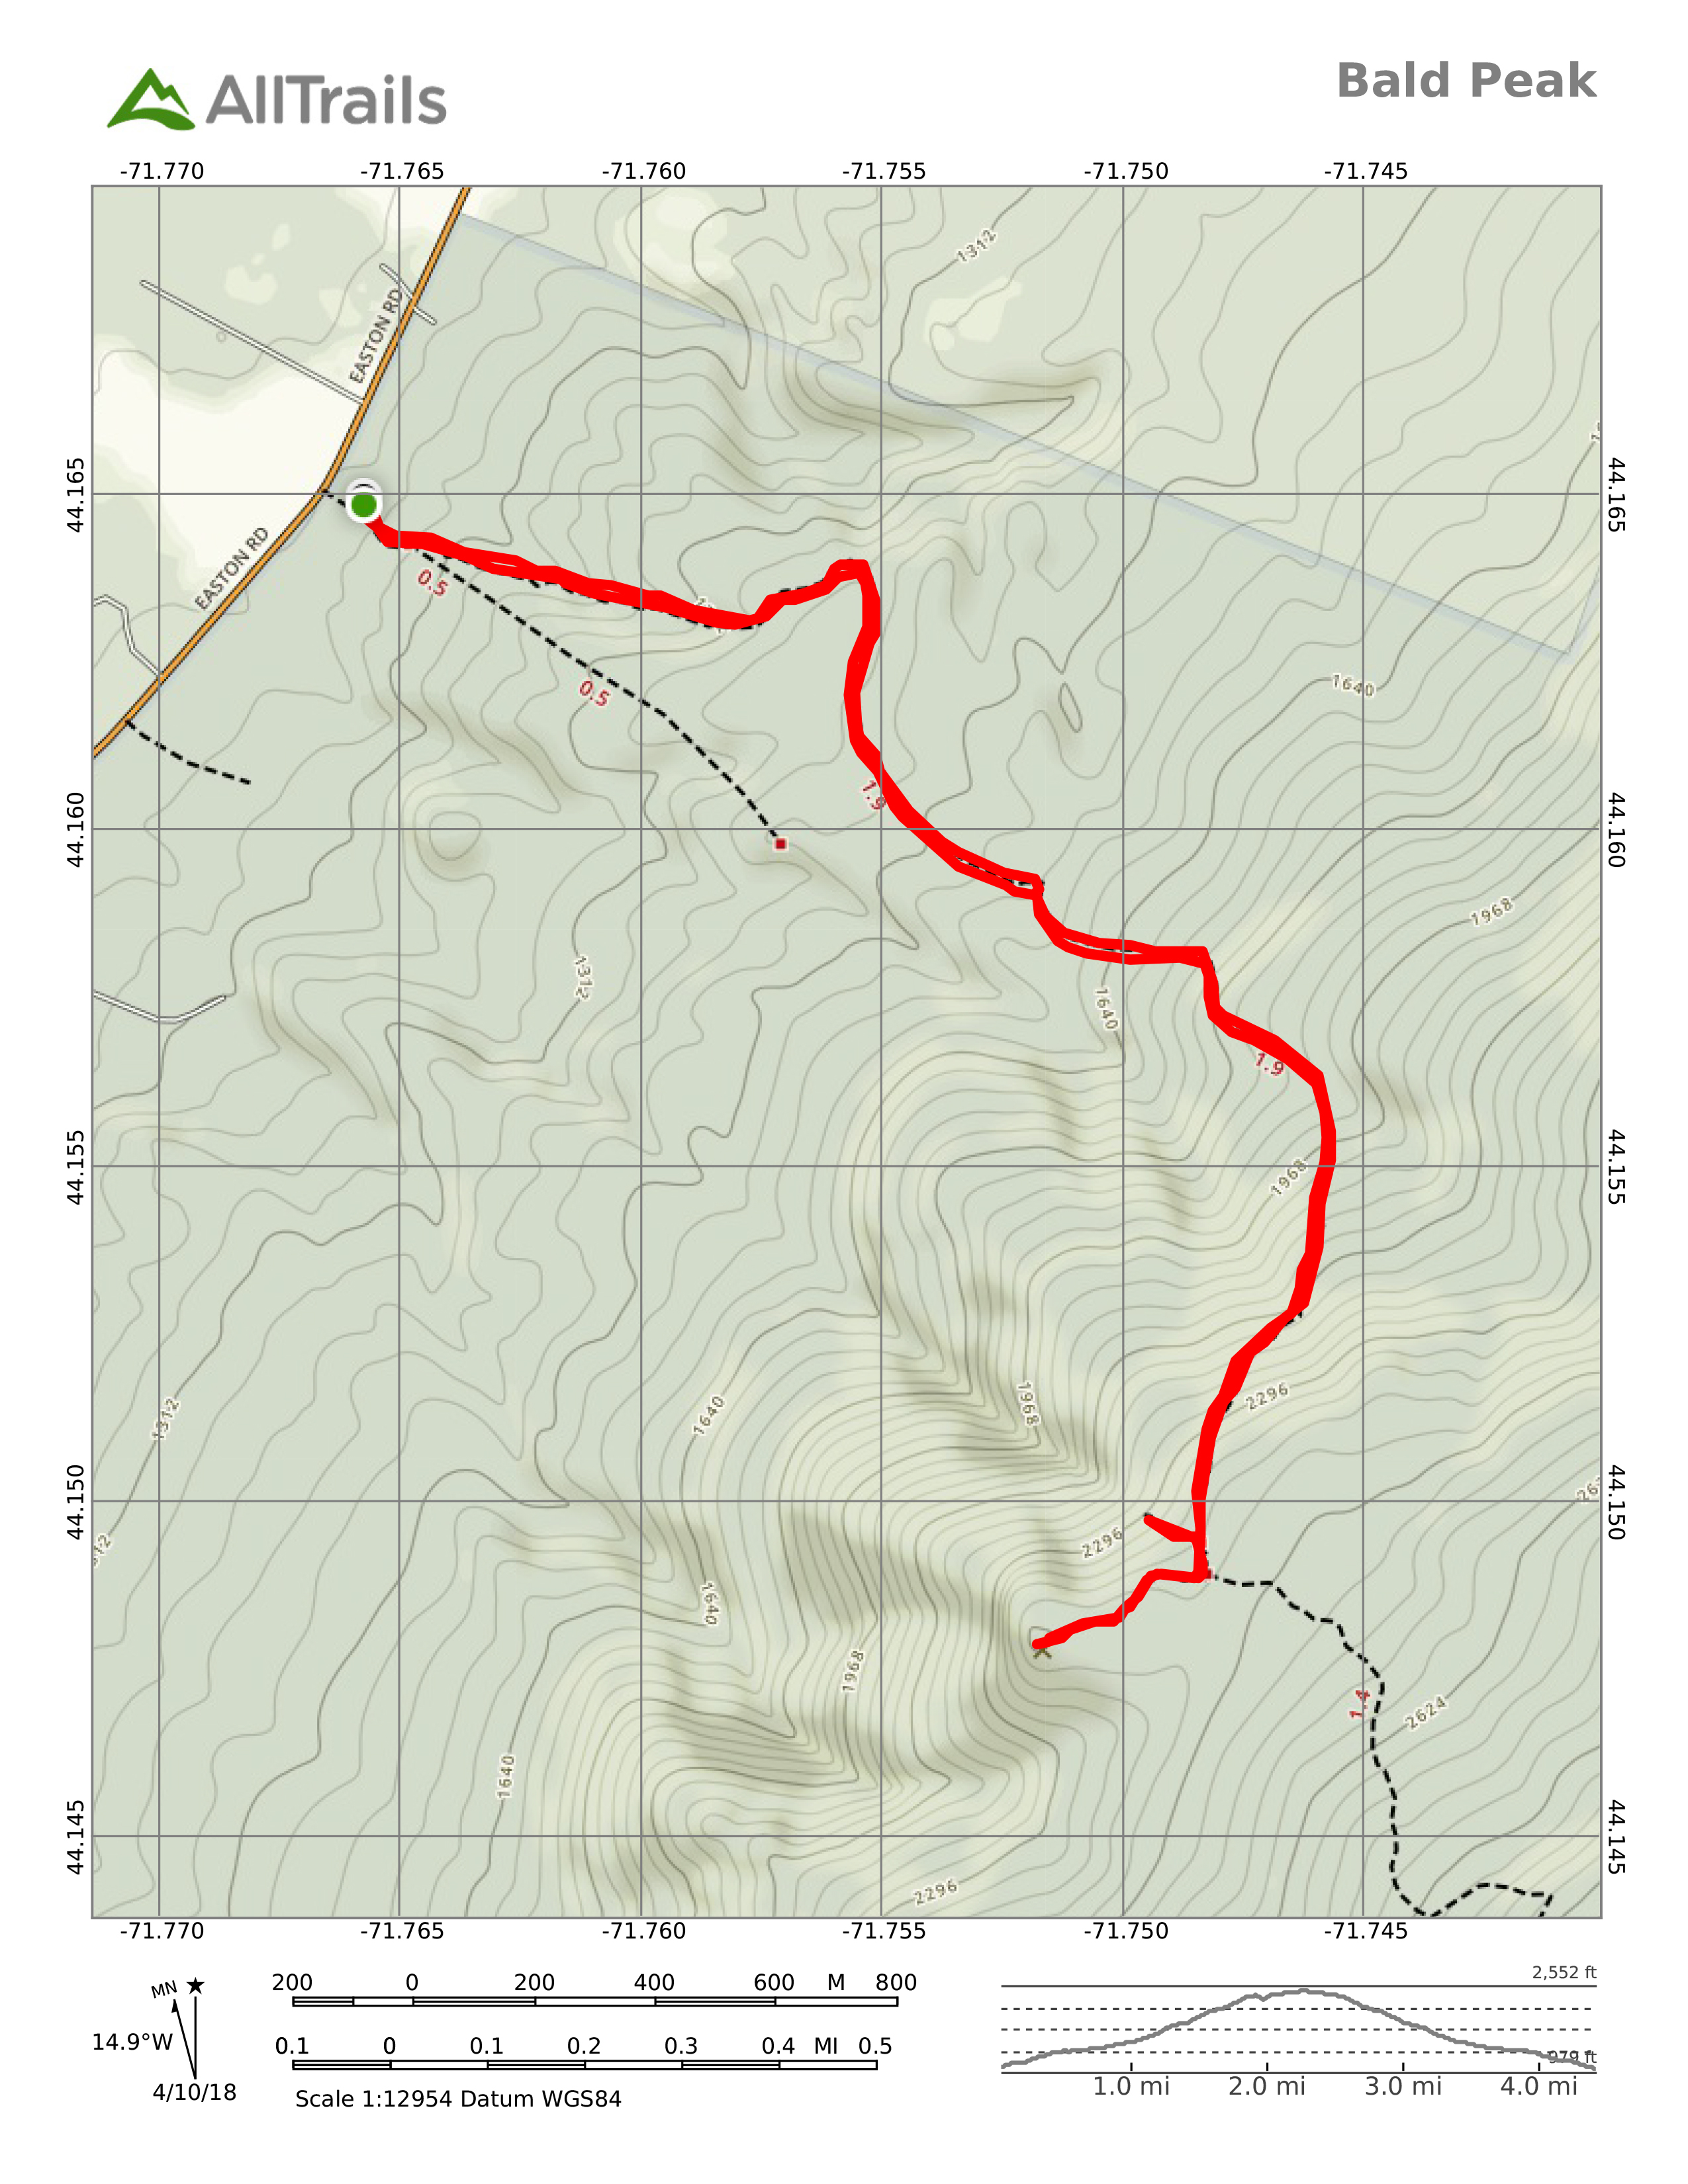
Download a Trail Map (PDF)

Directions to trailhead: Parking is along the shoulder of the Blue Ridge Parkway, coordinates: 35.45641, -83.14319


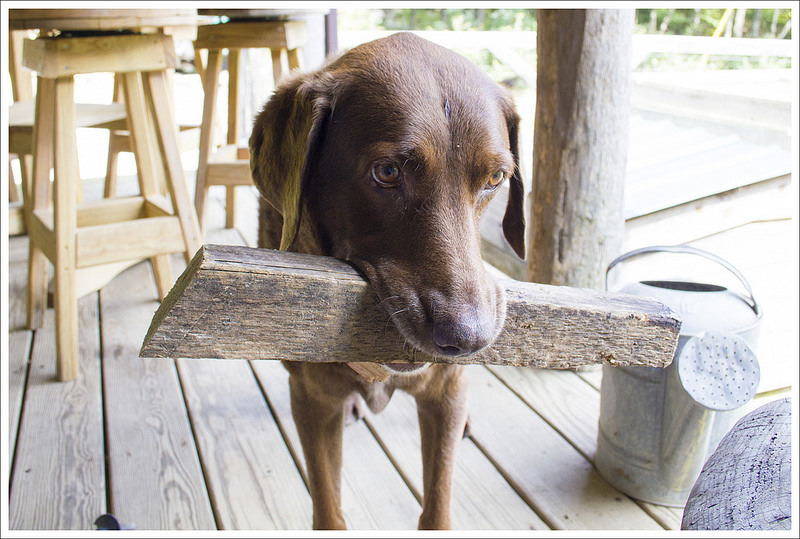


 Wookie Says…


