This 10.2 mile hike to Bear Church Rock from Bootens Gap (on Skyline Drive) is a great alternative to the route that begins down in the valley at Graves Mill. While this route doesn’t include the scenic Staunton River or the Jones Mountain Cabin, it crosses some of the deepest, least traveled parts of Shenandoah National Park. And in the end, you reach the same great viewpoint. While this route is a little longer than the alternative, it has less climbing and feels a little more moderate.
View the Full Album of Photos From This Hike


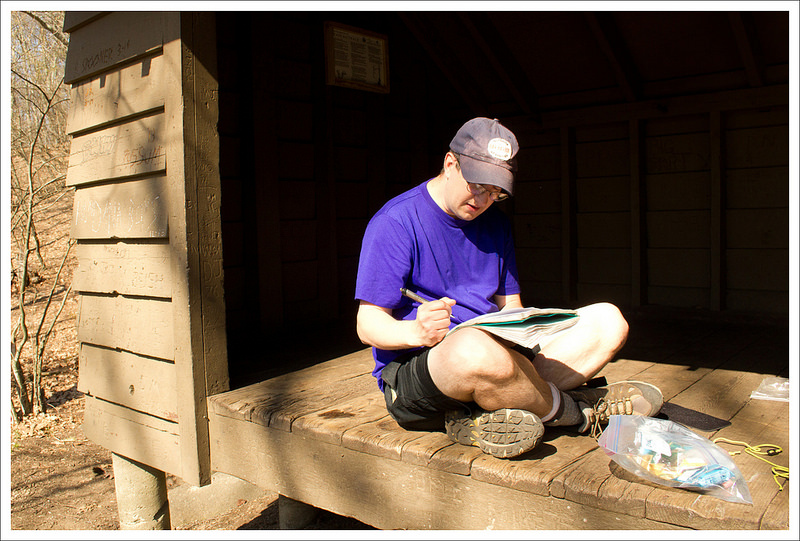
Adam Says…
Bear Church Rock really impressed us when we hiked it a few years ago, approaching it from Graves Mill. However, we were thinking it would be nice to take a different route that would be more accessible from Skyline Drive. This approach is a bit longer, but it has 400 fewer feet of elevation gain, making this an overall easier climb.
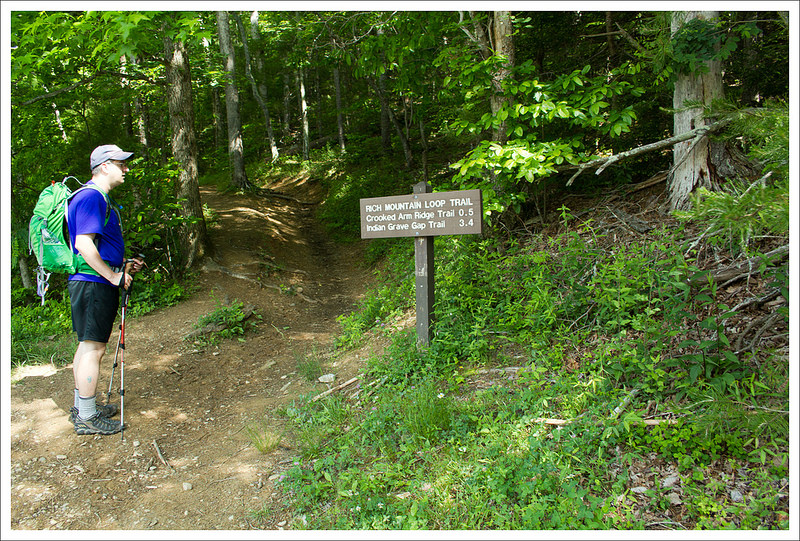
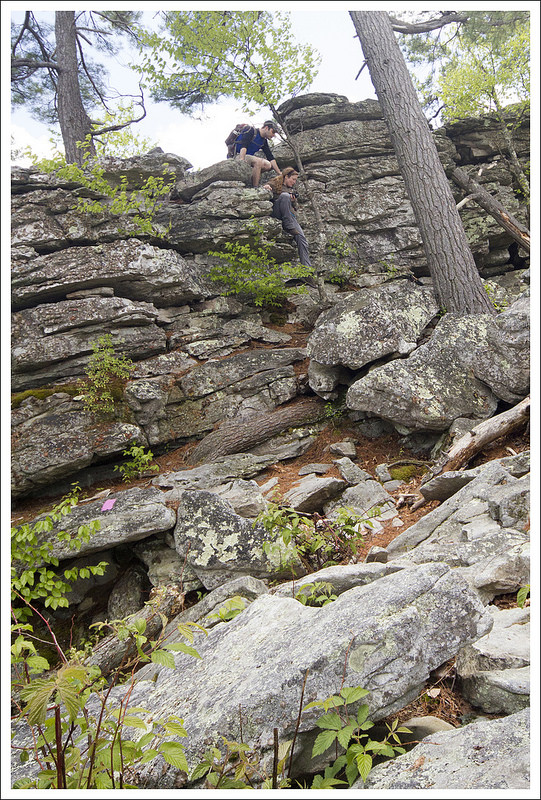
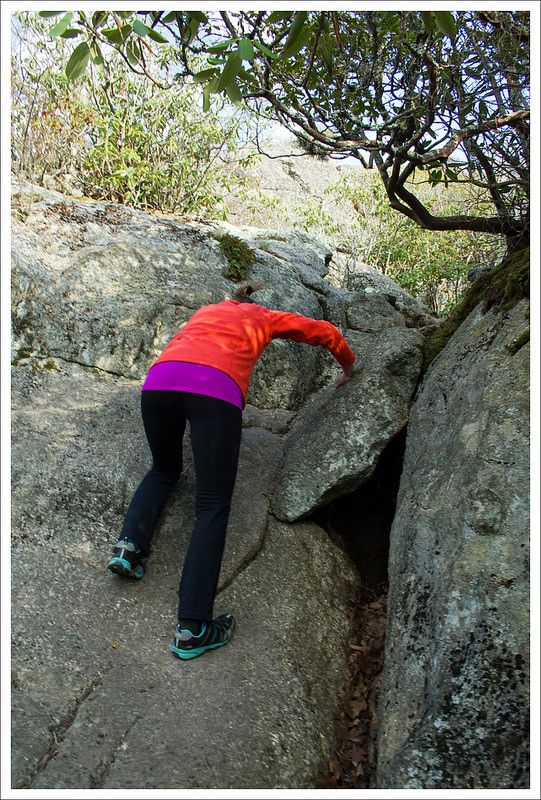
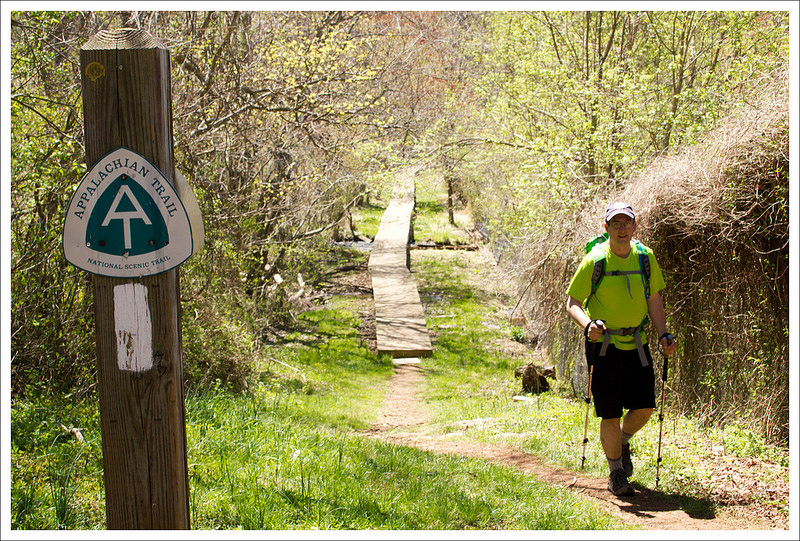
We started off from the Bootens Gap parking lot at Mile Marker 55 on Skyline Drive in the Central District of Shenandoah National Park. We took the Appalachian Trail from the parking lot, heading north. In .5 miles, we reached the junction with the Laurel Prong Trail. We took a right to join this trail. The Laurel Prong Trail ends up going through a relatively steep decline through a loose, rocky section. The trail eventually bottoms out and you reach a junction with the Cat Knob Trail at 1.5 miles. We took the Cat Knob Trail and began a steep incline. The trail hits another junction with the Jones Mountain Trail at 2.2 miles. Take a right on the Jones Mountain Trail. At this point, the trail is relatively flat or downhill for most of the way to Bear Church Rock. As you near your goal, you’ll see some pretty amazing standalone boulders along the trail. You will know you’re getting close to the viewpoint when the trail takes a sudden, precipitous downhill drop. At 5.1 miles, you will reached an unmarked side trail that takes you up a about ten feet through the laurels onto a large rock outcrop with majestic, wilderness views. Return the way you came to make this a 10.2 mile out-and-back.


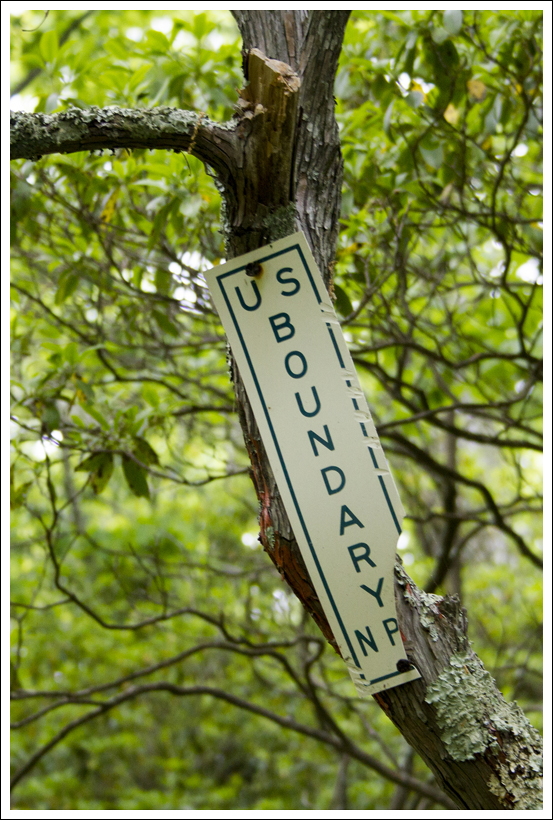

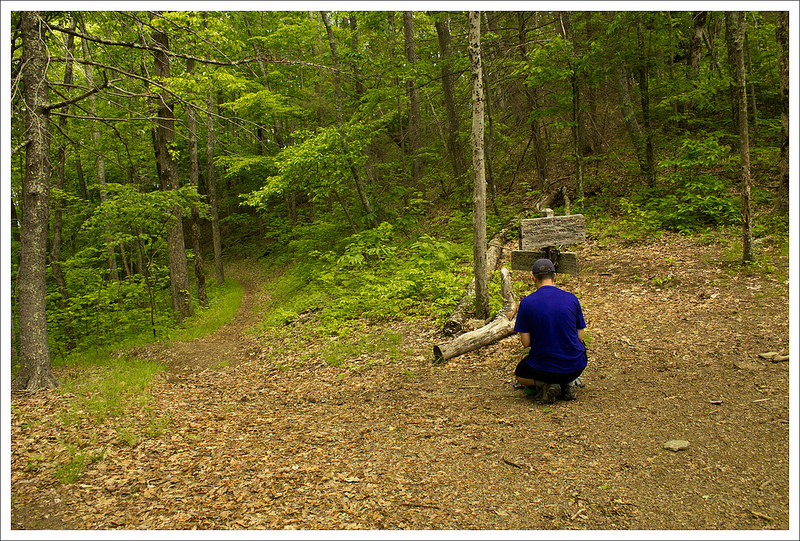
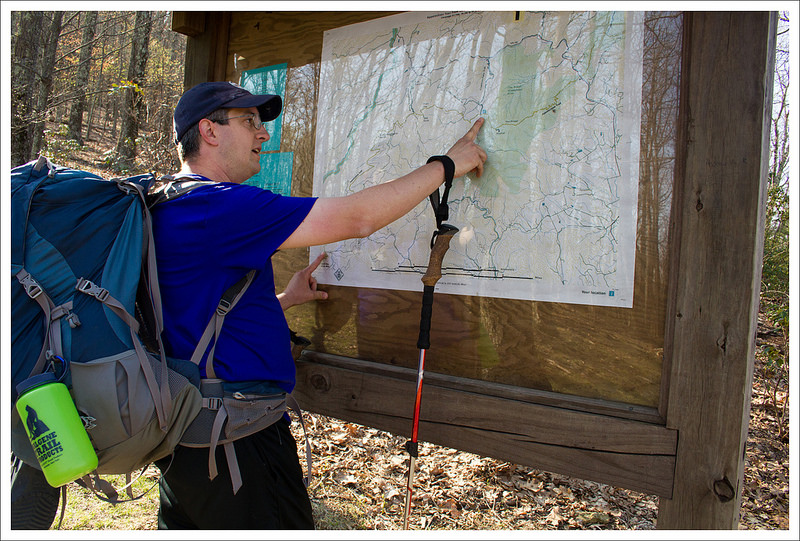
One thing to note on the trail is you do come across several times where the National Park crosses back and forth across boundary lines with the Rapidan Wildlife Management Area. You may see some US Boundary markers in several places that marks the portion that is under National Park control versus Virginia control.
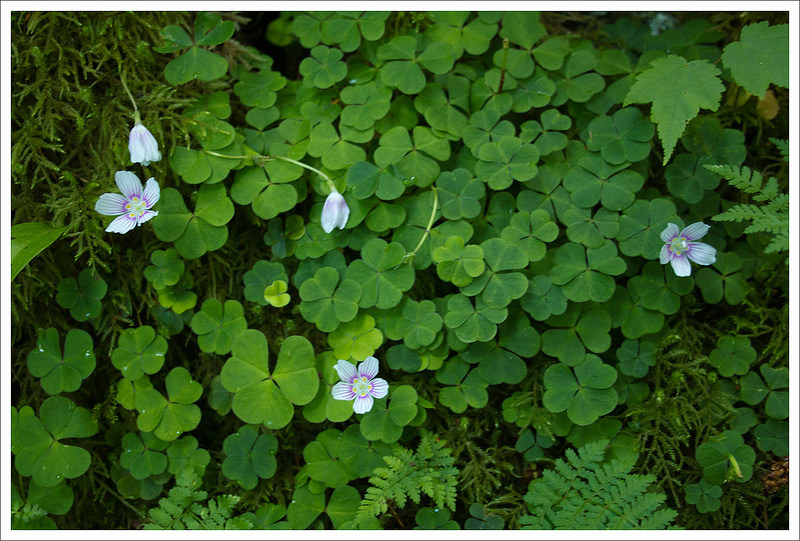
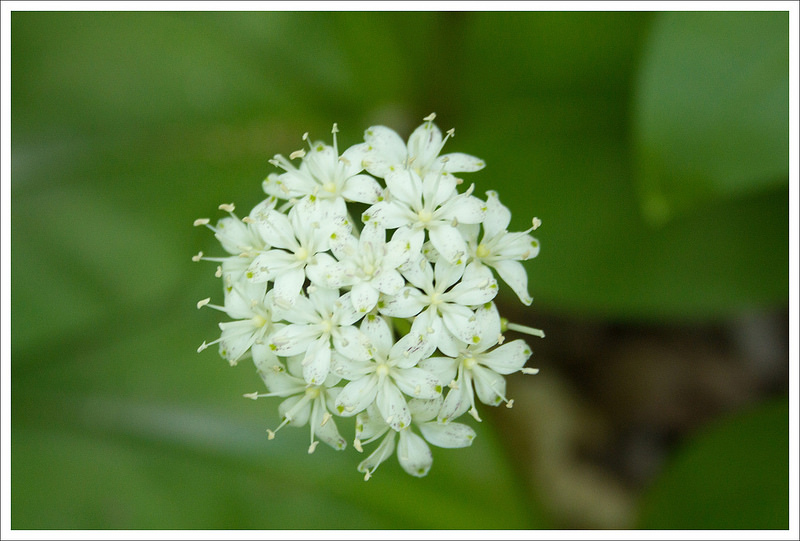
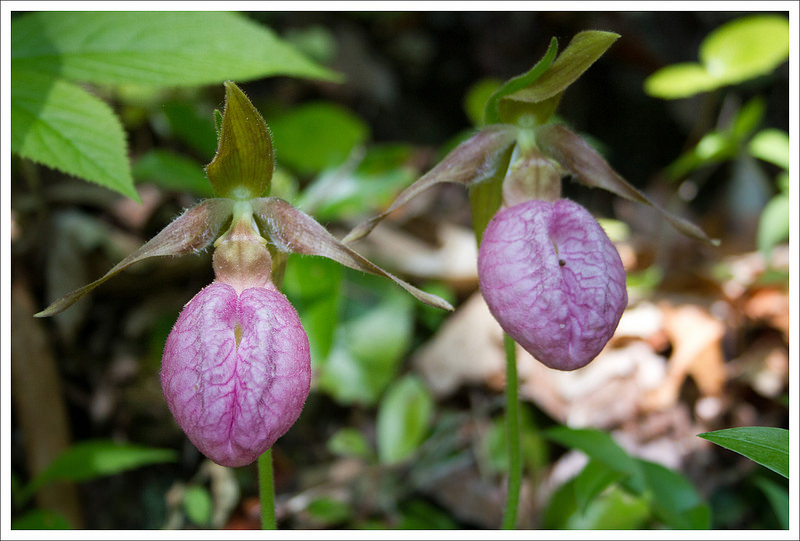
When we reached the highest point of the Cat Knob Trail, we found the largest concentration of pink lady slippers I have ever seen. Everywhere we turned, we kept seeing more and more and they were at the peak of their bloom. That was such a nice reward by coming this route.


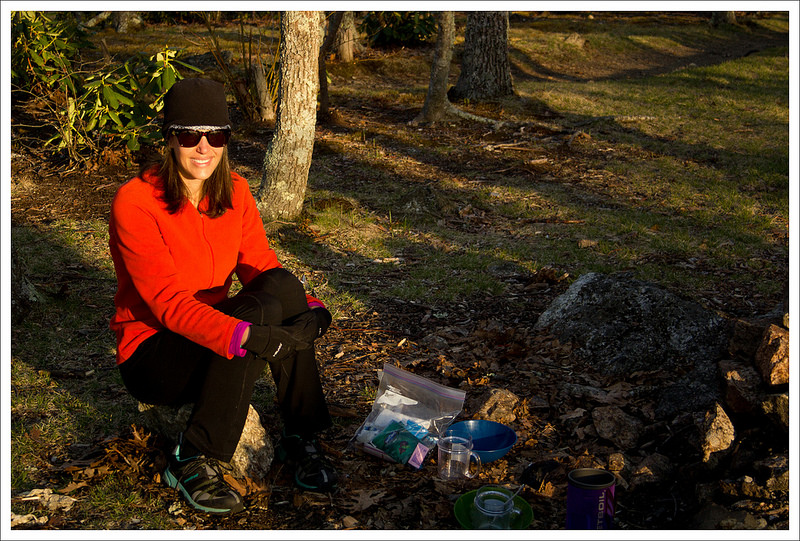
Somewhere along the Jones Mountain Trail as we were making our approach to Bear Church Rock, my knee buckled and gave me a lot of pain for the rest of the day. One hard part about hiking is if you get injured, you don’t have a lot of choice but to keep going. I stopped about .25 mile before we reached the summit and rested. I wasn’t sure if I would be able to make it all the way. Christine went ahead to scout the way and see how much further. Not wanting to be separated too long, I pushed myself onward and found her at the rock overlook. We stayed there to rest for a while and we had the rock all to ourselves. We were joined in about 20 minutes from a man from China who had come up the route from Graves Mill. He didn’t speak English and we heard him on his walkie-talkie talking to someone that we presumed to be his wife. We were guessing she was farther behind and he was assuring her he made it. The climb the other way is quite steep, so I wouldn’t be surprised if she had either turned around or was just taking longer to get to the rock.
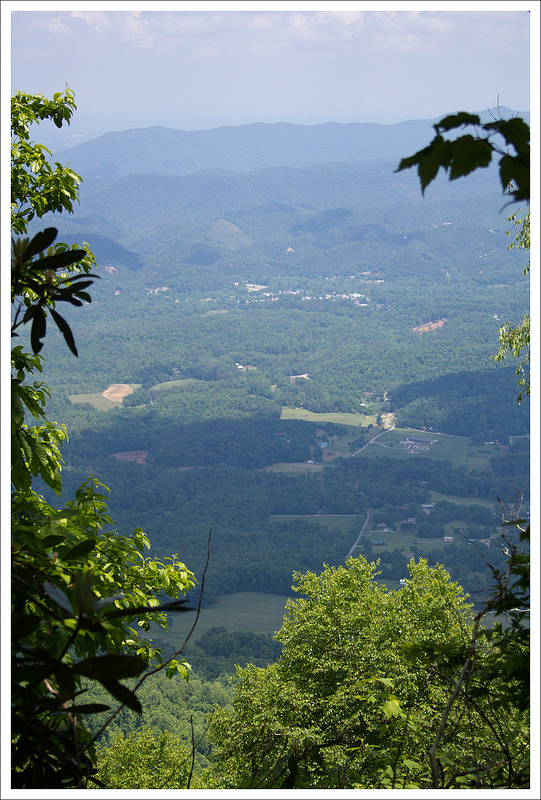
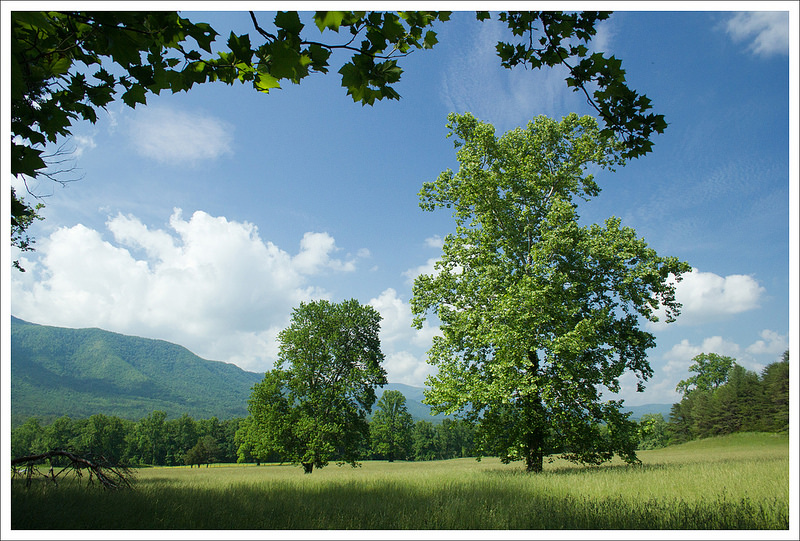
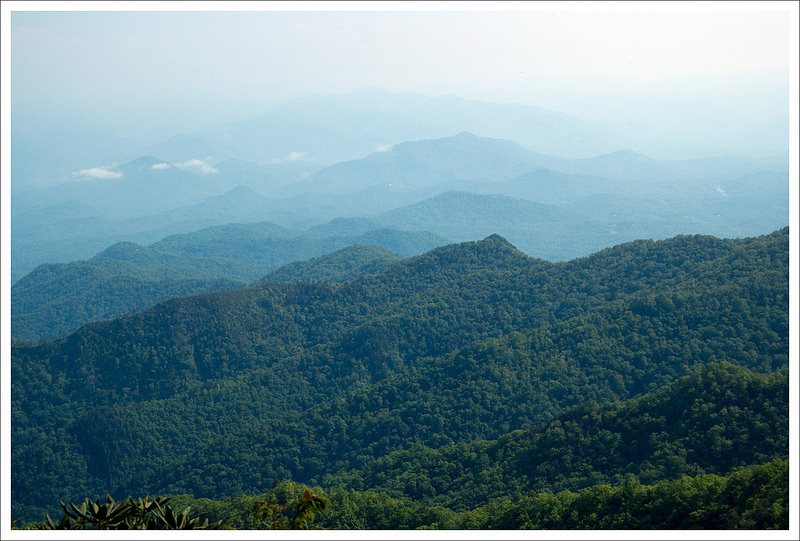
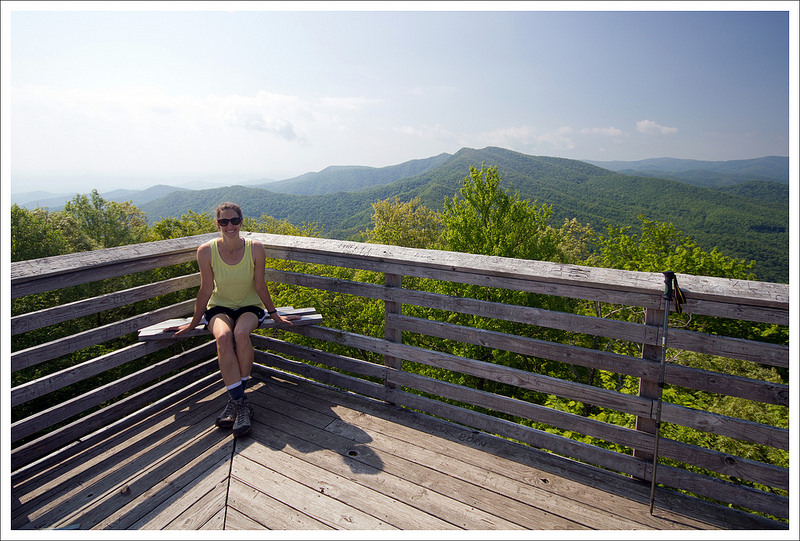
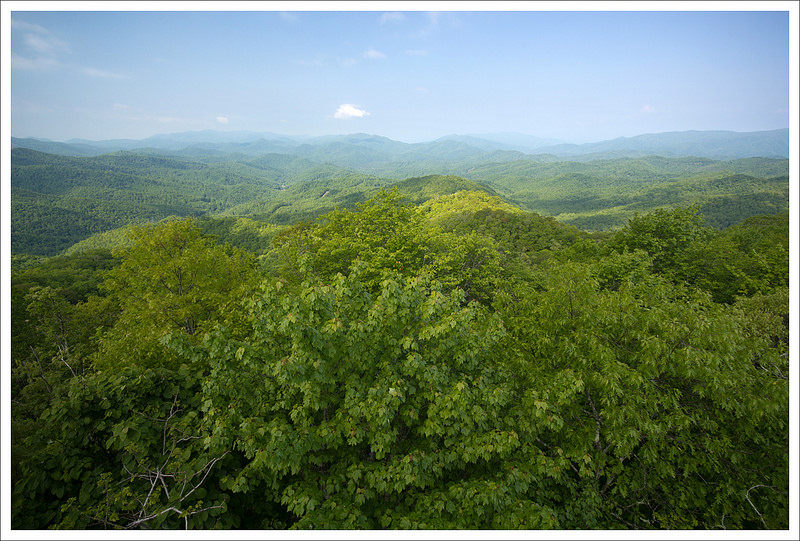
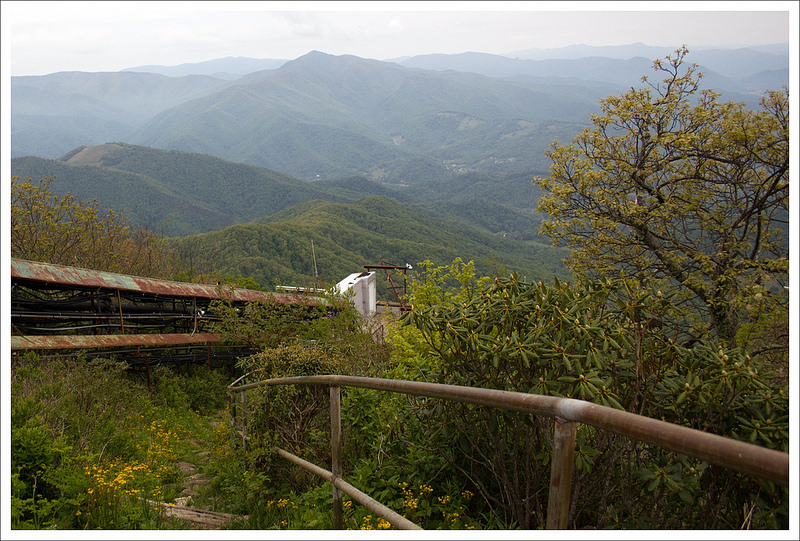
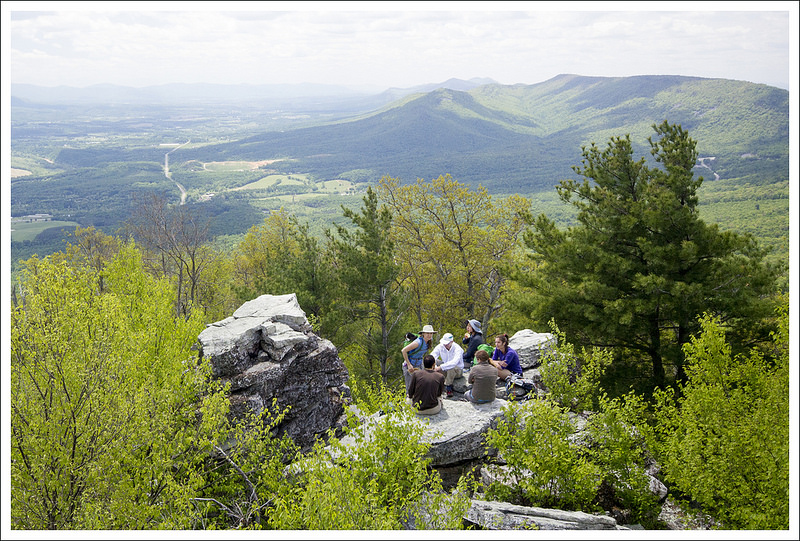
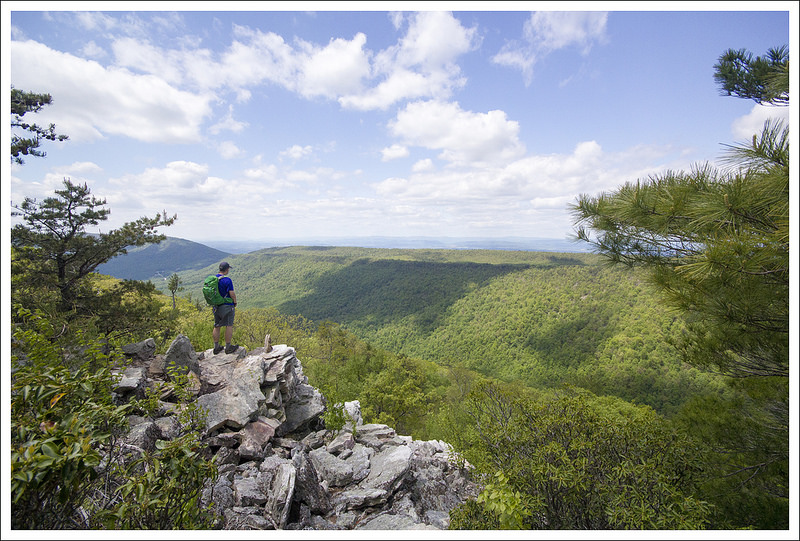
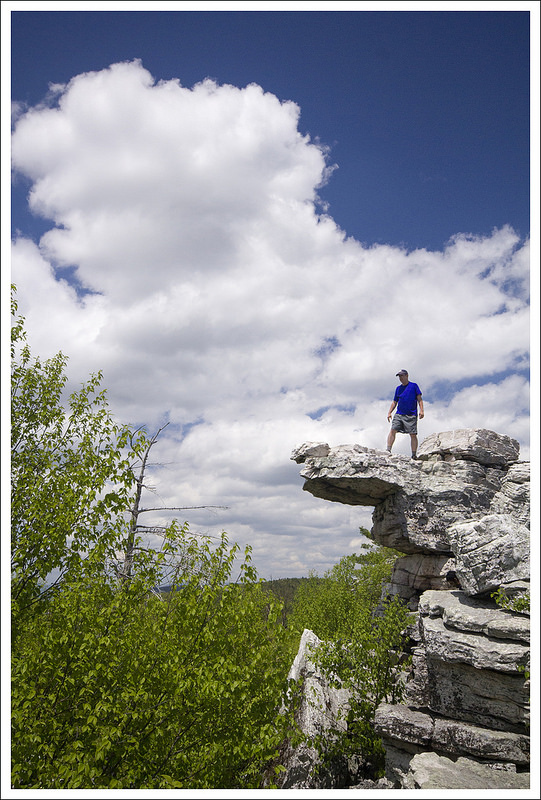
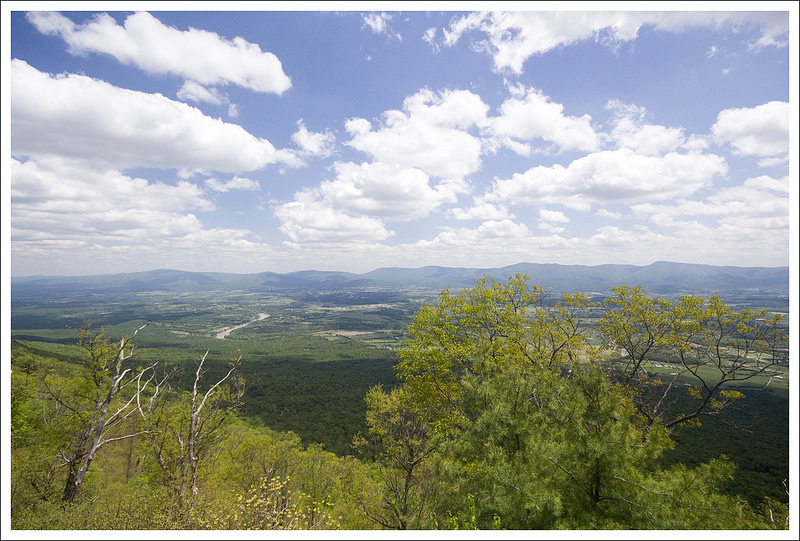
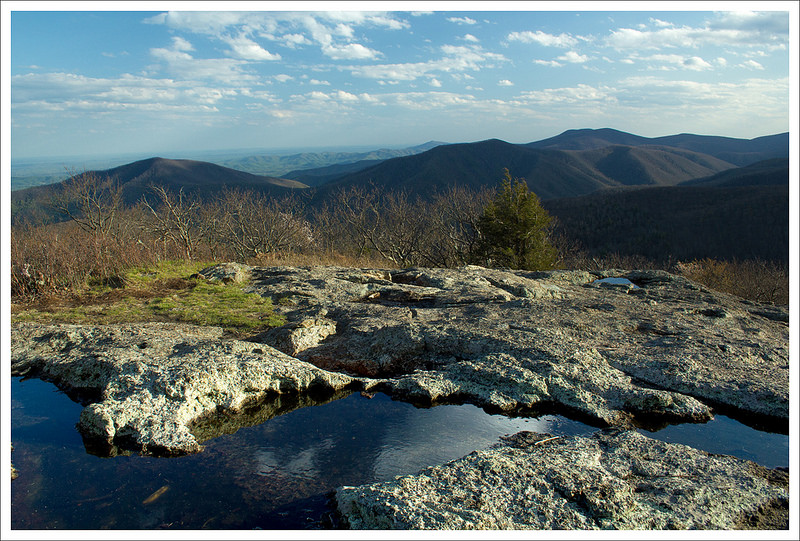
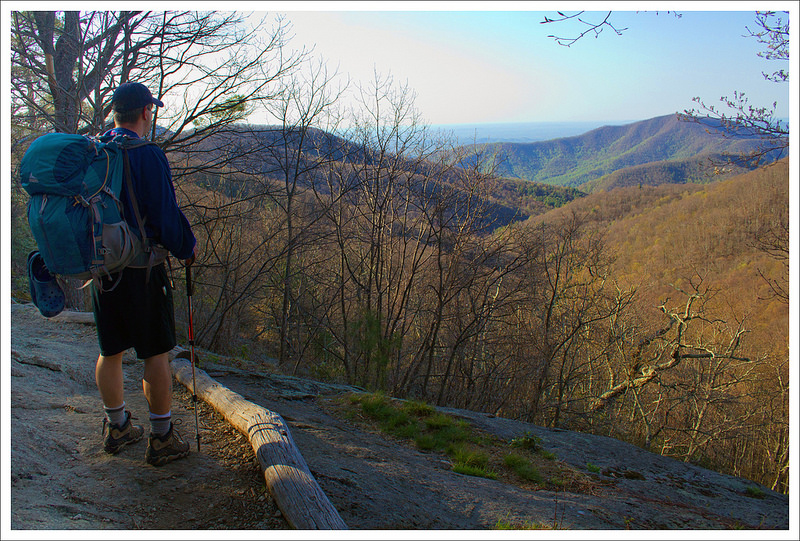
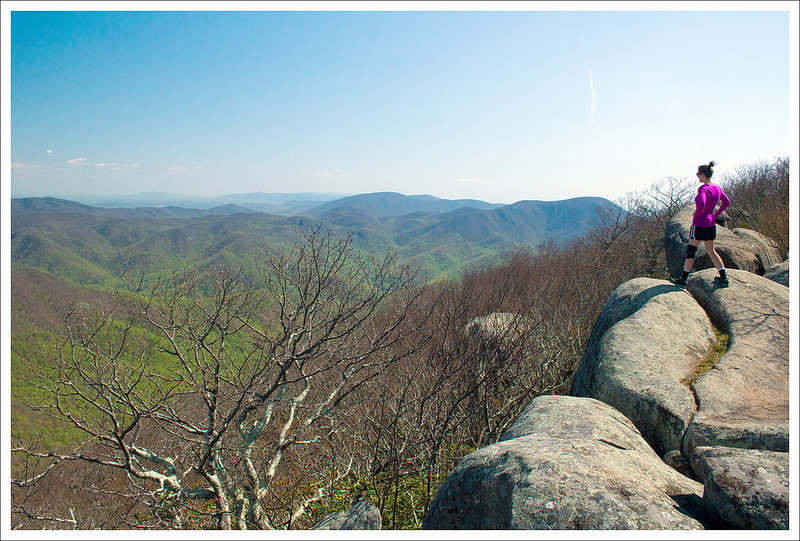
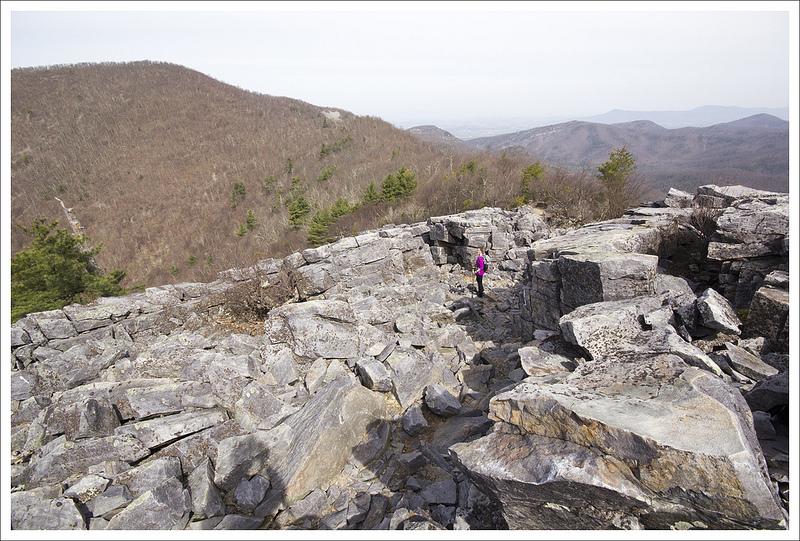
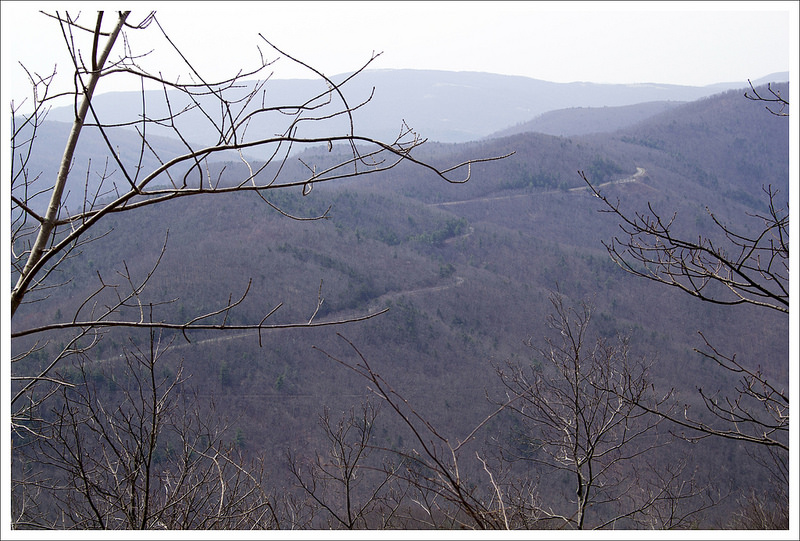
The views were spectacular. While we had a bit of a cloudy day, it was nice to see the shadows from the clouds creeping along the mountain ridges in the distance.
We decided to make our way back. I felt like the time at the viewpoint allowed me to rest my knee enough to make the return trip. I was hobbling slowly, but I had to keep pushing forward. We got back to the car and I was glad to not have to take any more steps.
Christine Says…
It was National Trails Day, the weather was great – and even though neither of us was in the mood to go on a long car ride to a distant trailhead, we had to get out and hike! We settled on the hike from Skyline Drive to Bear Church Rock – mostly because it was close to home, but also because we’d never hiked it before. A few years ago, we hiked from the valley bottom in Graves Mill up to Bear Church Rock. That was a challenging and beautiful hike, so we thought it would be fun to visit the rock from the other approach.
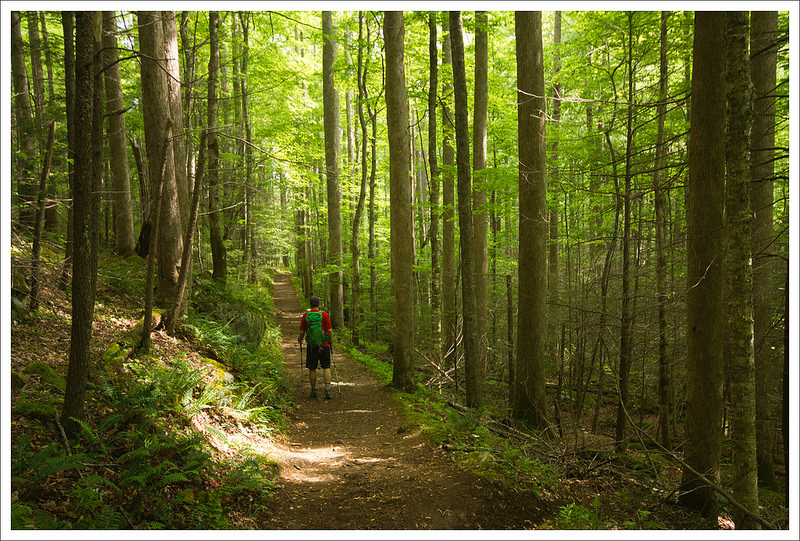
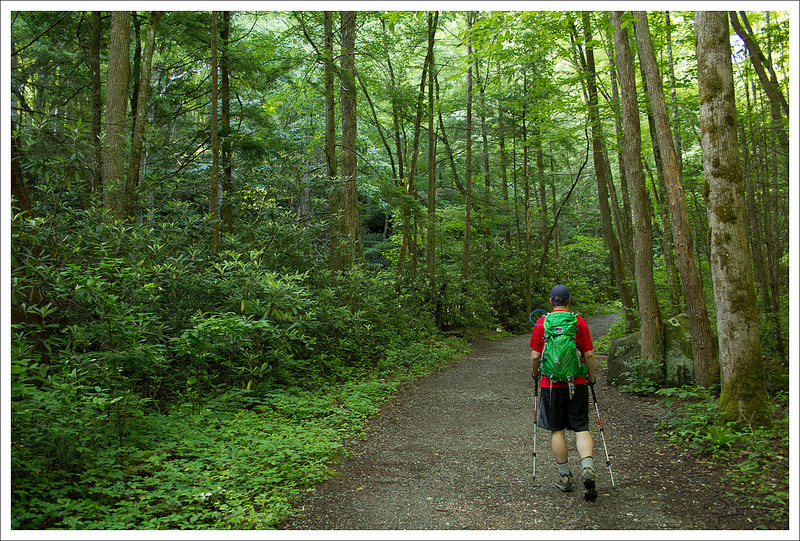
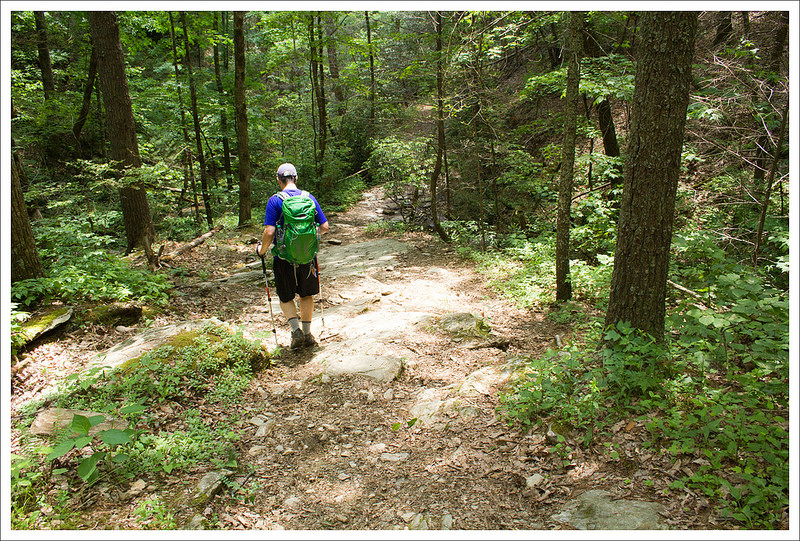
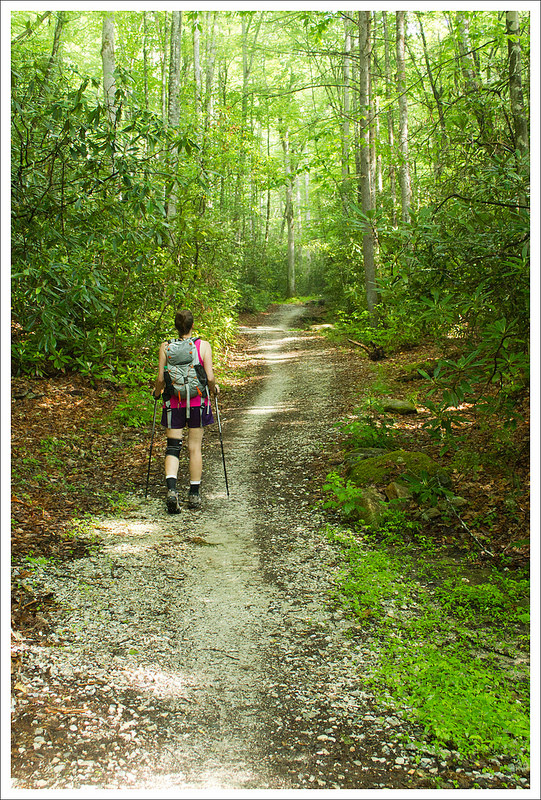
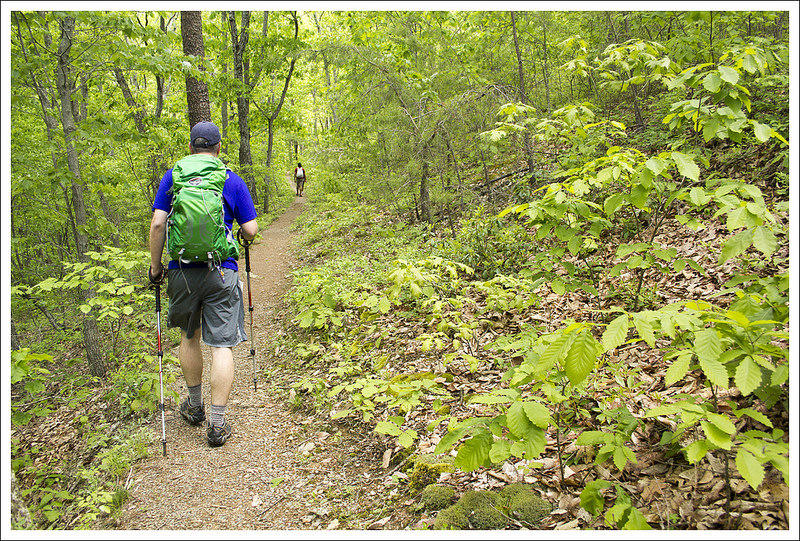
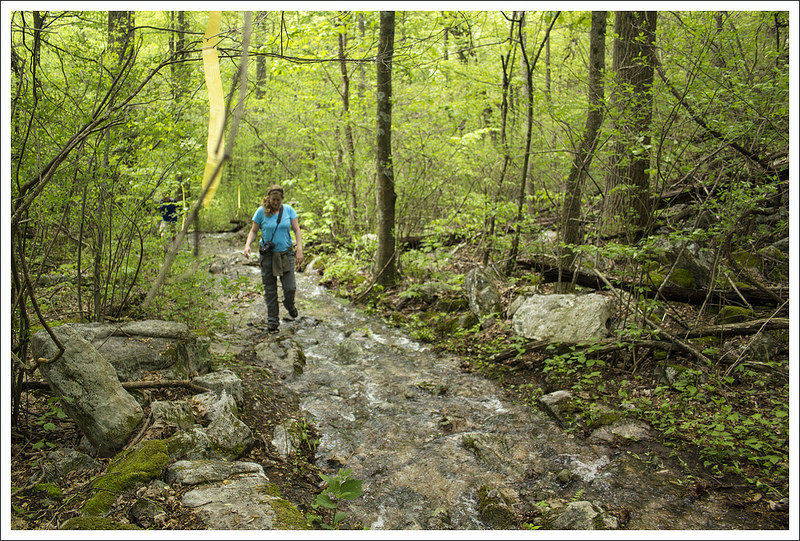
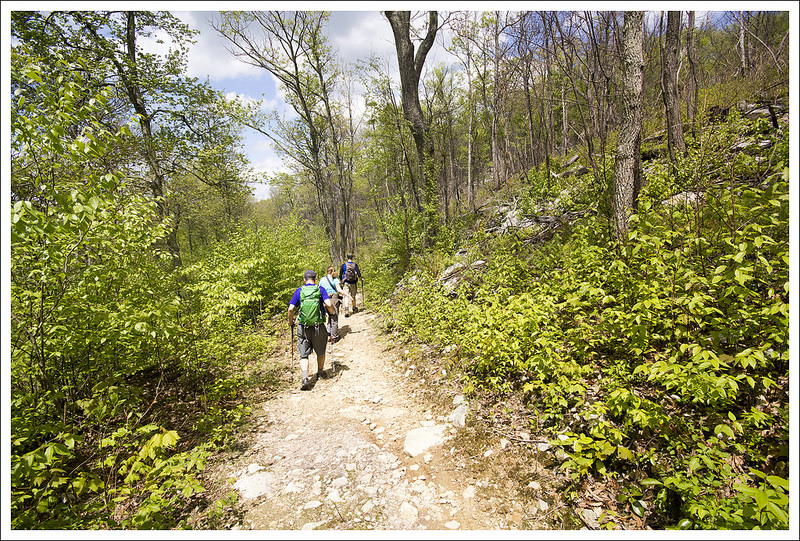
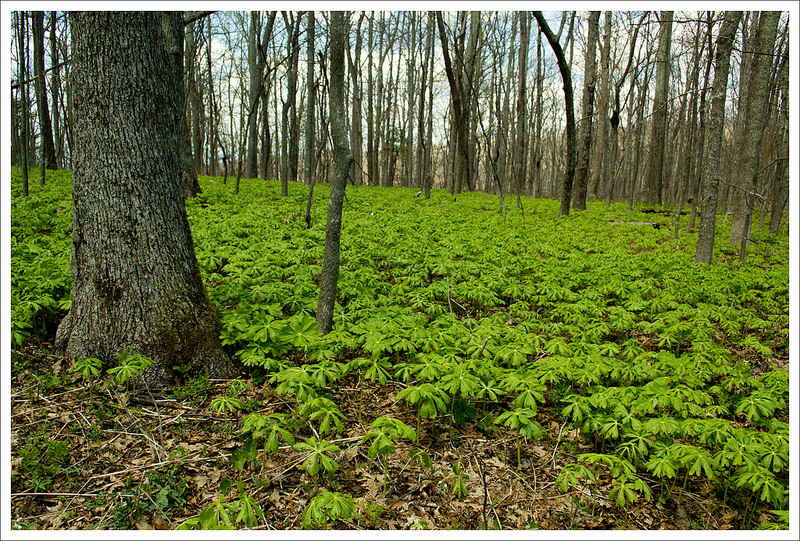
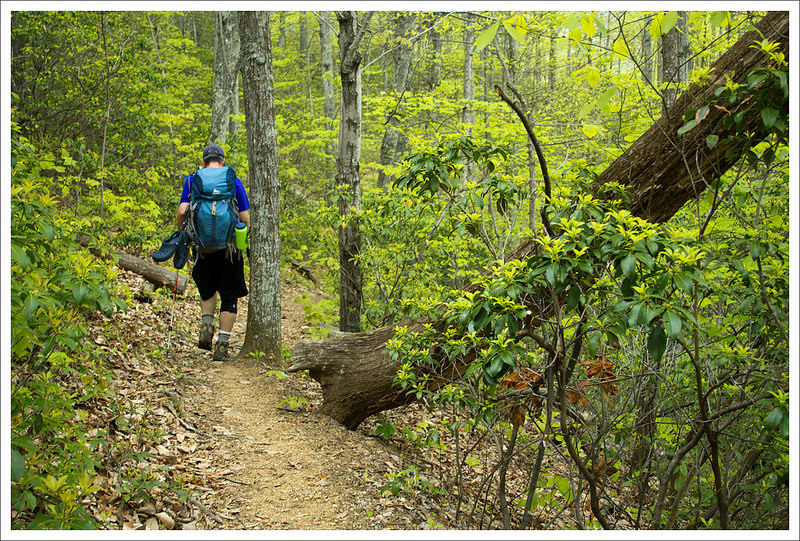
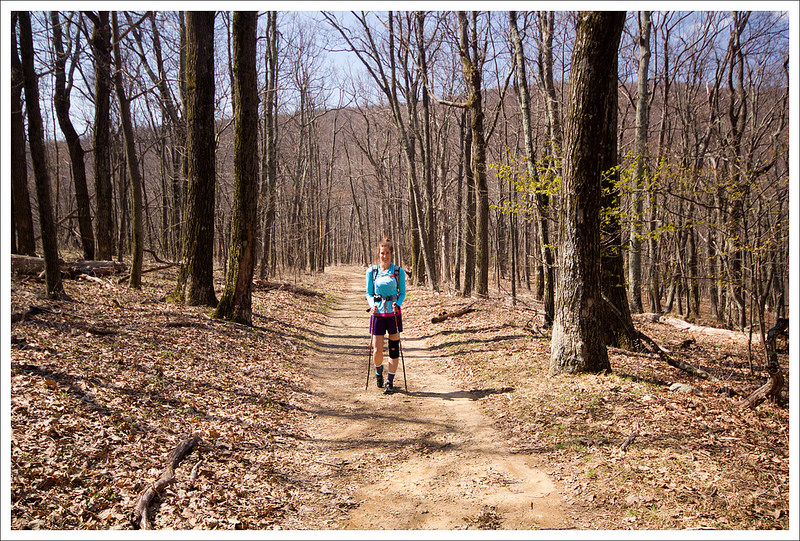
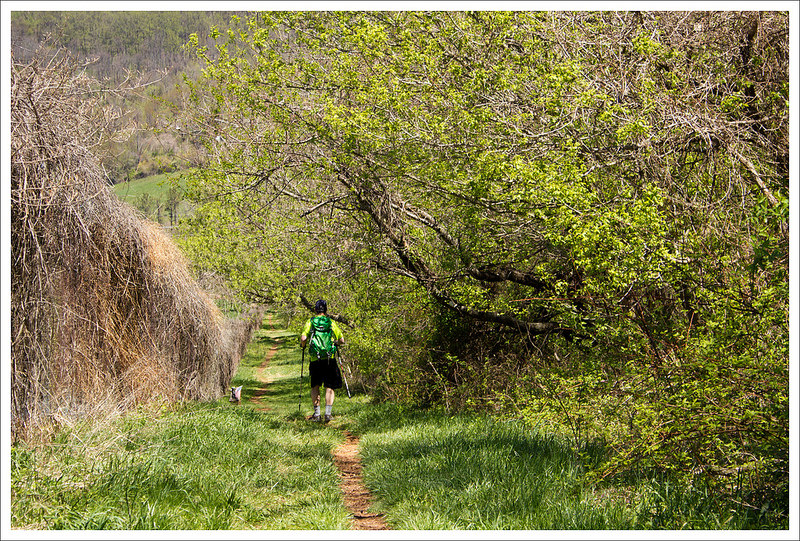
From the parking lot at Bootens Gap, we headed north on the Appalachian Trail, gradually ascending Hazeltop Mountain. I was amazed by how lush and green everything in the park looked. It almost looked as green as the Smokies! Our last hike in the park had been in late April, before the leaves fully emerged. Spring always take a long time to fully arrive in the mountains.
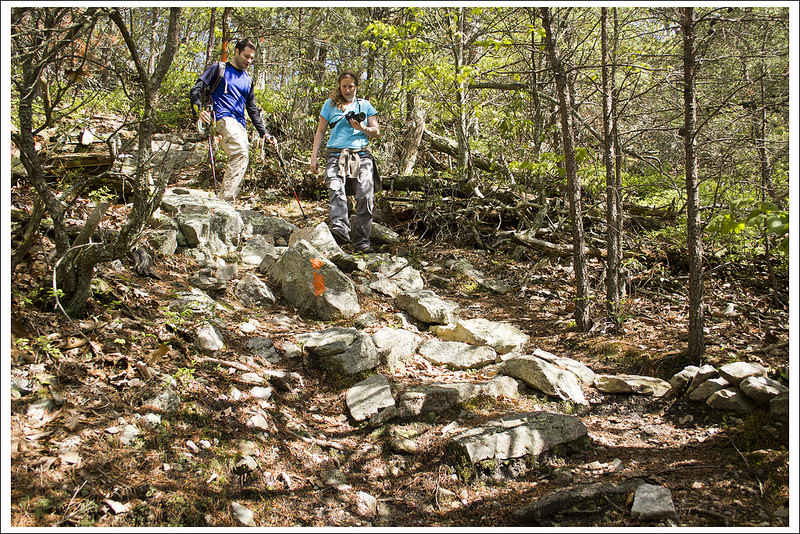
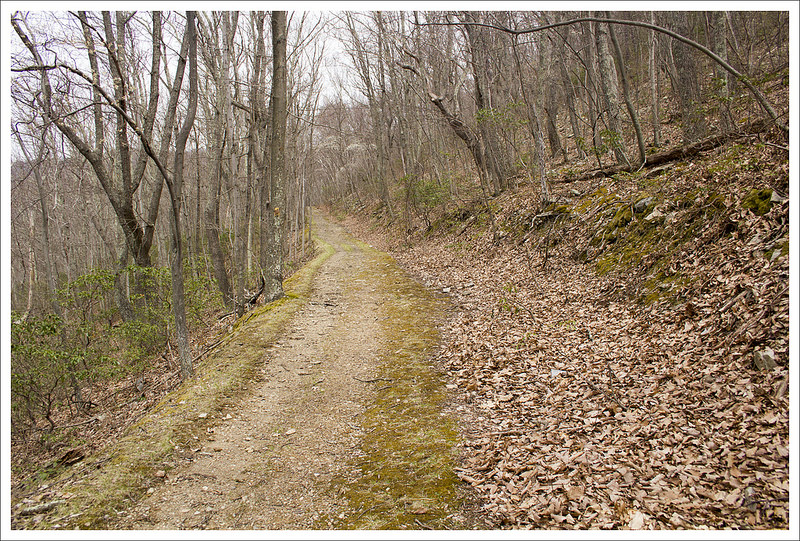
After a short, easy stretch on the AT, we reached the junction with the Laurel Prong Trail. We turned right onto the trail and followed it downhill, over many rock jumbles along the shoulder of the mountain. In a saddle between two mountains, we reached the junction with the Cat Knob Trail.


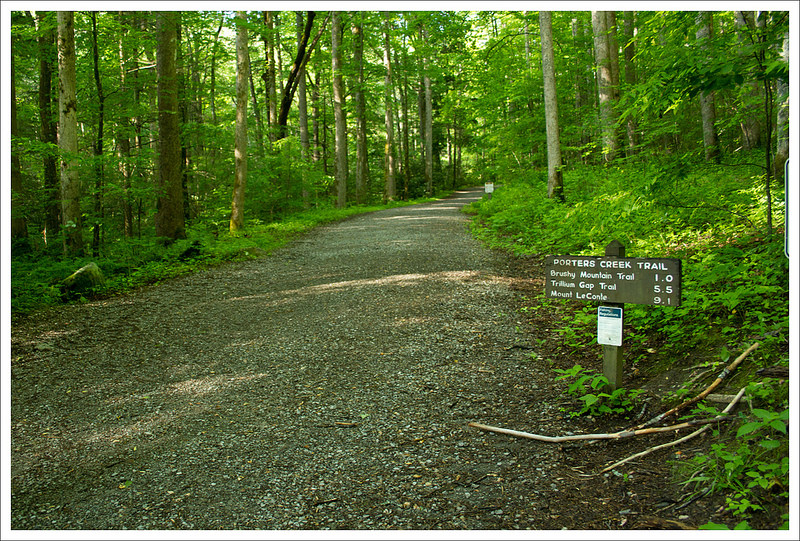
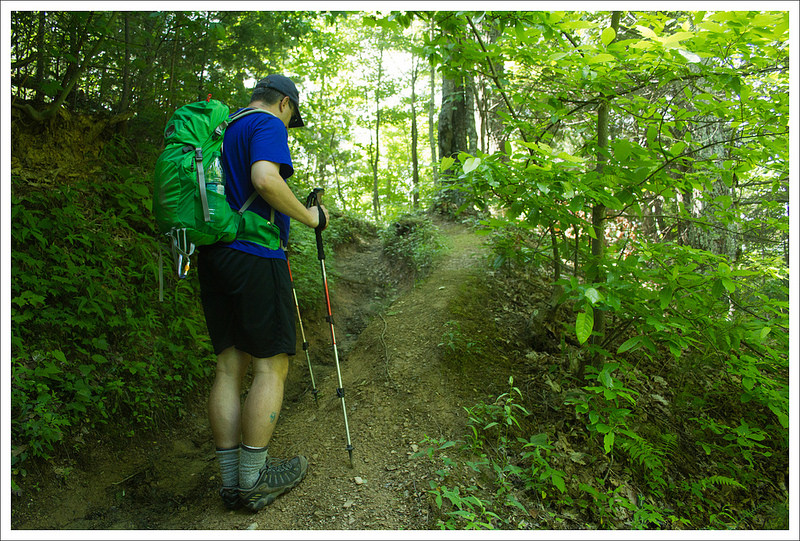
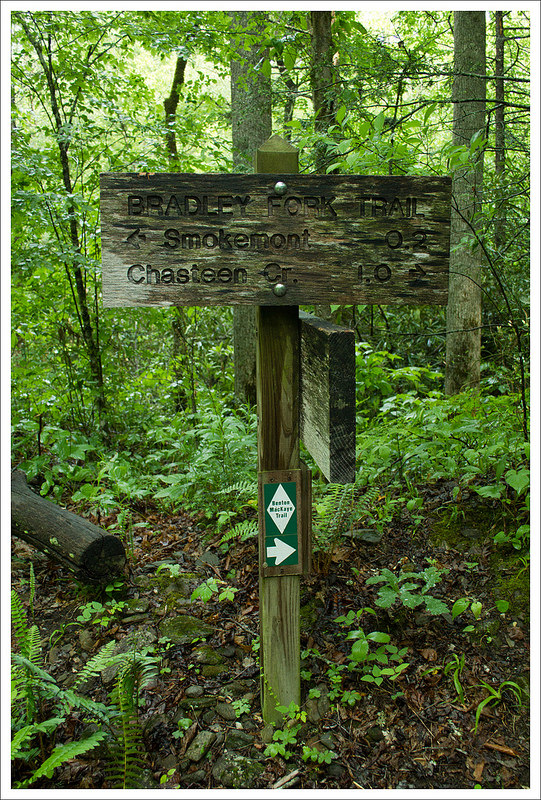
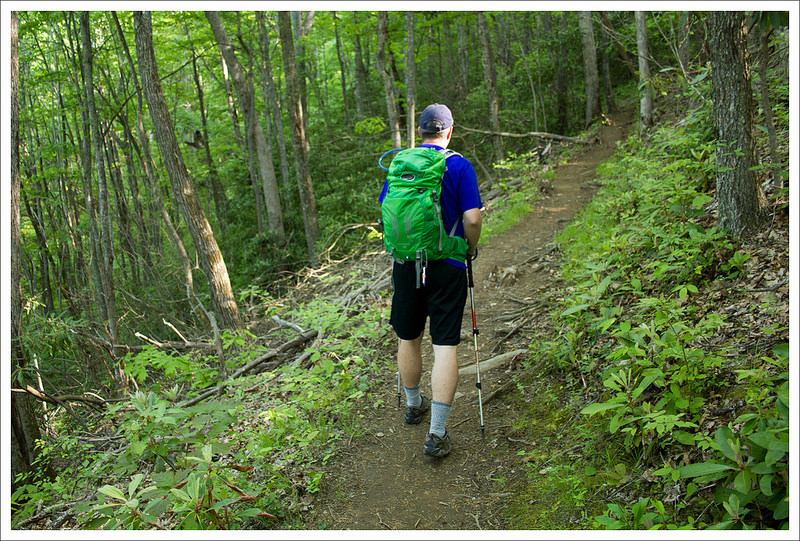
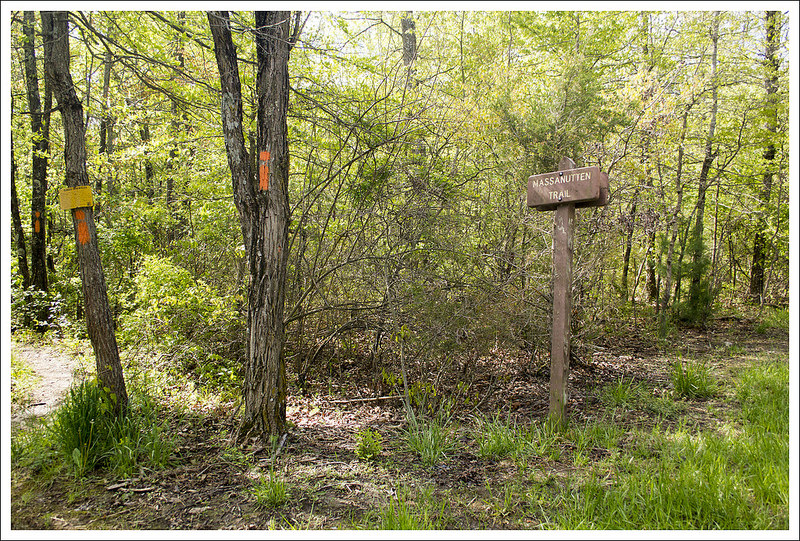
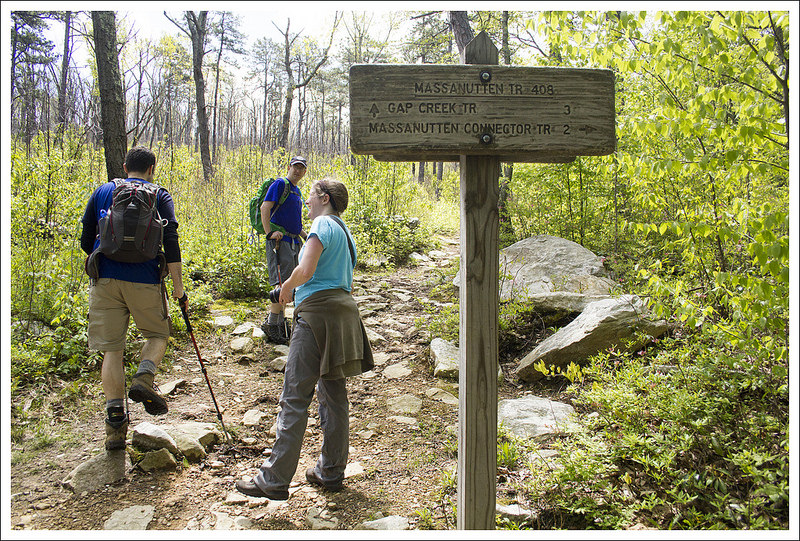
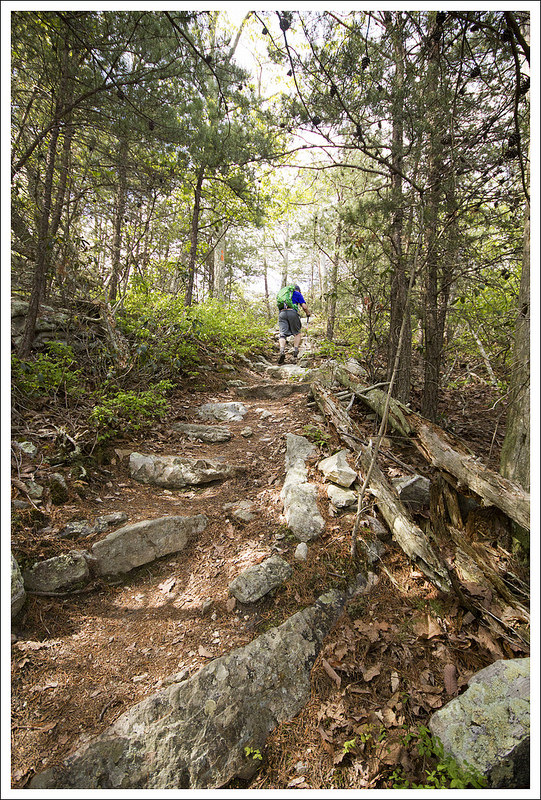
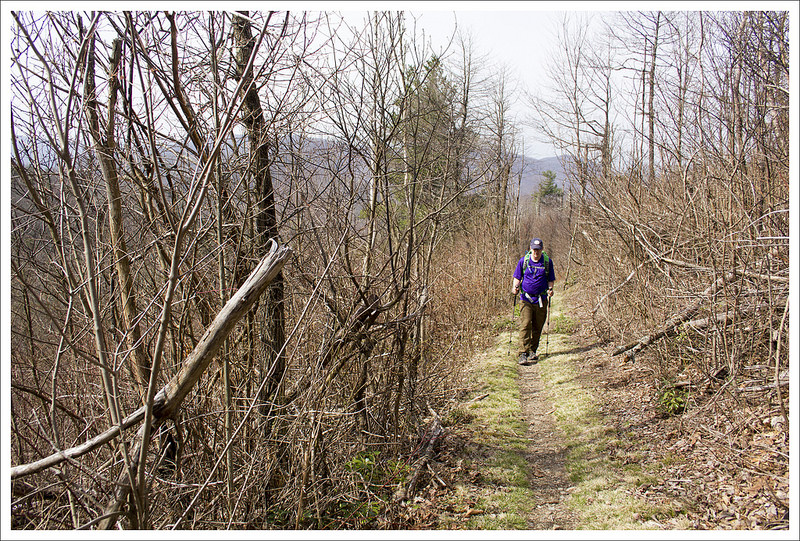
That trail climbed steeply over Cat Knob before reaching the junction with the Jones Mountain Trail. The Jones Mountain trail bears to the right. This section of trail actually departs Shenandoah National Park and enters the Rapidan Wildlife Management Area. You’ll notice park boundary signs and different orange/red blazes (as opposed to Shenandoah’s blue blazes) when you’re on this part of the hike.
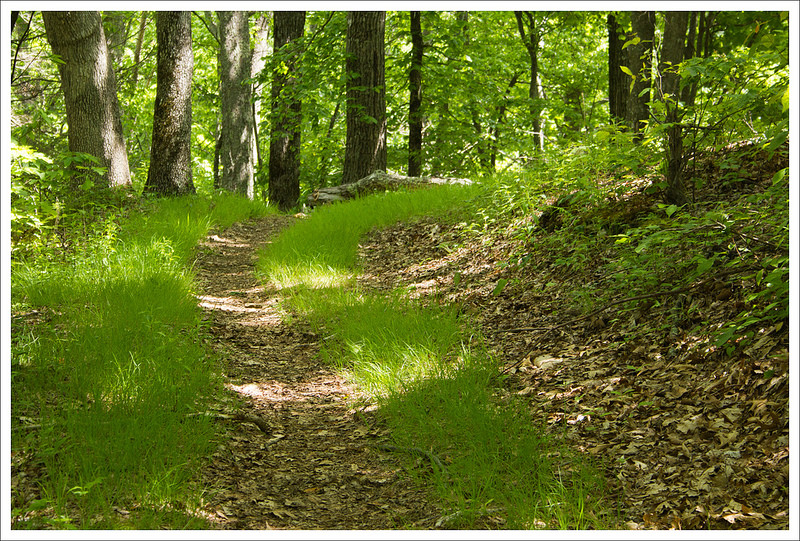
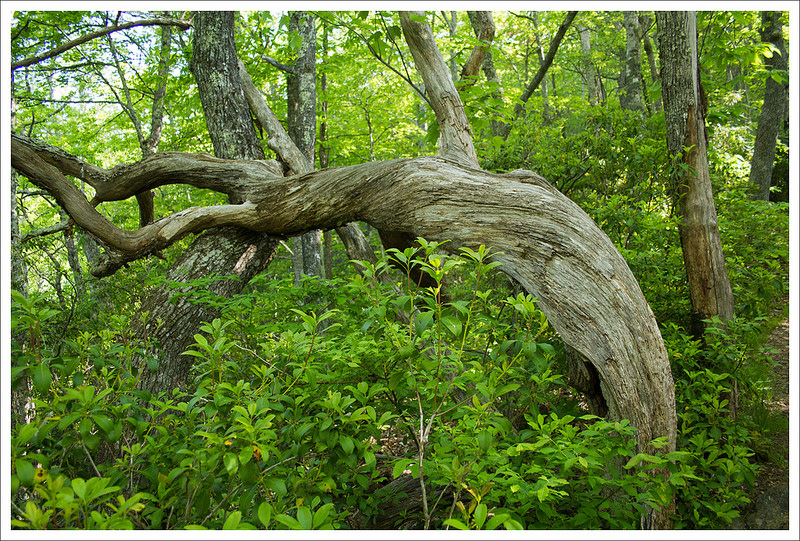
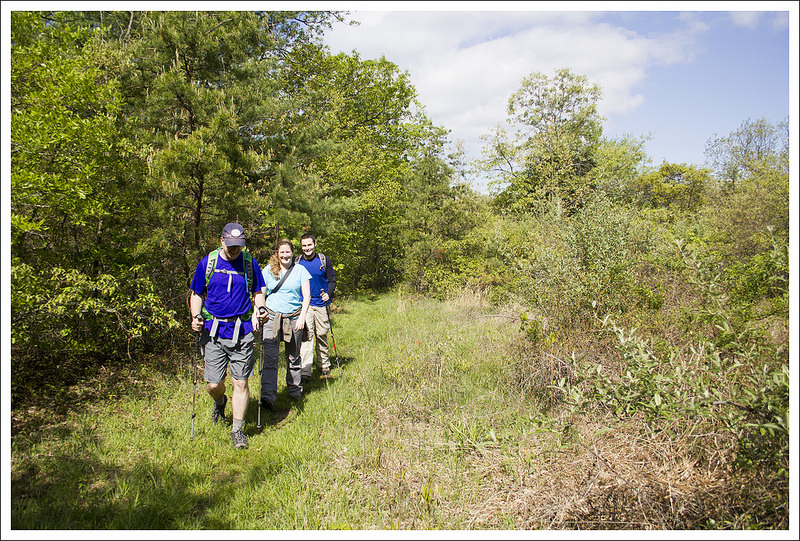
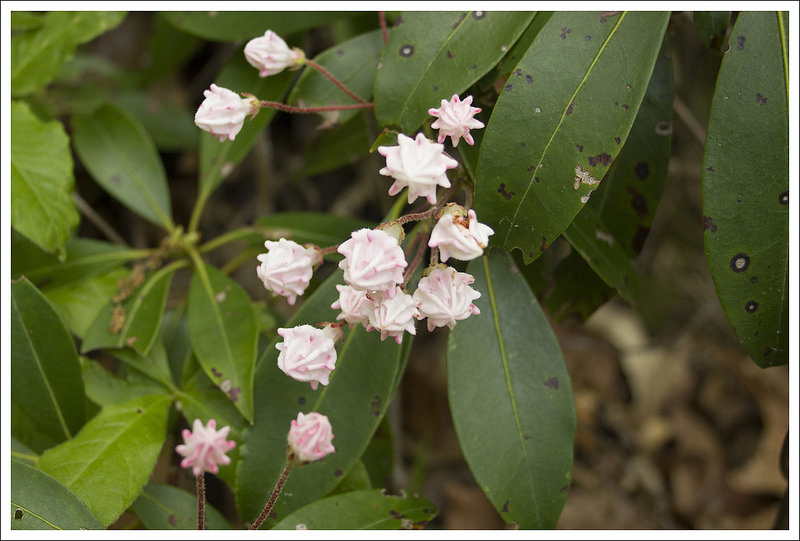
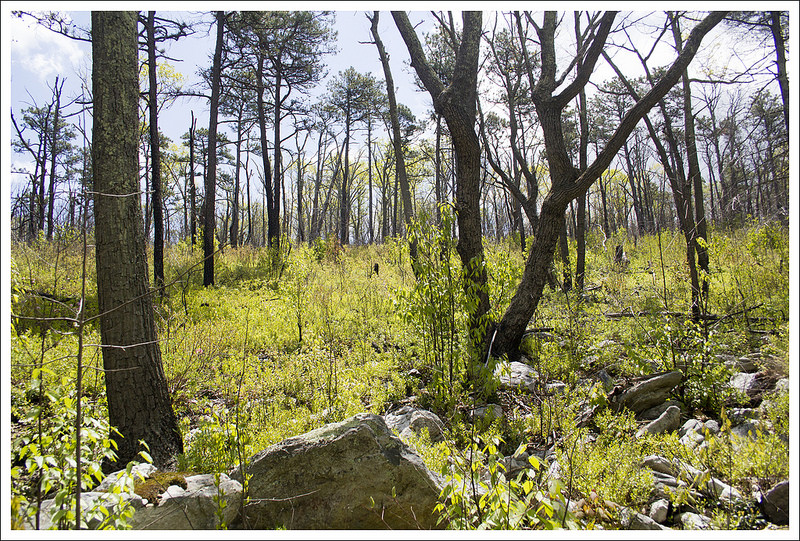
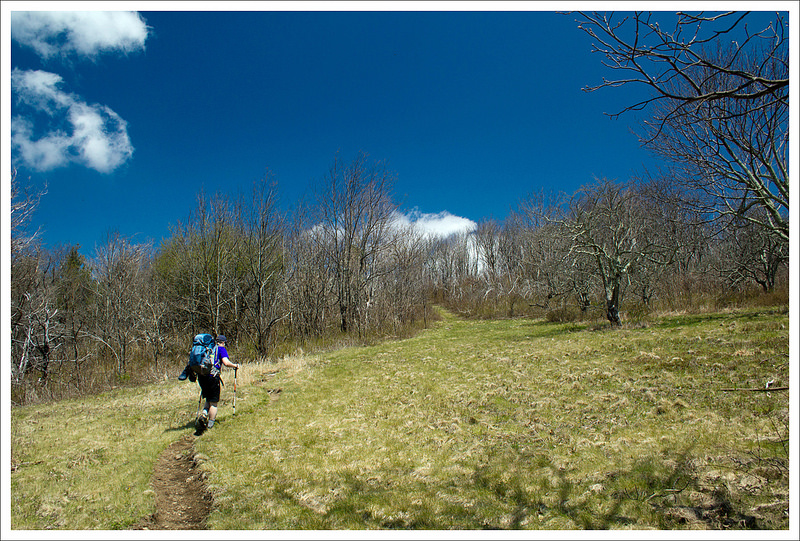
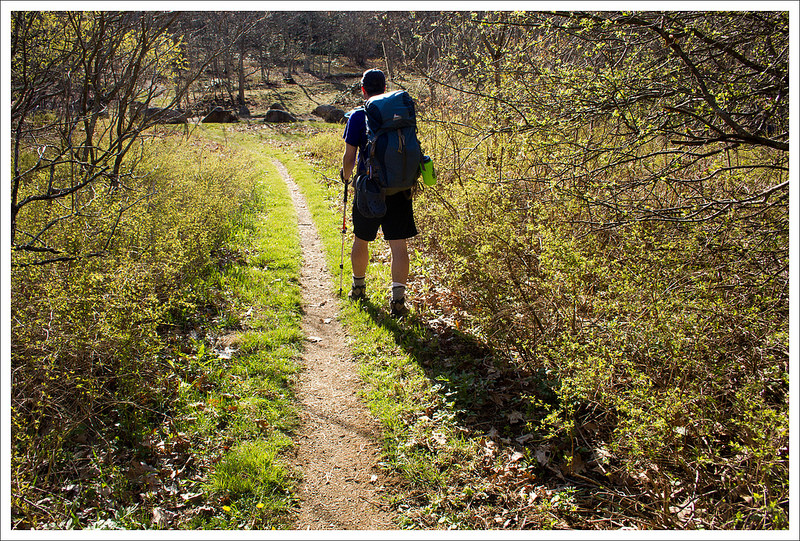
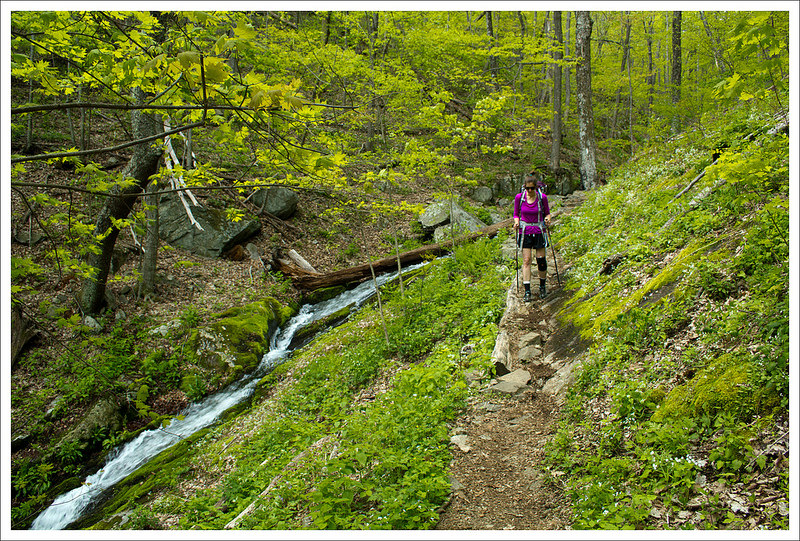
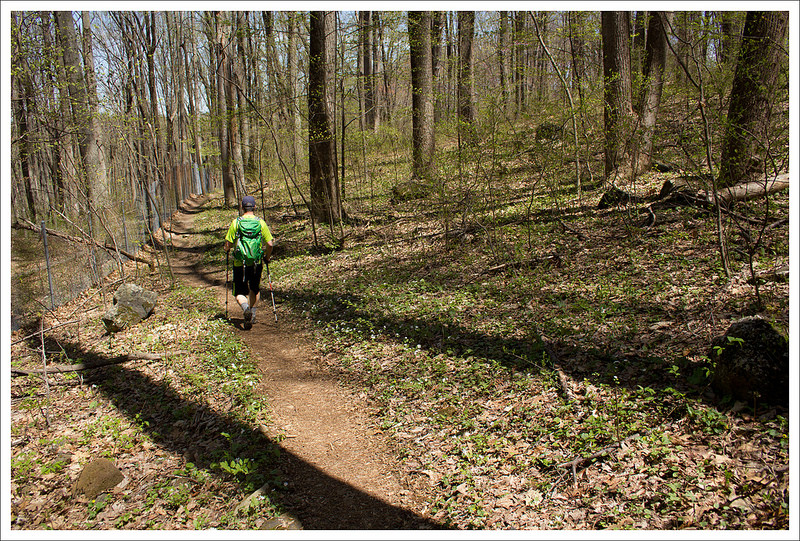
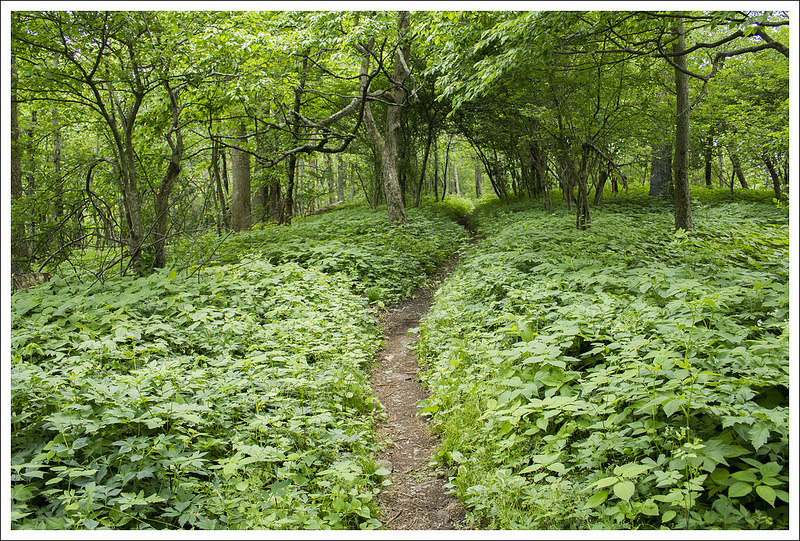
This section of trail is incredibly beautiful! We enjoyed the expansive understory of ferns and countless pink lady’s slippers. The mountain laurel was just starting to bloom. The terrain along the Jones Mountain trail was rolling – lots of ups and downs, none of them too steep. This route to Bear Church is probably less popular than the route from Graves Mill, so the trail was narrow and overgrown. Tall grasses brushed our legs all along the way. Adam said, “All I can think of is ticks. I feel like I’m crawling with them!’ Luckily, the permethrin we’ve been using on our clothes and gear really seems to be working. Neither of us found any ticks during a thorough post-hike check.
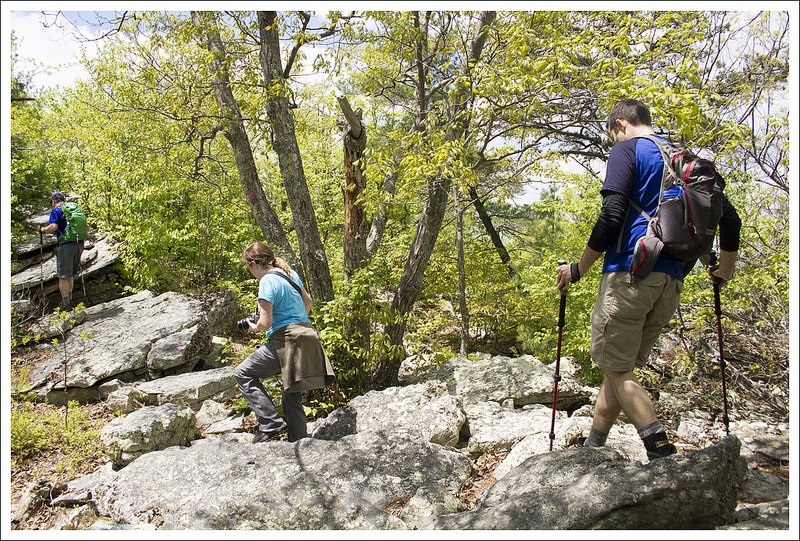
Around 4.9 miles into the hike, the trail took an incredibly steep downward turn. We lost about 200 feet of elevation in just over a couple tenths of a mile. We passed a few rocky outcroppings that looked like they might potentially have views, but they all turned out to be obscured by trees. Watch carefully for the spur trail to Bear Church Rock. It’s not a marked spur, so one could easily miss it.
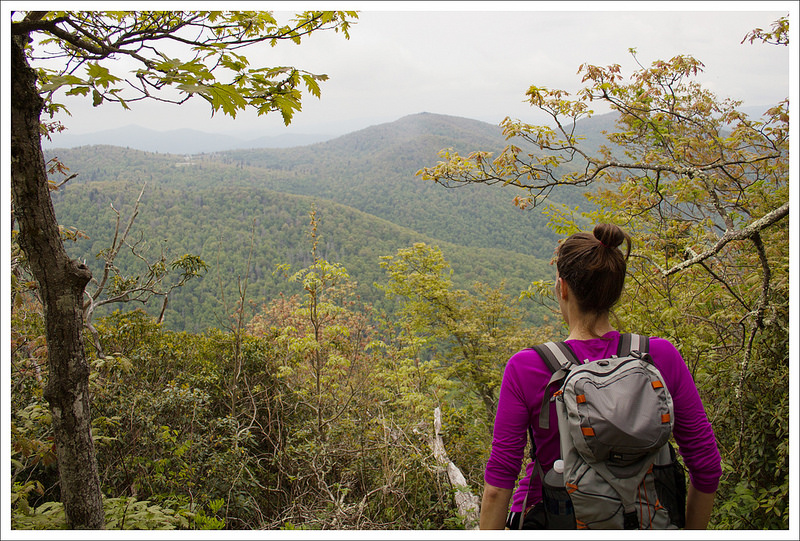
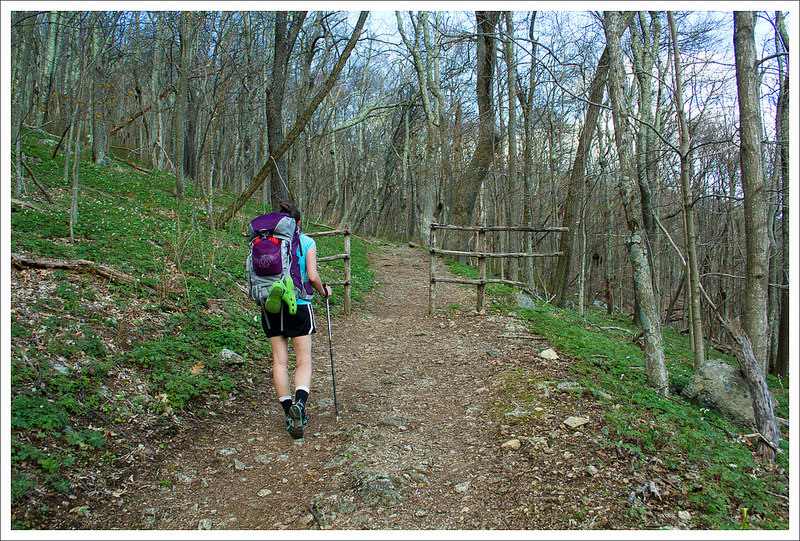
On the hike, Adam had begun to wonder if we passed the view or if maybe it had been closed in by trees. I told him that it was a really open, spectacular view and that it had to be nearby. I told him I’d scout ahead and shout back if I found it. I ended up walking almost another half mile before I reached the spur trail! The distances in our guidebook were way off on describing the last mile of the hike to the viewpoint. Other sources I checked afterwards all put the distance anywhere between 9.5 and 11 (rather than the 8.5 miles indicated by our book).


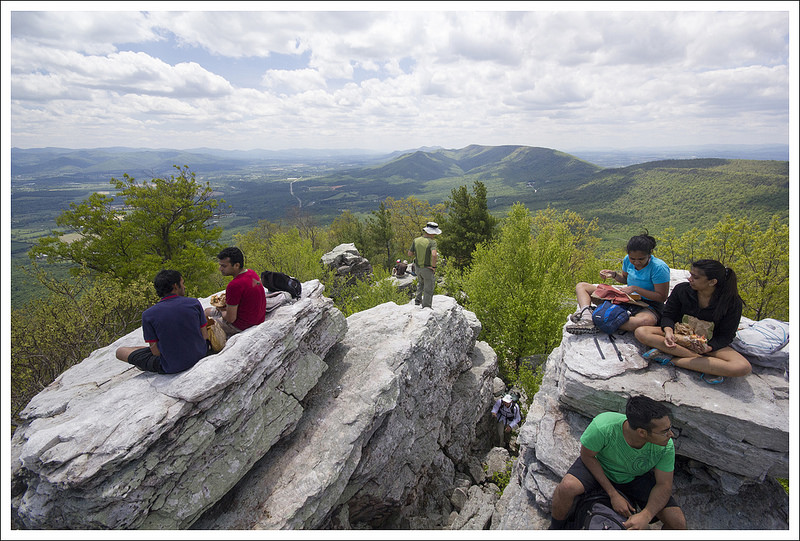
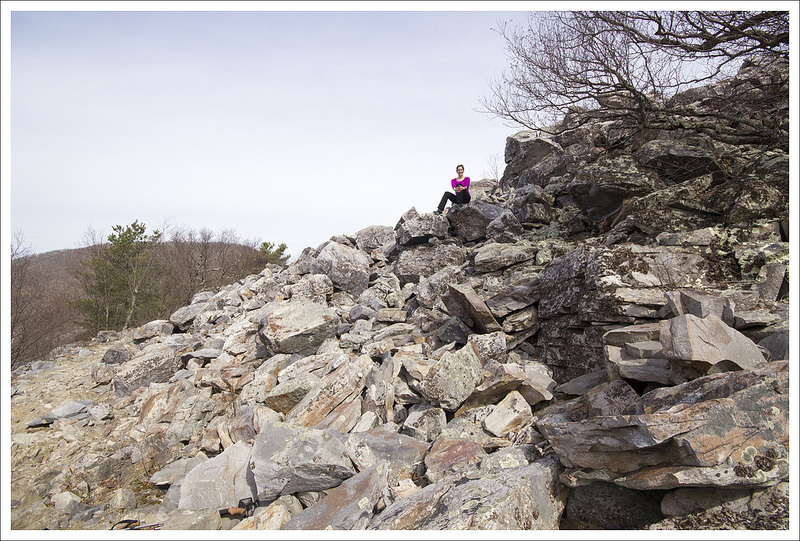
There was a large hiking group on the rock, so I felt weird about shouting for Adam. They told me they were headed out the way we came and would send Adam down when they passed him. But, just as the final hiker departed, Adam arrived.
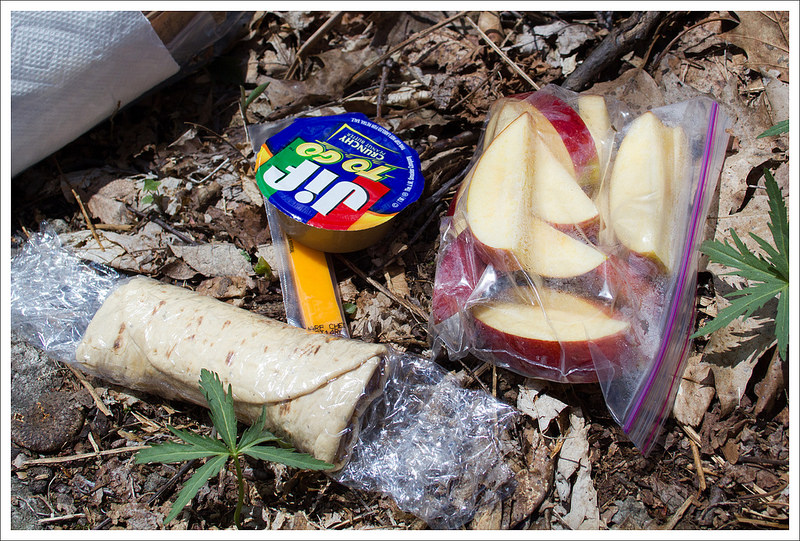
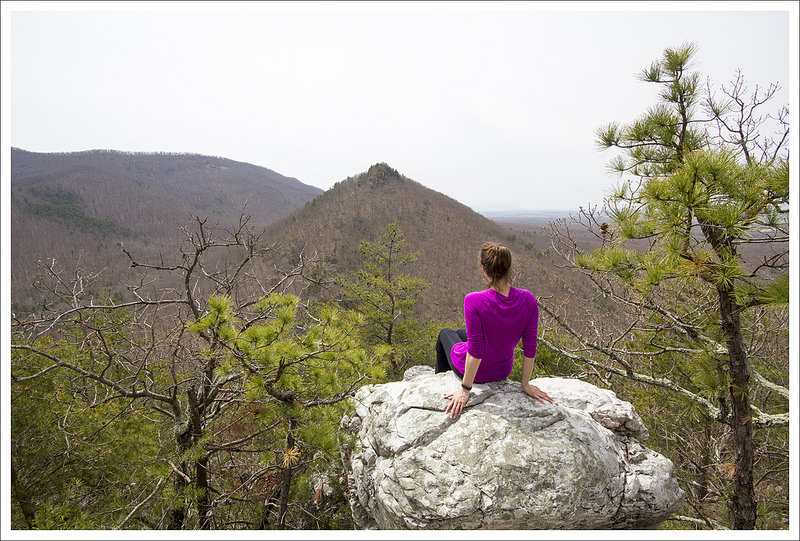
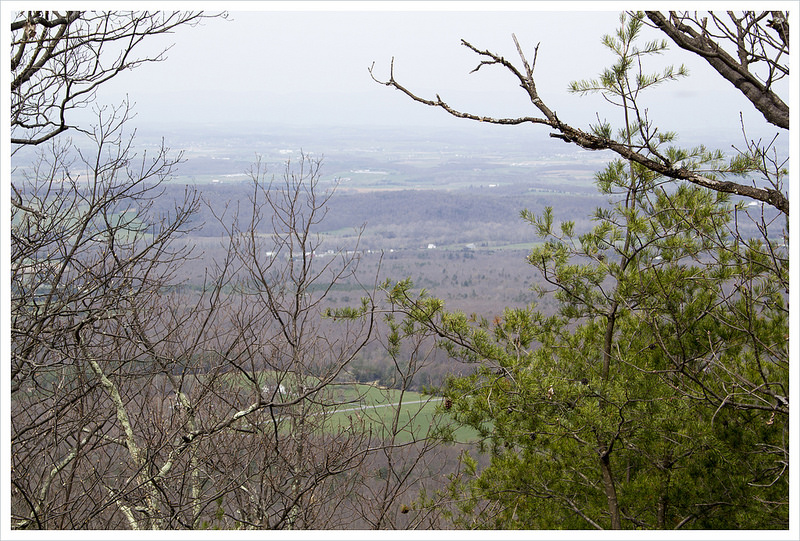
We had lunch on the rock and enjoyed the unspoiled, pristine views of the park. One of the nice things about Bear Church is that you really don’t see civilization from the viewpoint. You get great views of Fork Mountain, Cat Knob and the Staunton River Valley – but no roads or houses or farms. It’s beautiful! The mountain laurel around the rocky viewpoint were in full bloom and quite spectacular!
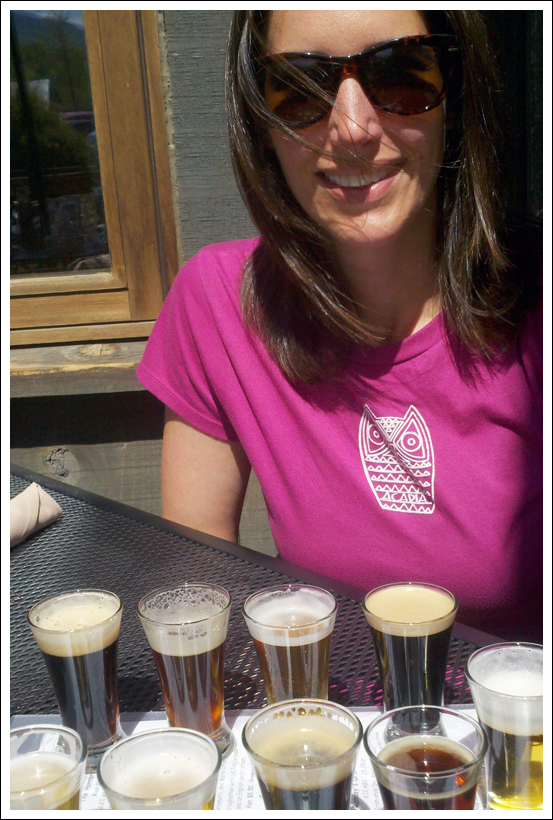
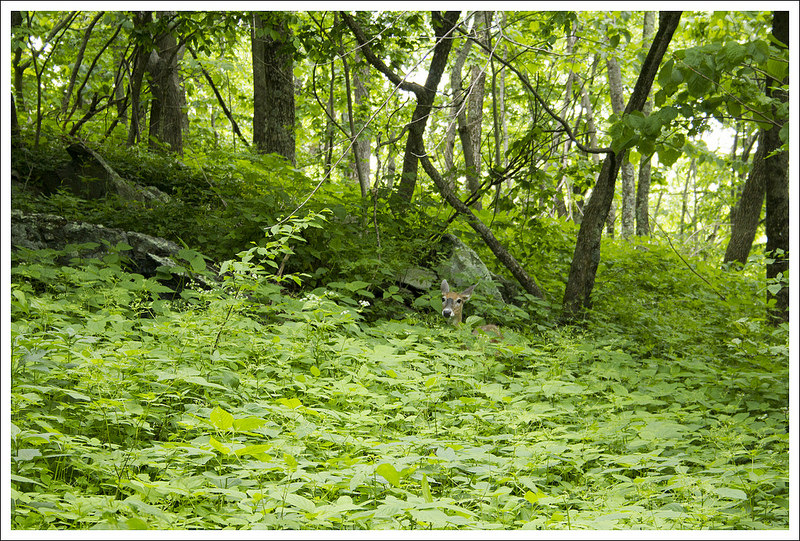
After a nice rest, we hiked back the way we came. Most of the return trip was uphill, but other than a short section of climbing right after leaving Bear Church it was very moderate, gradual climbing. The last little bit along the AT was smooth downhill. We saw a doe and fawn hiding in the ferns right before we got back to the car. Once we were back in the car, we decided to head up to Big Meadows for blackberry milkshakes (yay!) and to say hello to our PATC friends. We were glad to catch up with the pair of PATC volunteers who led our Backpacking 101 course several years ago. Good day!
Trail Notes
- Distance – 10.2 miles
- Elevation Change – About 1800 feet
- Difficulty – 4. The climb down and back up are not overly tough, but the distance gives it an above average difficulty.
- Trail Conditions – 2.5. The rocky slope climbing down the Laurel Prong trail did have some loose rock. The Jones Mountain Trail was quite overgrown along the way and we were walking through a lot of knee-high grassy areas. Wear bug spray and check for ticks afterwards.
- Views– 5. Great mountain views from Bear Church Rock.
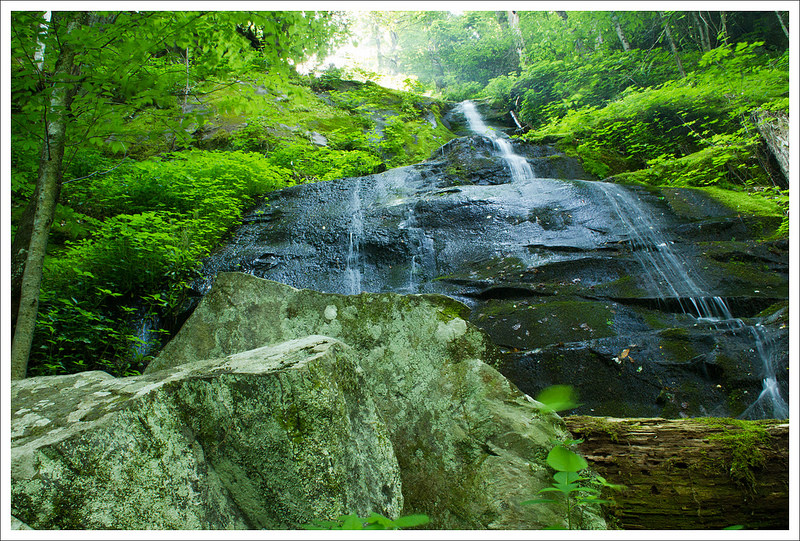
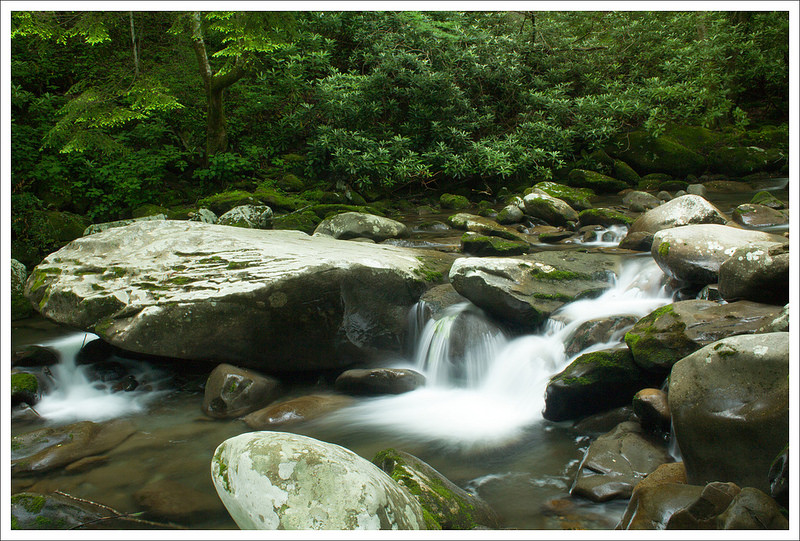
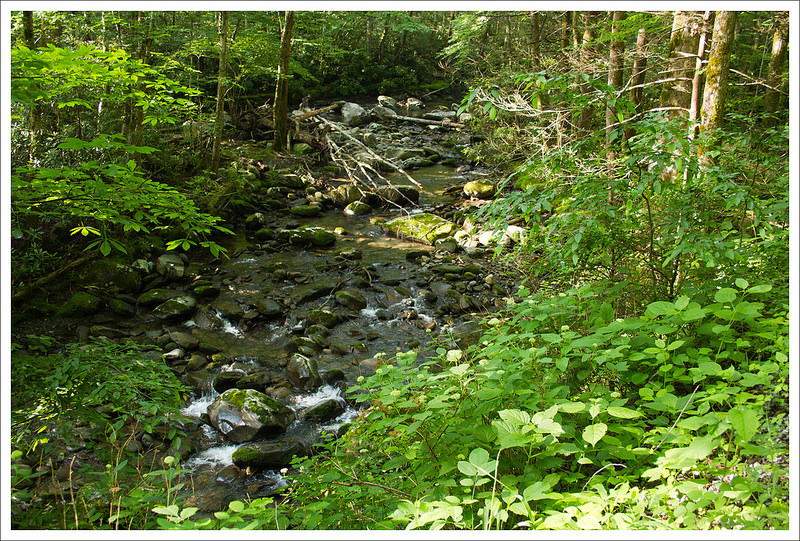
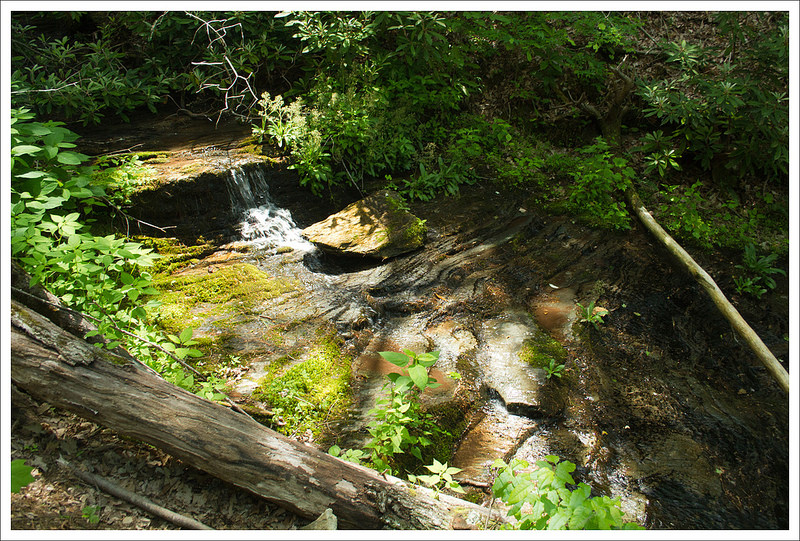
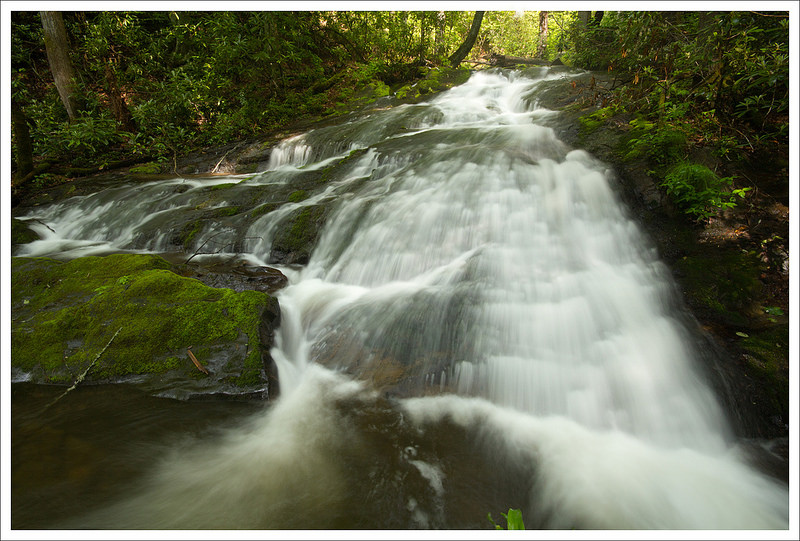
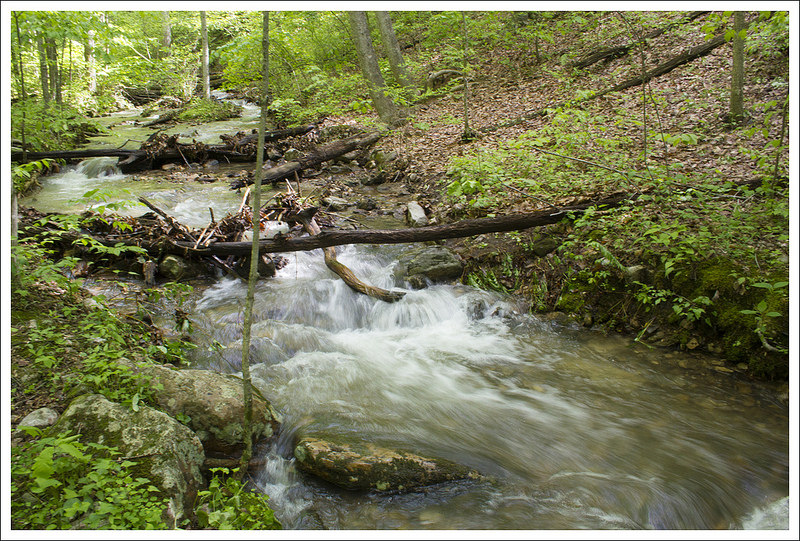
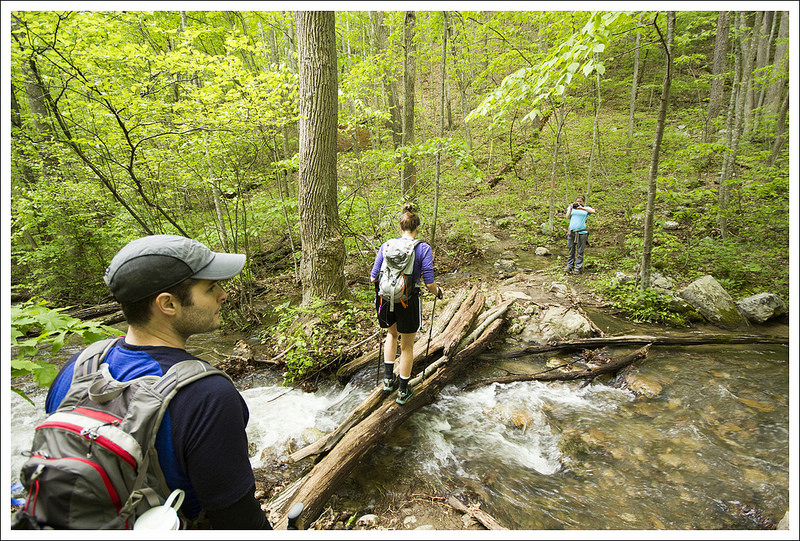
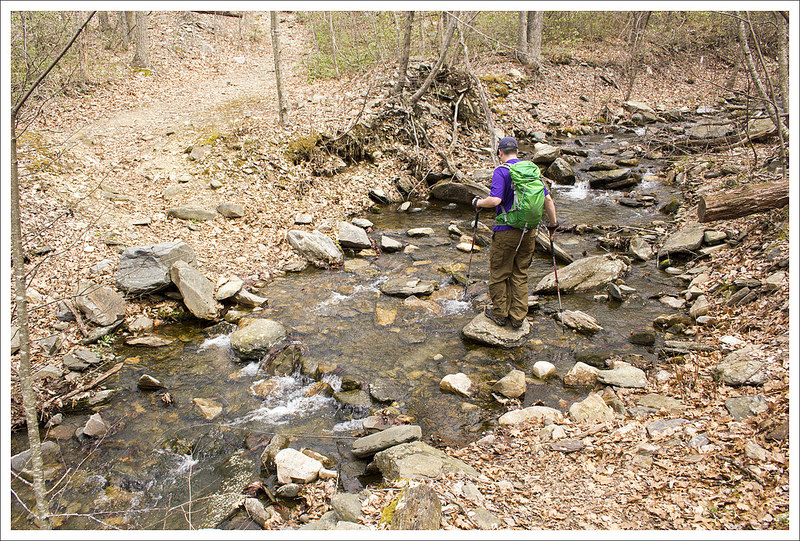
- Streams/Waterfalls – 0. Non-existent.
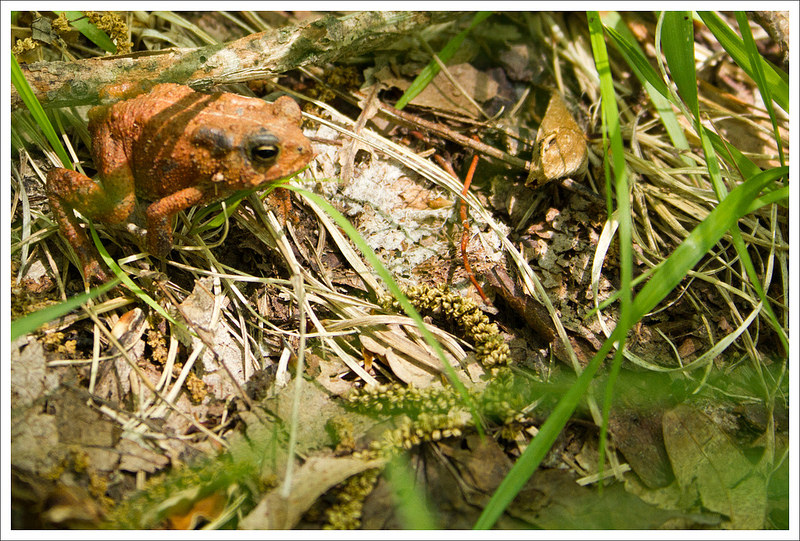
- Wildlife – 2. We didn’t really see much wildlife on this trail. We thought much of it would be a great place to spot a bear since it is in a very wide part of Shenandoah National Park and not as well-traveled.
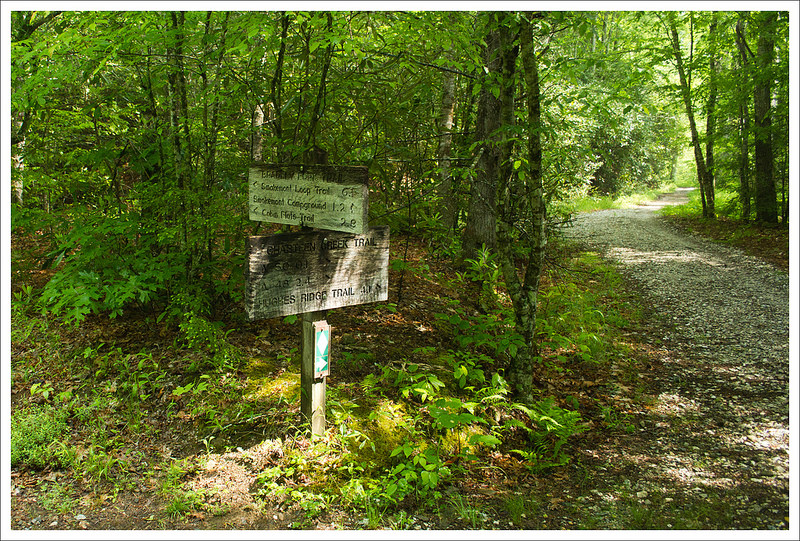
- Ease to Navigate – 3. You do take four different trails to get to Bear Church Rock, so pay attention at the junction markers.
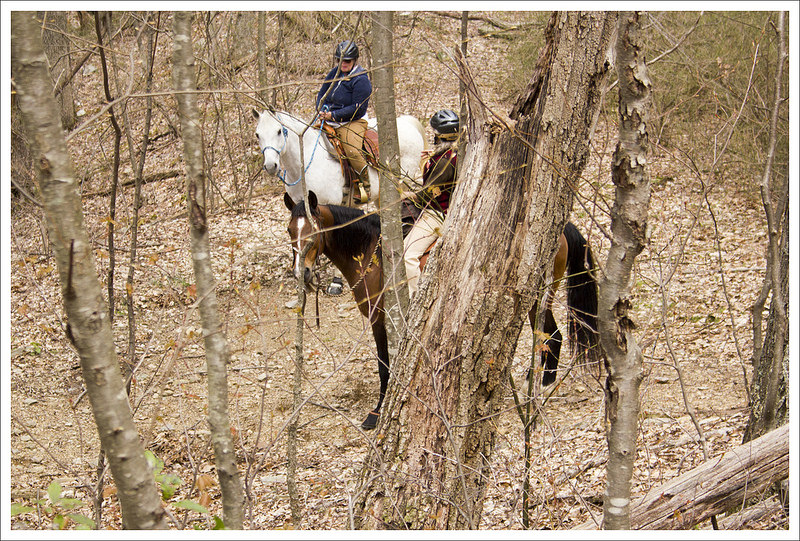
- Solitude – 3. Most of the people we saw on the trail were on the Laurel Prong portion (typically making their way to the Rapidan Camp). I would expect that you would see someone at Bear Church Rock.
Download a Trail Map (PDF)
Directions to trailhead: Follow Skyline Drive to mile marker 55. Park at the Bootens Gap parking area on the east side of the drive. The AT departs from the end of the parking lot.