
Introductory Guide to Visiting the White Mountains
This three mile hike takes you through cool boulder field up to a ridge with a couple spectacular viewpoints! It’s an easy hike with a big pay-off!
View the Full Album of Photos From This Hike


Adam Says…
One challenge we face often with hiking in New Hampshire is trying to pick a hike that will work for that day. Typically, weeks before traveling there we are stockpiling a bunch of hike ideas knowing that we will likely adjust to what the day gives us. The night before, we are consulting weather sources (what type of cloud coverage is in the high peaks, when showers may start, etc.), looking at how long a drive we have for the next day, and determining how the day will all fit together with meals and plans for other activities. When you’re on vacation you want to make the most of the time you have. The weather was telling us there would be some cloud coverage in the high peaks of the White Mountains, so we tried to look at some lower elevation plans. Knowing we were going out to eat for a long breakfast and showers that were likely coming in the afternoon, we felt we needed to pick something shorter. So, we decided to give this Boulder Loop a try. A few books we had read didn’t make us feel overly excited to try it, but once we were done with this one, we would highly recommend it.


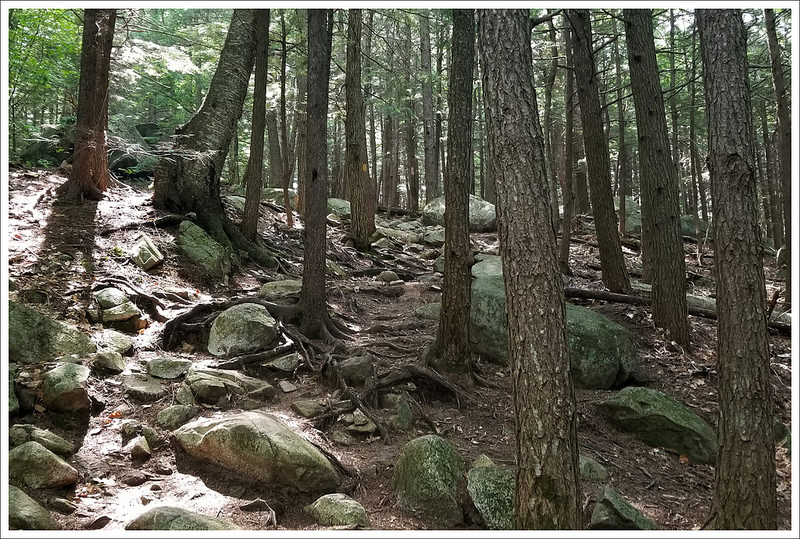

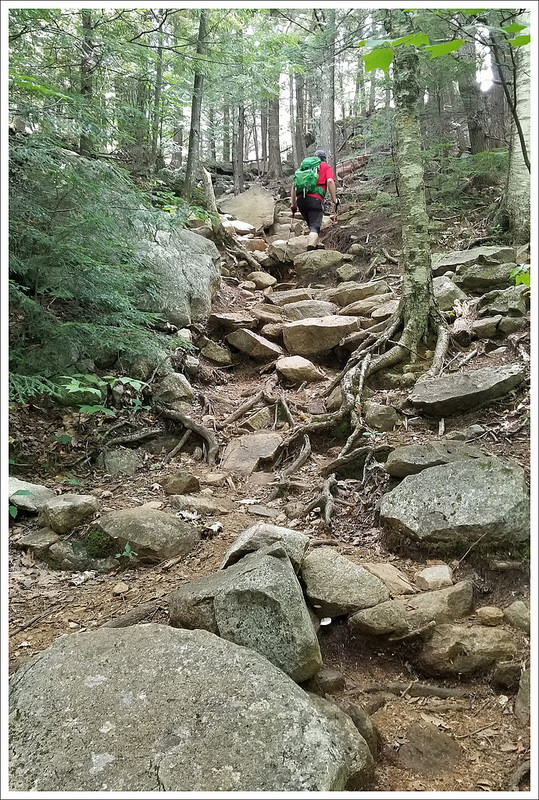
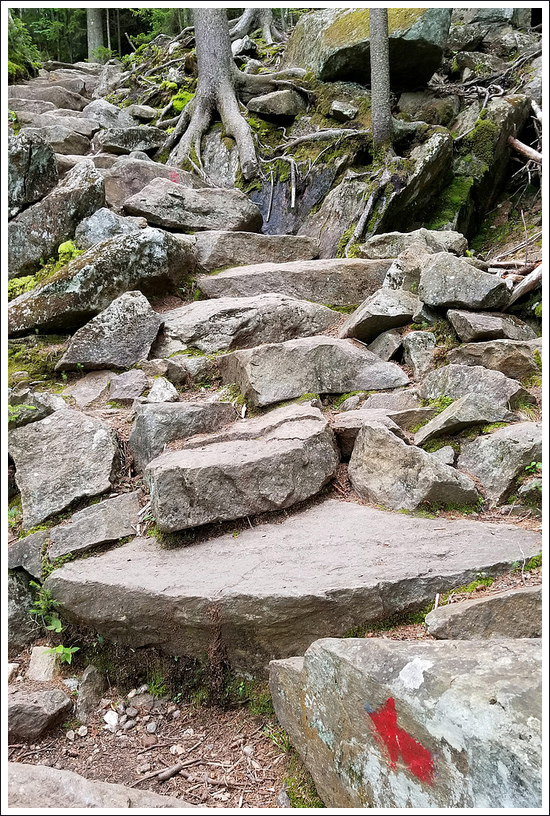
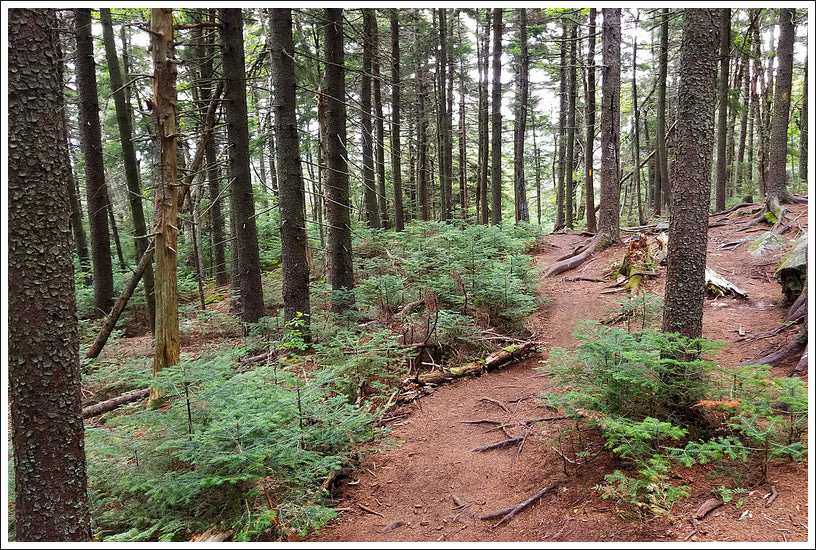
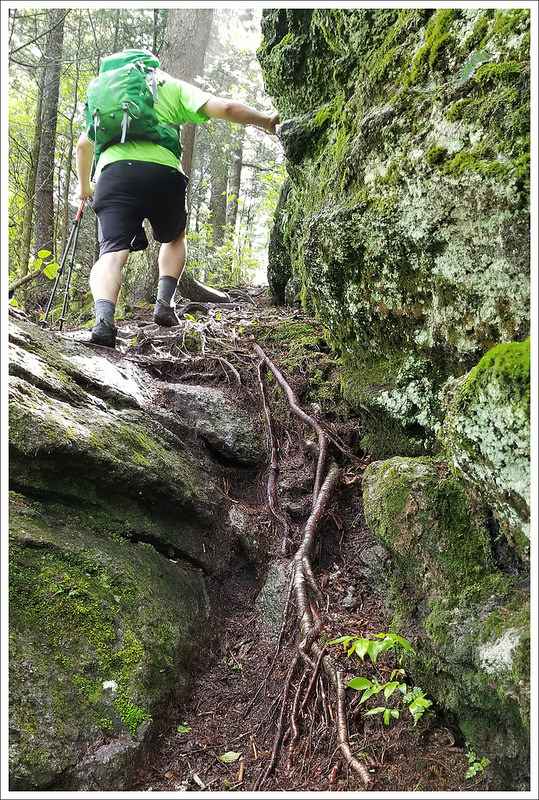
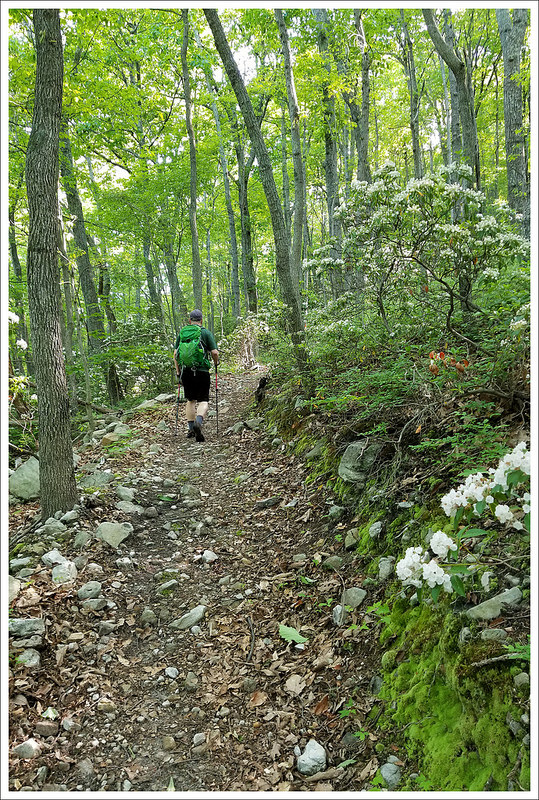
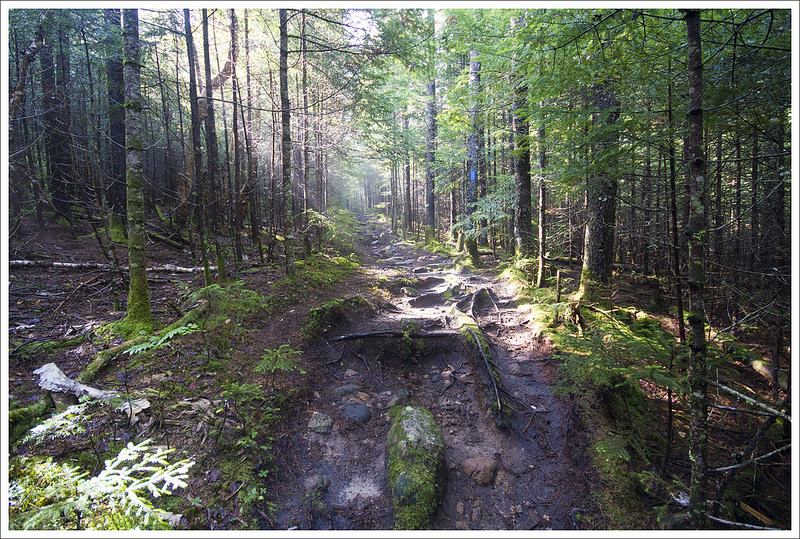
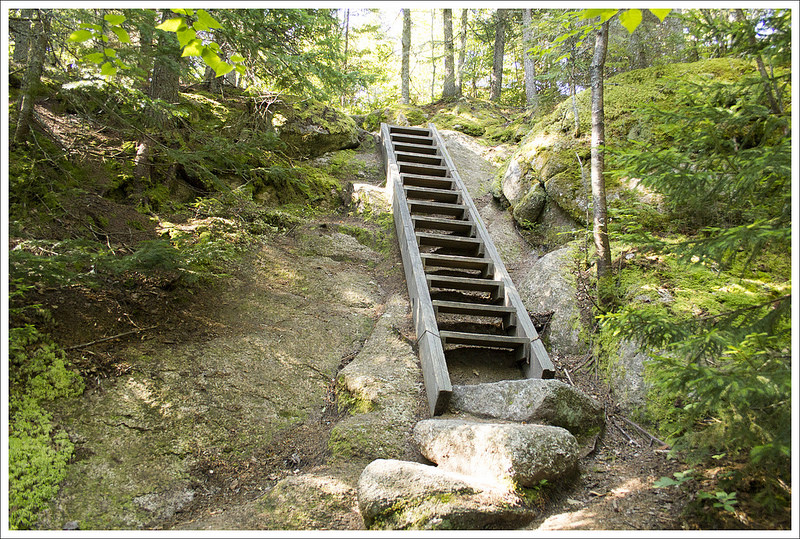
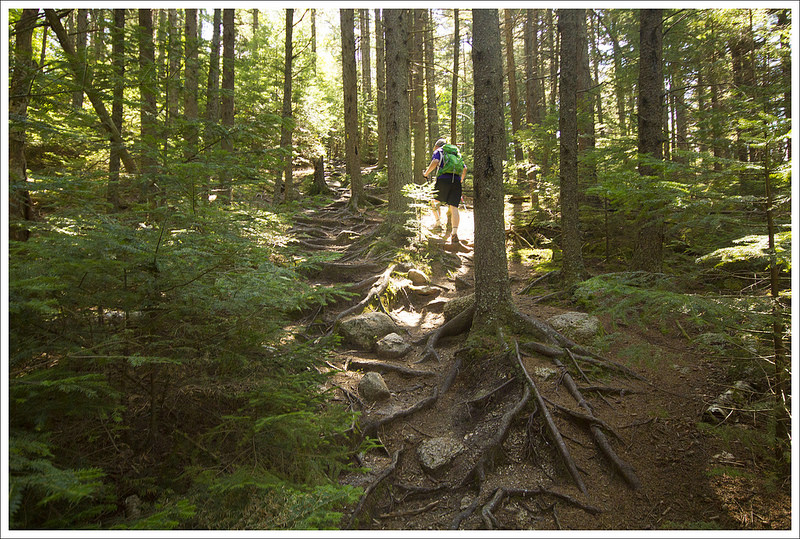
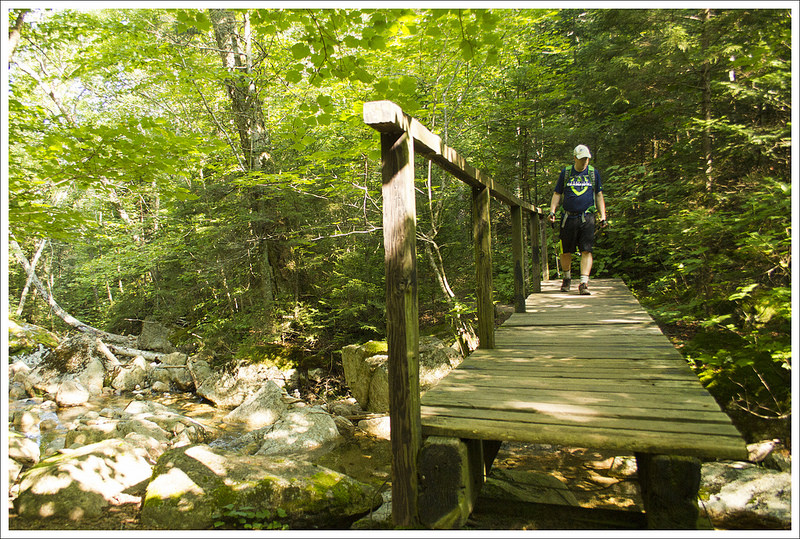
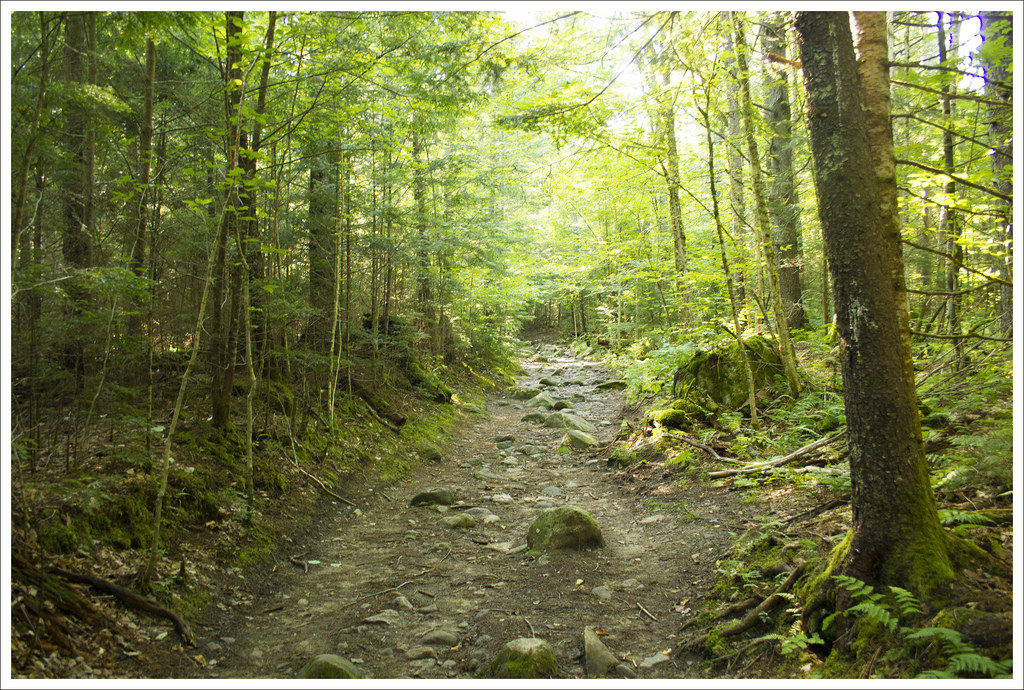
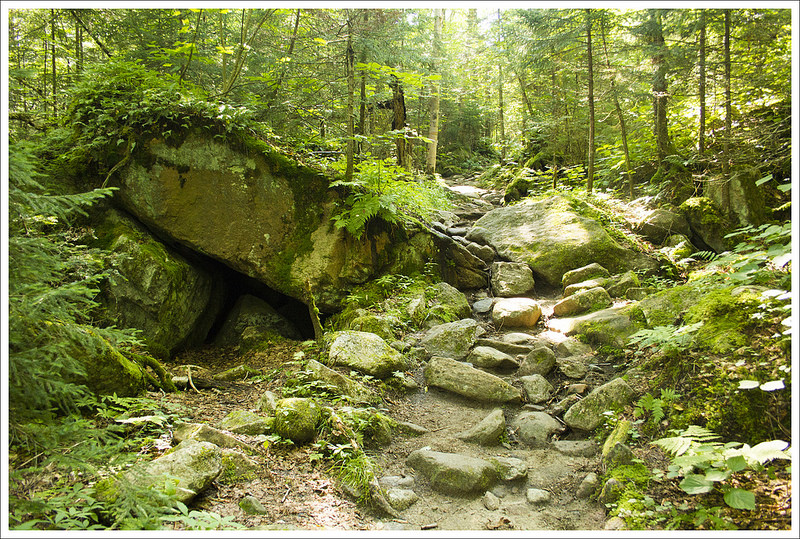
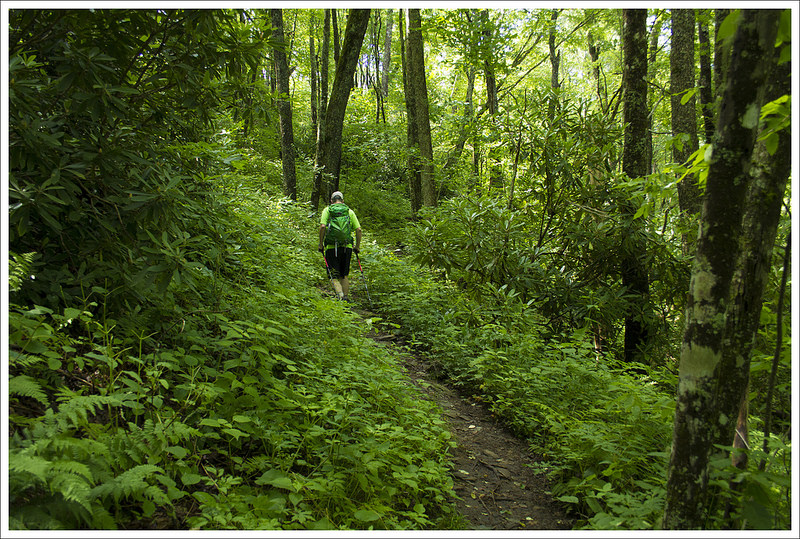
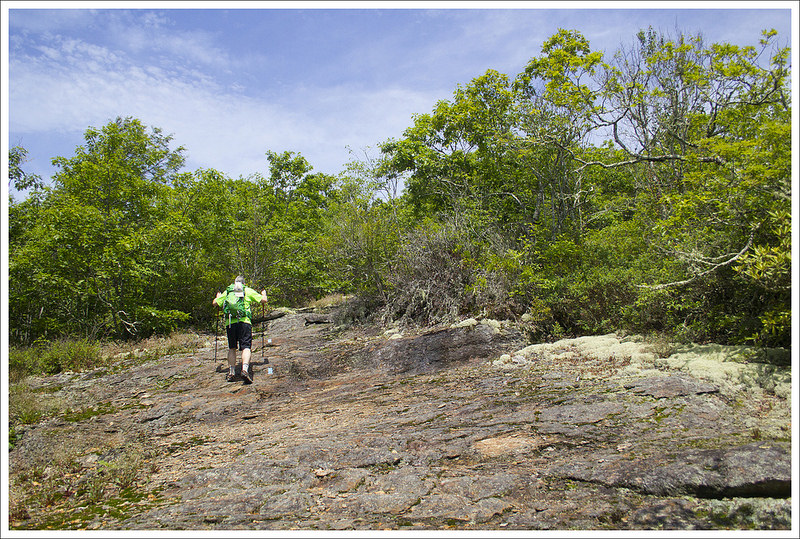
We started off with a mostly empty parking lot. We are always early morning hikers to beat the crowds and we were glad that we did. We crossed the road and started on the trail. The beginning starts with a slight incline. At .2 miles, you come to a junction sign; either way leads to the ledges, but we headed to the left as our books had mostly done. The boulders on this lower elevation section are quite impressive, and you can just imagine the power of glaciers dropping off these large masses of rock before melting away. The yellow-blazed trail steepens through sections of rocks and roots, quite common for well-traveled trails in New Hampshire.
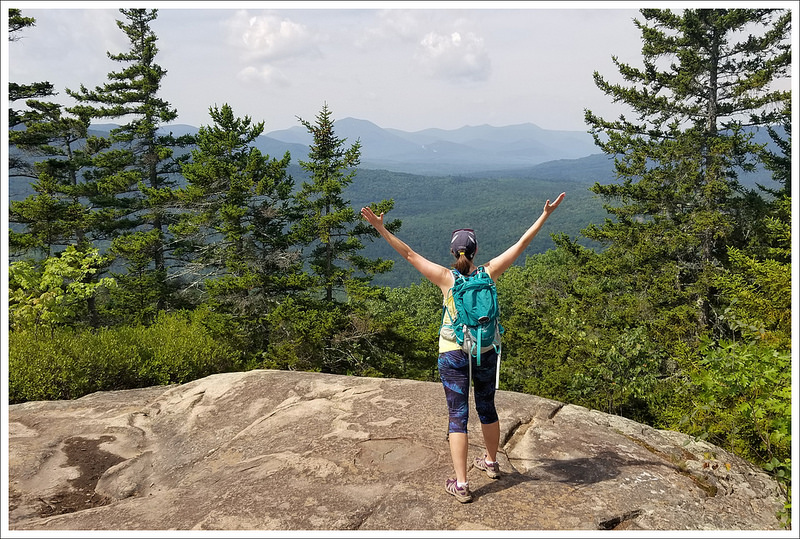
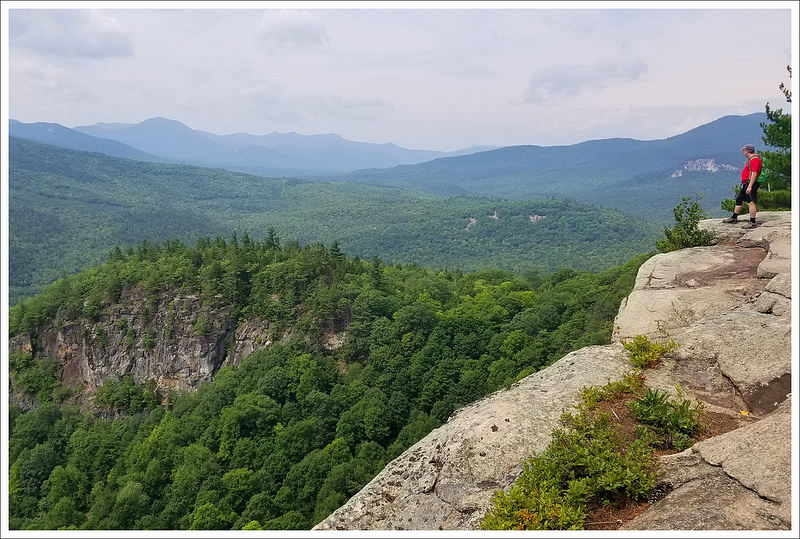
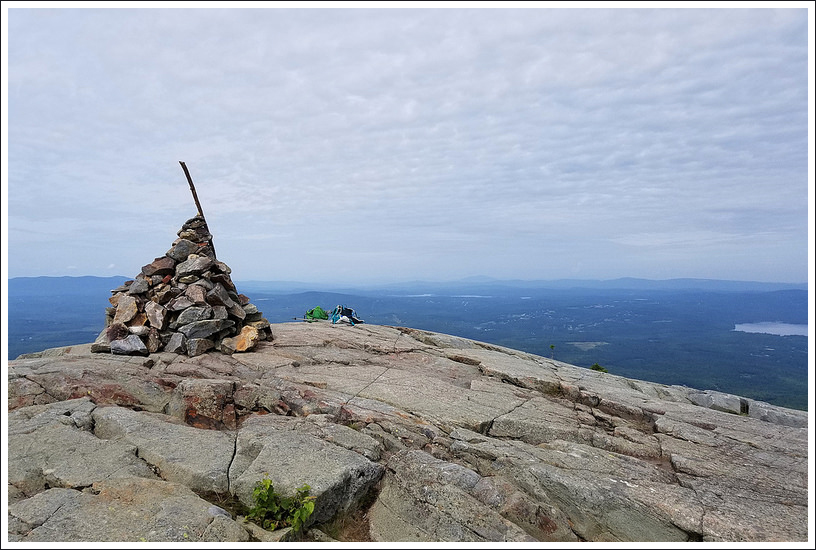
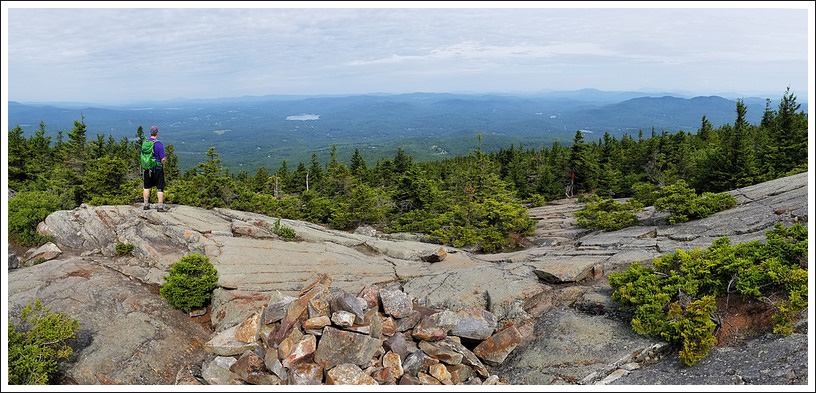
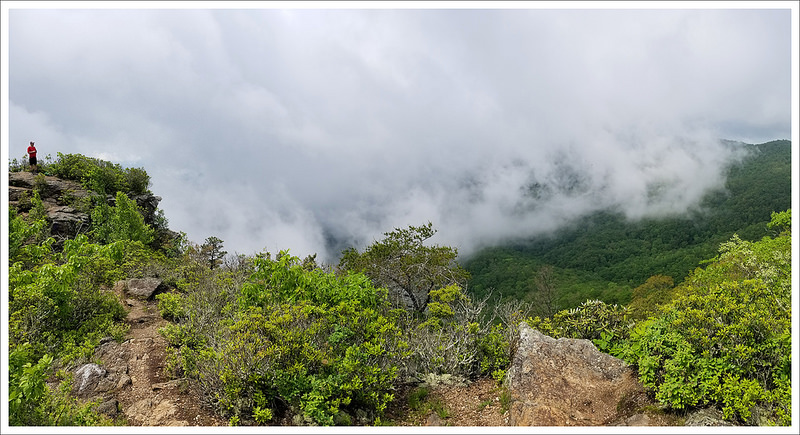
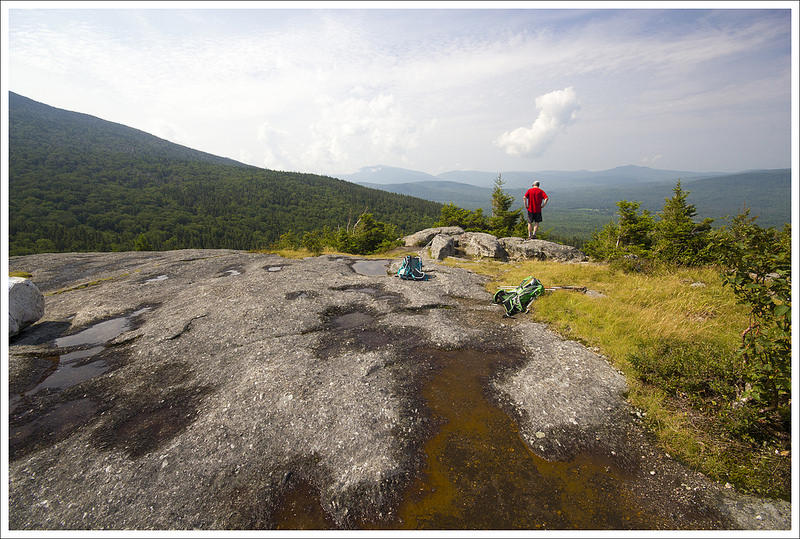
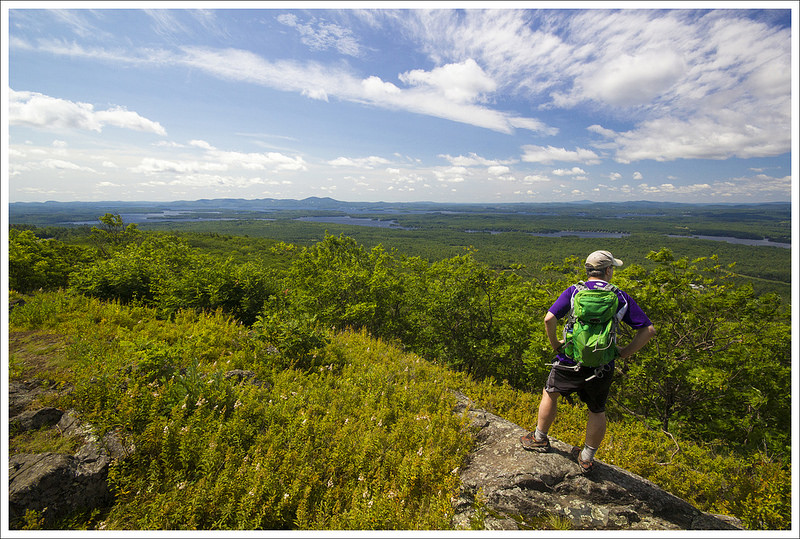
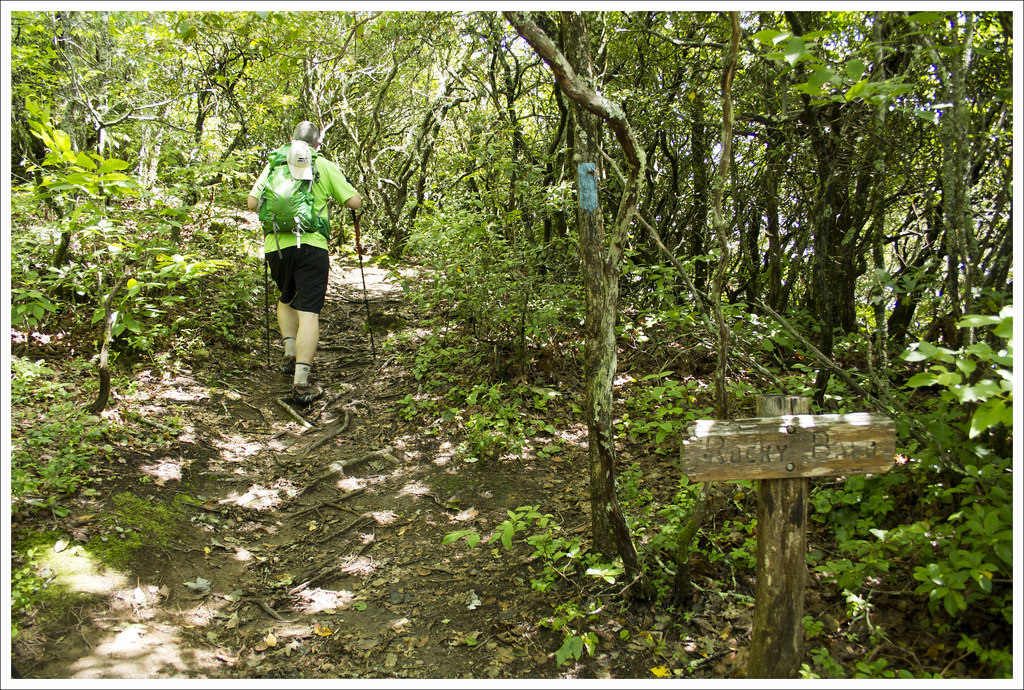
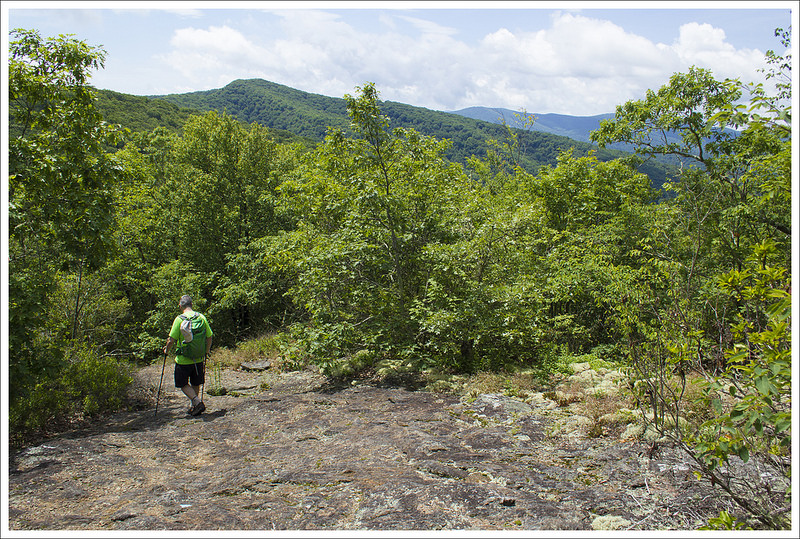
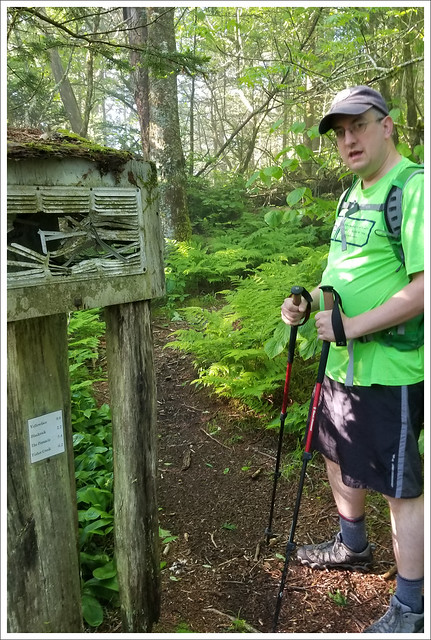
At the 1.2 mile marker, we came to a crest of the hill we had climbed. I noticed a rocky path off to the right leading up and decided to take it. Sure enough, this was the way we should have gone. There is a sign marked “View .2 miles”, but it is placed on a tree facing the other direction of the trail, so be sure not to miss this. We feel that many people could miss it if they weren’t paying attention and then miss all the glory of this hike. We climbed up and stayed on a yellow-blazed path that led first to a rock outcropping for some amazing views and then to a larger cliffside. Be careful up at the top of these cliffs. There is a large sharp dropoff from the viewpoint and something you don’t want to do with reckless children. While the views aren’t as high up as some of the 4000+ nearby White Mountains, they are quite impressive. We could look over to Mount Chocorua and Mount Passaconaway on clear days. We stayed up here a while until we could see clouds moving in. We then went back the way we came off the spur trail until we reached the junction again with the boulder loop.
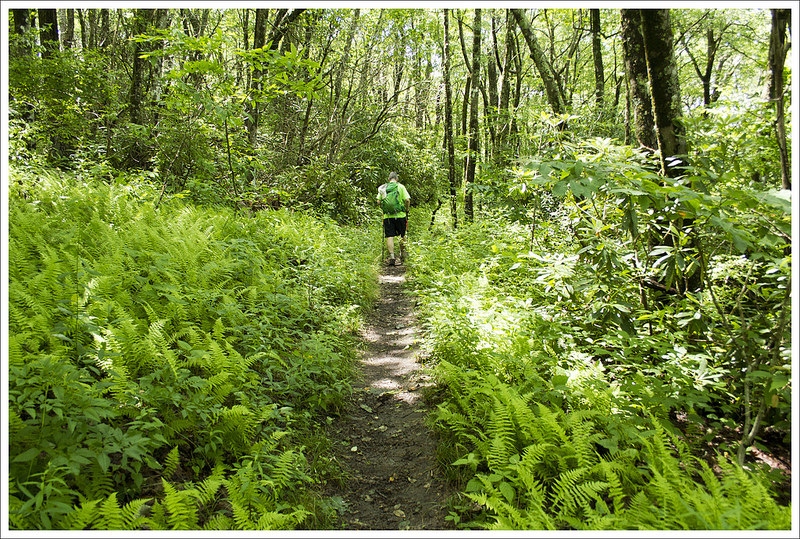
From here, we went down to the right to continue the loop. We began to see more people coming up so we knew we beat the crowds for this hike. Based on the exhausted looks on the faces of those coming up the other side, we knew we picked the best route to ascend. The way down did seem to be steeper and rockier than the way we had come up. On the way down, you really can enjoy the openness of the forest and when you descend low enough walking through the large boulder field is impressive. The return trip from the junction was 1.2 miles back to the initial junction of the loop trail and we made it back very quickly with the descent.
We took a left at the junction and had a short .2miles back to our car. We were impressed with how the combination of the boulder field with the expansive views from the top make this a wonderful hike when you are trying to fit in a short hike into your day.


Christine Says…
We’ve flipped past the Boulder Loop in our New Hampshire hiking guide, year after year, for many years now. The hike just didn’t look fun or pretty. The only photo the book included was one of a middle-schooled aged boy looking at a shelf fungus growing on the side of a tree. Sorry, but I don’t hike for fungus! However, this year – upon closer inspection – I noticed that the long text description of the hike mentioned ‘views from a ledge’. After that, I Googled ‘views Boulder Loop hike’ and found some amazing photos in the results.
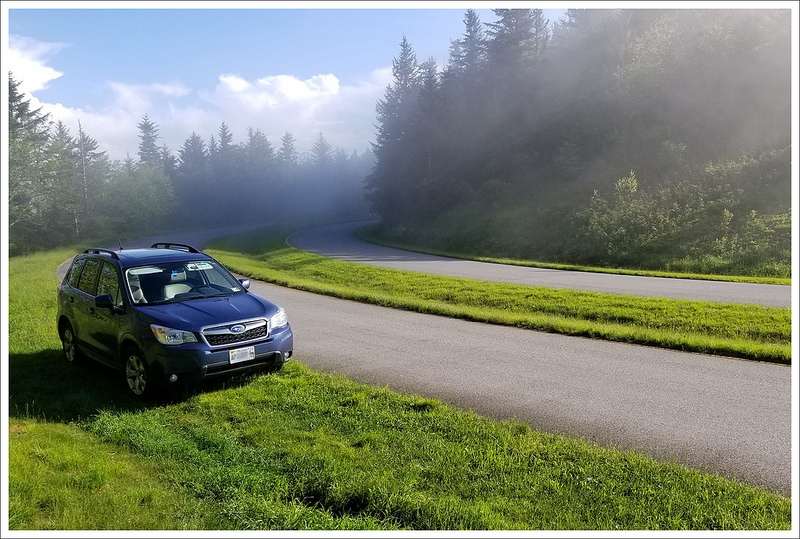
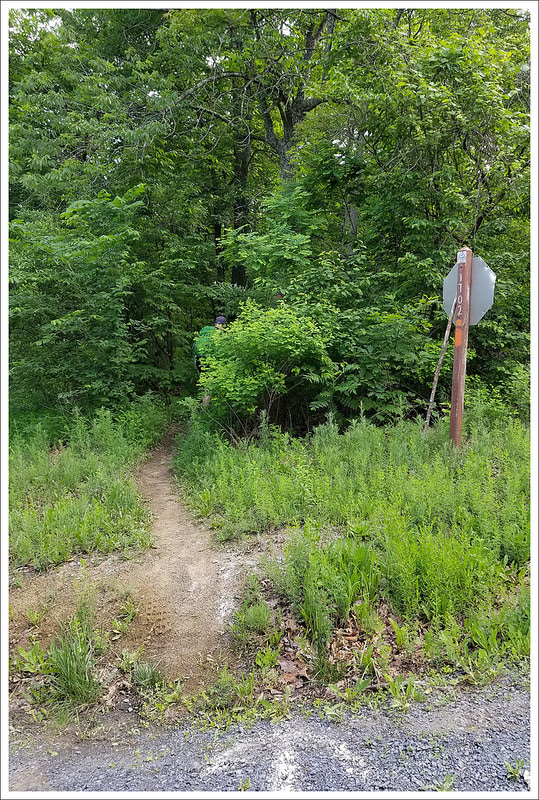
We knew bad storms were on deck for the afternoon, so we decided the short Boulder Loop would be a great choice for a quick hike. We started the morning with a big breakfast with my parents at Polly’s Pancake Parlor. The restaurant is a family tradition and we always try to eat there at least once on every visit. After breakfast, we made our way back to Lincoln and hopped on the Kancamagus Highway. The highway is a scenic drive through White Mountains National Forest. There are sweeping vistas and pull-off viewpoints along the road – it’s kind of like Skyline Drive in Shenandoah National Park (but free.) We found our trailhead right along the highway, next to the Albany Covered Bridge.


We found the lot nearly empty, and paid the day-use fee for parking. I took a few photos of the bridge and the river before hitting the trail. The Boulder Loop is an interpretive trail with numbered stops and descriptions. It would probably be fun for a family who wanted to take lots of breaks along the route. We skipped that aspect of the hike and just focused on reaching the views.
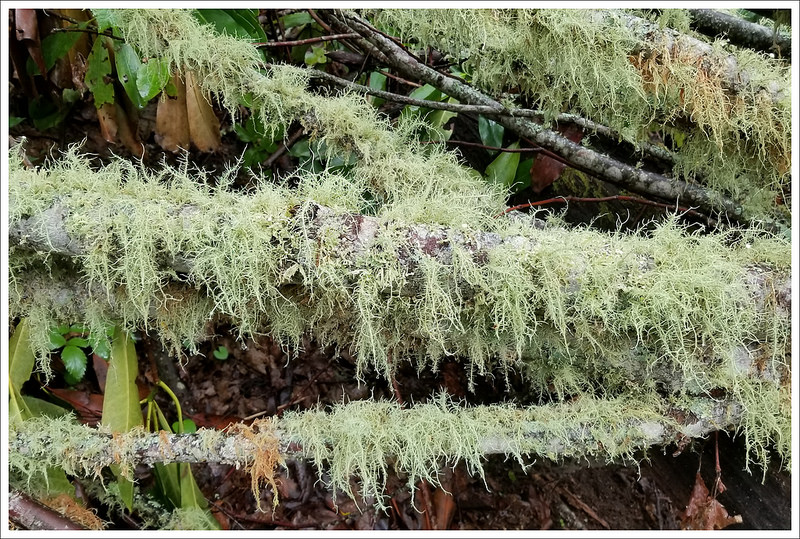
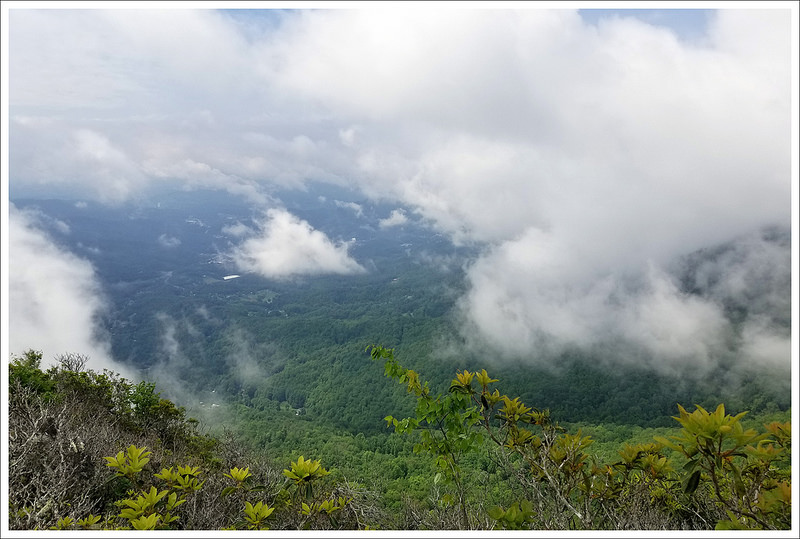
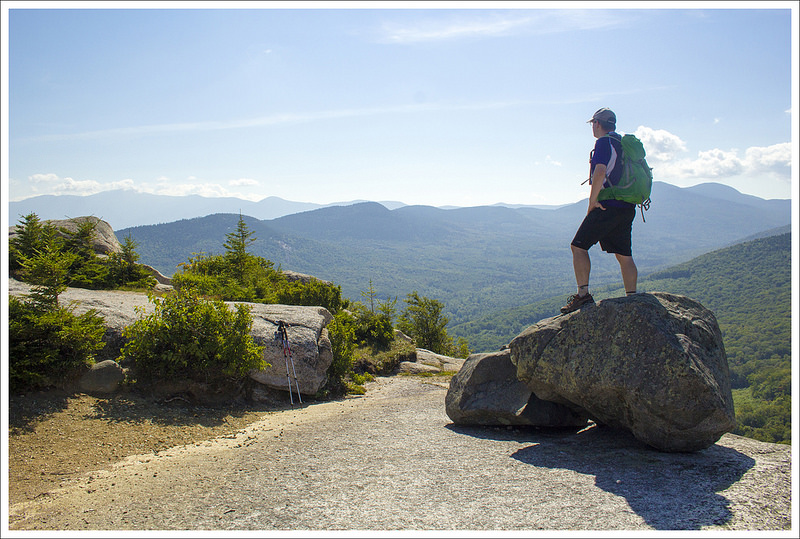
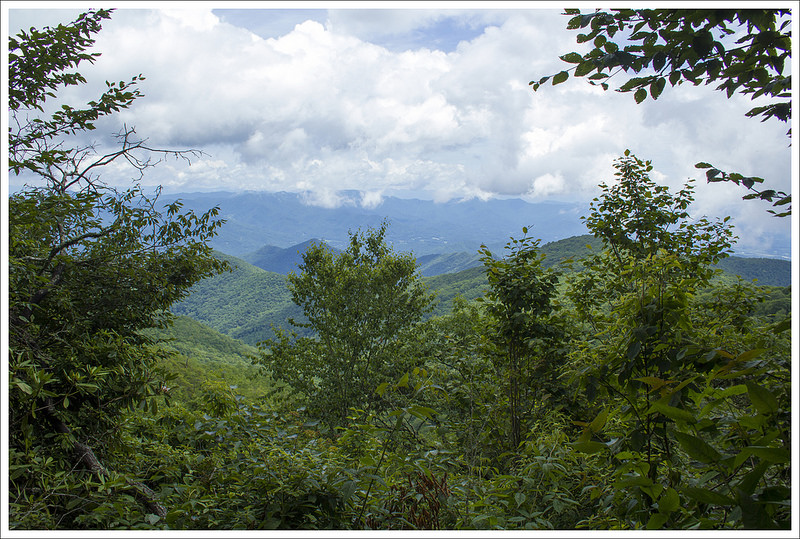
We hiked the loop clockwise, passing enormous lichen-covered boulders. The trail climbed steadily uphill over lots of roots and rocks. Eventually, we reached the ridgeline and came to our first viewpoint. We could see the road and the river below, a plunging cliffside lower in the valley, and mountains as far as the eye could see. It was GORGEOUS!
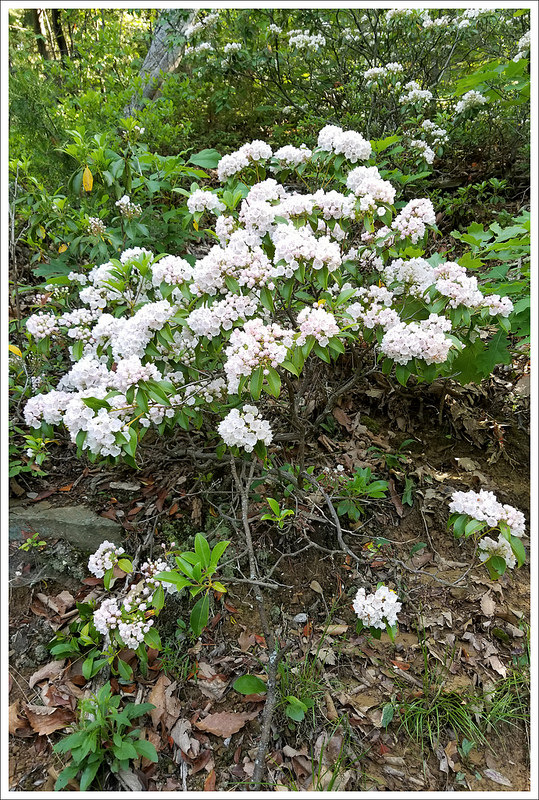
After the first view, we continued along until we found the sign for the spur. The sign says ‘viewpoint’ on a small wooden plaque. It’s kind of small and blends in to the forest, so be sure to keep your eyes peeled. To follow the spur, look for faint blazes on the rocks. The spur goes for about .15 mile over rocks and ledges with several places to stop and take in the views. We could see lots of mountains in every direction, but Chocorua was especially recognizable with it’s stone dome. We both remarked to each other that the ‘kid with the fungus’ was such a disservice to this beautiful hike.

After soaking in the scenery and watching clouds roll in from the distance, we followed the spur back to the main junction. We continued clockwise on the loop. At first, the trail dropped quite steeply over loose dirt and rocks. Eventually it leveled back out, passed through another cool boulder field, and returned us to the parking lot near the covered bridge. The hike was such a pleasant surprise – relatively easy terrain with excellent views at the top.
After packing up, we made our way into North Conway to get lunch at Moat Mountain Smokehouse and Brewery. It’s one of our favorite lunch stops – they make great nachos.
Trail Notes
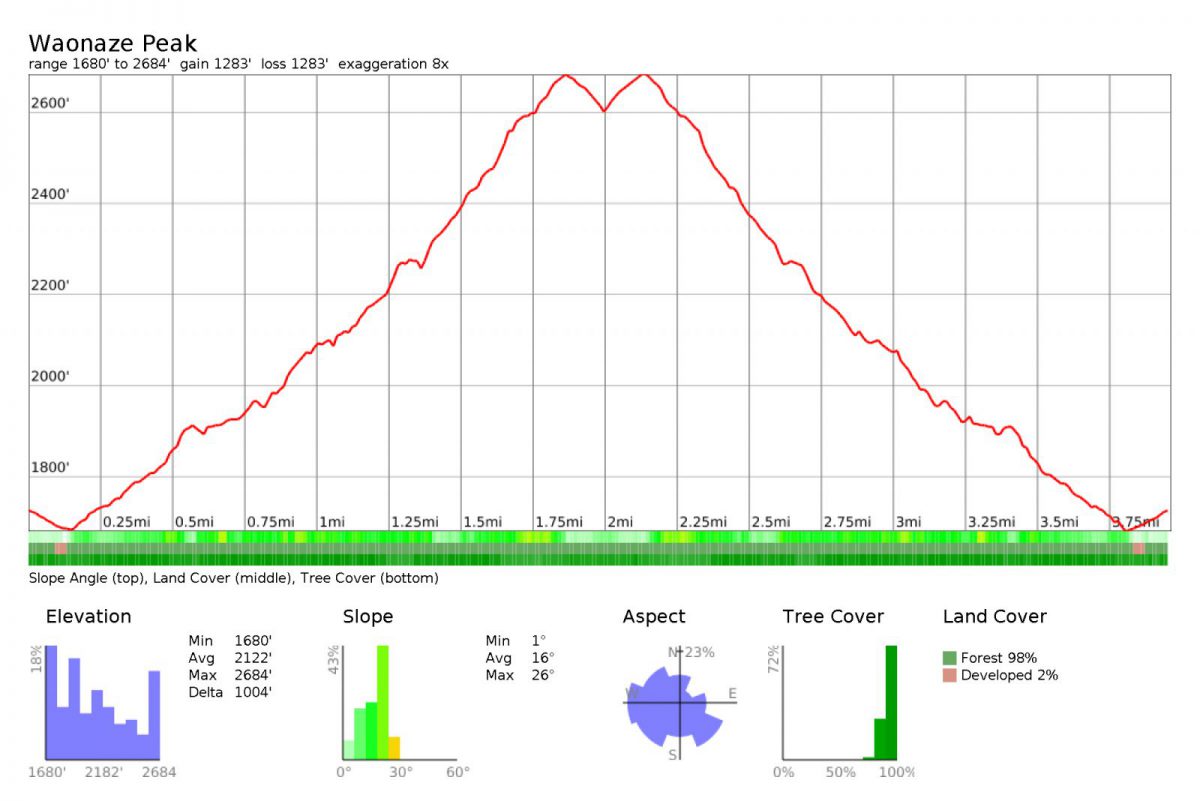
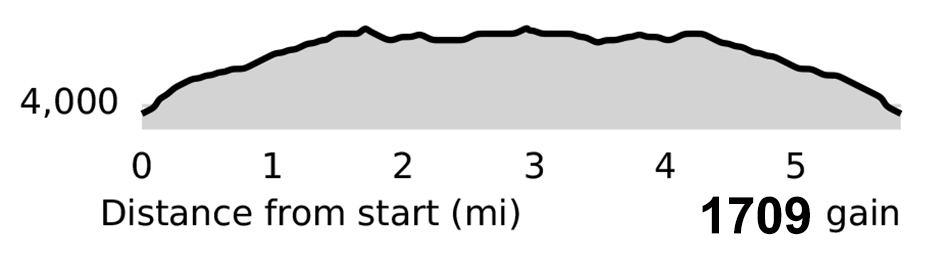
- Distance – 3 miles
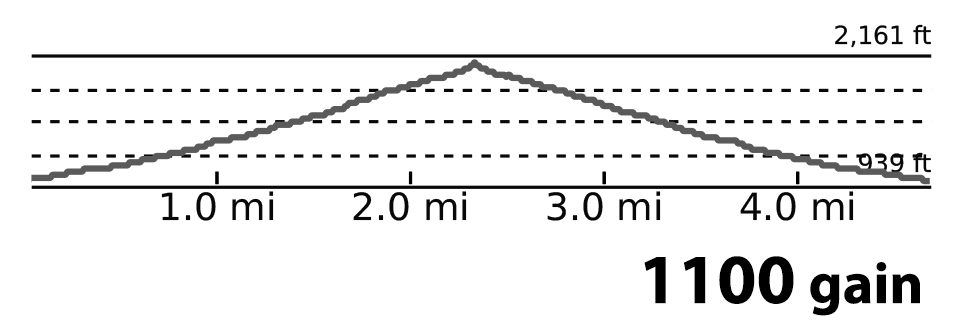
- Elevation Change – 1161 feet
- Difficulty – 3. Some of the sections are quite steep, but the shortness of the overall trail makes this one a popular family hike.
- Trail Conditions – 4. The trail was in good shape, but the rocks and roots can make this a challenge in some parts.
- Views – 4. Nice 180 degree views from the cliff summit.
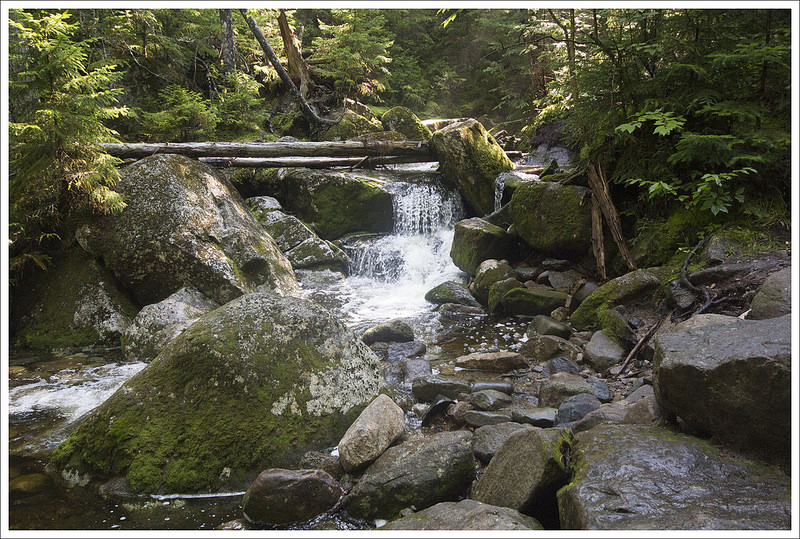
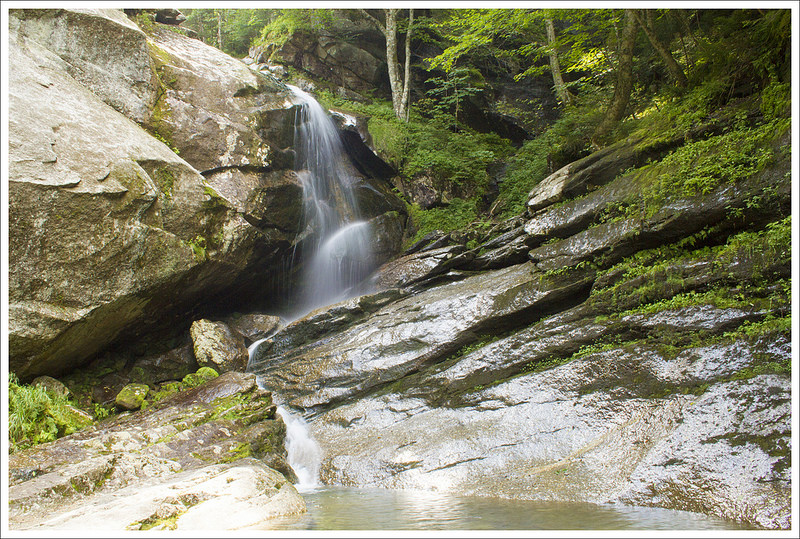
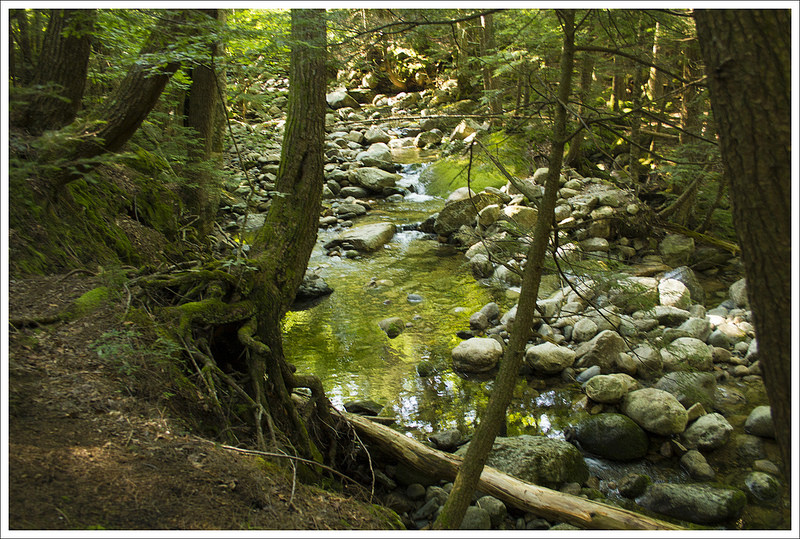
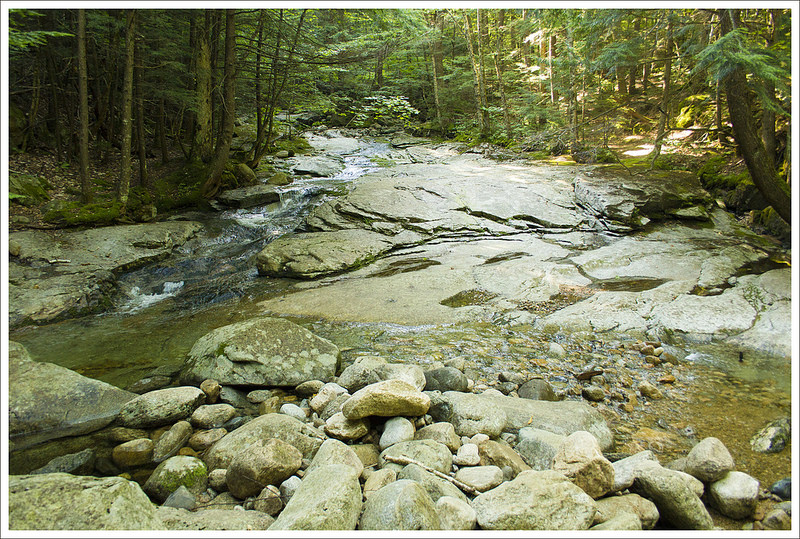
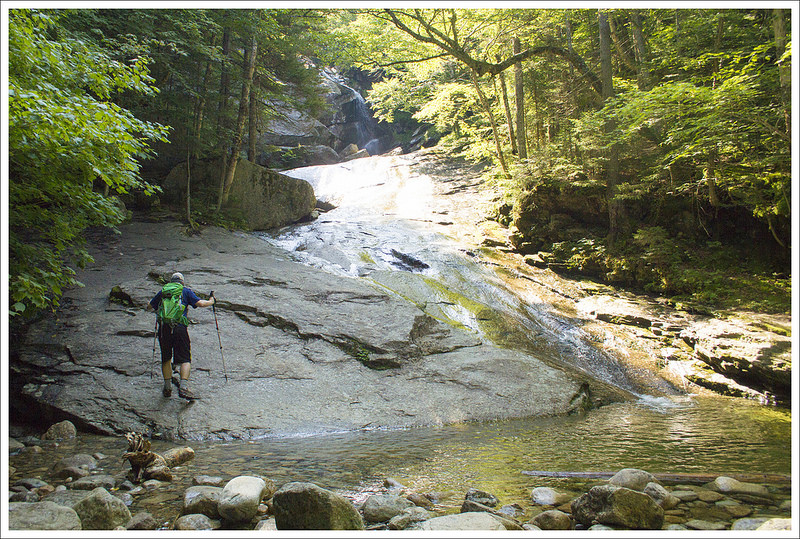
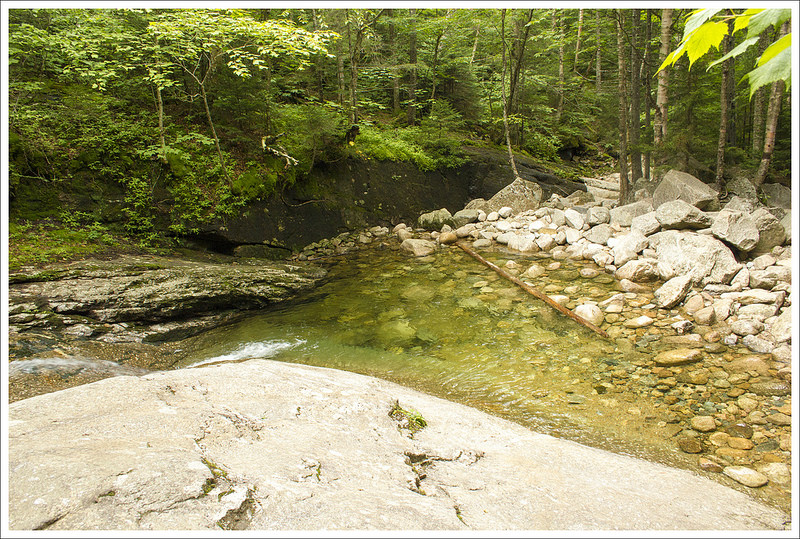
- Waterfalls/streams – .5 We passed a small stream through the mountains on the way back, but nothing impressive.
- Wildlife – 2. Evidently, bears can be spotted here in the fall. May be a good place for birdwatching at the low and high elevations.
- Ease to Navigate – 4. It is a self-contained loop. It loses a point since the trail to the view isn’t clearly marked on both sides. Be watching when you crest the high point on the trail.
- Solitude – 2.5. As mentioned above, this is popular with families, so you will likely see people along the way. Time this for early morning or late in the afternoon to maximize your solitude.
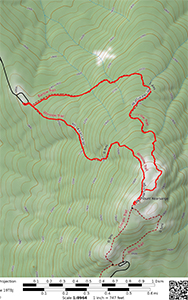
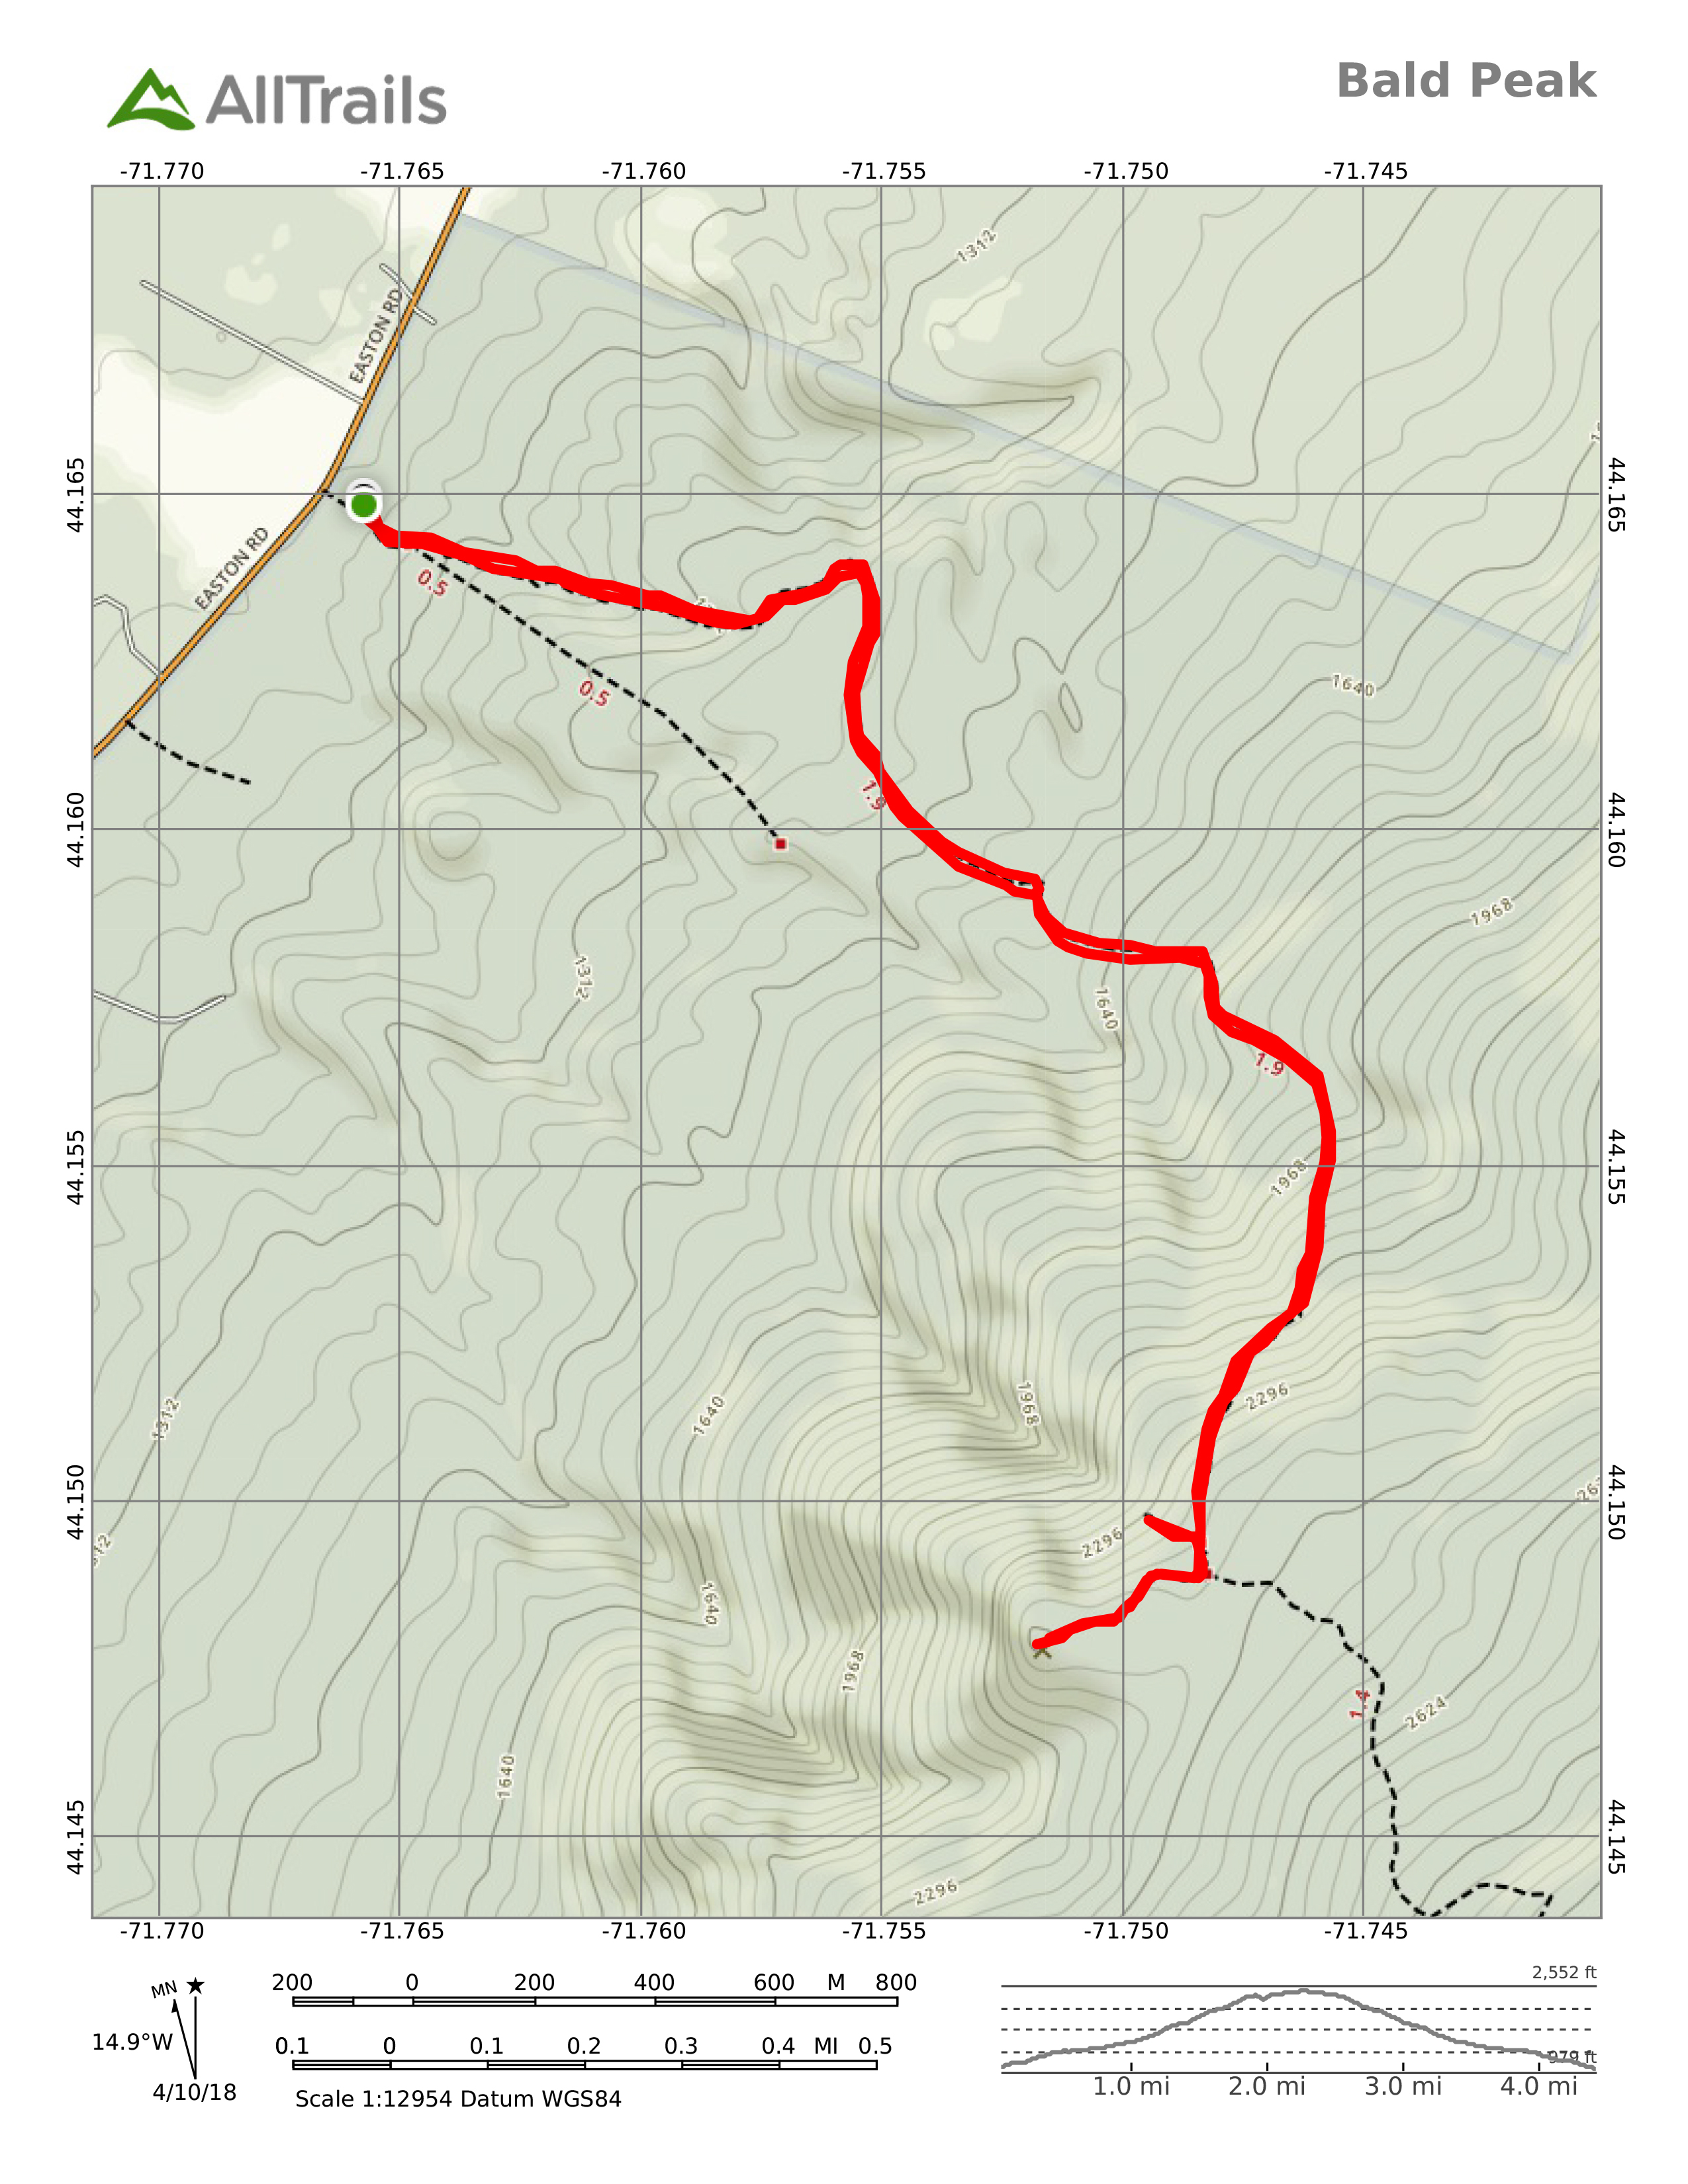
Trail Map:

Elevation Profile:

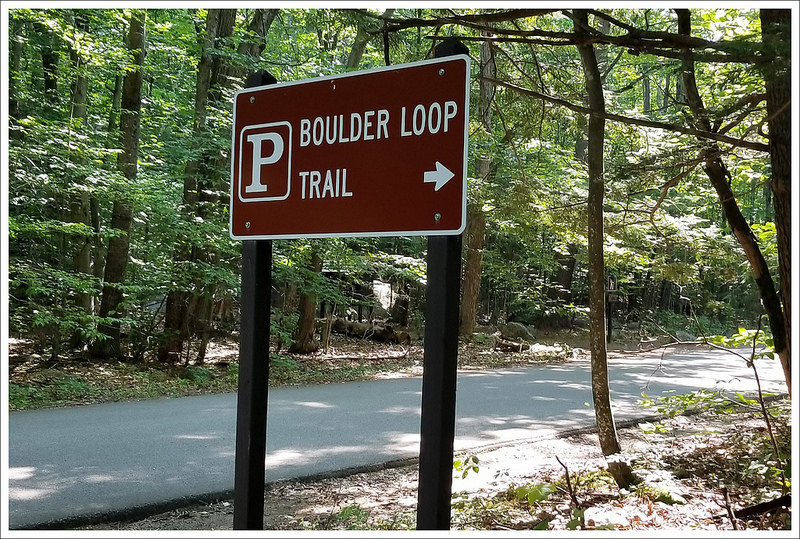
Directions to trailhead: Parking coordinates are 44.005395, -71.239270. There is a day fee for parking in this area. You will cross the Albany Covered Bridge and park in the lot labeled Boulder Loop Parking.


