This 12-mile loop combines numerous park trails into one great route! You’ll pass by several gorgeous viewpoints, walk along pretty Madison Run, and cross massive talus slopes. It’s a challenging hike with about 3,000 feet of climbing.
View the Full Album of Photos From This Hike

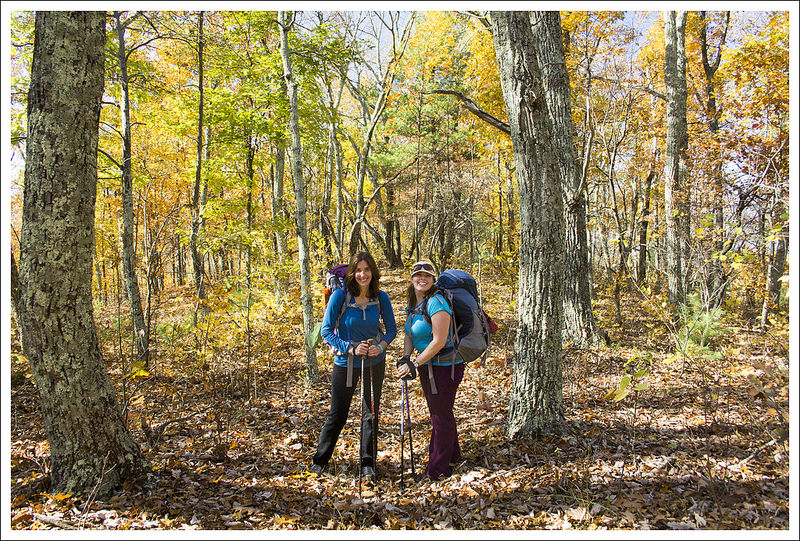
Christine Says…
The Austin Mountain – Furnace Mountain Loop has the reputation of being one of the park’s toughest and longest day hikes. Not only is the terrain rocky and rugged, there is also a serious amount of climbing involved. Essentially, you climb up from the valley floor, traversing several mountains along the way – Furnace, Trayfoot, Blackrock, and Austin. While you don’t technically reach the summits of Austin or Trayfoot, you come within a couple hundred feet of these viewless/inaccessible summits.
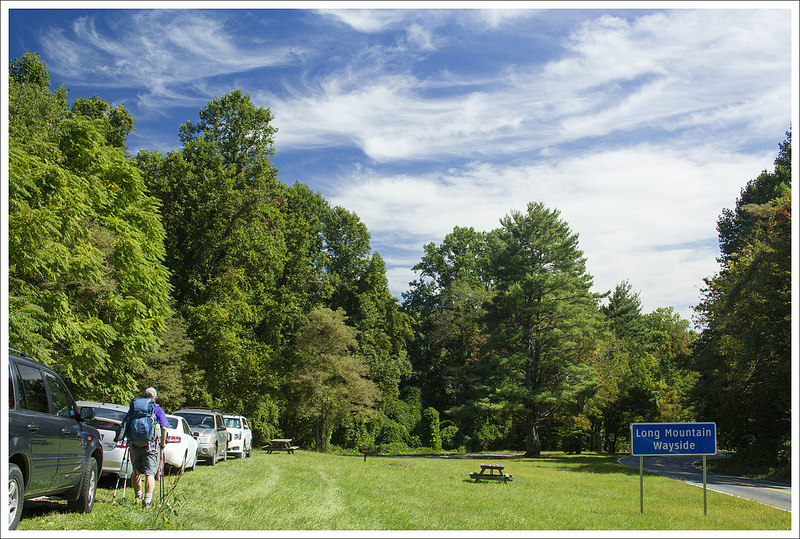
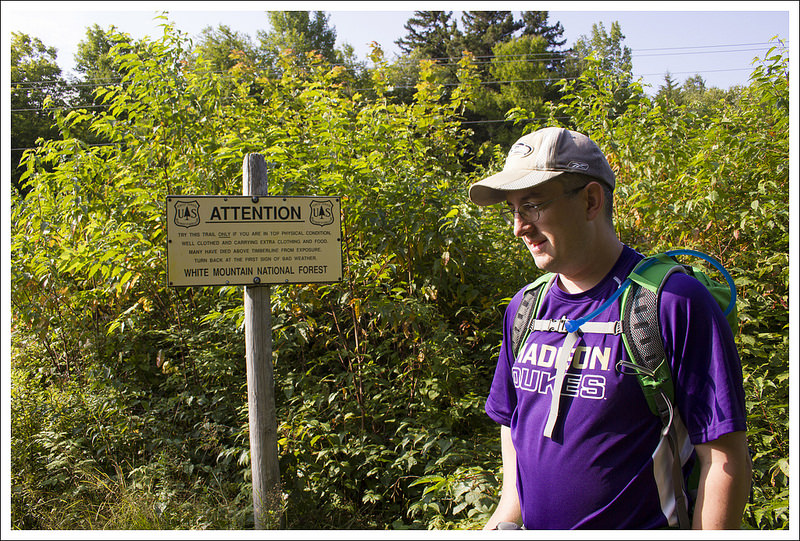
Most sources begin this hike from the Browns Gap parking area on Skyline Drive. For us, it’s a much shorter drive to start down in the valley, at the park perimeter near Grottoes. We parked along the roadside where Browns Gap Rd meets the Madison Run fire road. This is a popular park entry point for hikers and equestrians alike. It can get crowded if you don’t get an early start on the day.


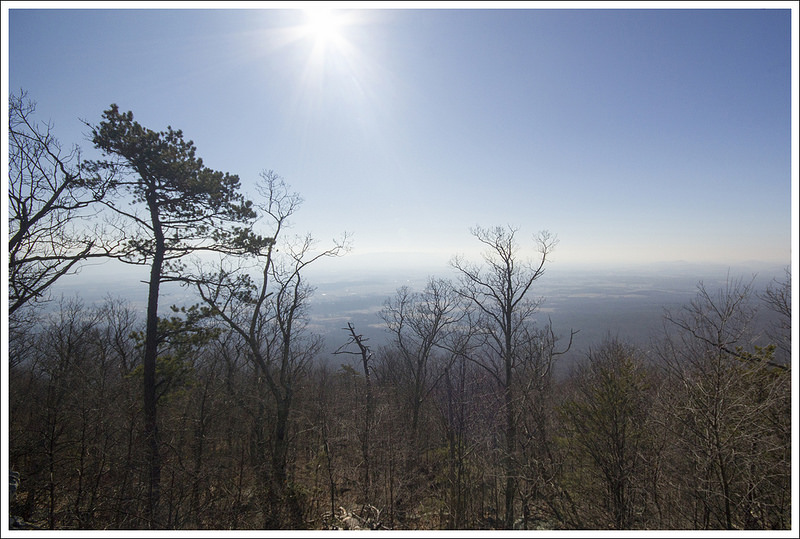
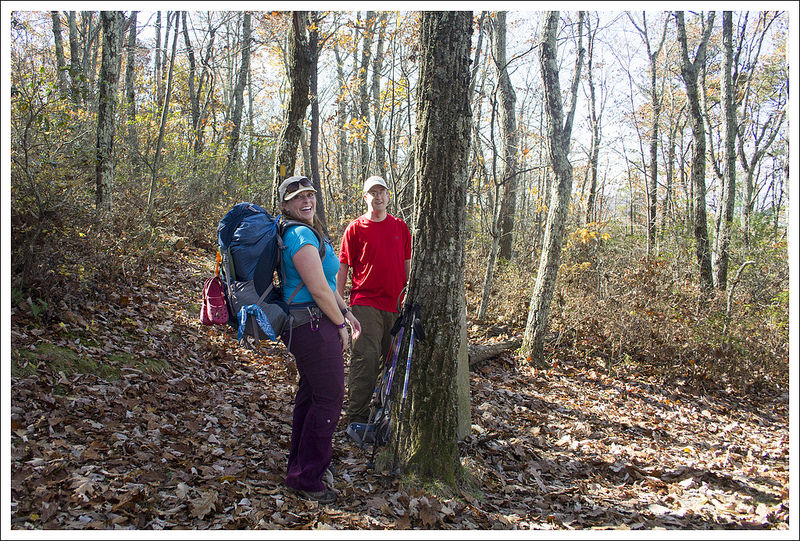
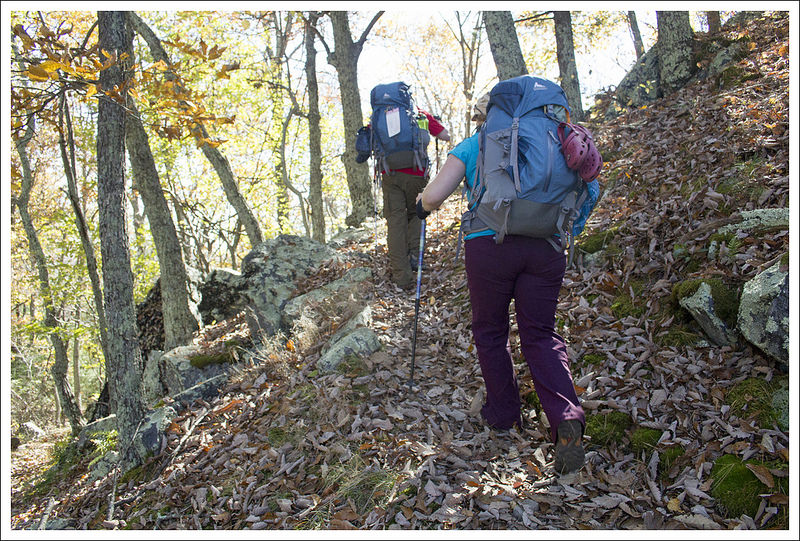
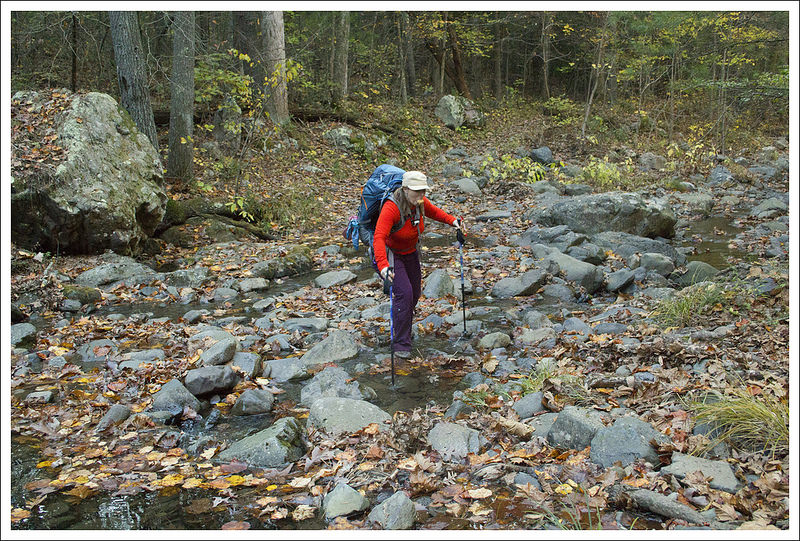
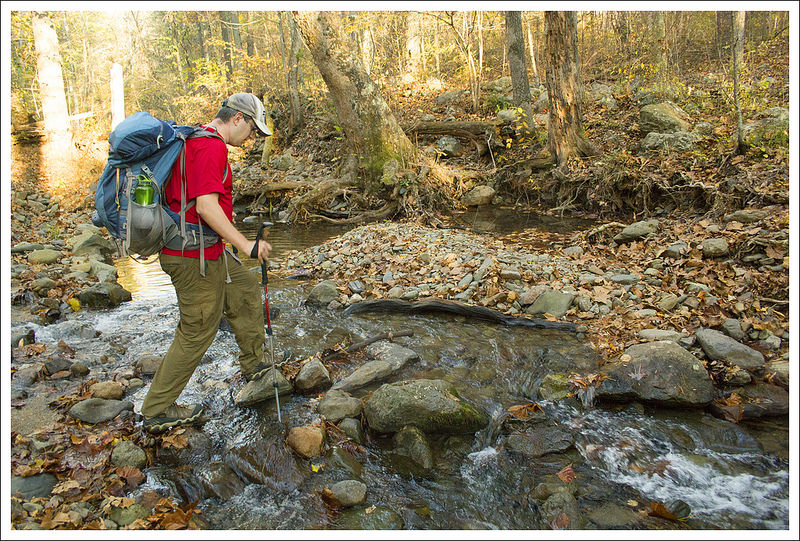
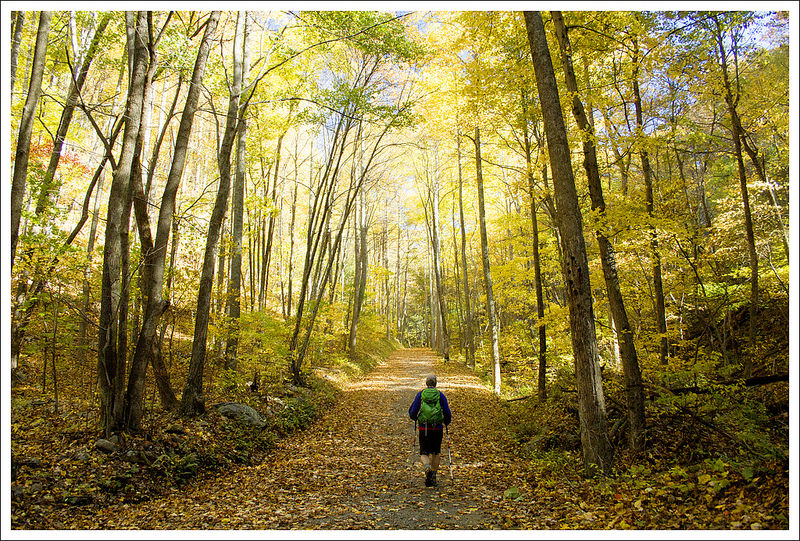
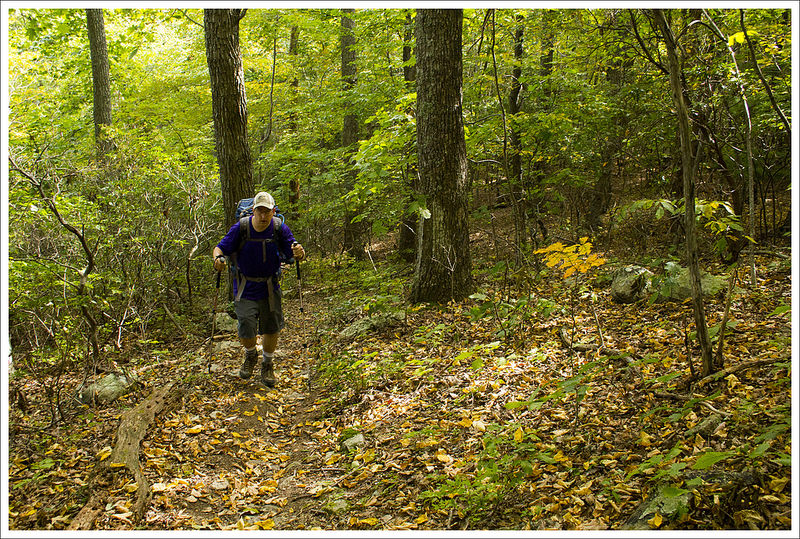
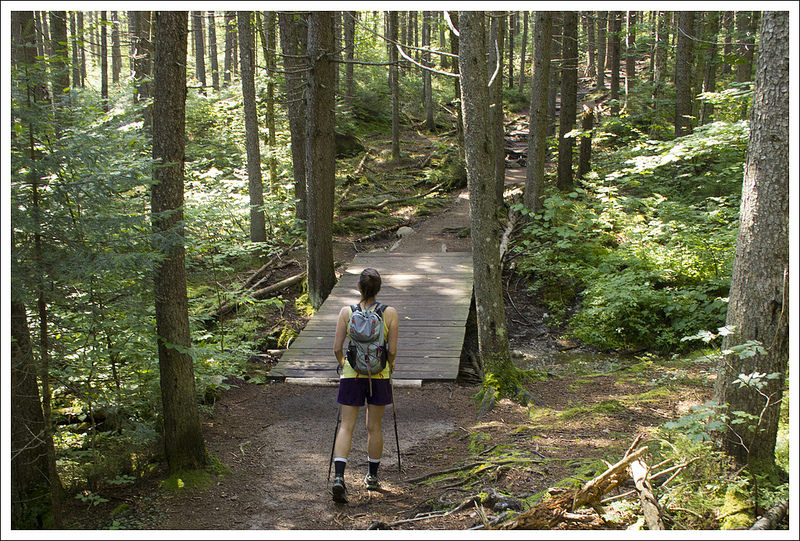
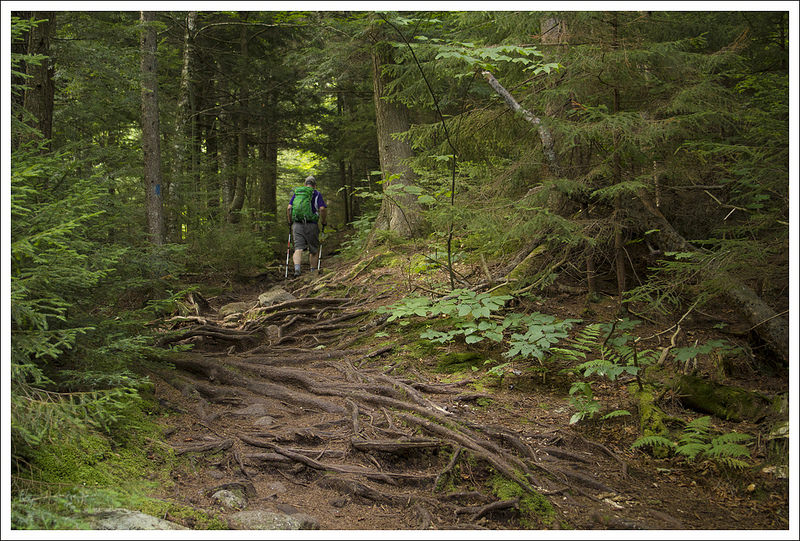
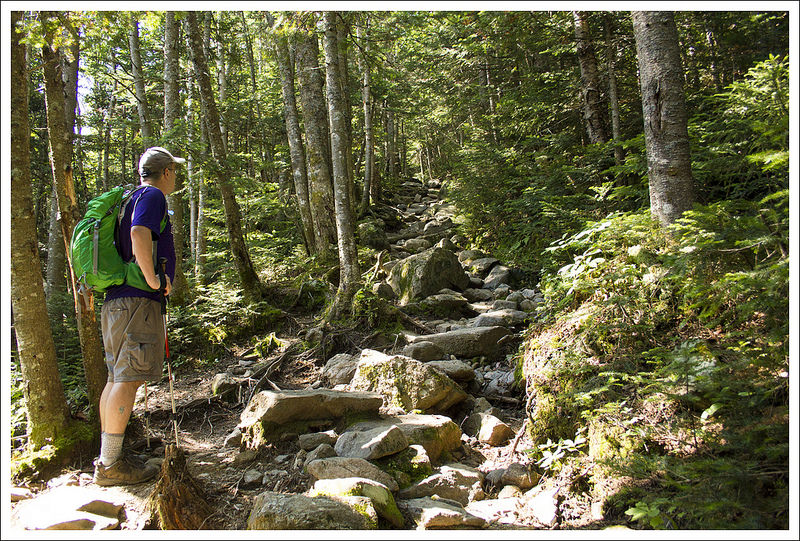
After walking up the Madison Run fire road for a short distance, the Furnace Mountain trail begins on the right with a rock-hop crossing of Madison Run. For a little over a mile, you’ll ascend Furnace Mountain before coming to a cement post that marks the spur trail to the summit of Furnace Mountain. The spur trail is about half a mile and leads to a fantastic viewpoint. You can see Skyline Drive if you look carefully. If you look across the gorge, you’ll see the huge talus slopes of Austin Mountain that you’ll cross later in the hike. On this particular day, we skipped the side trail to the summit of Furnace. We had hiked Furnace Mountain just a few weeks earlier and knew we had many miles to go and other views to enjoy along the way.
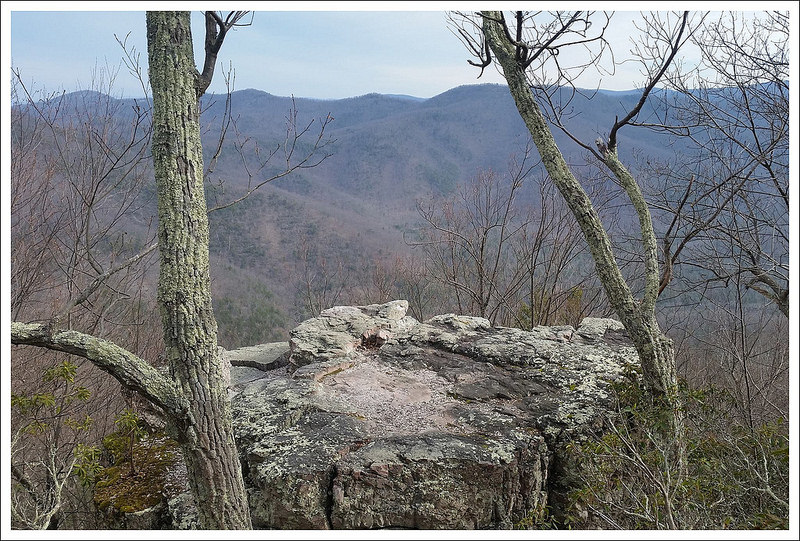
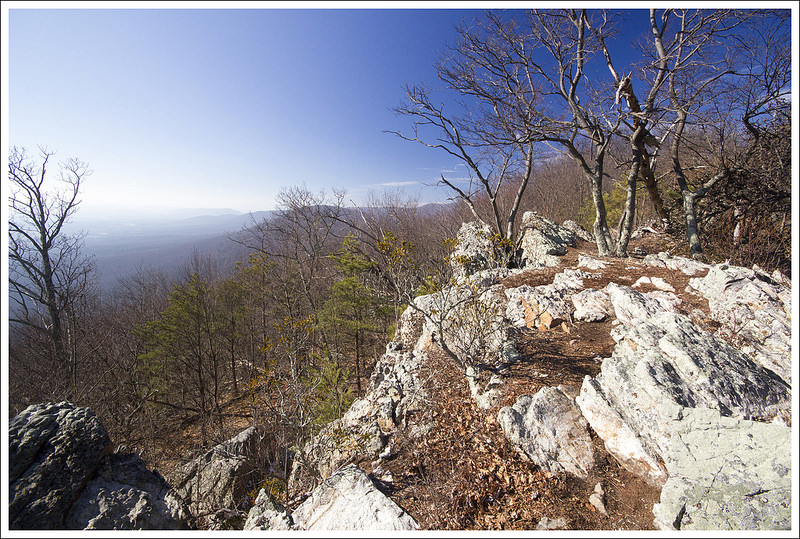
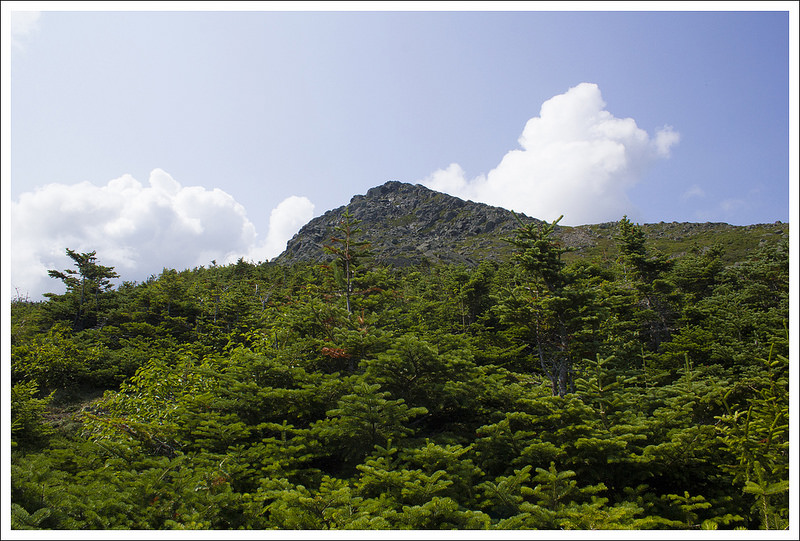
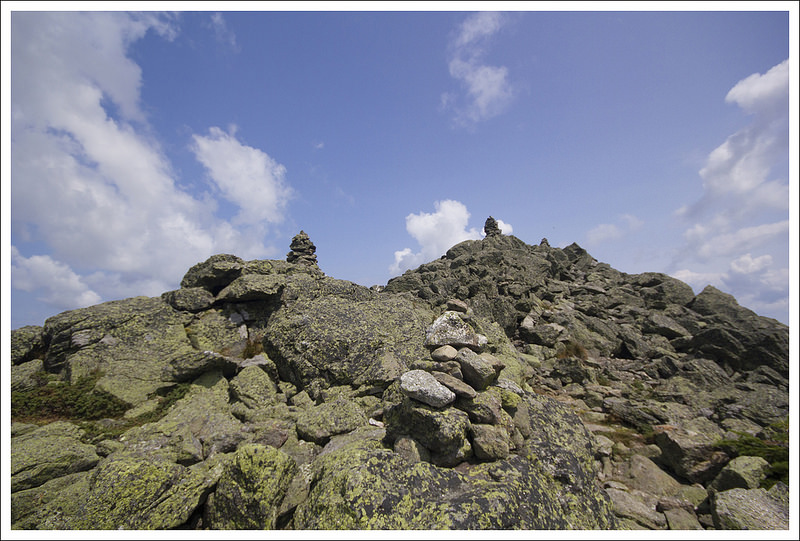
The ascent continues in earnest along the Furnace Mountain Trail. Eventually, you’ll come to a junction with the Trayfoot Mountain trail. Take a left and descend. This trail is an old road bed, so it’s wide and nicely graded. After a few tenths of a mile, you’ll come to another cement marker post. Follow the trail to the right in the direction of Blackrock Summit. This rocky jumble will be your best view on the hike! We chose to eat lunch at this spot. That probably wasn’t the best of ideas, because the strong wind made the summit bitterly cold. It’s no fun to eat PB&J with your teeth chattering and while you’re wearing gloves. Needless to say, we ate quickly!


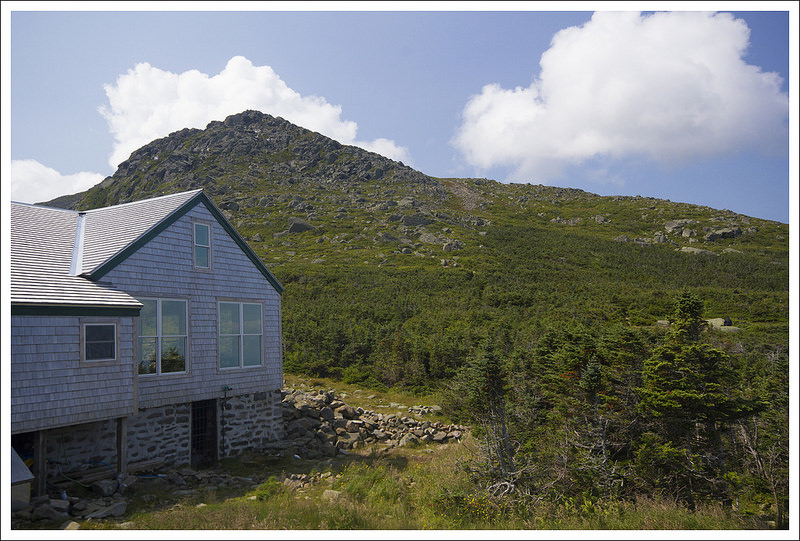
Rounding Blackrock Summit leads you to the Appalachian Trail. To continue this route, head north on the AT for a couple miles until you reach the Browns Gap parking area on Skyline Drive. This section of AT is fast going – it’s practically flat and uncomplicated. You’ll pass the Dundo picnic area along the way. If you run out of water, there is a clean tap at the picnic area.
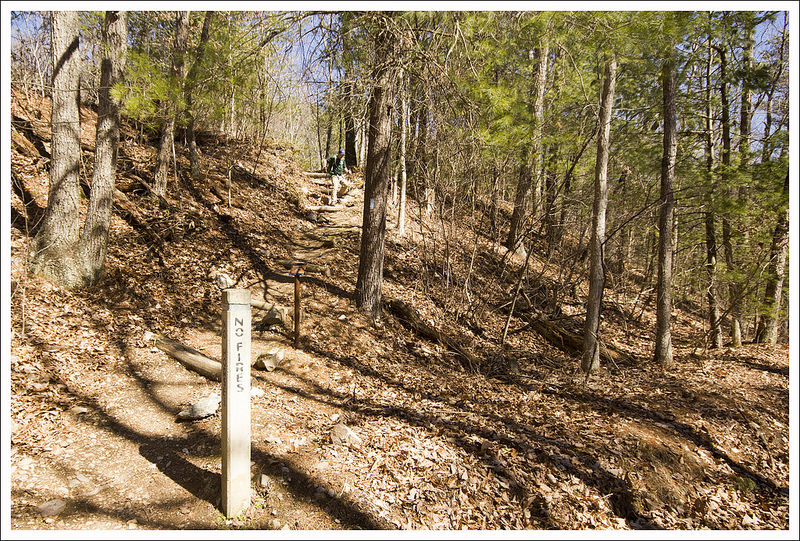
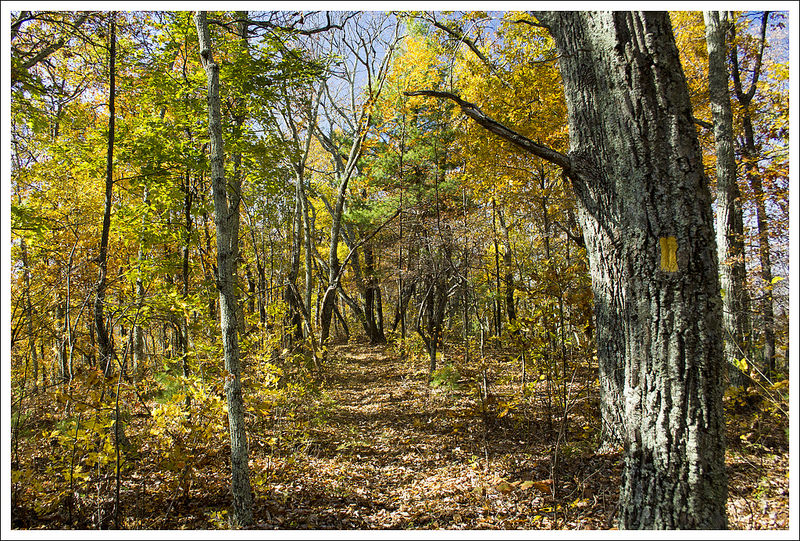
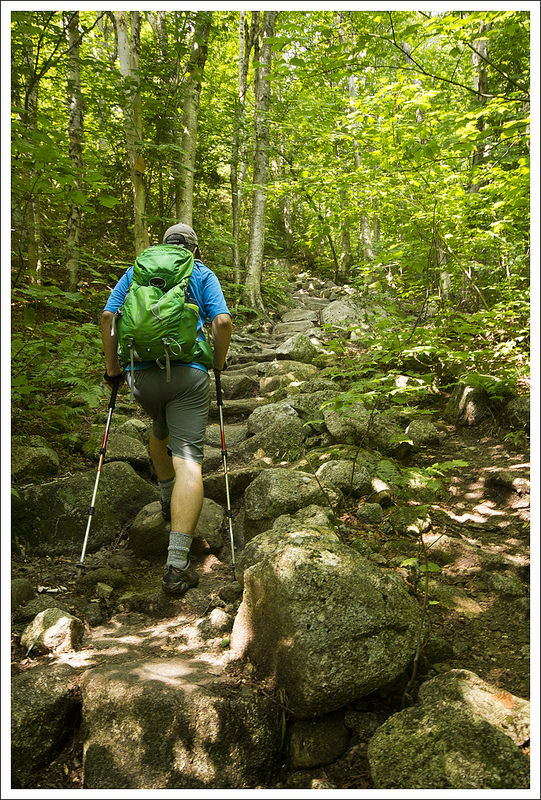
From the Browns Gap parking area, follow the fire road downhill for .8 of a mile. A cement post on the right marks the Madison Run Spur Trail. This trail will go steeply uphill to a junction with the Rockytop and Big Run trails. Bear to the left on the Rockytop trail. Follow the Rockytop trail for several tenths of a mile until you reach another cement marker for the Austin Mountain trail. If you hike when leaves are off the trees, you’ll get some great ridge views in this area.
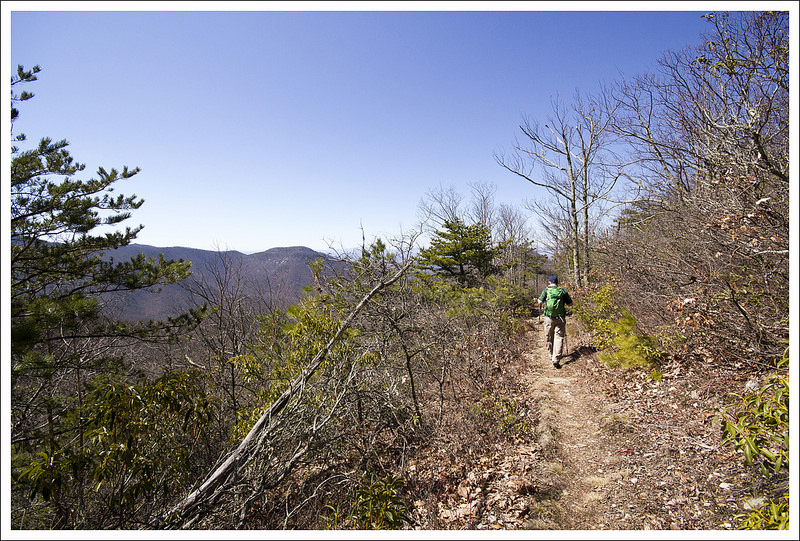
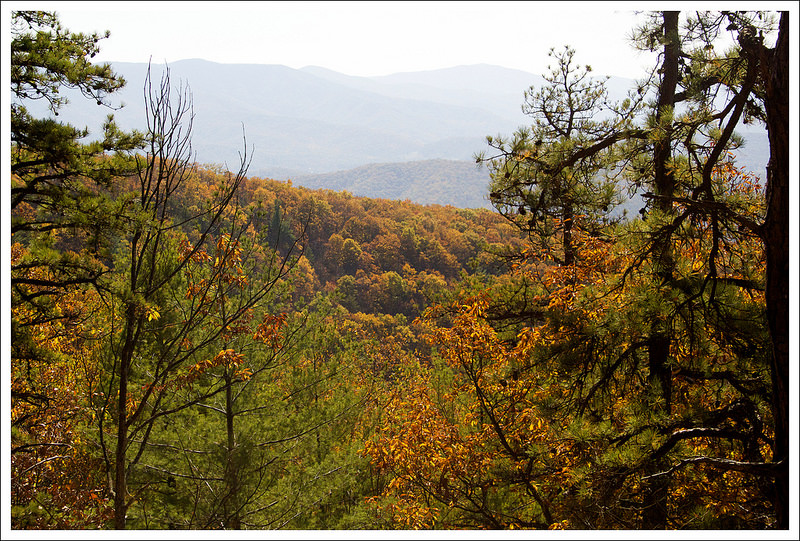
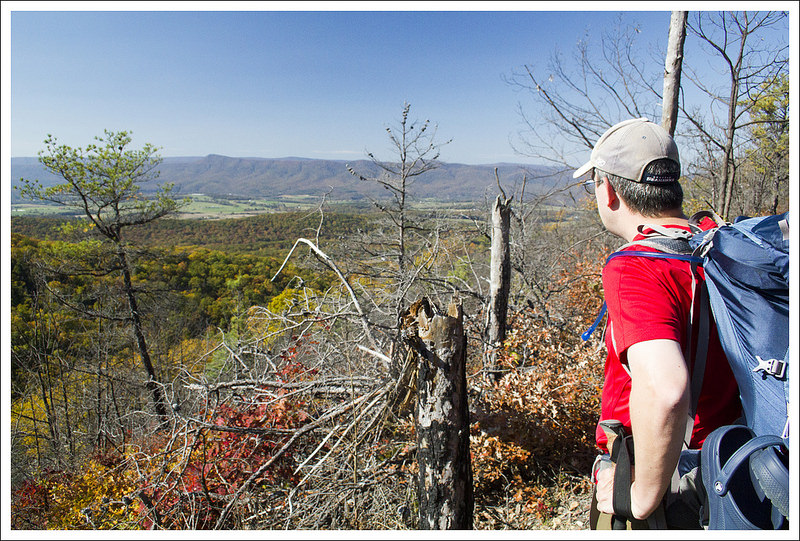
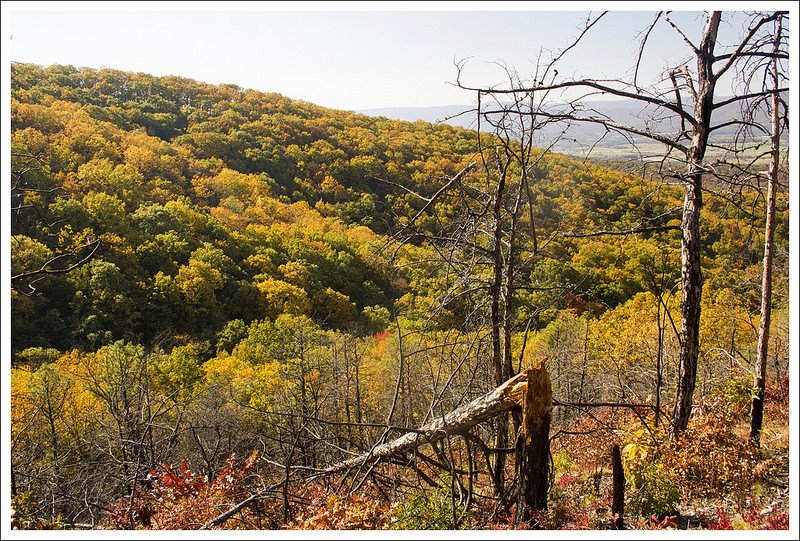
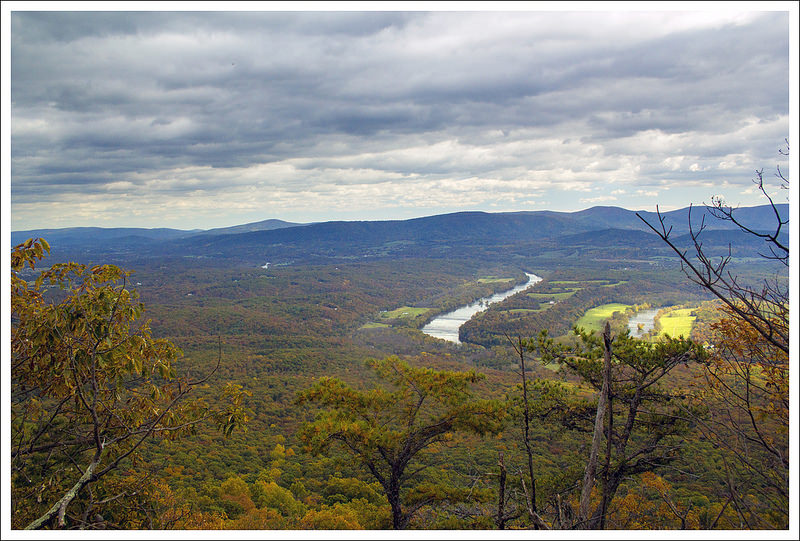
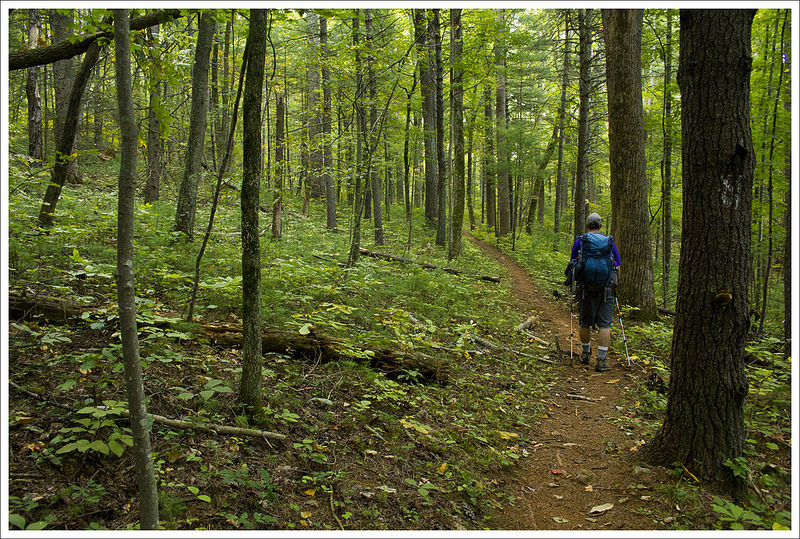
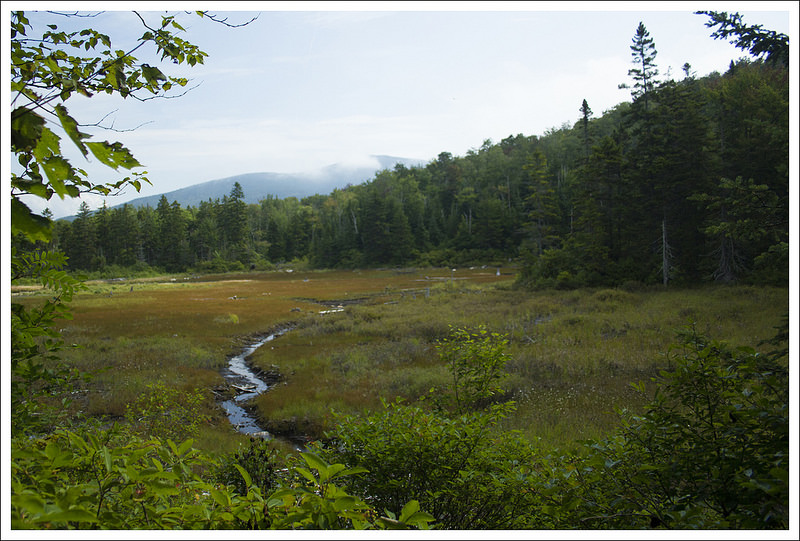
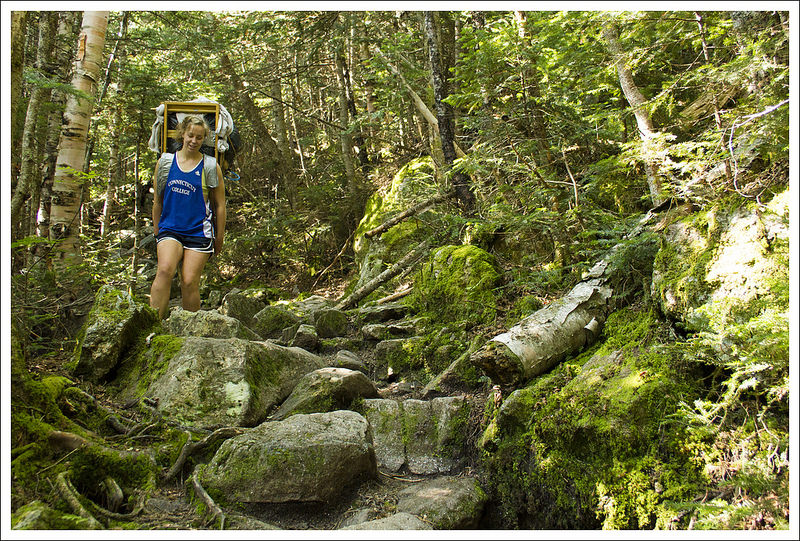
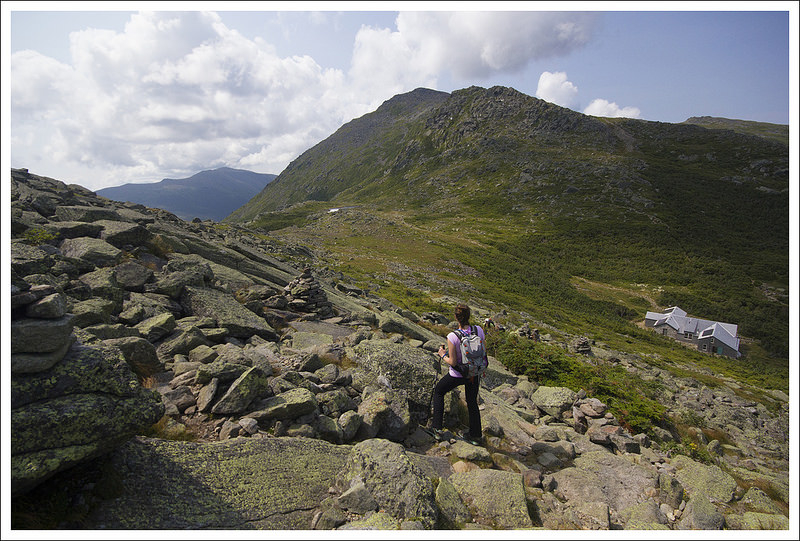
Once you turn left onto the Austin Mountain trail, you’ll have a little over 3 miles to go before you hit fire road again. The terrain starts off easily enough, following a lovely ridge overlooking Dundo Hollow and Furnace Mountain (from earlier in your hike). The views are really nice, and it’s impressive to look back on all the distance you’ve traversed!


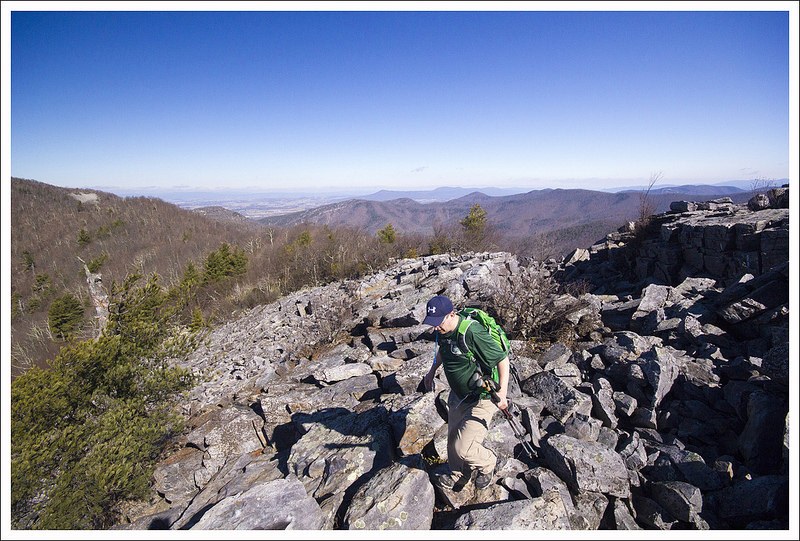

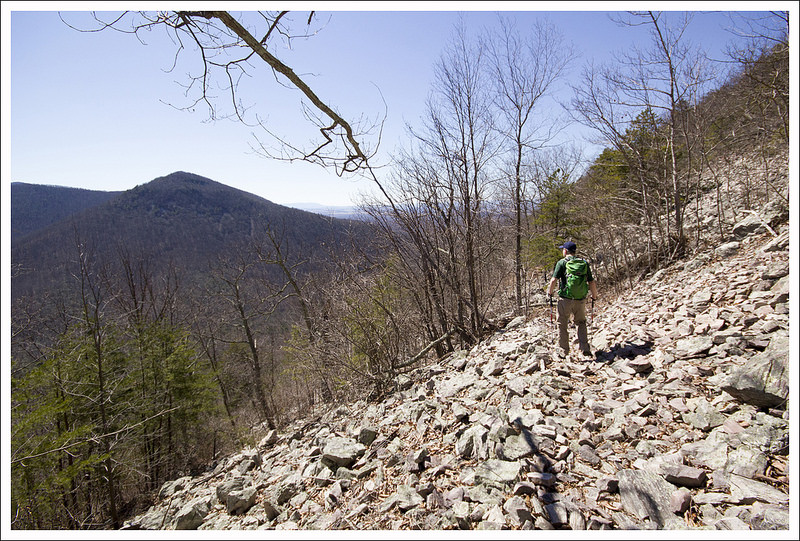
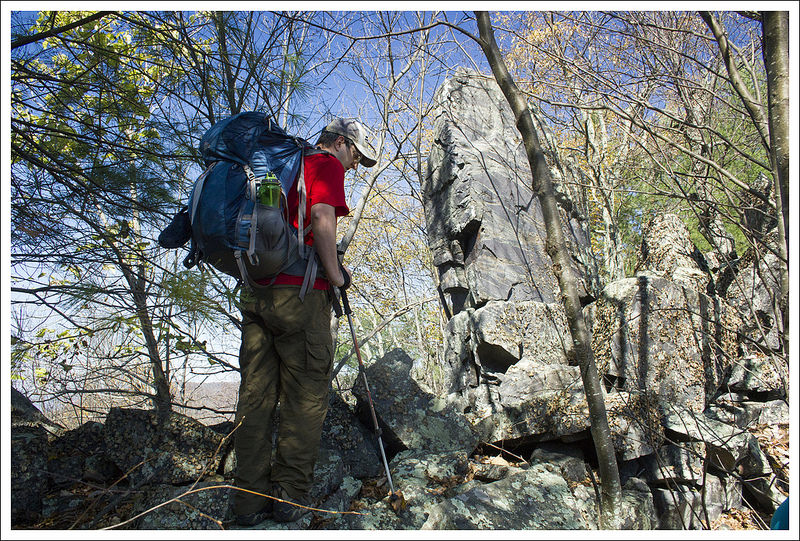
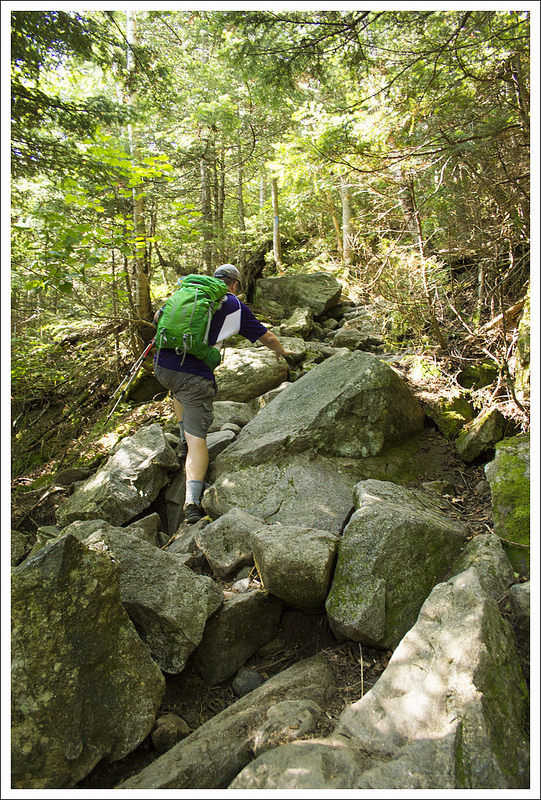
But a little over a mile along the Austin Mountain trail, the talus slopes begin. From there, it’s an endless field of loose rocks for nearly a mile. When you think you’re done with rocks, surprise… there are more rocks! Don’t miss looking up and behind you – the cliff-like wall of Austin Mountain looks like a crenulated castle wall. After you cross the last talus slope, you have a steep, knee-grinding descent back to the Madison Run fire road.
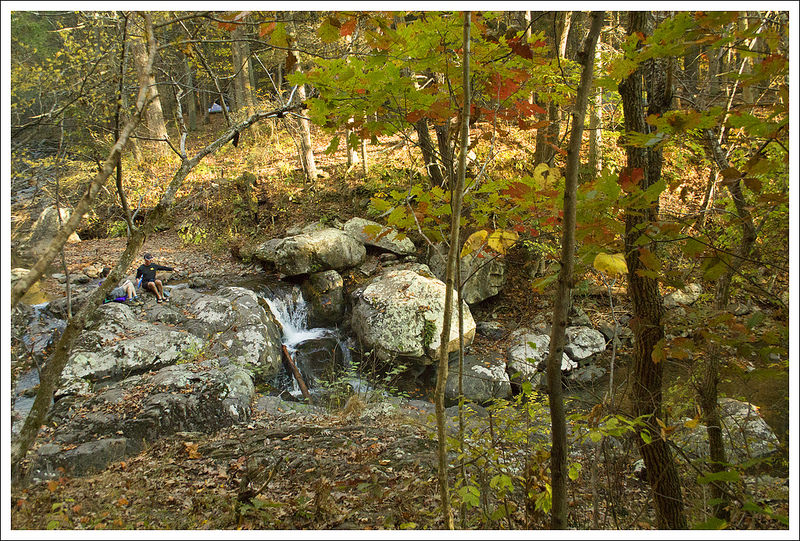
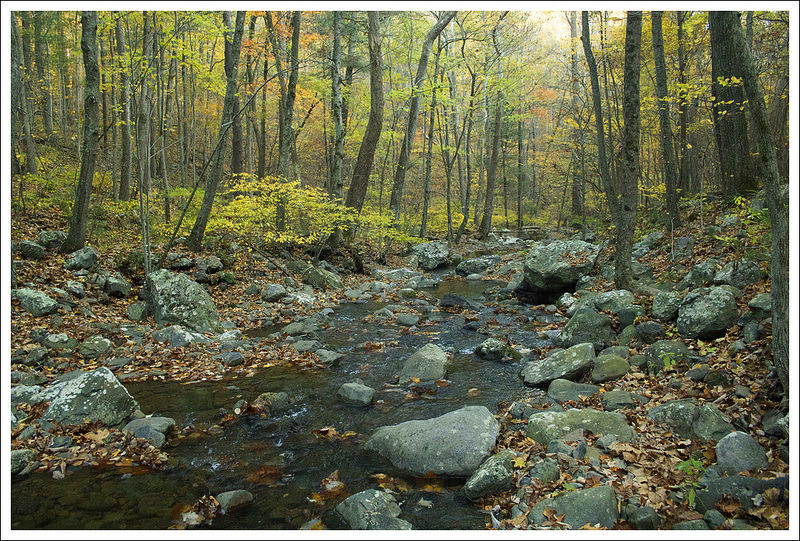
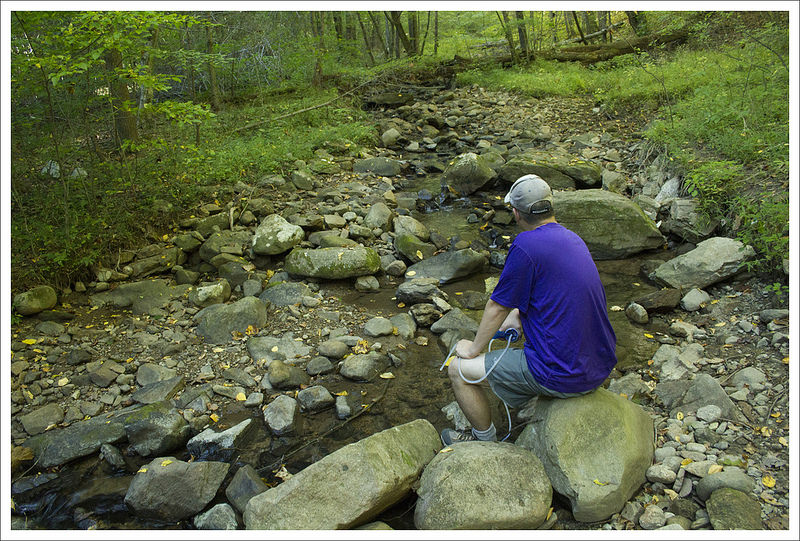
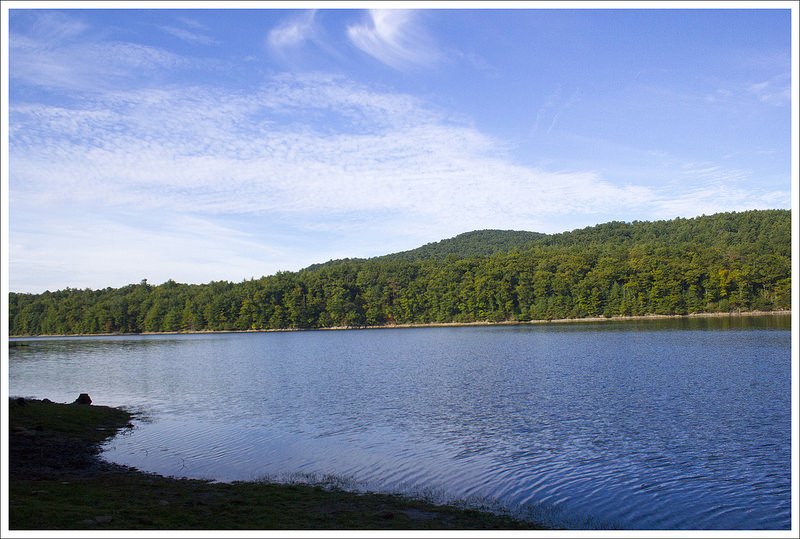
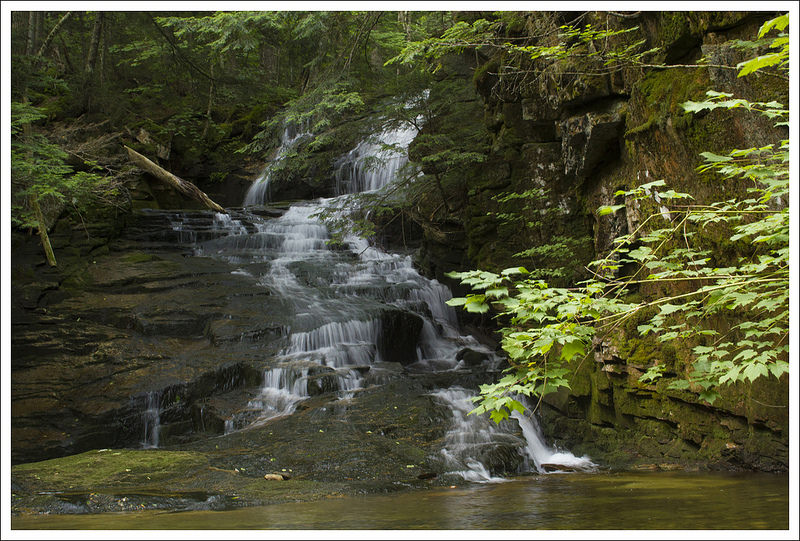
Once you reach the fire road, you just have a easy .6 mile road-walk back to your start point. The stream is especially scenic along this stretch. After getting back to the car, we decided we had earned milkshakes! It was a fun day and a great challenge!
Adam Says…
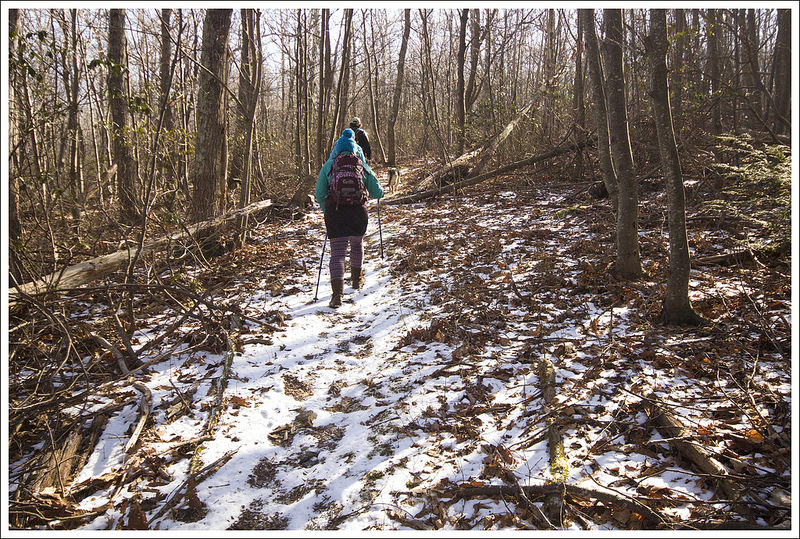
We decided to try and tackle this loop since we wanted to get some good training for some longer hikes. While we were able to get out and do a few good hikes over the winter months, this was definitely a challenging hike to do before we (or at least I) had gotten my “summer trail legs”. This particular hike did a toll on me, especially the last couple of miles.


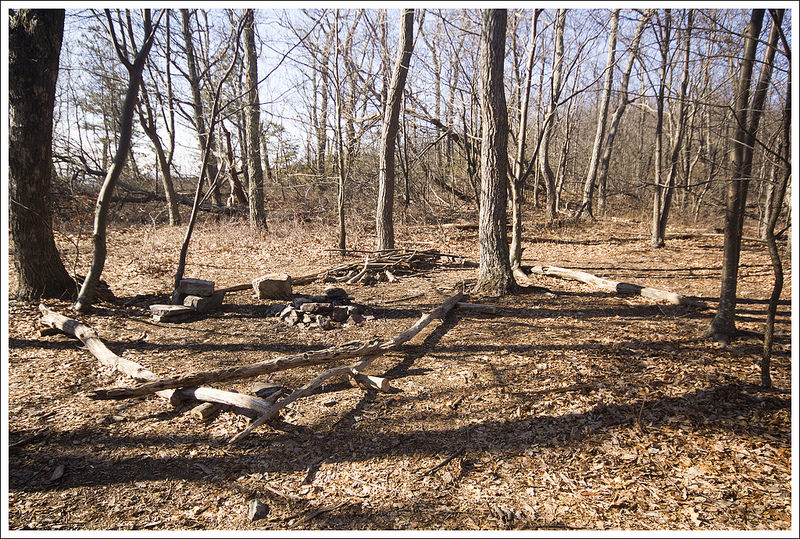
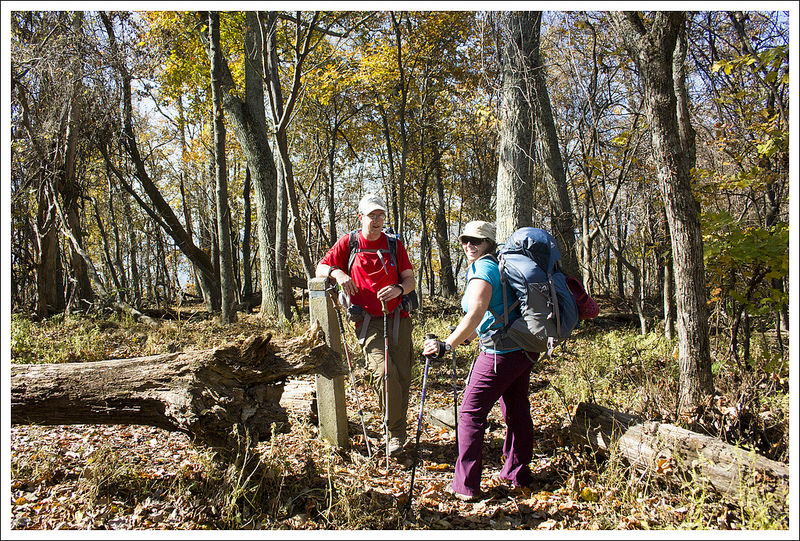
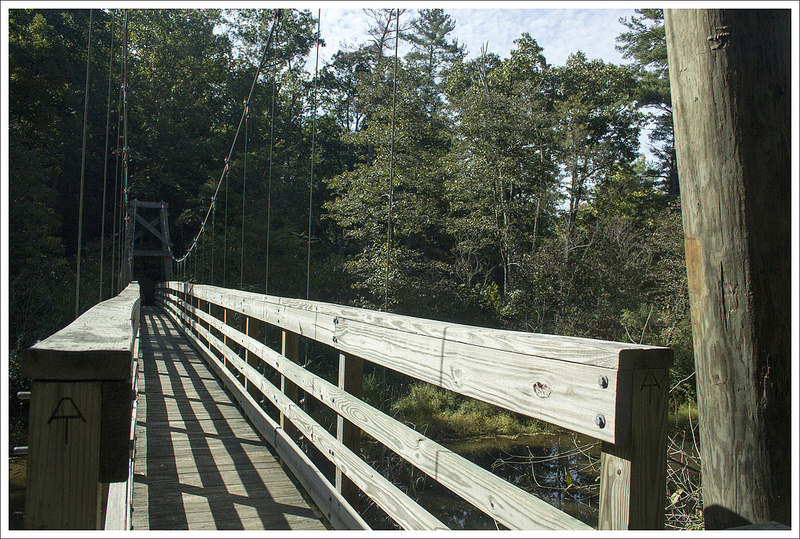
The water across Madison Run was running a little higher and faster than normal, but we were able to rockhop across and begin our hike. The hike up Furnace Mountain is a steady uphill, but does lead to some nice views along the way. There is one section that has a small talus slope that we thought was impressive, but little did we know what Austin Mountain would bring later in the day. At the junction of the spur trail, we met a couple that was doing the same loop but camped along Madison Run that morning. They had started from the Browns Gap parking area in Shenandoah National Park, but had a day of mostly uphill climbing this day. As Christine mentioned, we decided to skip the overlook and made our way to Blackrock Summit.


At Blackrock, the wind was incredibly strong and cold. There was still ice in the crevices between the rocks in most places. We sat out to eat some lunch, but our hands were trembling in the cold, which made for challenging and rushed eating. We quickly got out of there and joined the Appalachian Trail, heading north. We made quick time on this flatter section of trail and crossed Skyline Drive. The trail stays close to Skyline Drive until you reach the Dundo picnic area (which does have bathrooms if you need it).
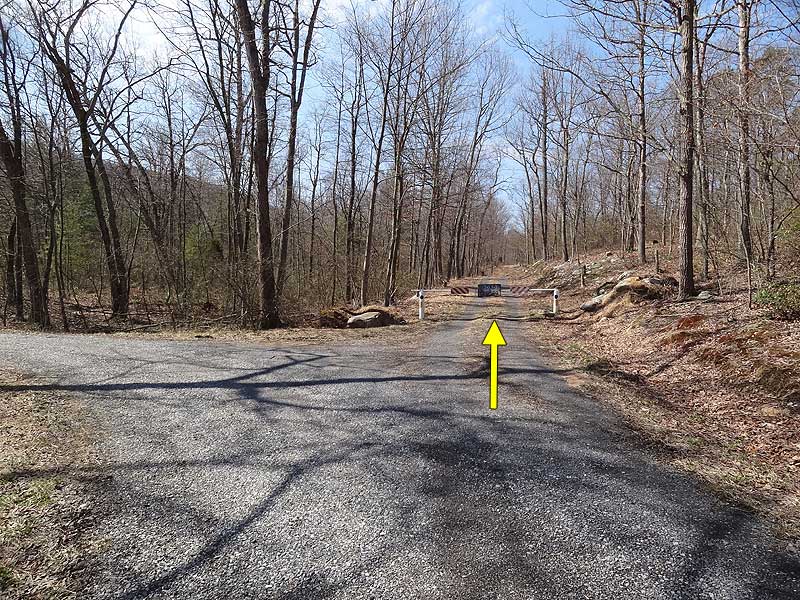
Passing the picnic area, we crossed Skyline Drive again after 6.5 miles. After crossing the road, we made our way through the parking lot and crossed the gate blocking the fire road. Heading down the fire road was easy walking. At mile 7.3, we spotted the cement post on the side of the road, leading up the Madison Run Spur Trail. This section was steep but short as we reached the crest and junction with the Rockytop Trail. We took a left here which continues uphill and reaches the junction with the Austin Mountain Trail around 8.2 miles. Bear to the left and the trail begins to go downhill finally.

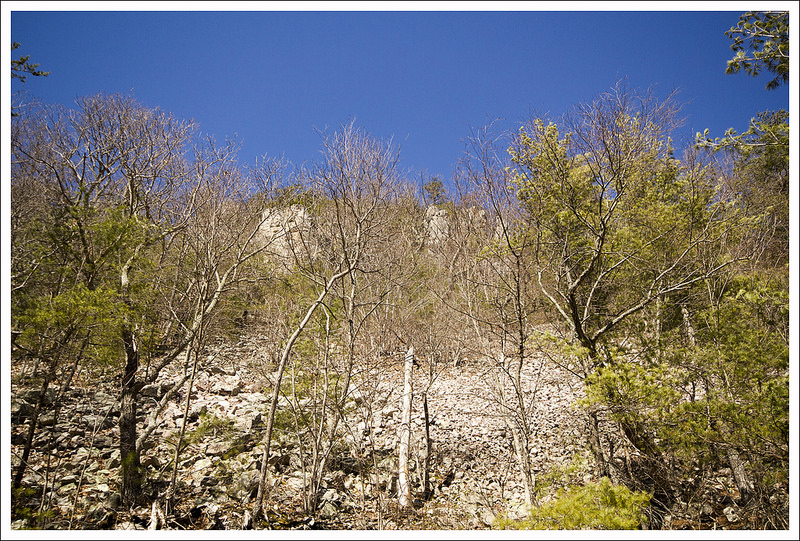

Right before this junction, my IT bands near my right knee began to hurt. Sometimes when one knee begins to hurt, you tend to overcompensate with the other. We came across a hiker that was hiking up and he warned us there was a mile of loose rock to walk on. We soon reached the huge talus slopes. When you have one leg giving you pain, the last thing you want to see is loose rock footing for as long as you can see. The views of the slope were impressive, as well as looking across the mountainous valley to see Furnace Mountain, but the pain was keeping me from having the best of times. With vultures ominously circling above my head, I felt they didn’t have much faith I would make it. Just when we thought we had reached across the slopes, the trail turns back and works it way down the mountain, giving us lower parts of the slopes and more rocks. We finally reached the bottom of the trail and joined the Madison Run Road at 11.2 miles. It was a flat walk along the side of a picturesque creek until we made our way back to the car in .8 miles.
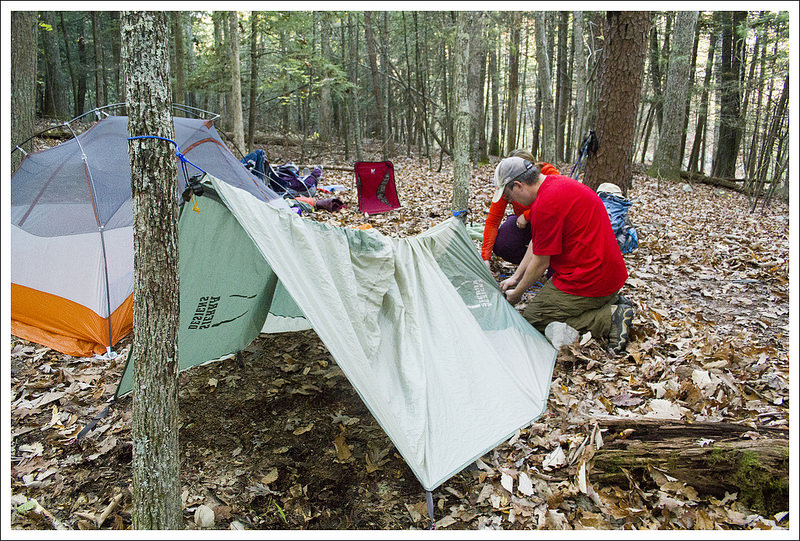
While this was a tough hike, it was rewarding. This hike has great views, unique geology, and a picturesque creek. If you don’t want to tackle it in one day, it would make a nice backpacking loop, but I would recommend starting at Brown’s Gap to split the hike and leave you camping by the water source of Madison Run.
Trail Notes
- Distance – 12 miles Add .5 mile, each way, if you take the spur trail out to the overlook atop Furnace Mountain. You can make a shorter, easier loop if you descend via the fire road and skip Austin Mountain)
(Check out the stats from Map My Hike)* - Elevation Change – 2900 ft.
- Difficulty – 4.5. The length and amount of climbing make this tough.
- Trail Conditions – 2. While the trail was well-maintained, the footing on the talus slopes brings this score down due to the challenge of walking on loose rock for over a mile of the trail.
- Views – 4. You have nice views from Furnace Mountain if you add that spur, but Blackrock Summit and views along the Austin Mountain Trail make it worthwhile.
- Streams/Waterfalls – 3. Madison Run is a nice wide stream and reliable water source year-round.
- Wildlife –2. We didn’t see much, but there have been bear sightings along the Austin Mountain portion of the trail.
- Ease to Navigate – 2.5. There are lots of trails that cross, so pay attention to the signs. The trickiest is around the Blackrock Summit area.
- Solitude – 3. You will likely see people at Blackrock summit, but not a lot of activity elsewhere.
Download a Trail Map (PDF)
Directions to trailhead: From I-81, take exit 256 heading east towards Weyers Cave. Go 6.6 miles and take a left on US-340/Augusta Avenue. Go .1 miles and take a right on Cary Street. In .2 miles, continue on to VA-663/Brown’s Gap Road. In 1.9 miles, turn right on to the dirt fire road. Follow this 1.1 miles and you will reach the parking area. Look for the concrete post for Furnace Mountain which will have you instantly rock-hopping across Madison Run to start your hike.
* MapMyHike is not necessarily accurate, as the GPS signal fades in and out – but it still provides some fun and interesting information.


